
These Instructions are Out Of Date
I recommend using these instructions instead:
Click Activate.
Follow the on-screen instructions to make your account. You'll need your .edu email address and a phone, but no credit card.
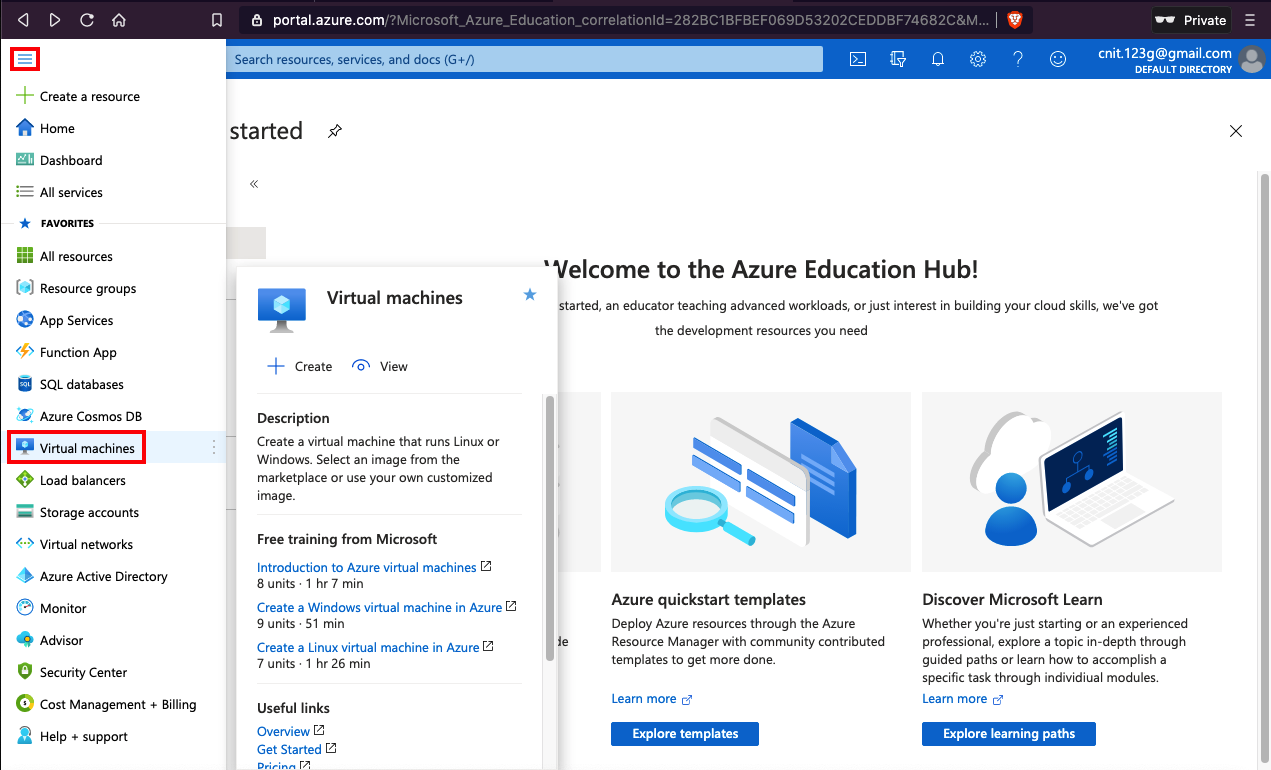
You'll end up at the Azure Education Hub, as shown below.
Click "Virtual Machines", as shown below.
On the "Virtual machines" page, at the top left, click Add, "Virtual machine".
In the "Create a virtual machine" page, on the Basics tab, enter these values, as shown below.
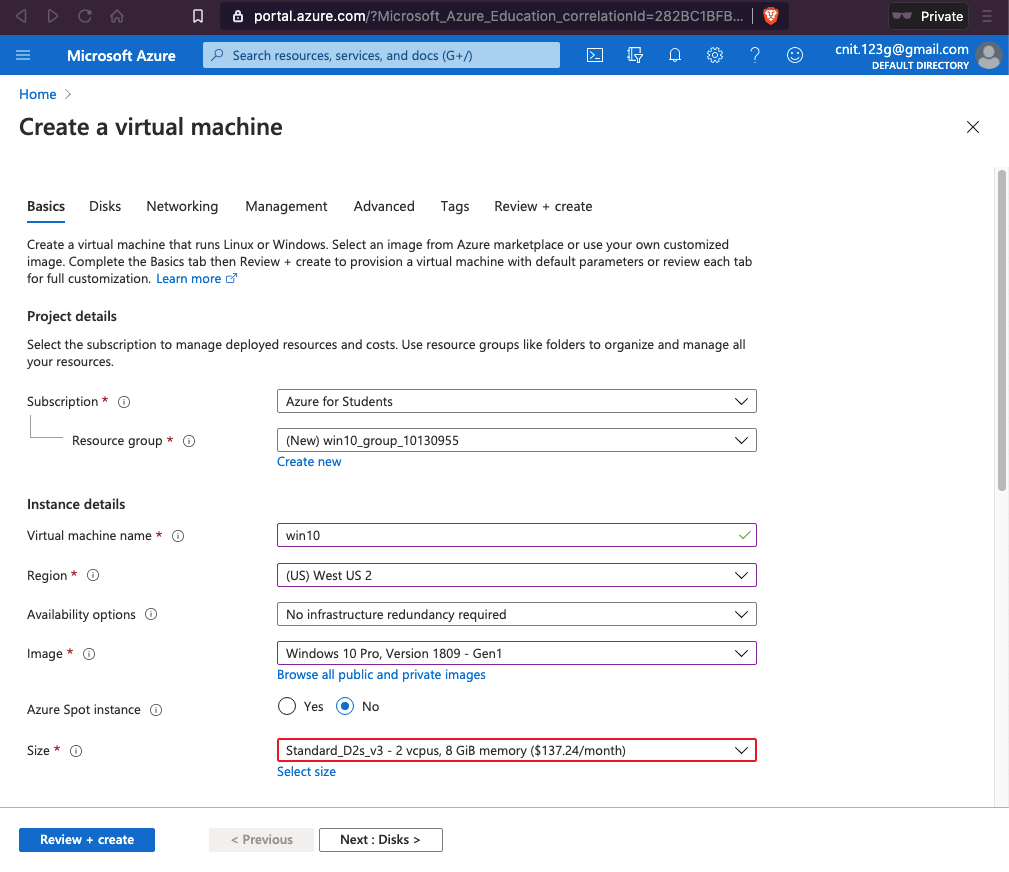
At the bottom, click the blue "Review + create" button.
A warning appears, saying "You have set RDP port(s) open to the internet."
At the bottom, click the blue Create button.
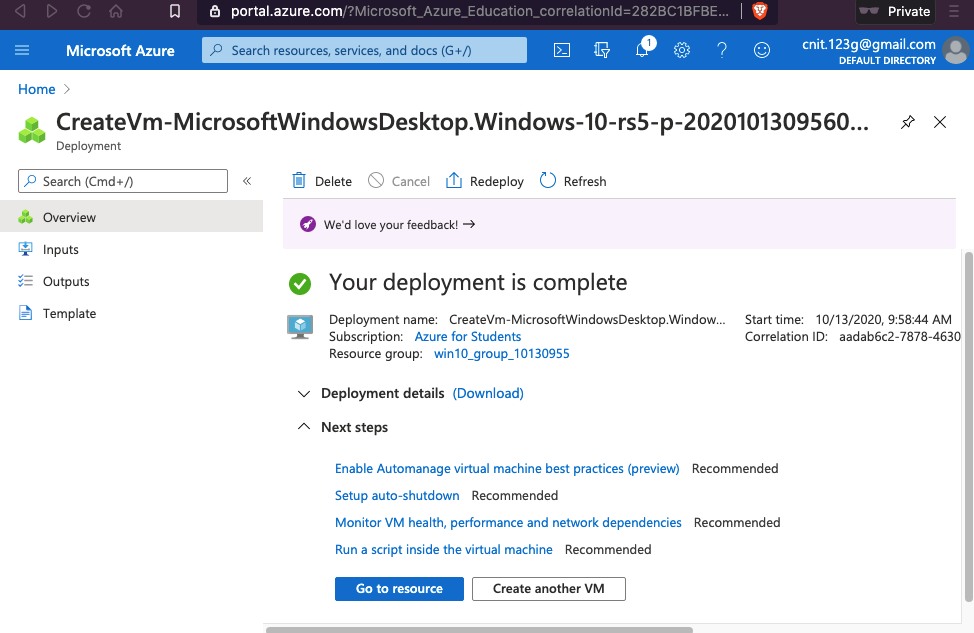
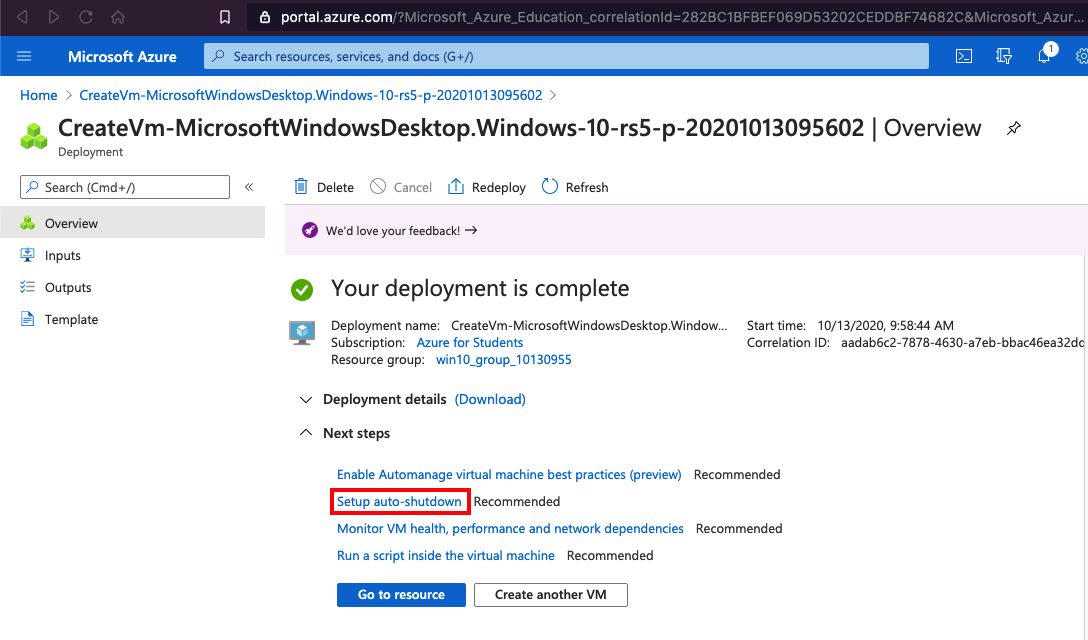
After a few minutes, the deployment completes, as shown below.
At the bottom, click the blue "Go to resource" button.
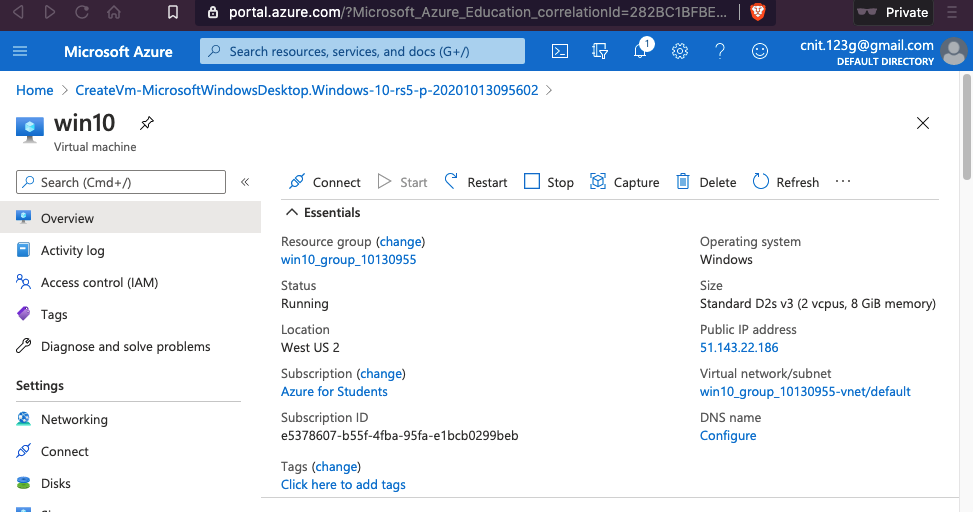
You can see your IP address, as shown below.
For Linux, connect via SSH.
For Debian, the SSH command looks like this:
ssh -i Downloads/Deb10Azure_key.pem azureuser@15.66.181.132
In the "Microsoft Azure" web portal, scroll to the left to see the "CreateVM..." page, as shown below.
Click "Setup auto-shutdown". Turn the feature on. Click Save.
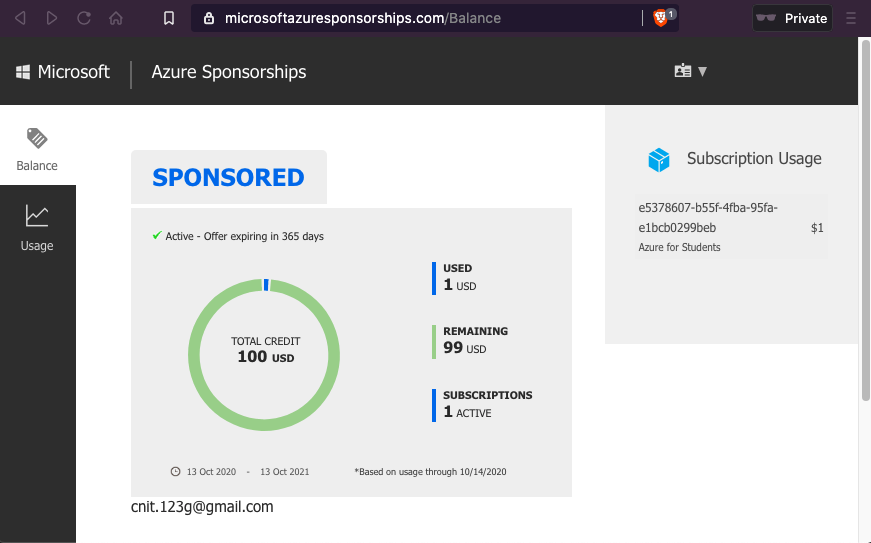
https://www.microsoftazuresponsorships.com/
You see your balance, as shown below.
Posted 9-23-2021
Debian SSH command added 3-3-22