
Your Domain Controller must be running and on the same network as the Member server.
Log in as
At the lower left of the desktop, right-click the third icon. Click "Run as Administrator", as shown below.
In the Powershell window, execute this command:
c:\windows\system32\sysprep\sysprep.exe /oobe /generalize /reboot
Click Next.
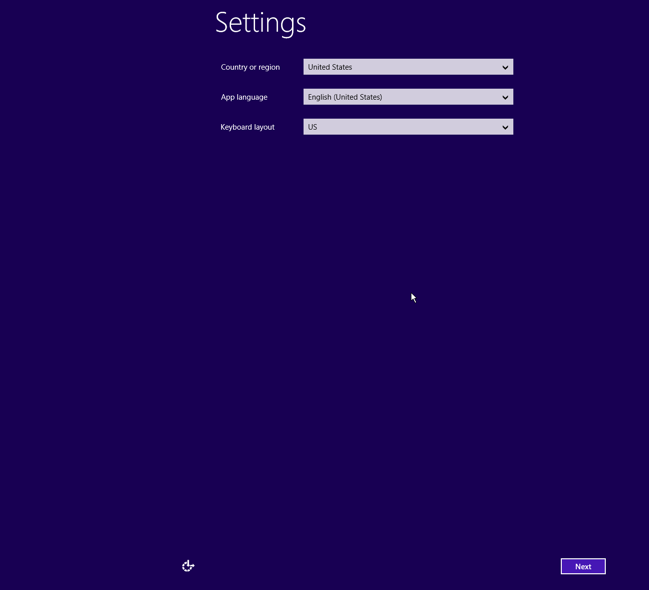
In the next screen, you must enter a Product Key. You can get one from Microsoft Imagine, linked at the top of this page:
Enter the key and and click Next.
On the next screen, click "I accept".
The next screen asks for a password.
Enter P@ssw0rd in both boxes and click Finish.
Execute this command:
control netconnections
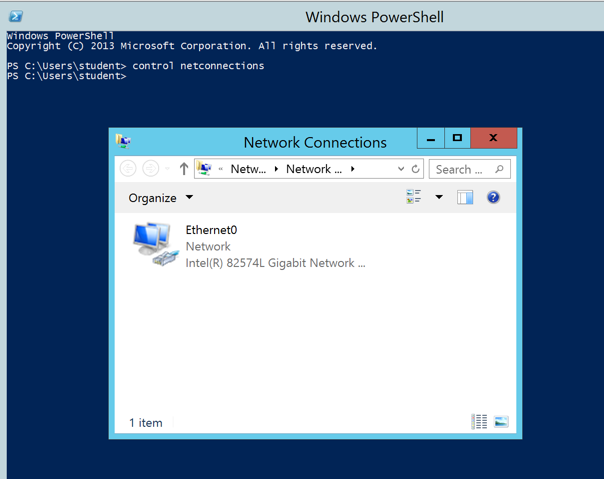
Right-click Ethernet0 and click Properties.
In the Ethernet0 Properties box, double-click "Internet Protocol Version 4 (TCP/IPv4)".
In the Internet Protocol Version 4 (TCP/IPv4) Properties window, in the lower section, click the "Use the following DNS server addresses" button.
Enter the IP address of your domain controller, as shown below.
Note: your IP address will be different from my example
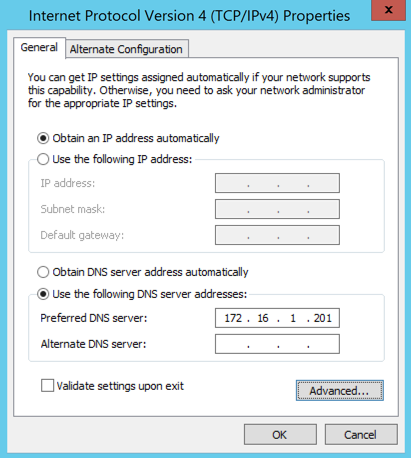
Click OK.
Click OK.
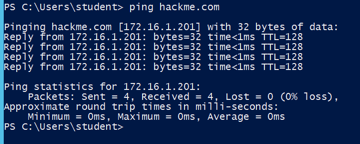
In PowerShell, execute this command:
ping hackme.com
If you don't, you need to fix your networking problems before proceeding with this project.
sysdm.cpl
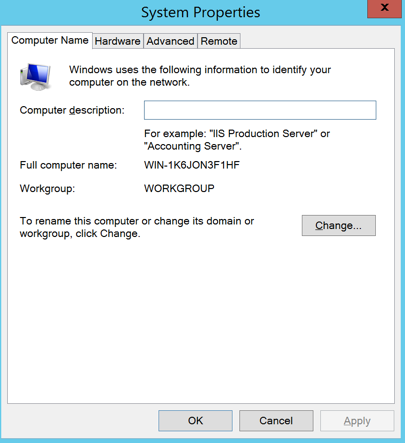
In System Properties, click the Change... button.
In the "Computer Name/Domain Changes" box, make these adjustments, as shown below:
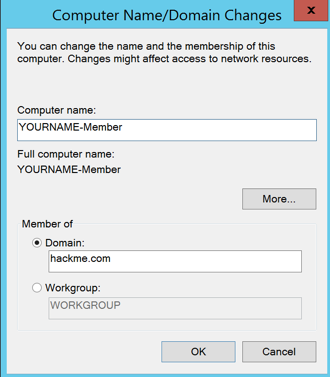
In the "Computer Name/Domain Changes" box, click OK.
A Windows Security box pops up. Enter these credentials, as shown below:
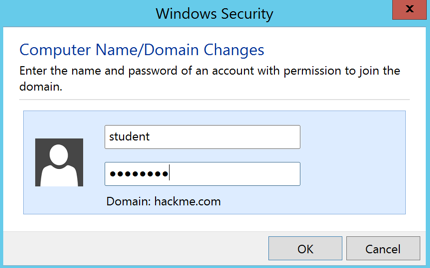
In the Windows Security box, click OK.
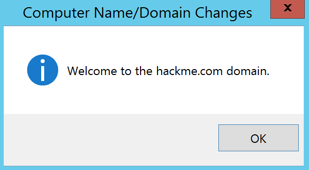
A box pops up saying "Welcome to the hackme.com domain", as shown below. Click OK.
A box pops up saying "You must restart your machine...". Click OK.
Close all windows and restart your Member Server.
The initial login box starts with a long random computer name, as shown below. This is a local account, not a domain account.
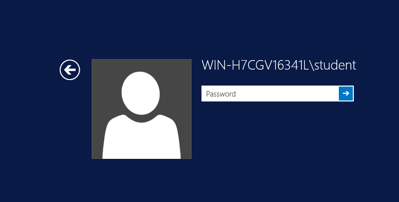
Click the little leftward-pointing arrow.
Now you see two icons, as shown below.
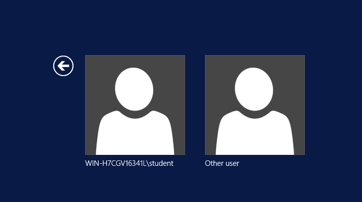
Click the "Other User" icon.
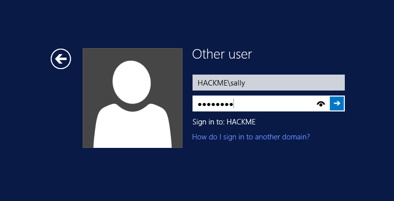
Log in with these credentials, as shown below.
On your Member Server, open PowerShell.
In PowerShell, excute this command:
whoami
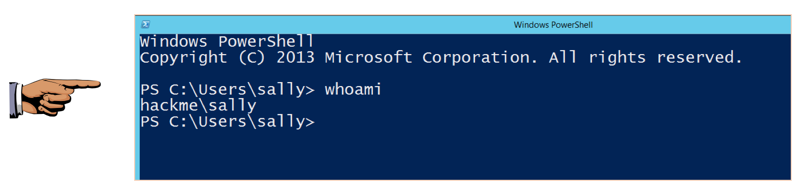
Save a FULL DESKTOP image with the filename Proj 12xa from Your Name.
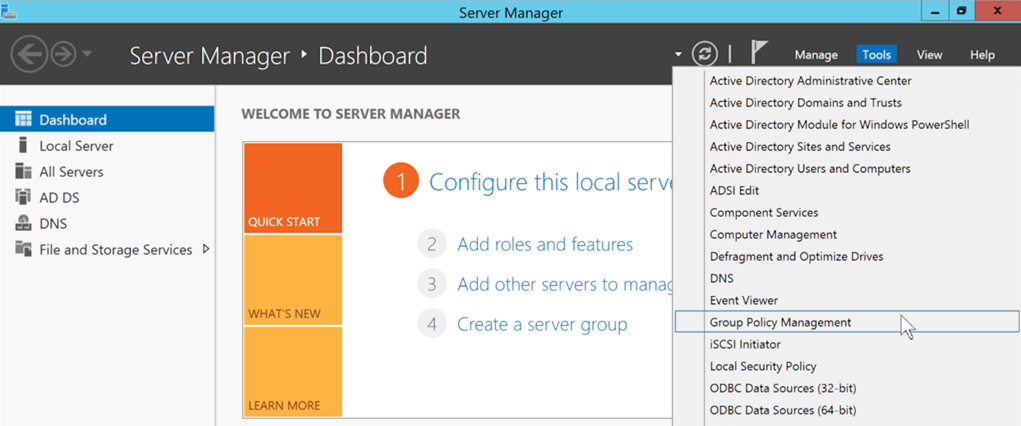
On your Domain Controller, in Server Manager, at the top right, click Tools, "Administrative Tools", "Group Policy Management", as shown below.
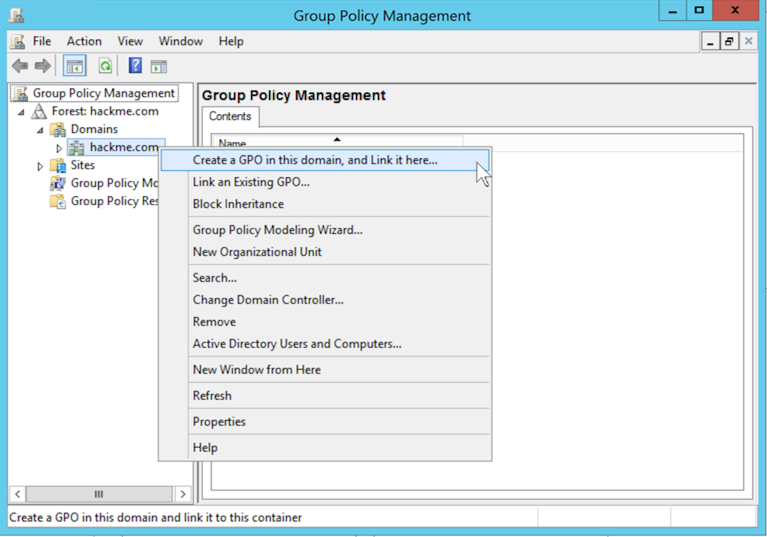
In Group Policy Management, on the left side, click the triangle next to "Forest: hackme.com" to expand it, as shown below.
Expand Domains.
Right-click hackme.com and click "Create a GPO in this domain, and Link it here...", as shown below.
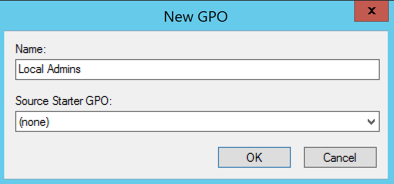
In the "New GPO" box, enter a Name of "Local Admins", as shown below. Click OK.
In Group Policy Management, on the left side, click the triangle next to hackme.com to expand it, as shown below.
Right-click "Local Admins" and click Edit.

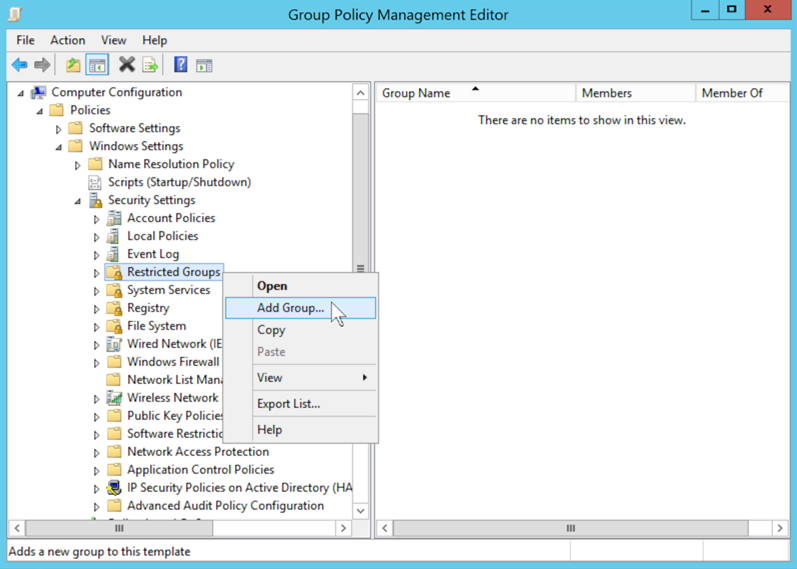
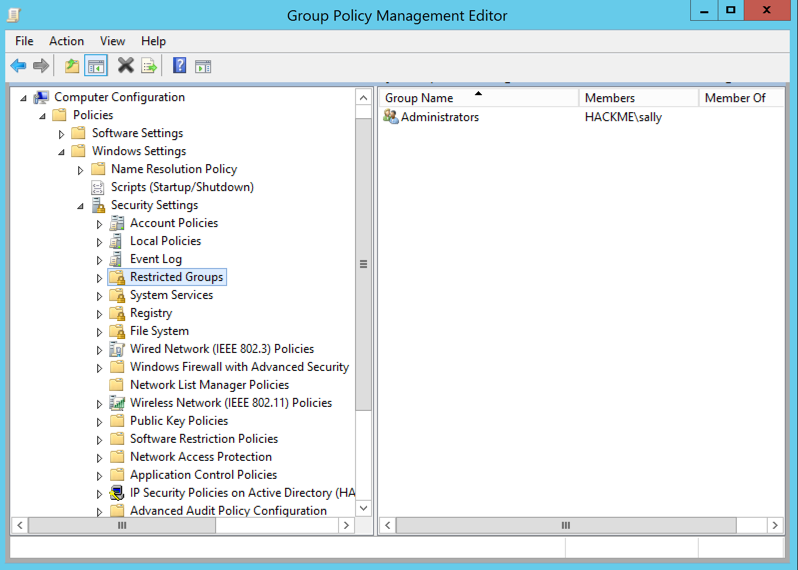
In Group Policy Management Editor, in the left pane, navigate to
Computer Configuration\Policies\Windows Settings\Security Settings\Restricted Groups
as shown below.
Right-click "Restricted Groups" and click "Add Group...".
In the "Add Group" box, click Browse....
In the "Select Groups" box, type
Administrators
as shown below.
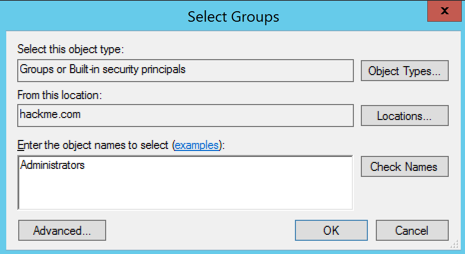
Click OK.
Click OK.
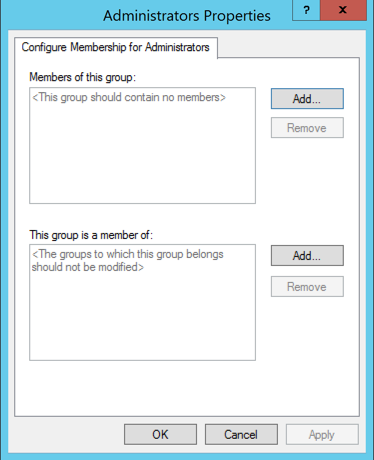
In the "Administrators Properties" box, in the top section, click the Add... button, as shown below.
In the "Add Member" box, enter
HACKME\sally
as shown below.
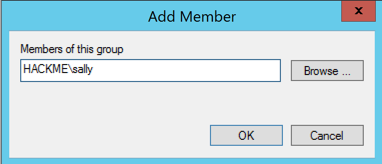
Click OK.
Click OK.
Now the right side of Group Policy Management Editor shows that sally is in the Administrators group, as shown below.
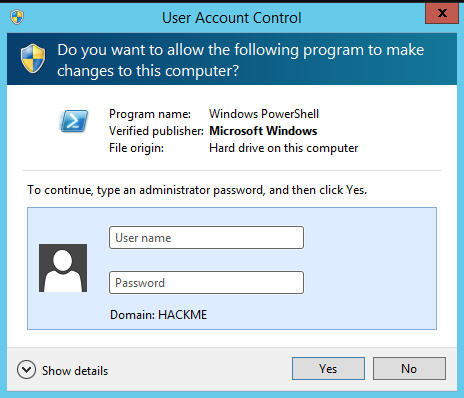
A User Account Control box pops up, asking for a user name and a password, as shown below.
This shows that Sally is not a local administrator.
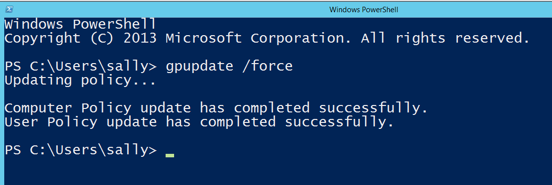
In PowerShell, execute this command, as shown below.
gpupdate /force
Click "Shut down or sign out", "Sign out".
Press Ctrl+Alt+Delete.
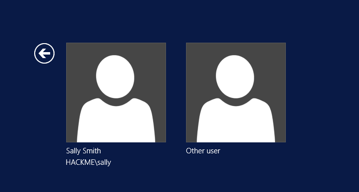
Click the icon labelled "Sally Smith", as shown below.
Enter this password: S@lly123
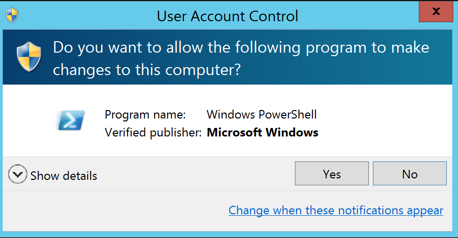
A User Account Control box pops up, asking for a click on "Yes", as shown below. This shows that Sally is now a local administrator!
Click Yes.
In PowerShell, execute this command:
whoami

Save a FULL DESKTOP image with the filename Proj 12xb from Your Name.
Create Local Administrator Security Group with GPO