
Troubleshooting
If you have Kali 1, use these instructions.
In a Terminal window, enter this command, and then press Enter:
ping samsclass.info
Make sure you are getting replies. If you are not, you need to correct your networking problems before proceeding.
These commands enable the SSL module, activate the default SSL configuration, including a self-signed SSL certificate, and open the SSL configuration file for editing.
a2enmod ssl

ln -s /etc/apache2/sites-available/default-ssl.conf /etc/apache2/sites-enabled/000-default-ssl.conf

nano /etc/apache2/sites-available/default-ssl.conf
<VirtualHost _Default_:443>
<VirtualHost *:443>
Save the file with Ctrl+X, Y, Enter.
echo > /var/www/html/index.html

nano /var/www/html/index.html
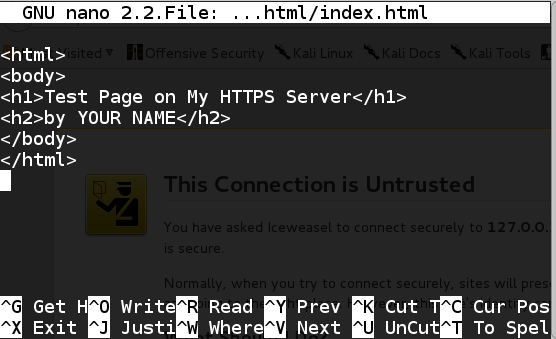
In the text editor, enter this code, replacing "YOUR NAME" with your own name:
<html>
<body>
<h1>Test Page on My HTTPS Server</h1>
<h2>by YOUR NAME</h2>
</body>
</html>
Your file should look like the image below:
Press Ctrl+X, Y, Enter to save the file.
service apache2 restart
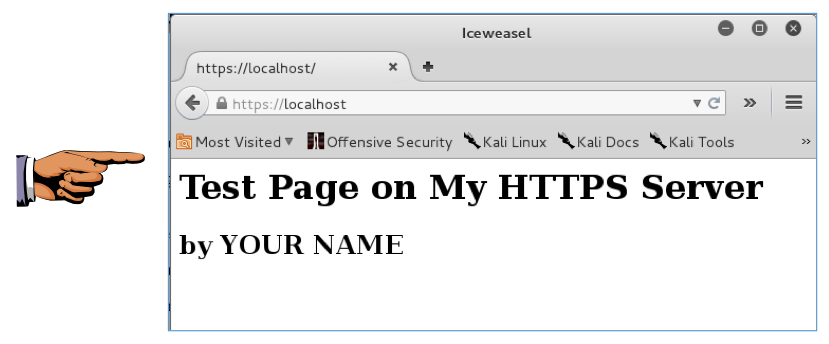
In IceWeasel, enter this URL, and then press Enter:
https://localhost
A warning page appears, saying "This Connection is Untrusted". That's happening because your SSL certificate is self-signed, rather than purchased from a real Certificate Authority like Verisign.
Click "I Understand the Risks".
Click the "Add Exception" button.
Click the "Confirm Security Exception" button.
Your secure web page opens, as shown below:
Press Ctrl+X, Y, Enter to save the file.
Save a screen capture with a filename of "Proj 17 from YOUR NAME".
Email the image to cnit.120@gmail.com with a subject of "Project 17 from YOUR NAME".
https://wiki.debian.org/Self-Signed_Certificate
Last modified: 9-29-15 12:48 pm