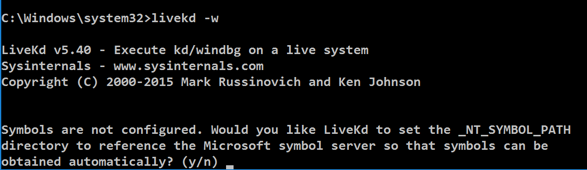
livekd -w
Type y and press Enter.
Livekd asks "Enter the folder to which symbols download". Press Enter to accept the default option.
Windbg launches, as shown below.
Changing SSDT values is called hooking and is commonly used by antivirus products and rootkits to modify system behavior.
dds KiServiceTable

Execute this command to display the first 18a (hexadecimal) pointers in the SSDT:
dds KiServiceTable L 18a

At the bottom of the Command window, in the command bar, execute these commands:
.logopen c:\SSDT.log
dds KiServiceTable L 18a
.logclose

SHA-256: b7ac23d93c0d57a2683ba9391a62987fa363be0b1c9f079349fb90cca7555d77
Unzip it and navigate to the release folder, as shown below.

Double-click the loader.exe file. A black command prompt box opens and immediately closes. This has installed the SSDT hooks.
Launch livekd again, and examine the SSDT
again. Now there is an obvious change
at address 81af6b68
as shown below.

Look in your saved SSDT.log file.
The addresses have changed, but the order of
functions is the same, so you can see that
the hooked function is
nt!NtDeleteValueKey
as shown below.

Find the other hooks to answer the question below.
Challenge 16a: Function Name (5 pts)
The first function hooked isNtDeleteValueKeyFind the name of the fourth hooked function.
Use the form below to get your points.
Challenge 15b: Zone Alarm (10 pts)
Installing Zone Alarm
Download zaSuiteSetup_80_298_035_en.exeSHA-256: 93fb6afaa7961950caa08c89a188b2f37321772821941692a7928f7c796f083a
Install it, with these selections:
Find the name of the fourth hooked function.
- "Install on Unsupported OS?" Yes
- "Installation" Next
- "ZoneAlarm Registration" Uncheck both boxes, Next
- "License Agreement" Check the box, Install
- If a box warns you that this installation will replace MailFrontier Anti-spam software, click OK
- "Please choose your program control security setting" -- accept the default option of "Auto-learn" and click Next
- Click "Do not participate in DefenseNet" and click Next
- Accept the default selection of "Yes - Enable Anti-virus protection" and click Next
- Accept the default selections of "Set up my programs (default)" and "Automatically configure my network settings" and click Next
- Wait for the scan to complete, click Next
- Click "Restart Computer"
Use the form below to get your points.