We will do that by using a SIT tunnel to move IPv6 traffic through the OpenVPN connection.
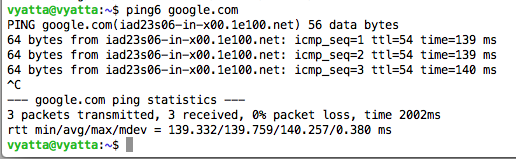
ping6 google.com
Press Ctrl+C to stop the pings.
Troubleshooting
When I first tried this, I got no replies. I used thecommand, and saw that the he-ipv6 interface was not visible.I fixed it with this command:
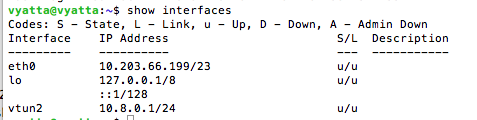
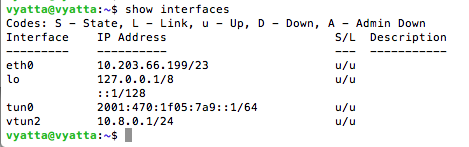
show interfaces
When I did it, the address was 10.8.0.1, as shown below:
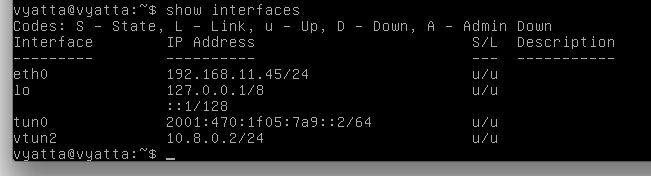
On your Vyatta OpenVPN Client, execute this command:
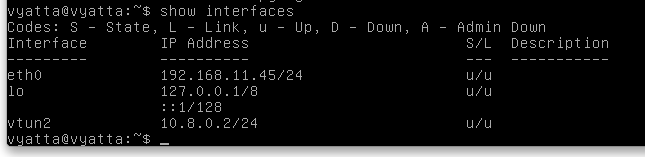
show interfaces
When I did it, the address was 10.8.0.2, as shown below:
On your Vyatta OpenVPN Server, execute this command, using the IP address of your Vyatta OpenVPN Client:
ping 10.8.0.2
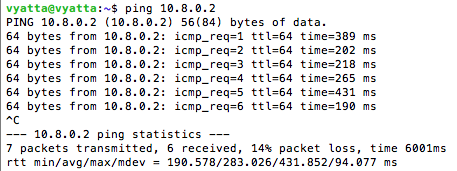
Press Ctrl+C to stop the pings.
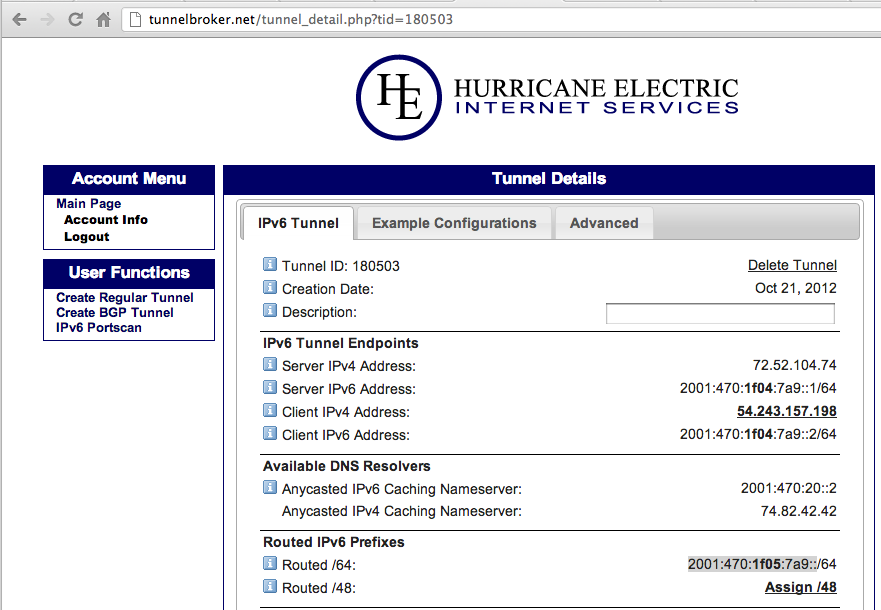
At the bottom of the page, click on your tunnel.
In the "Tunnel Details", find your "Routed /64". Mine is 2001:470:1f05:7a9::/64, as shown below:
configure

set interfaces tunnel tun0 encapsulation sit

set interfaces tunnel tun0 local-ip 10.8.0.1

set interfaces tunnel tun0 remote-ip 10.8.0.2

set interfaces tunnel tun0 address 2001:470:1f05:7a9::1/64

commit

save

exit

show interfaces
configure

set interfaces tunnel tun0 encapsulation sit

set interfaces tunnel tun0 local-ip 10.8.0.2

set interfaces tunnel tun0 remote-ip 10.8.0.1

set interfaces tunnel tun0 address 2001:470:1f05:7a9::2/64

commit

save

exit

show interfaces
ping6 2001:470:1f05:7a9::1
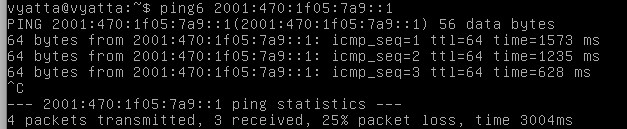
Press Ctrl+C to stop the pings.
To fix that we must configure the IPv6 default gateway.
On your Vyatta OpenVPN Client, execute these commands:
configure

set protocols static interface-route6 ::/0 next-hop-interface tun0

commit

save

exit

ping6 google.com
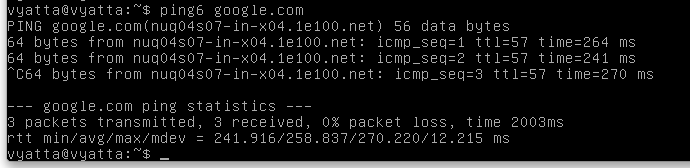
Press Ctrl+C to stop the pings.
On your Vyatta OpenVPN Client, execute this command:
traceroute6 google.com
The hops after that may vary.
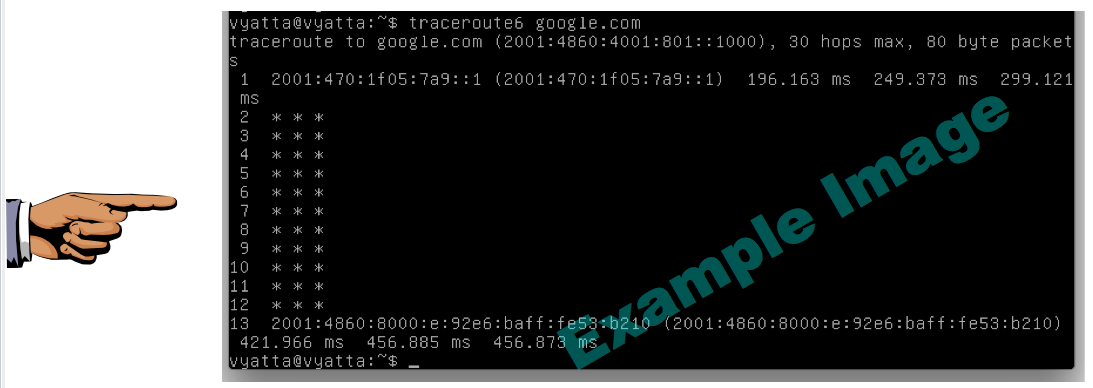
Save a screen shot of this image with the filename
Proj V5 from Your Name
Proj V5 from Your Name
Last modified 6:30 pm 10-22-12