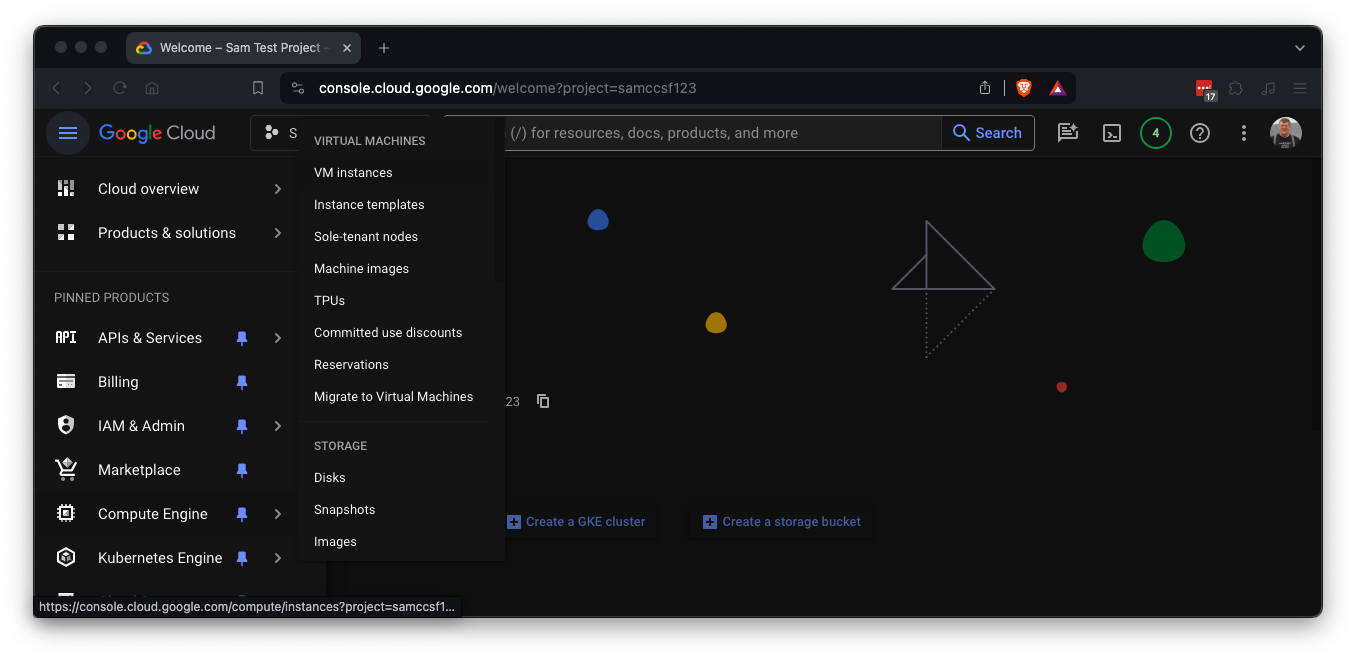
https://console.cloud.google.comAt the top left, click the three-bar icon.
Point to "Compute Engine" and click "VM instances", as shown below.

Note your External IP address, outlined in yellow in the image below. You'll need it later.

Approve the authentication to open an SSH session to your Linux server.
Execute these commands to start the Juice Shop listening:
cd juice-shop-orig
npm start
http://35.222.29.122:3000The Dashboard appears, as shown below.
https://www.zaproxy.org/download/Download and install ZAP.
If you are using Windows, and the ZAP installer can't find Java, install:
the Microsoft Build of JDK in an .MSI file
If a box pops up asking whether to "regenerate the certificate", click OK. An Options box pops up. Click OK.
If an error box pops up, click "Don't send".
A box asks whether to persist the session, as shown below.
Accept the default selection of "No" and click Start.

A "Manage Add-ons" windows opens. Click Close.
You see the main ZAP window, as shown below.
In the top right pane, click the red X to close the "BIG ZAP funding announcement" box.
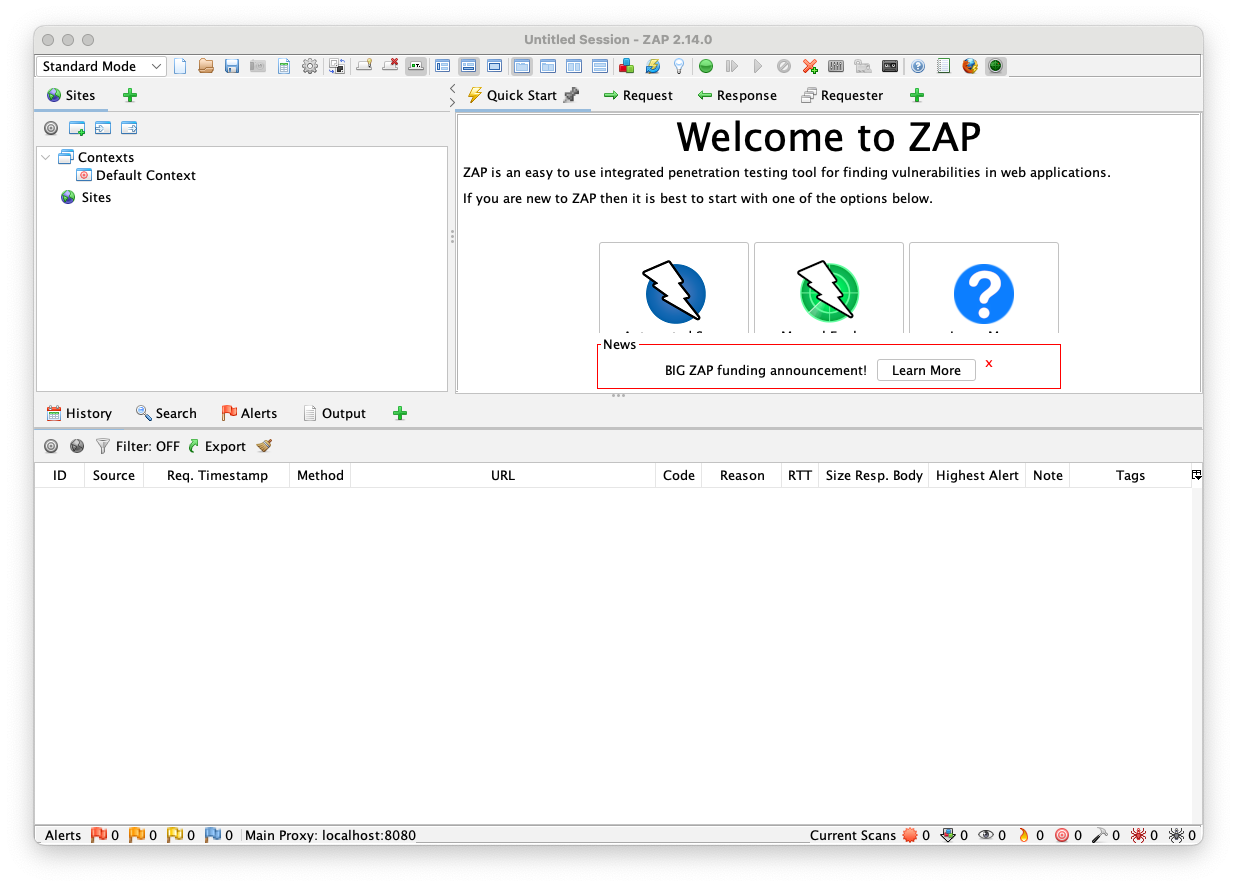
In the "URL to attack" field, enter the URL of your cloud OWASP Juice Shop page, as shown below.
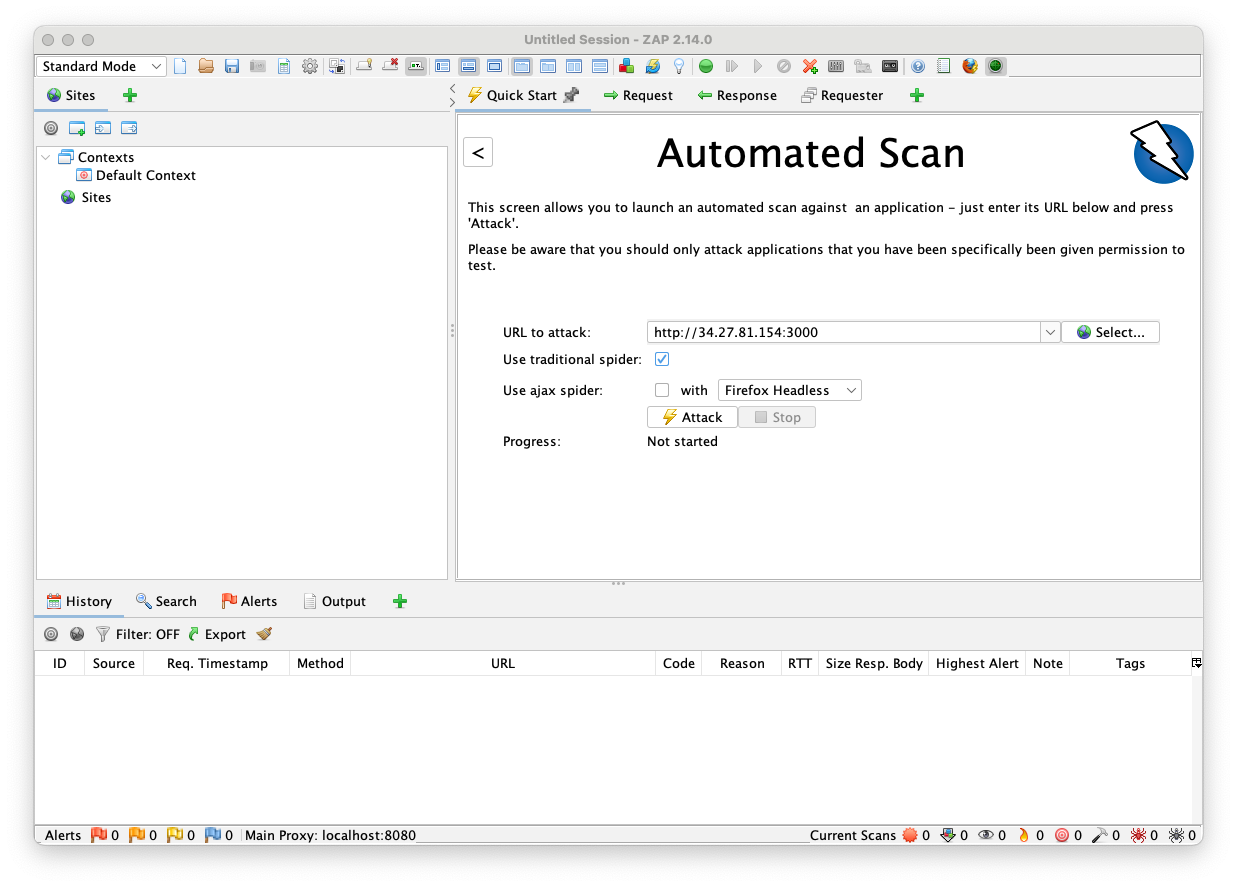
In the top right pane of ZAP, click the Attack button.
The scan took about five minutes when I did it.
The results appear in the bottom pane, on the Alerts tab, as shown below.

As you can see, it did not find many vulnerabilities.
To see why, on the lower left, click "Modern Web Application".
The lower right pane explains that you need to use the Ajax spider for modern apps, as shown below.

Clear the "Use traditional spider" check box.
Set it to "Use ajax spider" "always" with "Firefox headless", as shown below.

Click the Attack button.
If an error message appears, saying it cannot find Firefox, you need to adjust it.
I found various solutions on this page:
https://www.zaproxy.org/faq/how-can-i-fix-browser-was-not-found/On my Mac, the solution was this:
At the top left of the desktop, click Zap, "Settings...".
In the Options box, on the left side, click Selenium.
On the right side, enter the full path to Firefox, which was:
/Applications/Firefox.app/Contents/MacOS/firefoxas shown below.
Click OK and start the scan again.

This scan takes longer. On my system it took about 20 minutes.
Scan Strength
When I used ZAP 2.15.0, it failed to find the SQL injection.To fix that, perform these steps:
In the menu bar of ZAP, click Analyze, "Scan Policy Manager...".
In the Scan Policy Manager box, click Add.
In the Scan Policy box, at the top right, enter a Policy name of SQLi, as shown below.
In the top right section, in the first line starting with "Apply", change "Default" to "Off" and click the Go button.
Your Scan Policy box should look like the image below, except that Injection will also be OFF at this point.
On the left side, click Injection.
On the right side, scroll down to the "SQL Injection" tests. Change each of them to a Threshold of Default and a Strength of High, as shown below.
At the bottom right, click OK.
In the main ZAP window, ih the top left pane, expand your site on port 3000.
Expand the rest container.
Expand products.
Right-click "GET:search(q)" and click Attack, "Active Scan...", as shown below.
In teh Active Scan box, select a Policy of SQLi, as shown below, and click, the "Start Scan" button.
Now it will find the SQL vulnerability, and the scan takes only a few seconds.
Flag SC 300.1: SQL Injection (15 pts)
On the lower left, click "SQL Injection - SQLite", highlighted in the image below.At the top center, click the Response button, outlined in red in the image below.
The flag is the word covered by a green rectangle in the image below.
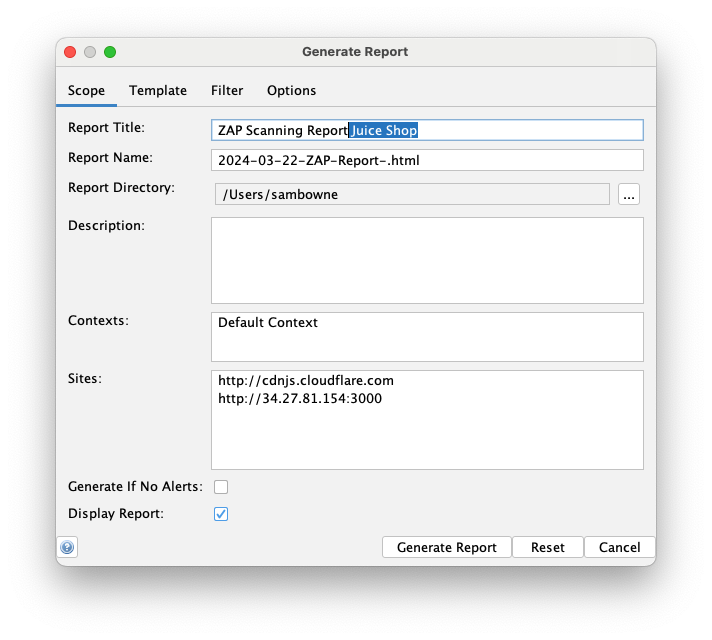
Add "Juice Shop" to the tite, as shown below.
Notice the directory and filename the report will have.
At the bottom right, click the "Generate Report" button.
Navigate to the folder where the report was saved and double-click it.
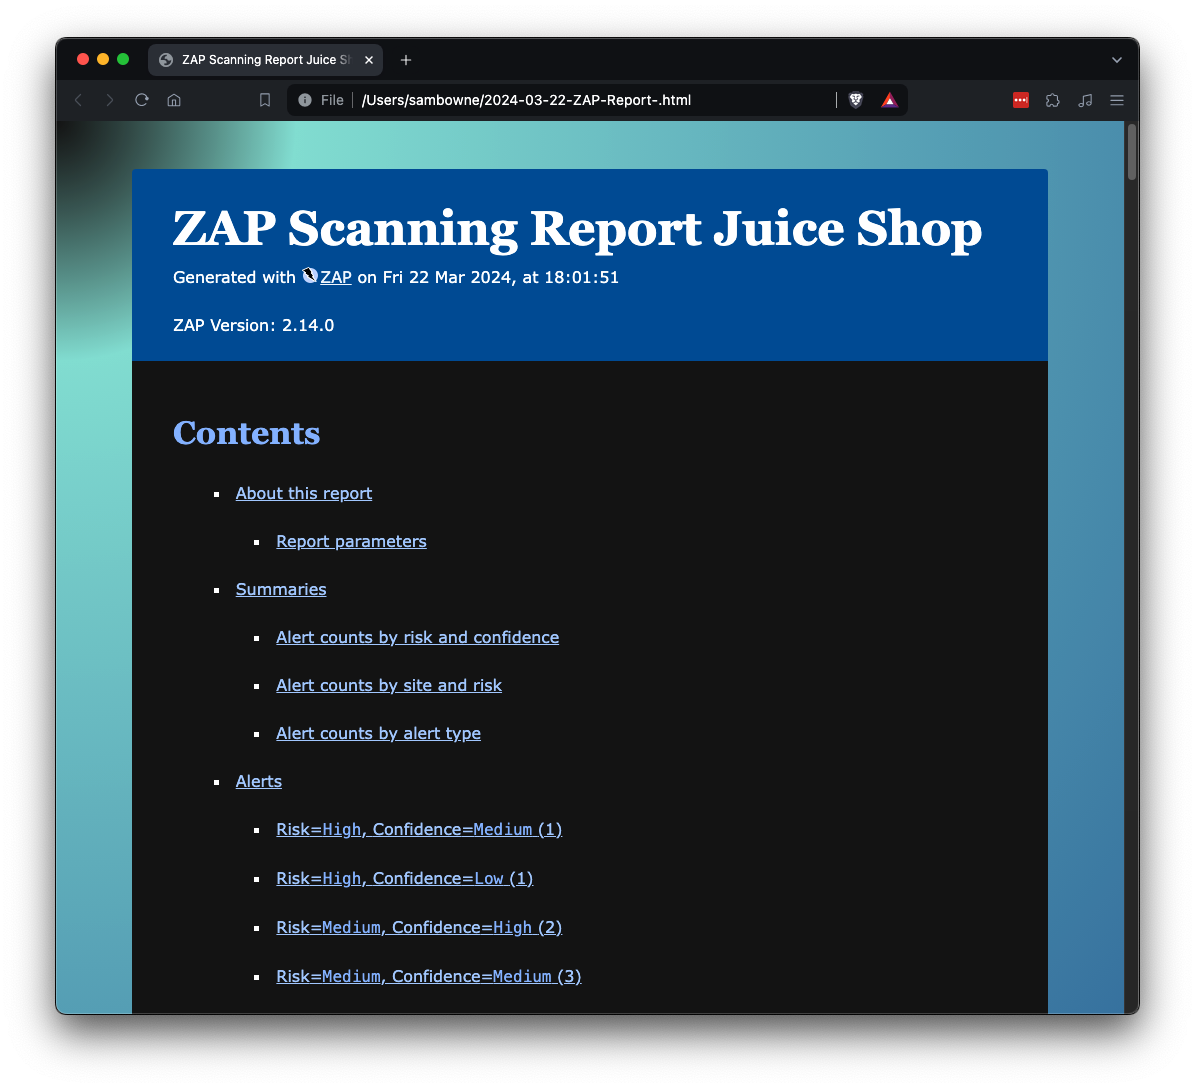
The report opens, as shown below.
Flag SC 300.2: Cloudflare Library (10 pts)
At the bottom, click "Risk=Medium, Confidence=Medium (3)".The flag is the word covered by a green rectangle in the image below.
Click "Alert counts by alert type".
Click "SQL Injection - SQLite".
You get very little information, as shown below.
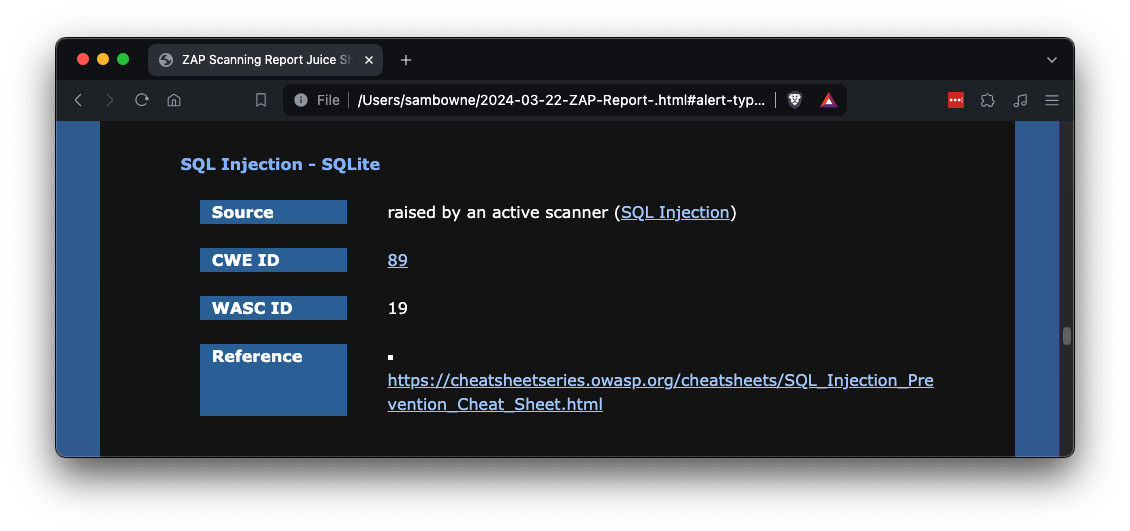
Click the Reference link to see an OWASP page about SQL Injections.
This page is not very helpful.
In Zap, on the lower left, click "SQL Injection - SQLite".
At the top center, click the Request button,
The top right pane shows the URL that caused the error, which is:
http://34.27.81.154:3000/rest/products/search?q=%27%28as shown below.

Notice the lower portion of the top right pane. It shows a line of vulnerable core in magenta letters, as shown below.
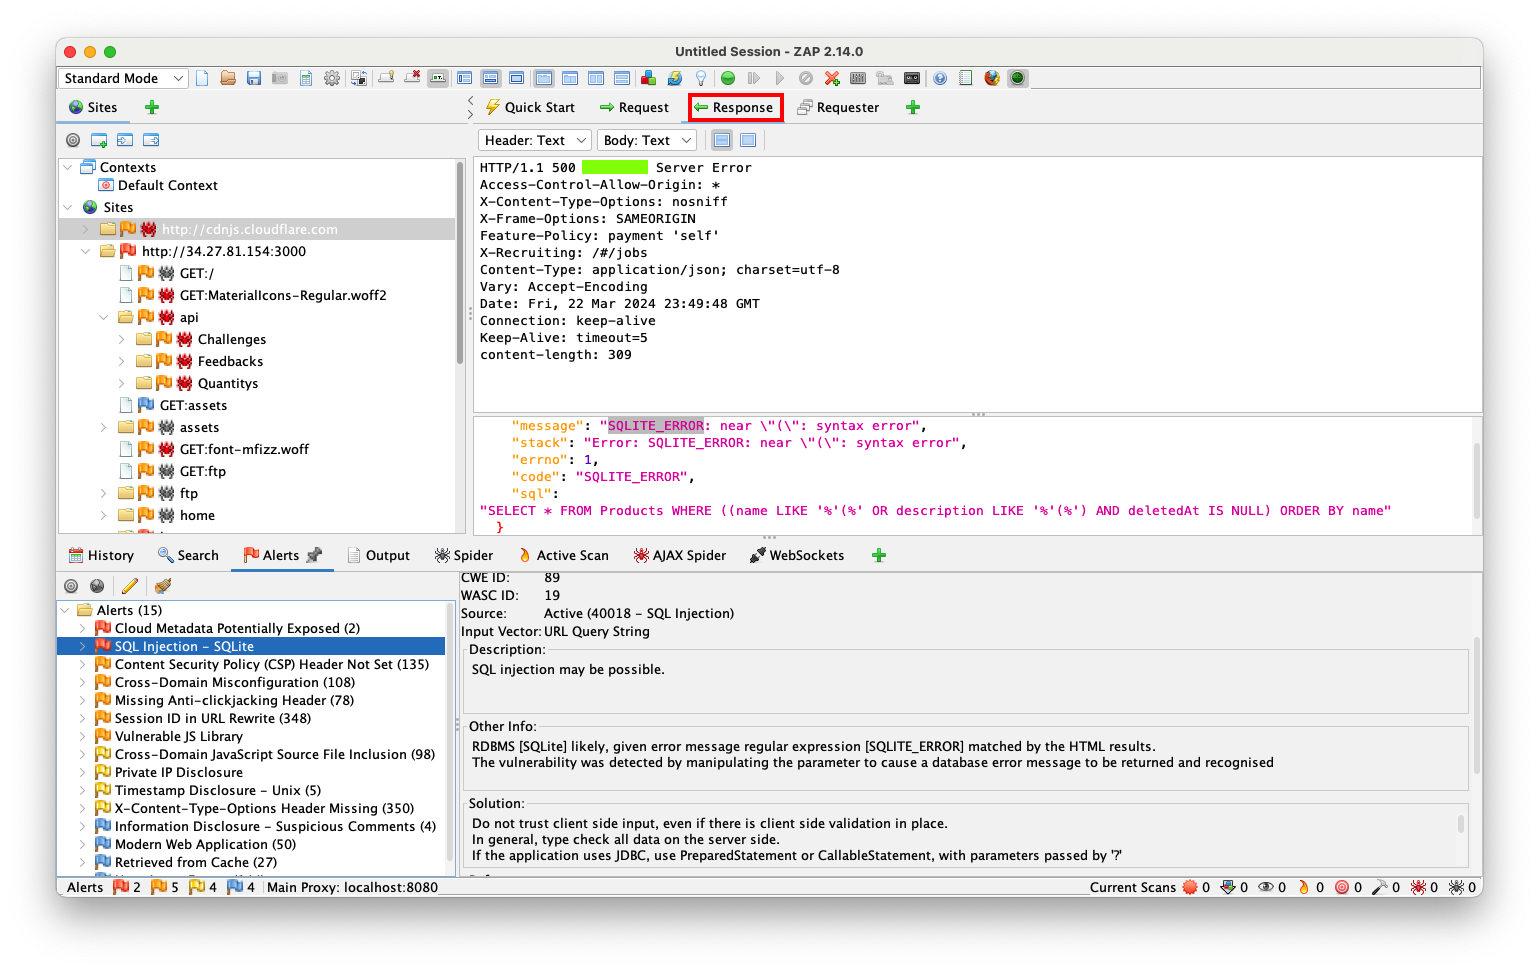
The vulnerable line of code begins with:
SELECT * FROM Products WHERE ((name LIKEOn your Linux server, type Ctrl+C to stop the Juice Shop.
Then execute this command:
grep FROM\ Products\ WHERE -r . | less -S
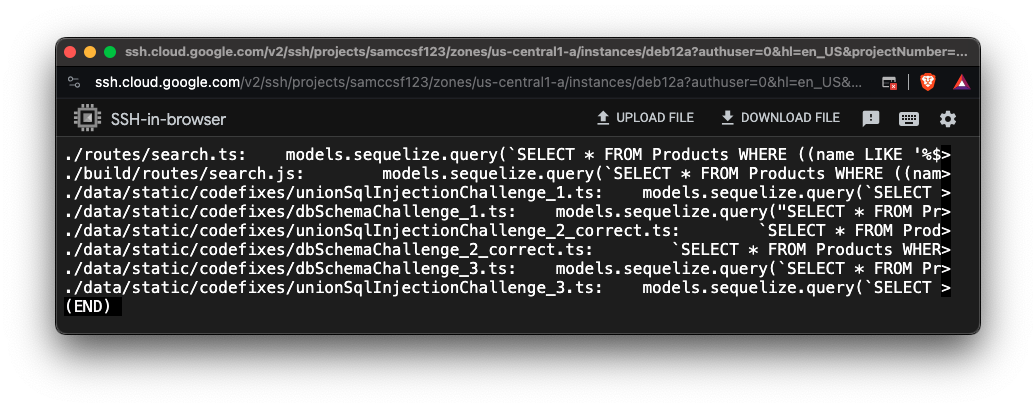
Type Q to exit "less".
nano routes/search.ts
This will print "A" and the query parameter "criterion" on the Linux console when this code is used.
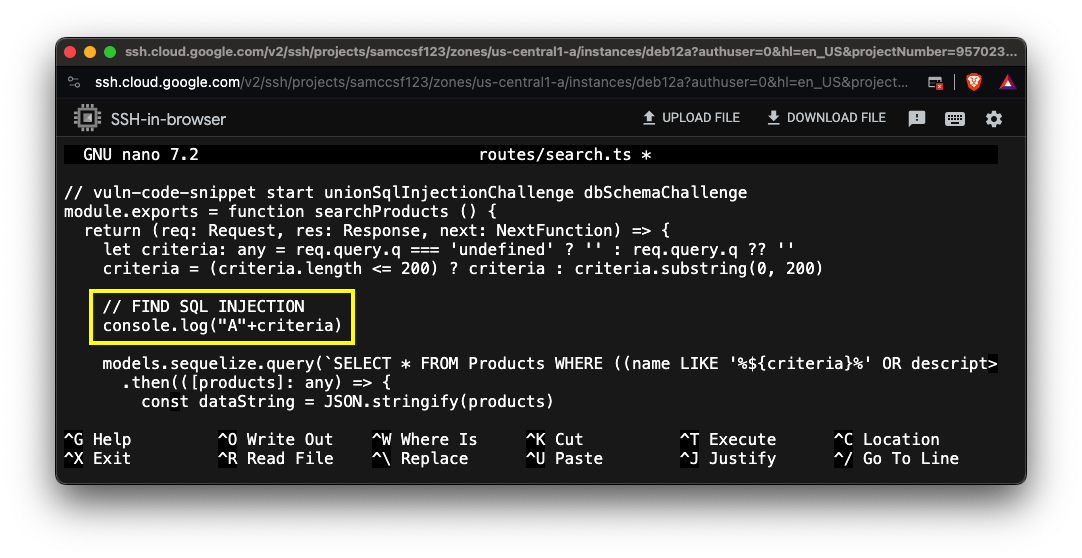
Type Ctrl+X, Y, Enter to exit nano and save changes.
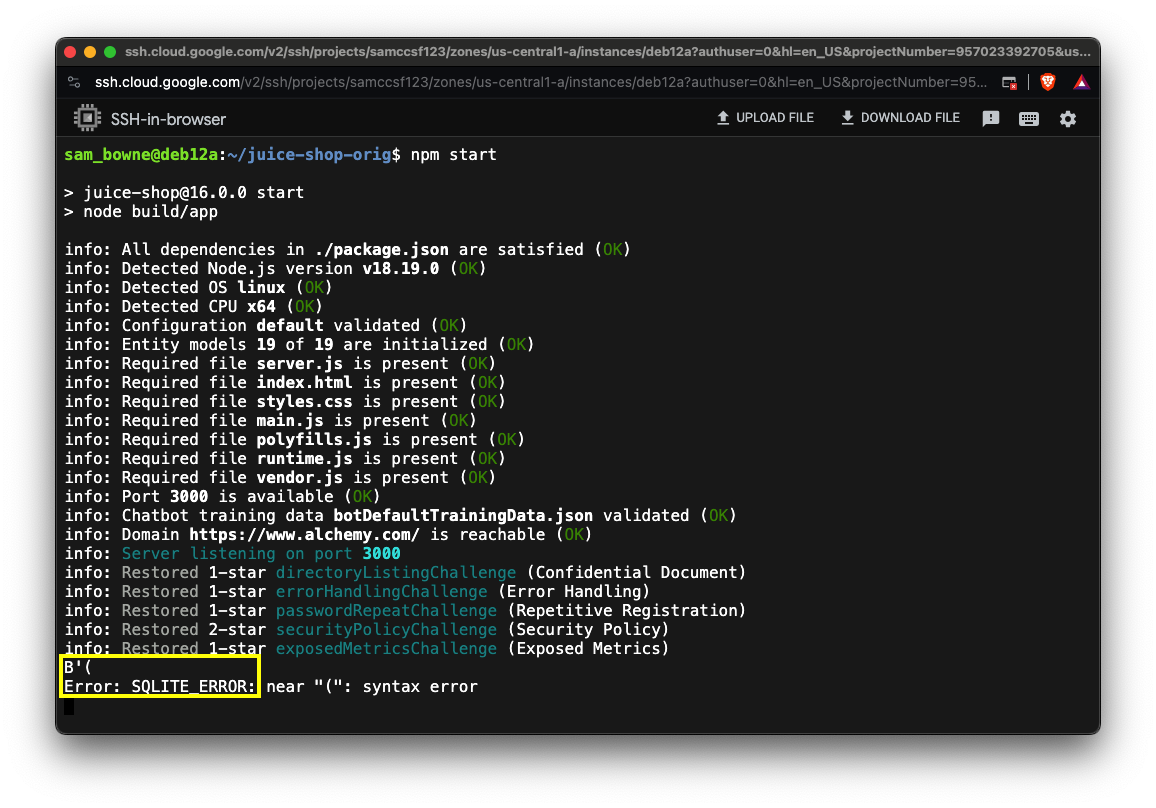
Repeat the process to print out a different letter, such as "B", when the corresponding code is used in the "build/routes/search.ts" file.
Execute this command to start the Juice Shop running again:
npm start
http://34.27.81.154:3000/rest/products/search?q=%27%28

The console of the Linux server shows a message printing out a letter, indicating where the vulnerable code is, as shown below.
I found the information shown below useful, which I got from here.
Posted 2-26-24
Flag SC 300.3: Fixing the SQL Injection (20 pts)
In a Web browser, open this page:https://samlols.samsclass.info/SC/SC300.htmEnter the IP address of your cloud Linux server in the form for flag SC 300.3, as shown below, and submit the form.If your code is correct, the flag will appear.