https://github.com/If you don't already have a GitHub account using your student email, at the top right, click "Sign up". Create an account using your student email address.
If you already have a GitHub account using your student email, at the top right, click "Sign in". Sign in.
https://github.com/edu/studentsIn the center, click the "Join GitHub Education" button.
Follow the on-screen prompts to join the program.
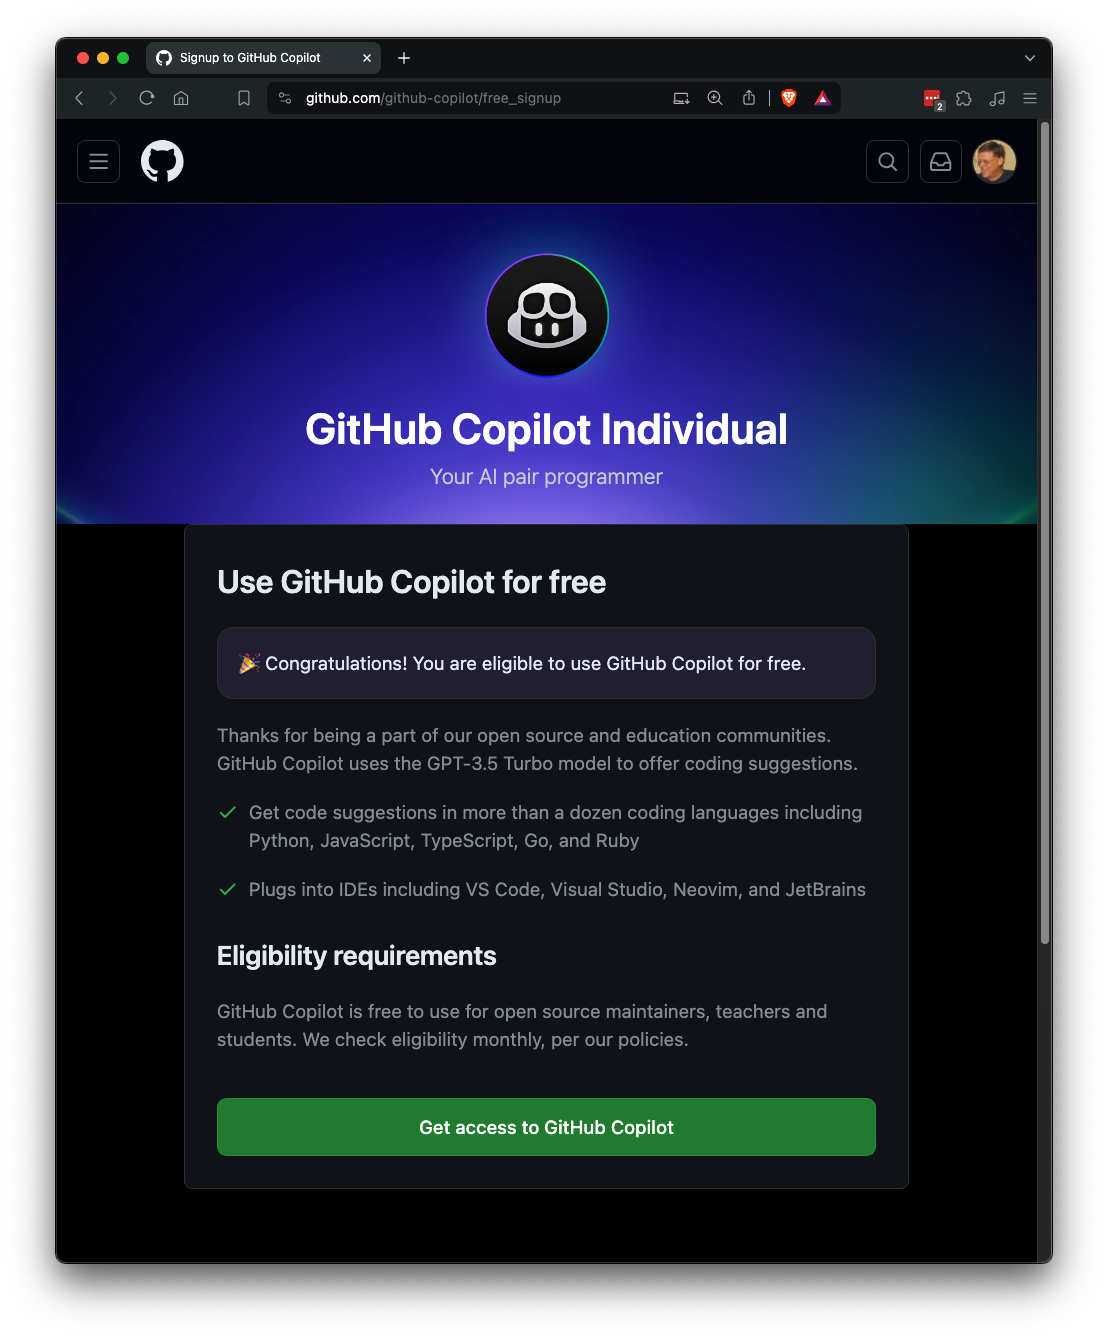
https://github.com/At the top right, click your face. Click "Your Copilot".
On the next page, you should see that you are eligible to use Copilot for free, as shown below.
On the "Select your preferences" page, in the "Suggestions matching public code" line, select Allowed.
Click the "Save and complete setup" button.
https://code.visualstudio.com/DownloadDownload and install the correct version for your operating system.
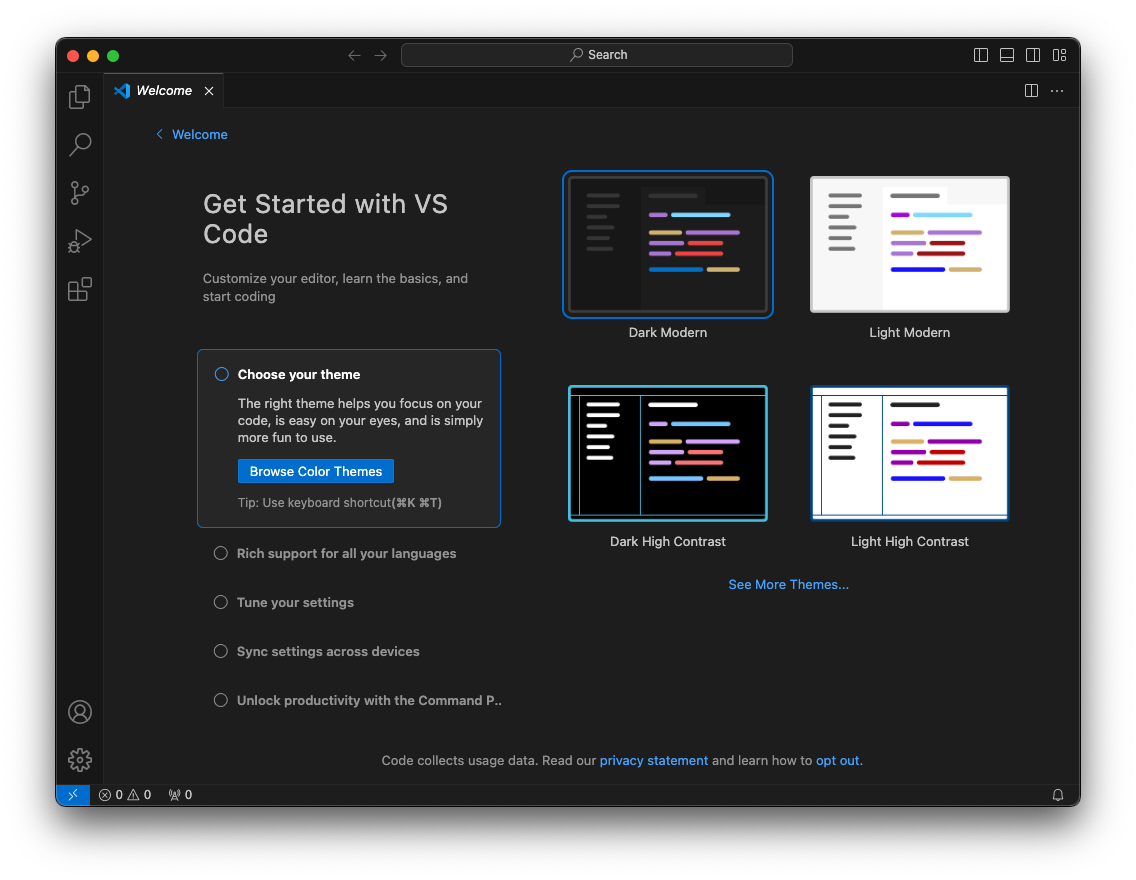
Visual Studio Code launches, as shown below.
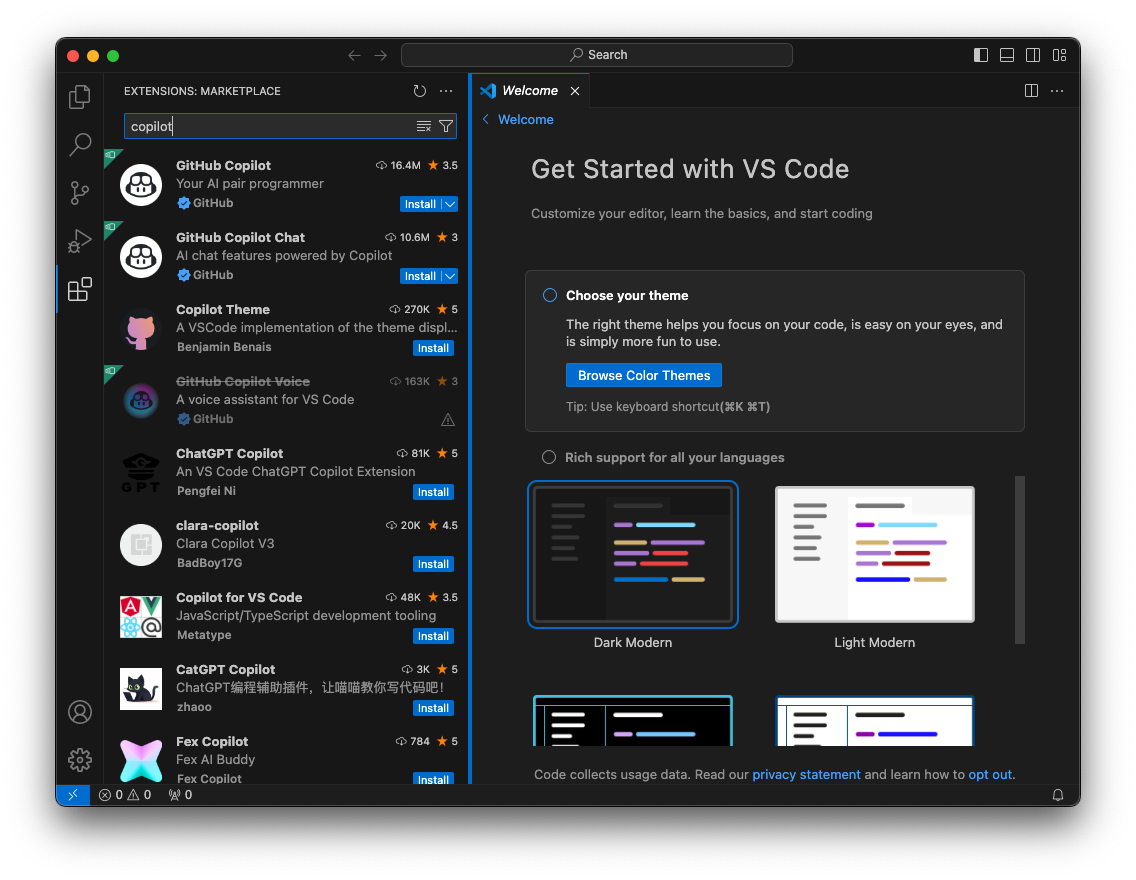
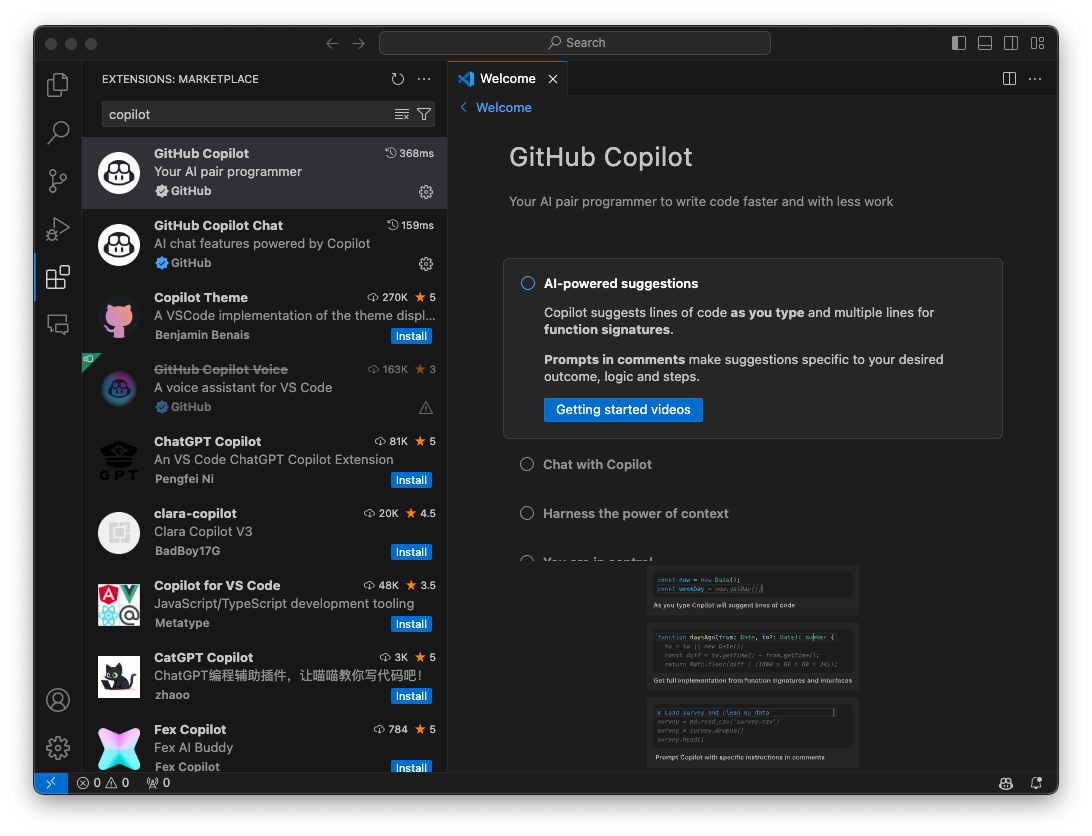
Search for copiplot
In the "GitHub Copilot" box, click the Install button, as shown below.
Here are the main points from that video:
The right pane now shows a "Visual Studio Code" pane, as shown below.
At the top center, enter a file name of count.py as shown below.
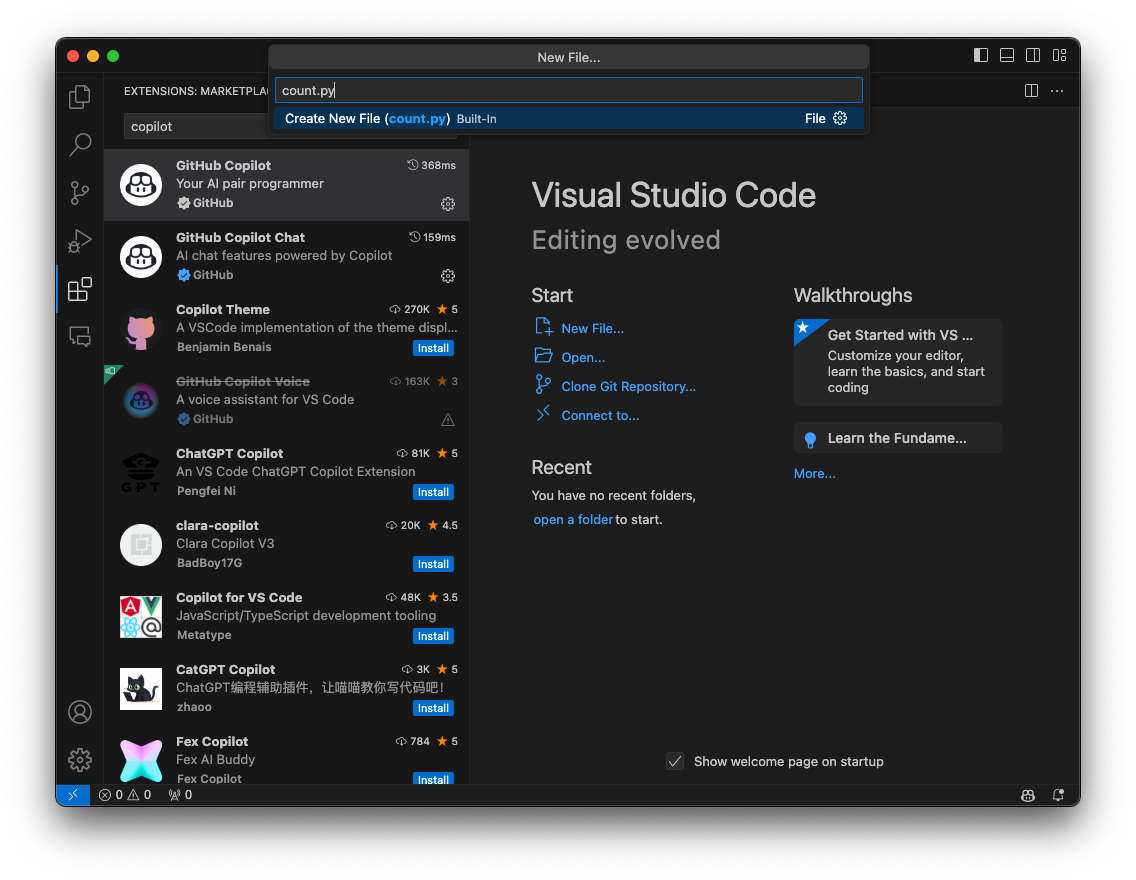
Navigate to a folder for your file and click the "Create File" button.
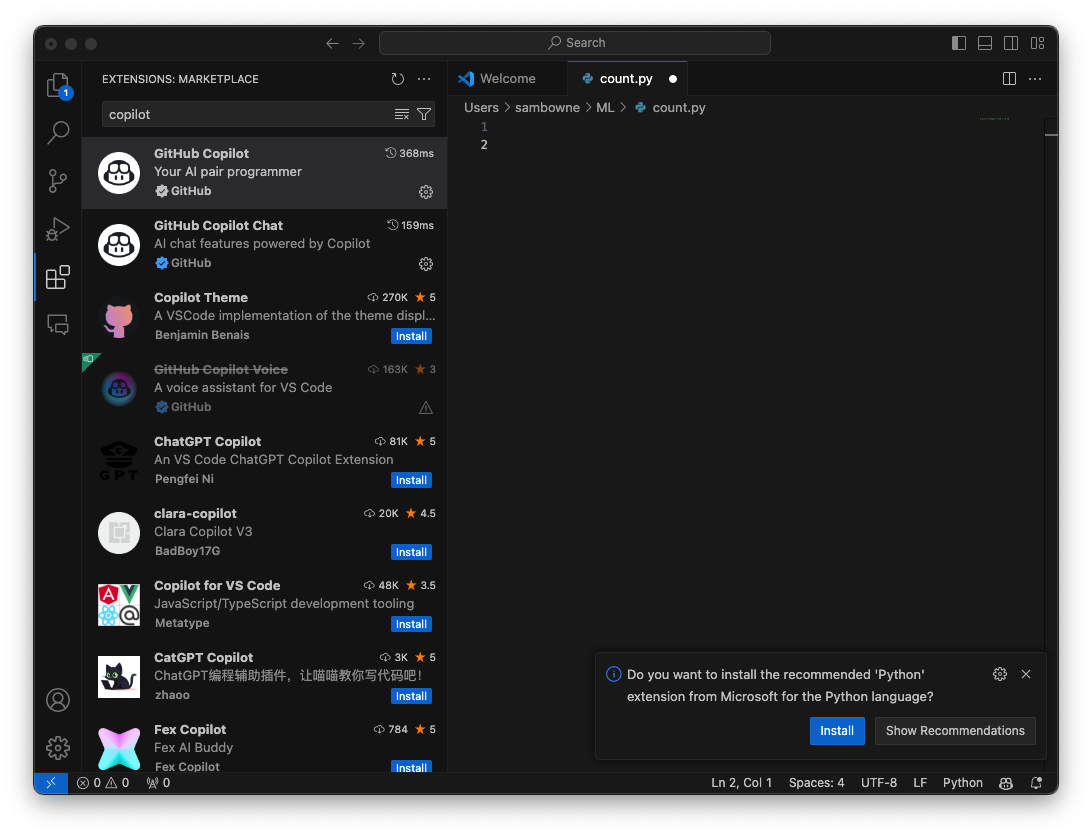
When a box pops up in the lower right offering to install a Python extension, as shown below, click Install and perform the installation.
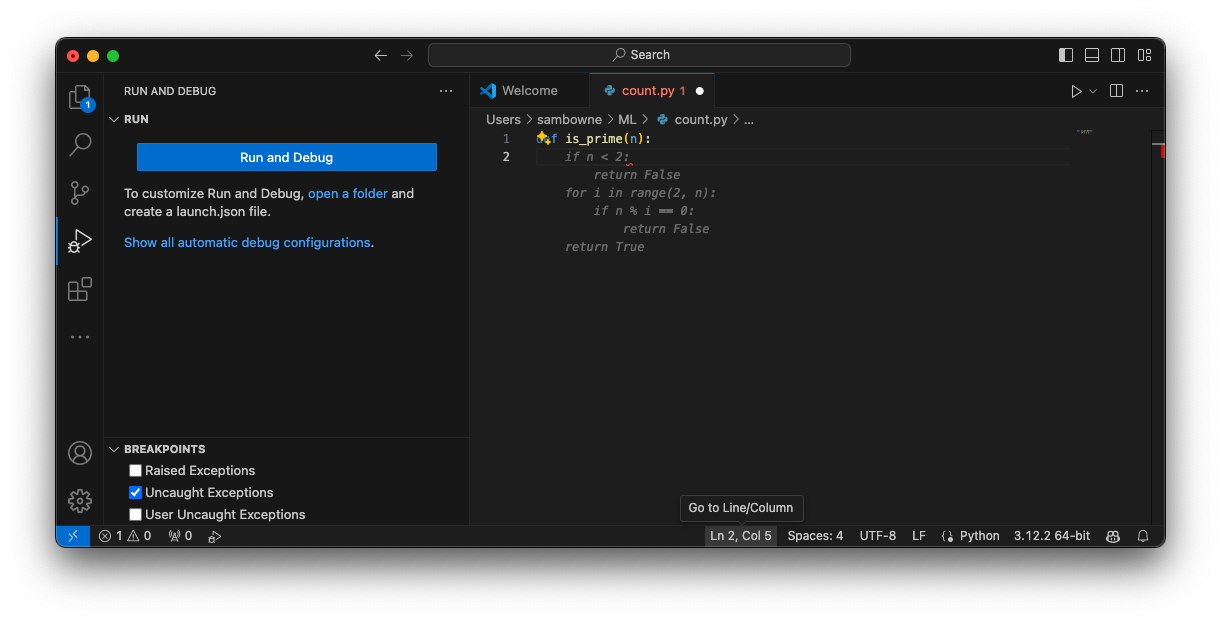
def is_prime(n):
Press Tab to accept the code.
Troubleshooting
If Copilot doesn't suggest any code, try the fix recommended in this discussion.
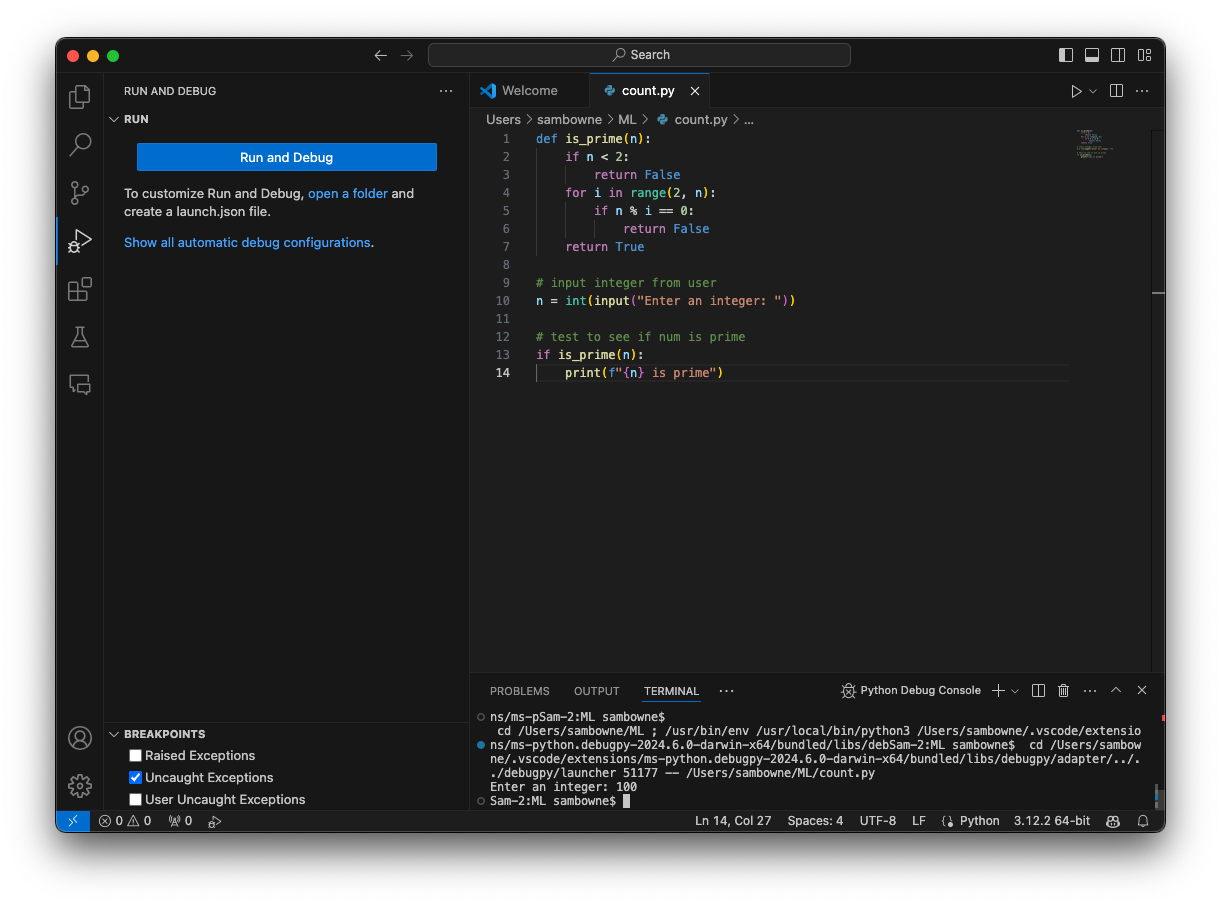
Press Enter twice to move to an empty line at the bottom.
Type this line, and press Enter:
# input integer from user
Press Enter twice to move to an empty line at the bottom.
Type this line, and press Enter:
# test to see if num is prime

At the top center, click "Python debugger".
Click "Python debugger: Debug the currently active Python file".
A Python Debug Console pane opens at the lower right. At the "Enter an integer:" prompt, type
100
The program ends without printing anything, as shown below.
This is correct behavior--it only prints a message if the number is prime.
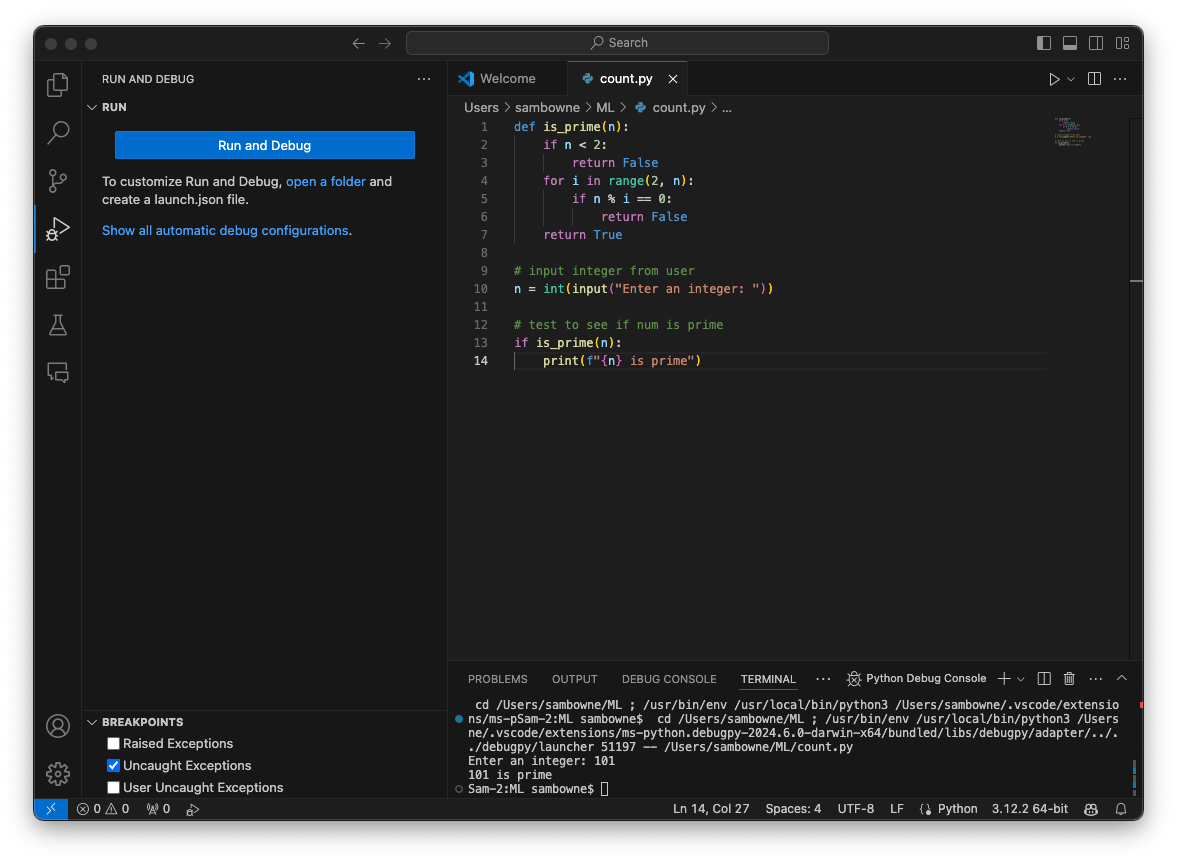
101
This is correct behavior--it only prints a message if the number is prime.
ML 160.1: List all Prime Factors (15 pts)
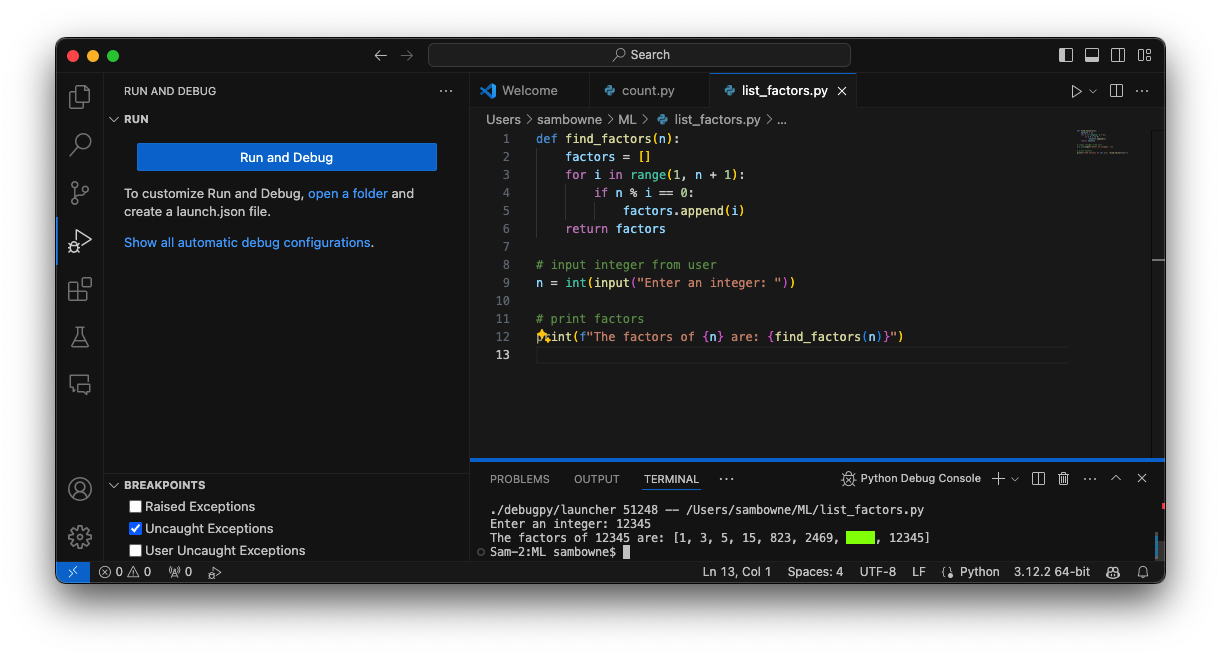
From the File menu, create a new file named list_factors.py.Write a program that will list all the factors of a number, as shown below. This should be very easy to do.
Run the program and enter this integer:
The flag is covered by a green rectangle in the image below.
Posted 5-21-24
Tip to enable inline suggestions added 7-24-24