If you installed apache2 on your Ubuntu virtual machine during that project, execute this command to remove it:
sudo apt purge apache2
Log in with your Cloudflare account.
On the left side, click Networks, Connectors.
Click the "Create a tunnel" button.
Click the Cloudflared connector type.
Enter a name for your tunnel, such as ironclaw.
Click the "Save tunnel" button.
In the "Choose your environment" section, click the Debian button.
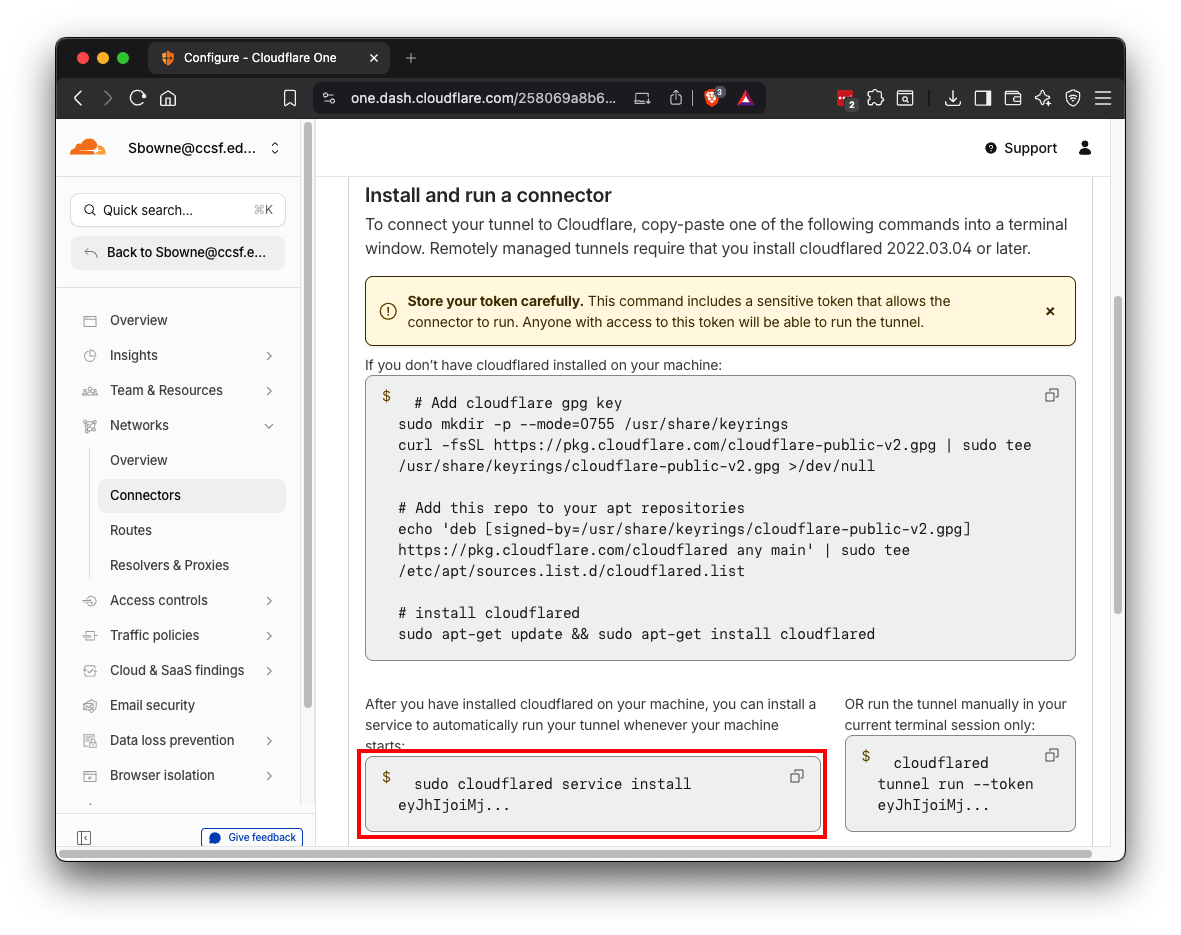
Find the little box at teh lower left, outlined in red in the image below.
At the top right of that box, click the little two-rectangle icon to copy the command.
Paste the command into a text editor. The long blob of random characters at the end of the command is your Cloudflare Tunnel Token.
Keep it. You'll need it when configuring IronClaw, below.
Then execute these commands:
Note: these commands load a model that works and renames it to "llama3" because IronClaw has a bug and will only talk to models with that name.
ollama run qwen2.5-coder:7b-instruct
/bye

ollama create llama3 -f <(echo "FROM qwen2.5-coder:7b-instruct")

ollama run llama3
/bye

OLLAMA_HOST=0.0.0.0 OLLAMA_CONTEXT_LENGTH=16384 ollama serve
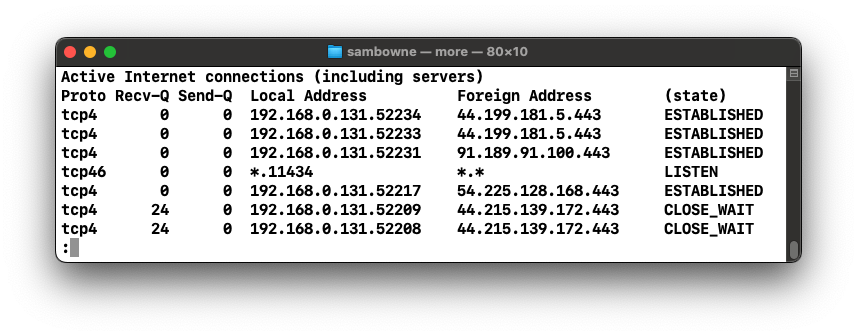
Open a new Terminal and execute this command:
netstat -an | more
sudo apt install curl build-essential gcc make -y
sudo apt install rustc -y
sudo apt install postgresql postgresql-contrib -y
sudo apt install postgresql-server-dev-16 -y

sudo apt install postgresql-16-pgvector
curl --proto '=https' --tlsv1.2 -LsSf \
  https://github.com/nearai/ironclaw/releases/latest/download/ironclaw-installer.sh | sh

source $HOME/.cargo/env
sudo -i -u postgres
psql
CREATE ROLE student LOGIN SUPERUSER;
-- Or, for a user with the ability to create databases but not a full superuser:
-- CREATE ROLE student LOGIN CREATEDB PASSWORD 'your_password';
\q

createdb ironclaw
psql ironclaw -c "CREATE EXTENSION IF NOT EXISTS vector;"

sudo -u postgres psql
ALTER USER student WITH PASSWORD 'studentpw';
\q
ironclaw onboard
ironclaw
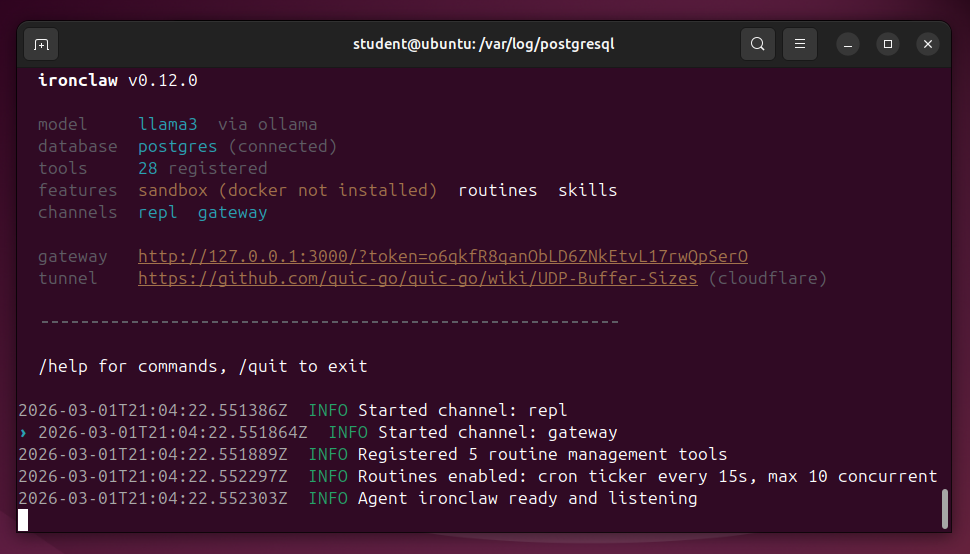
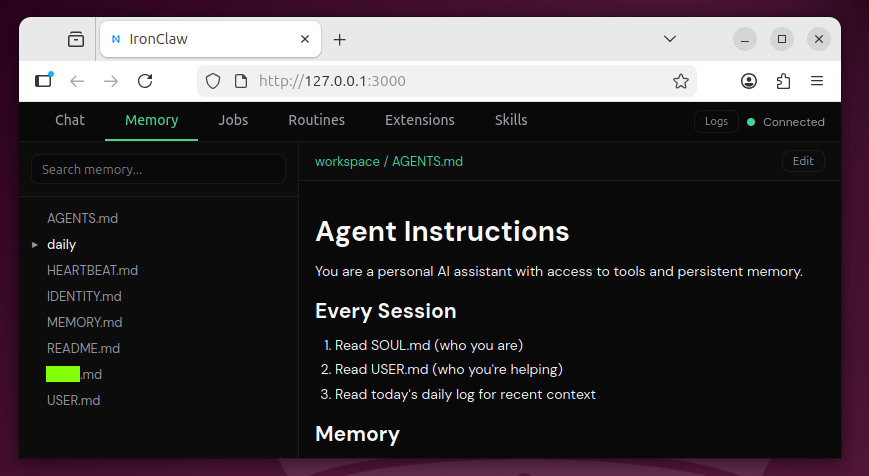
The GUI opens, as shown below.
Ask it a question and verify that it works.

Debugging
If your IronClaw has configuration errors, stop it with Ctrl+C and use these commands to fix it.Shows available commandsironclaw help
Shows current settingsironclaw config list
Shows available commandsironclaw help
Posted 3-1-26
Flag ML 134.1: Memory (15 pts)
In the IronClaw GUI, click the Memory tab.The flag is covered by a green rectangle in the image below.