python3 -m venv jenv
source jenv/bin/activate
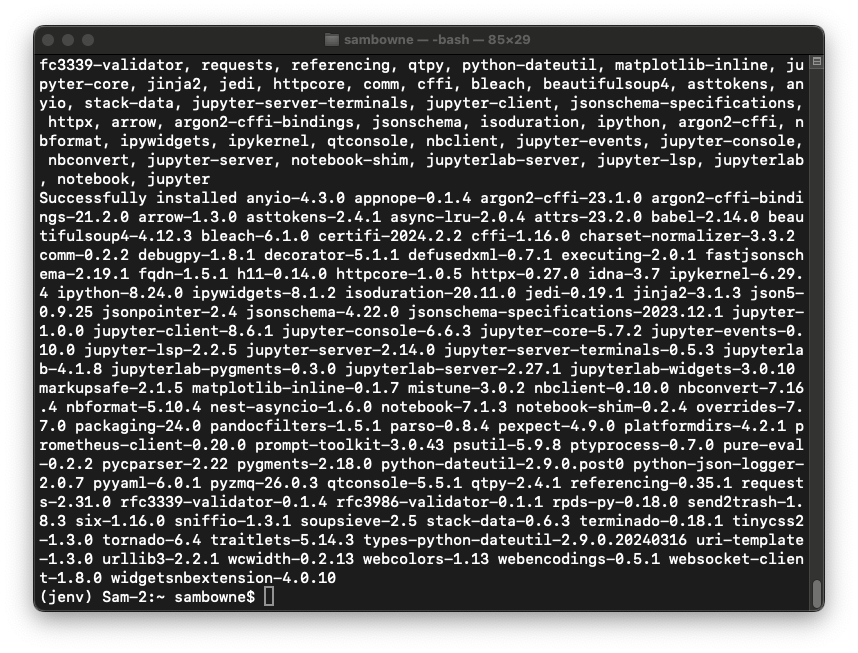
pip3 install jupyter
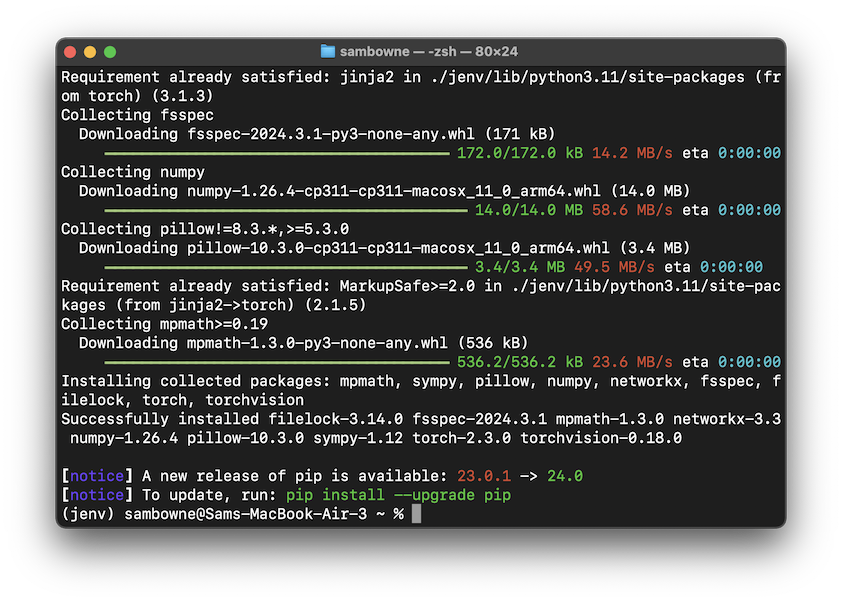
pip3 install torch torchvision
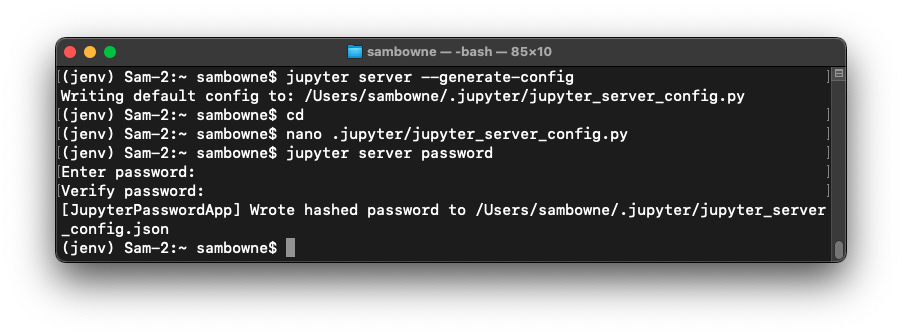
jupyter server --generate-config
jupyter server password
The password is saved to the configuration file, as shown below.
jupyter notebook
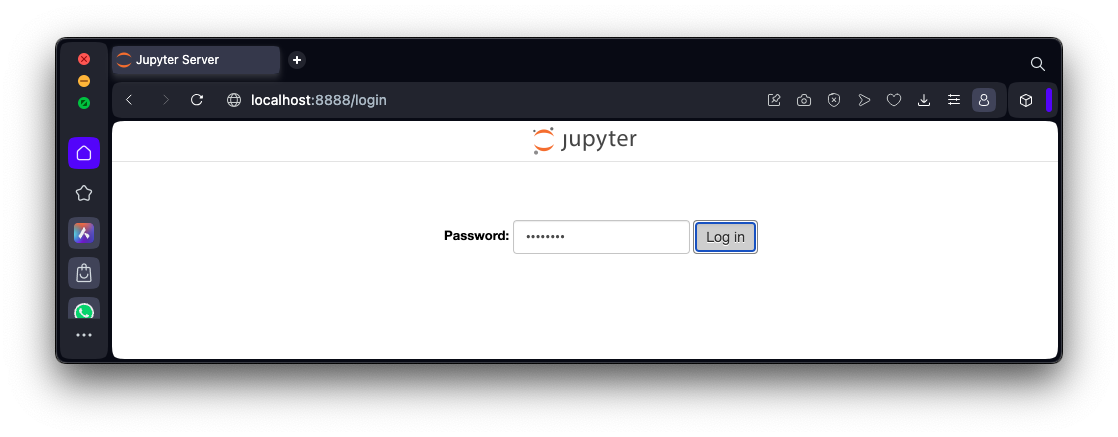
Enter your password and log in, as shown below.
Click "Python 3 (ipykernel)".
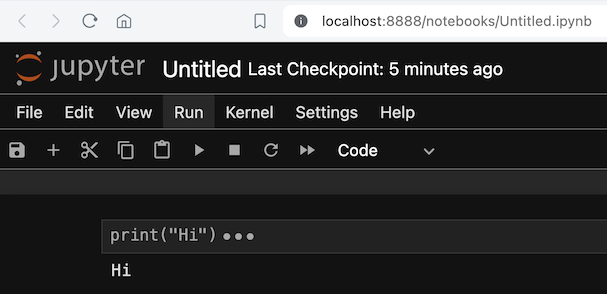
In your jupyter notebook, execute this command:
print("Hi")
If jupyter crashes, see this page for instructions to specify the arm64 instruction set manually.
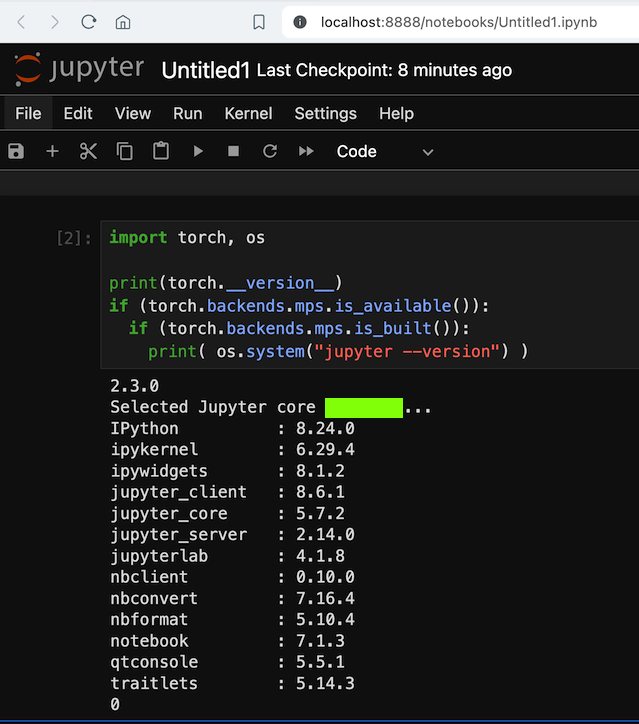
ML 125.1: Jupyter Version
In your jupyter notebook, execute this command:The flag is covered by a green rectangle in the image below.import torch, os print(torch.__version__) if (torch.backends.mps.is_available()): if (torch.backends.mps.is_built()): print( os.system("jupyter --version") )
Pytorch for Mac M1/M2 with GPU acceleration 2023. Jupyter and VS Code setup for PyTorch included.
Posted 5-4-24
Windows link added 3-4-25