apache_access_logs_tutorial.txt
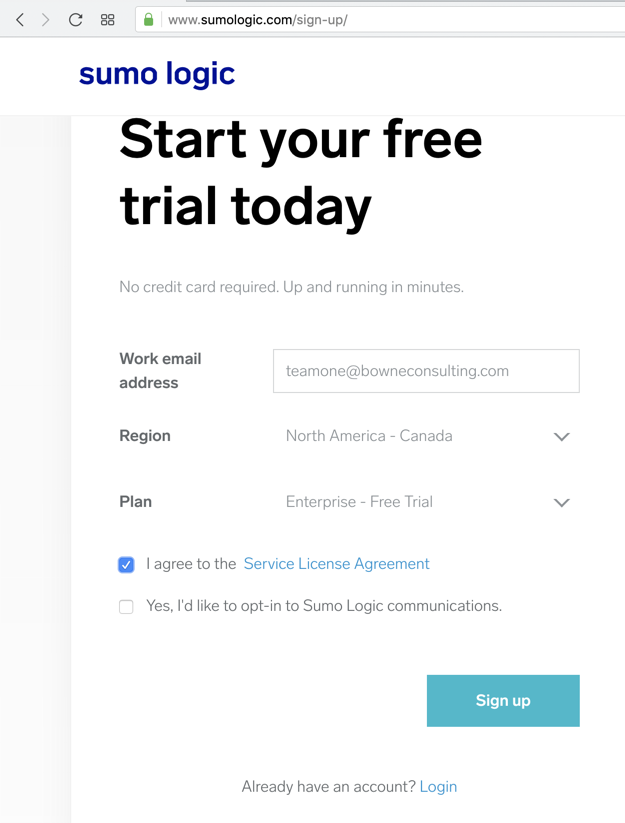
At the top right, click the "Start Free Trial" button.
Enter an email address that you can read mail at and select "Enterprise - Free Trial", as shown below.
Click Preferences.
Change the "Web session timeout" to a larger value.
At the bottom of the page, click Save.
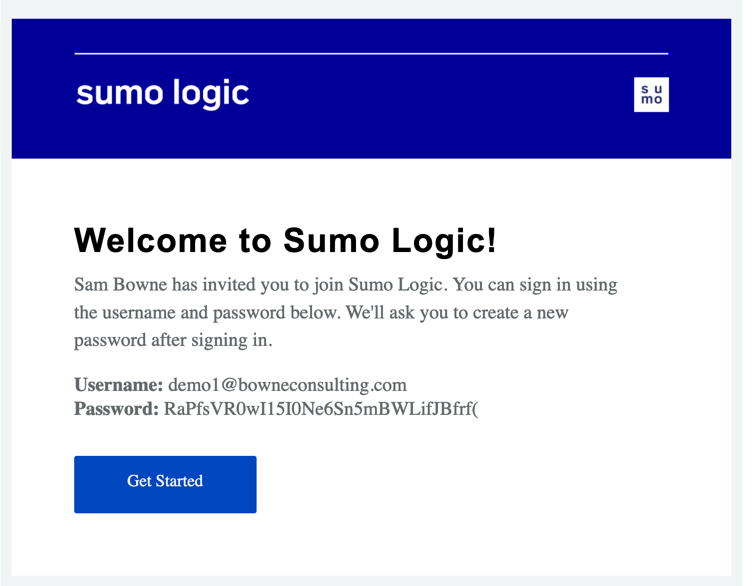
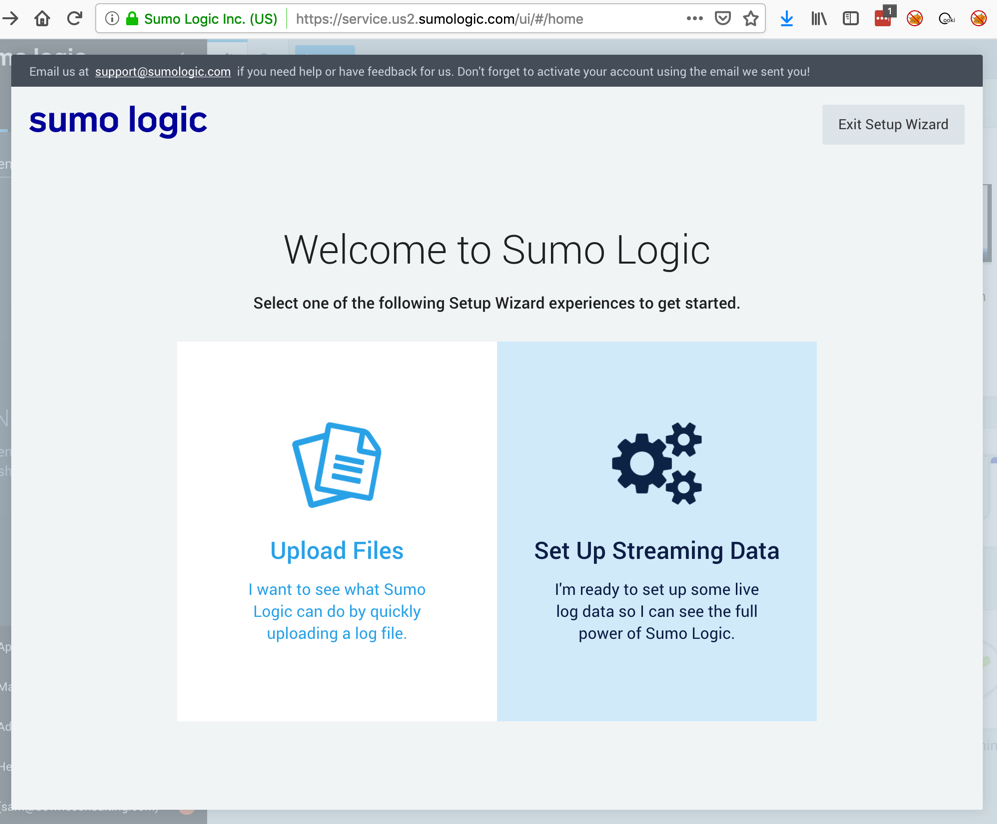
Sign out and sign in again to make the change take effect. At the "Welcome" page, clck "Upload Files", as shown below.
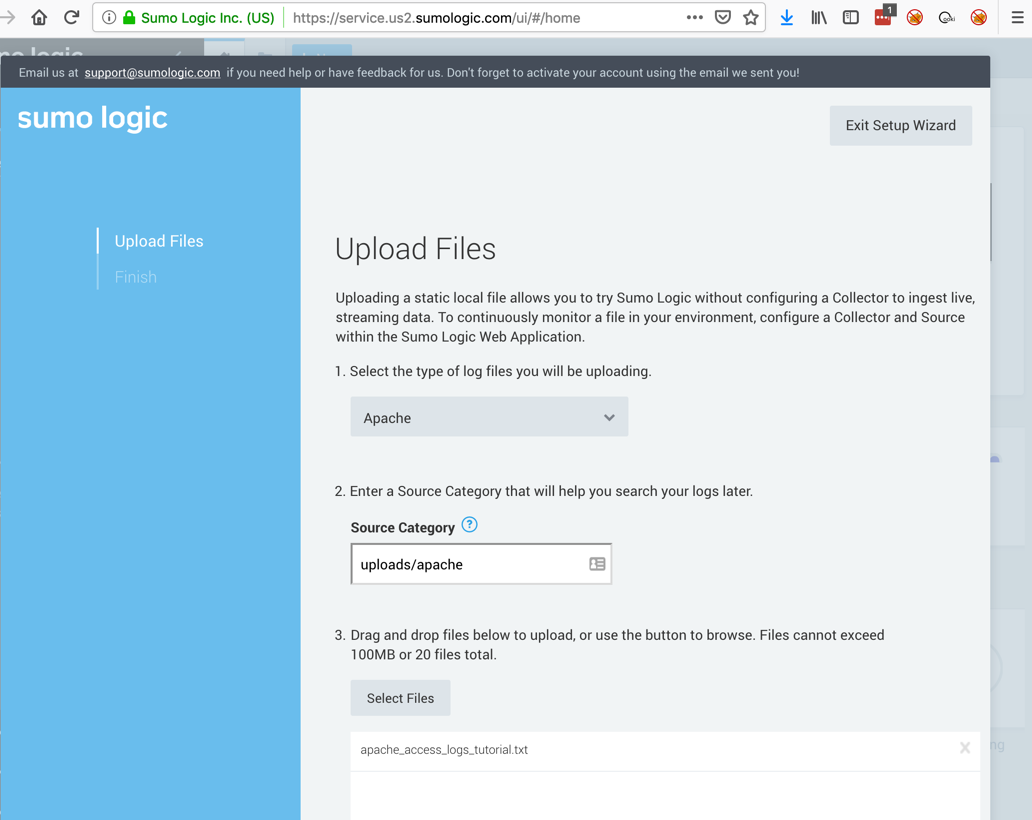
Upload the file, as shown below.
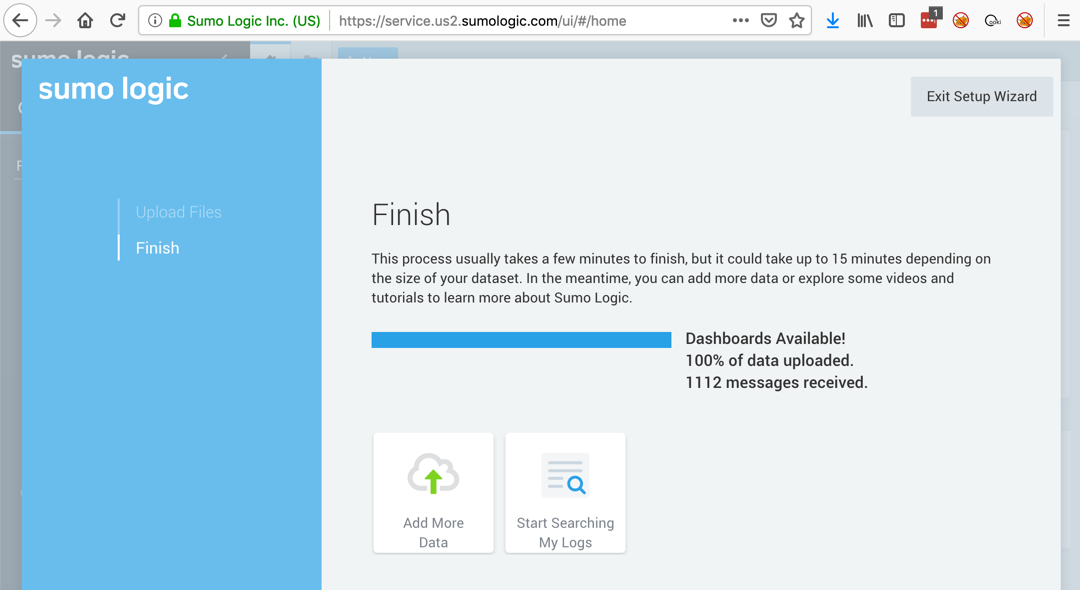
Wait for the process. Within a few minutes, it should complete, as shown below.
In the center, click the "Start Searching My Logs" button.
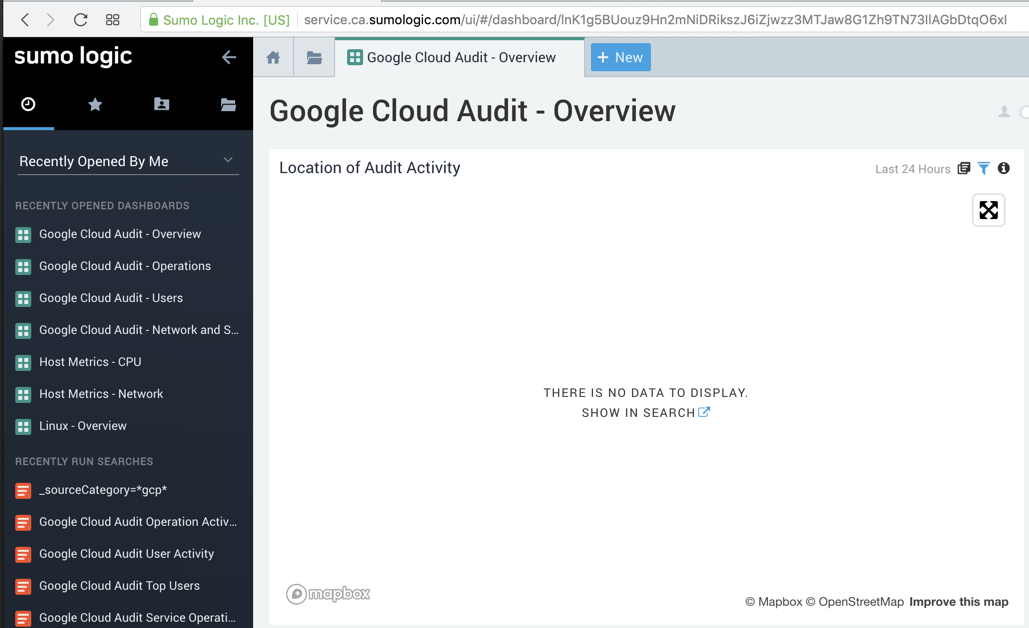
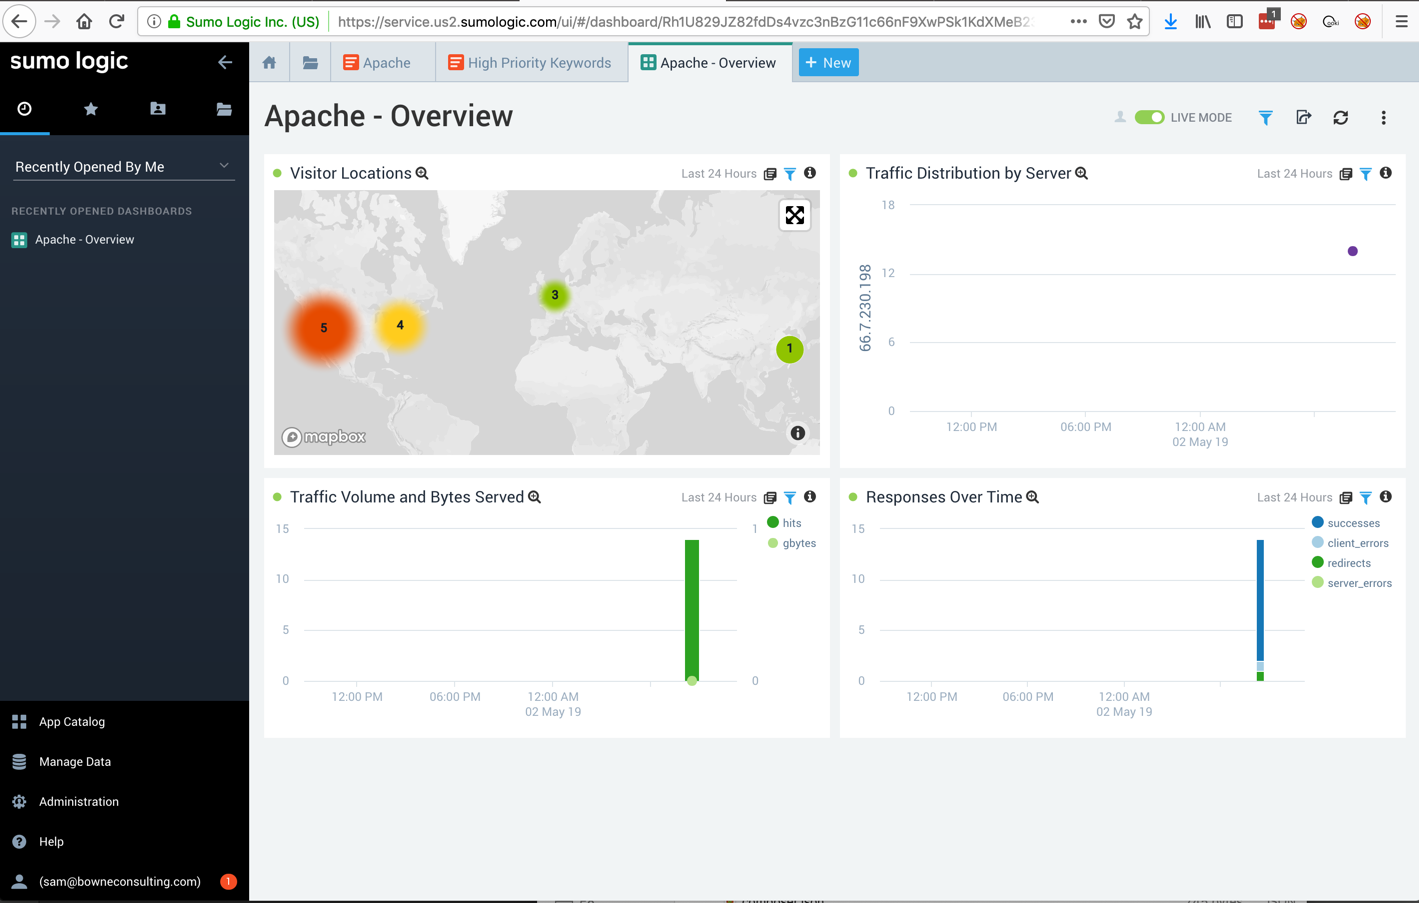
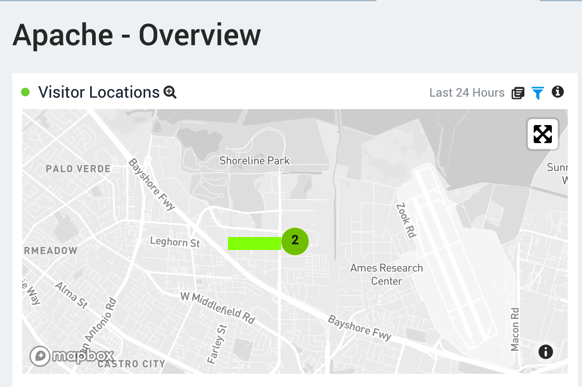
You see the pretty Apache dashboard, as shown below.
The flag is covered by a green box in the image below. as shown below.
Click Apache to expand it, revealing several prepared searches, as shown below.
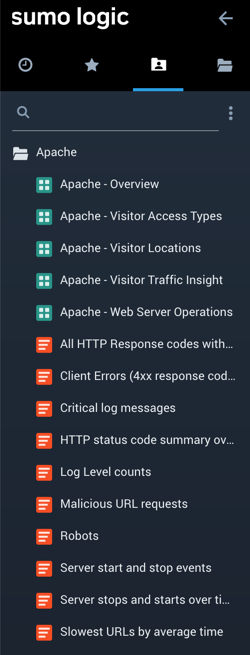
Find these items:
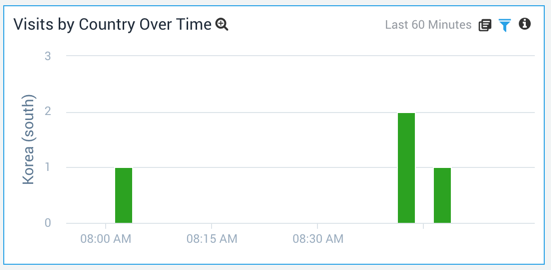
Use the entire name of the country, not an abbreviation.
The key components in the collection process for GCP services are: Google Stackdriver, Google Cloud Pub/Sub, and Sumo’s Google Cloud Platform (GCP) source running on a hosted collector.The integration works like this: Google Stackdriver collects logs from GCP services. Once you’ve configured the pipeline shown below, the logs collected by Stackdriver will be published to a Google Pub/Sub topic. A Sumo GCP source on a hosted collector subscribed to that topic ingests the logs into Sumo.
From Collect Logs for Google Cloud Audit
If you did not, follow these instructions:
Click Collection.
On the right side, click the "Setup Wizard" link.
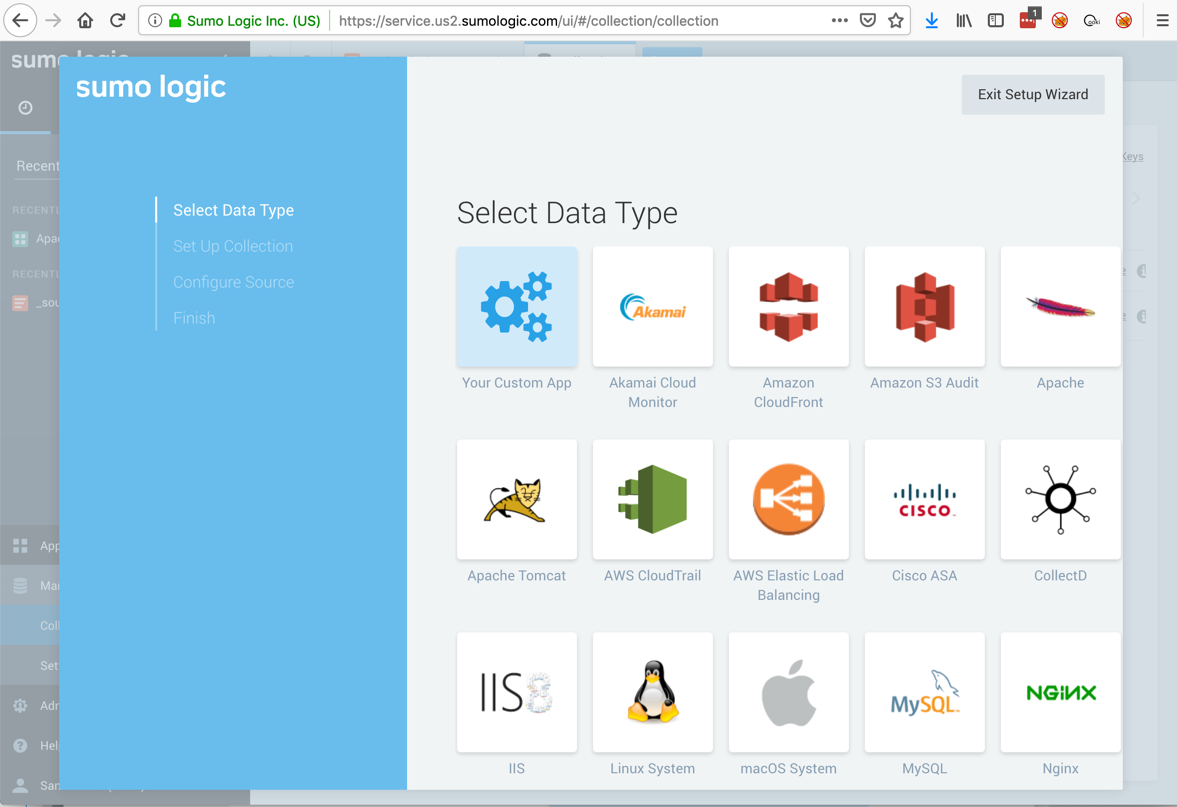
On the Setup Wizard page, click "Set Up Streaming Data", as shown below.
On the Select Data Type page, click "Linux System", as shown below.
Copy the code in step 1, as shown below.
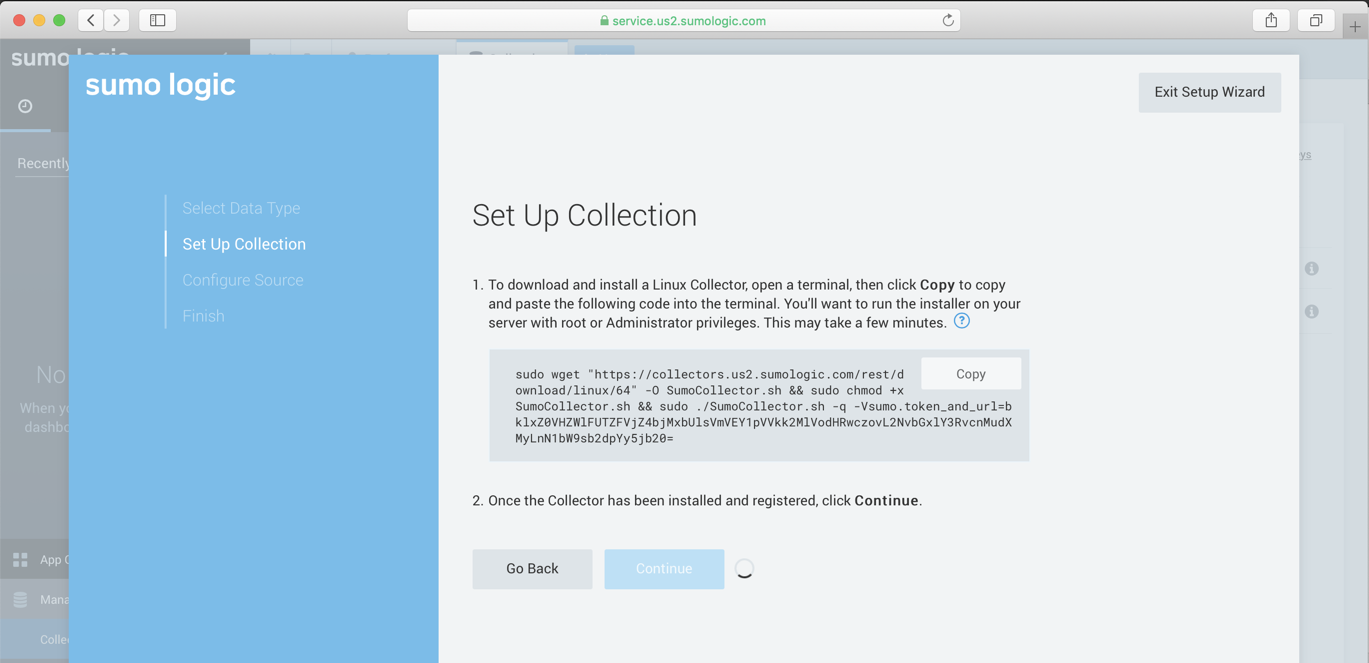
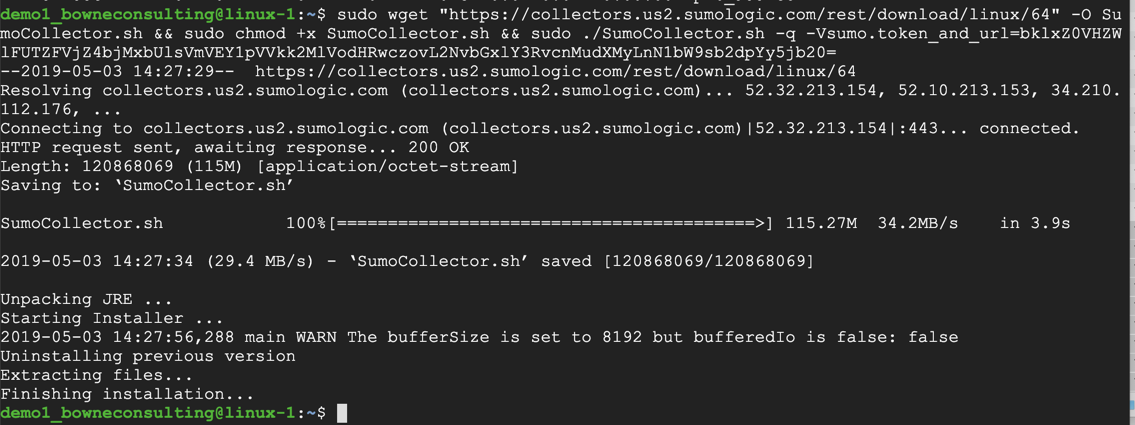
Execute that code on your Linux server, as shown below.
Within a minute or two, the Continue button becomes available, as shown below. Click it.

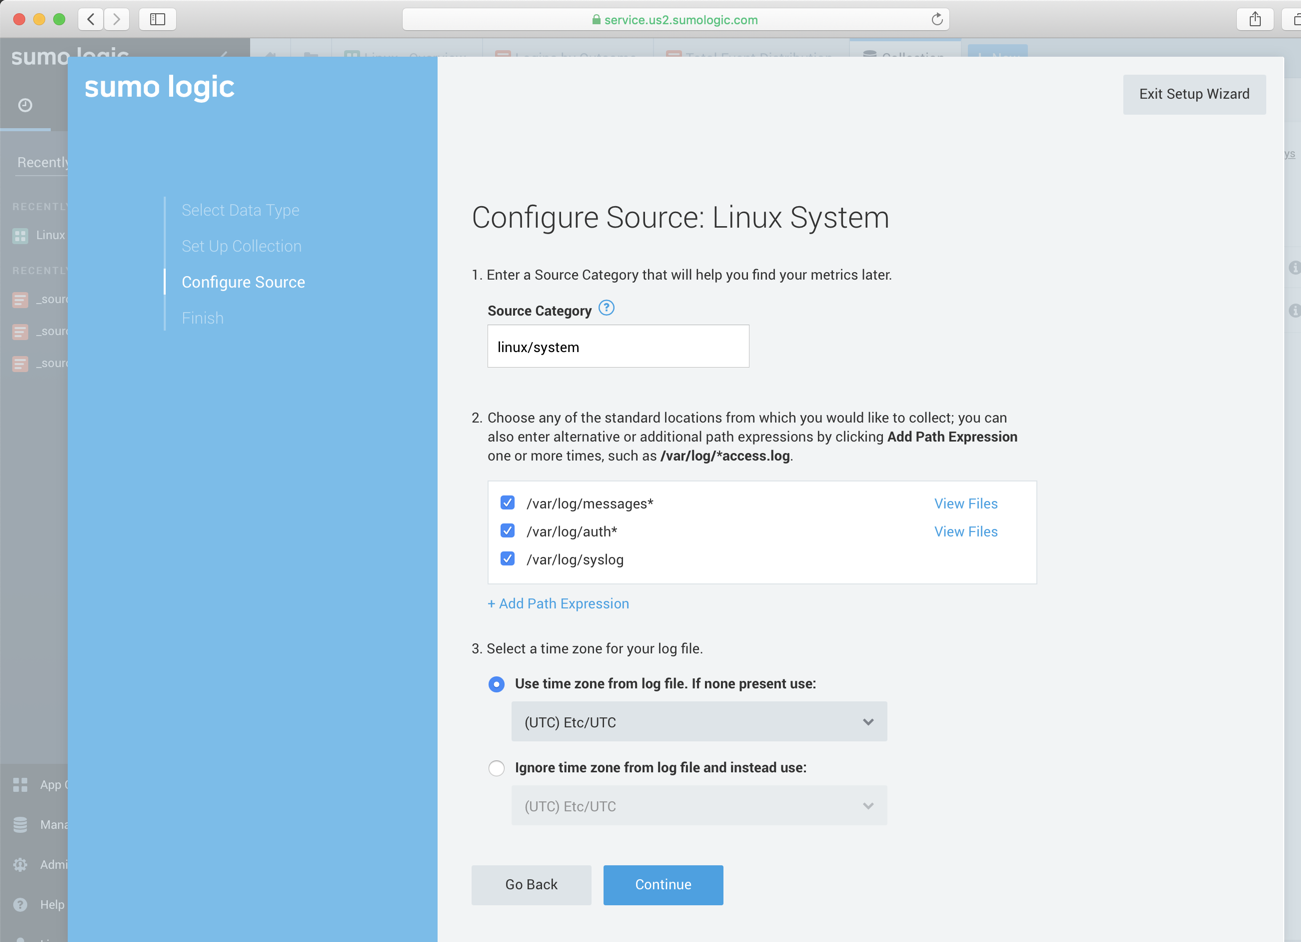
On the "Configure Source: Linux System" page, wait a minute or two for it to give up trying to find "default Source Paths". Then insert the three locations shown below.
Troubleshooting
If you have to repeat the installation, first uninstall the old collector with these commands:
On the Finish page, wait while the progress bar moves.
When it's done, and you see the page shown below, click "Start Searching My Logs".

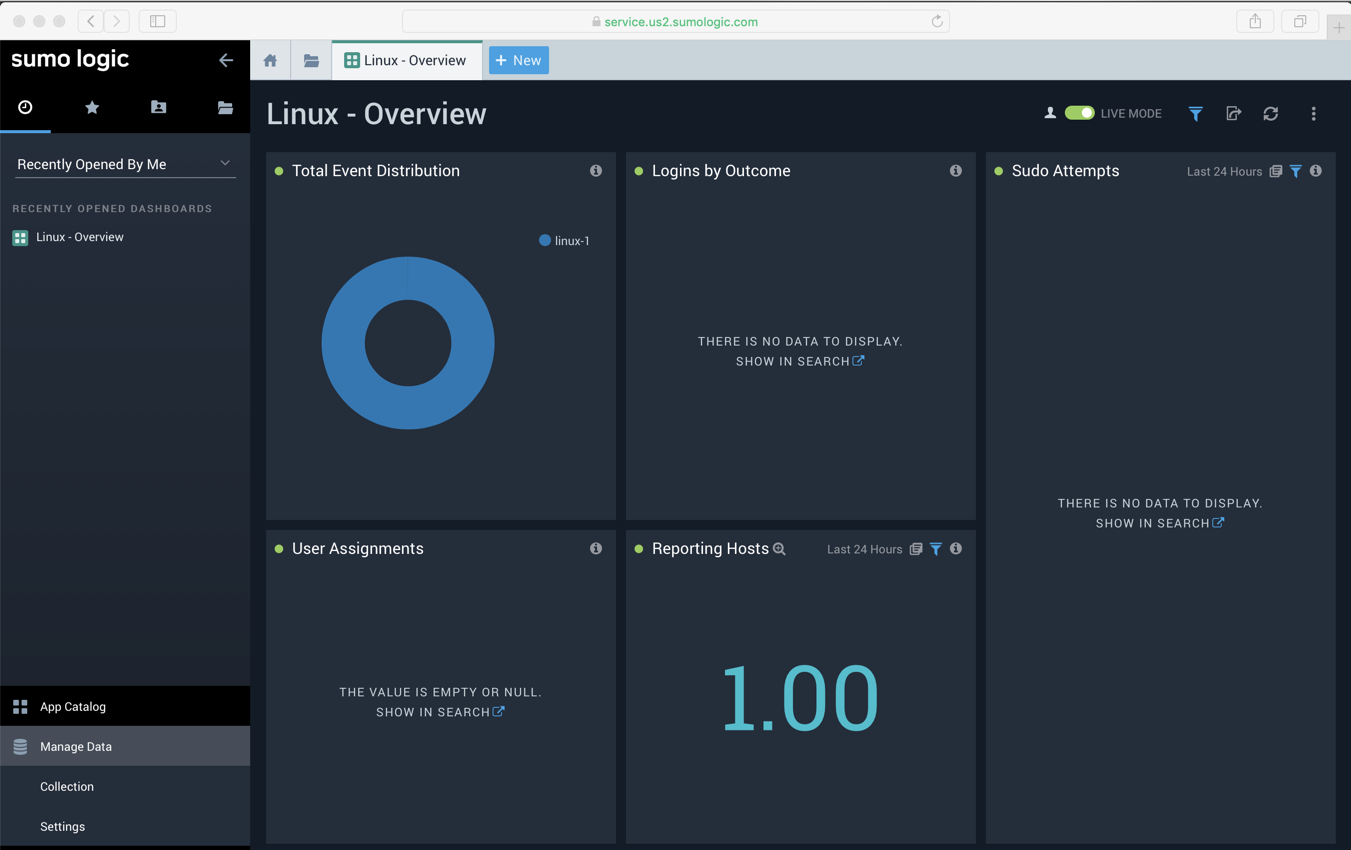
You see a "Linux Overview" page, as shown below.
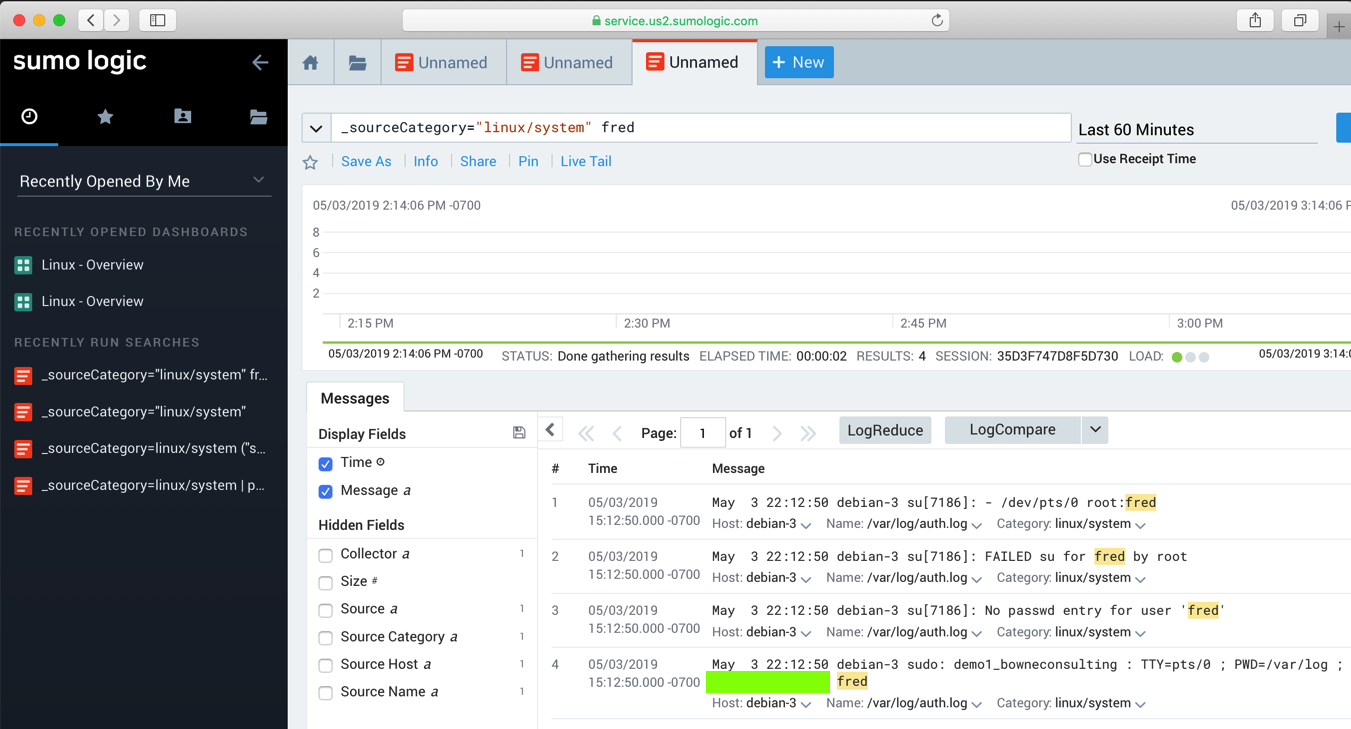
On your cloud Debian machine, execute this command:
sudo su fred

Add fred to the search string and find the four events.
The flag is covered by a green box in the image below.
Warning: This Is Impossible
I've spent days struggling with this, and I cannot get any data into Sumo Logic's Google Cloud Audit app.Here are the steps I was able to find in the many, baffling, contradictory help pages. I don't know how anyone uses this stuff.
Giving this to students now is like throwing children into a pool full of alligators. It's worth points in the competition to complete the steps detailed below, but it will end in failure.
Hopefully someone will tell me what I am doing wrong, or whatever is broken will get fixed.
Click Collection.
On the right side, click the "Add Collector" link.
Click "Hosted Collector".
Name your collector, as shown below, and click Save.

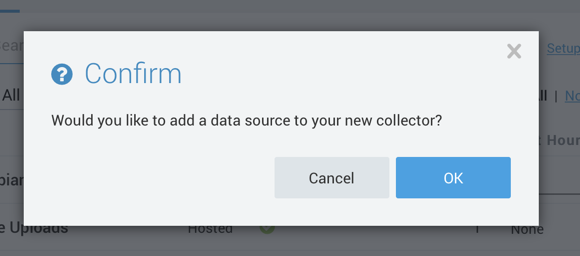
A "Confirm" box appears, asking whether to add a data source.
Click OK.
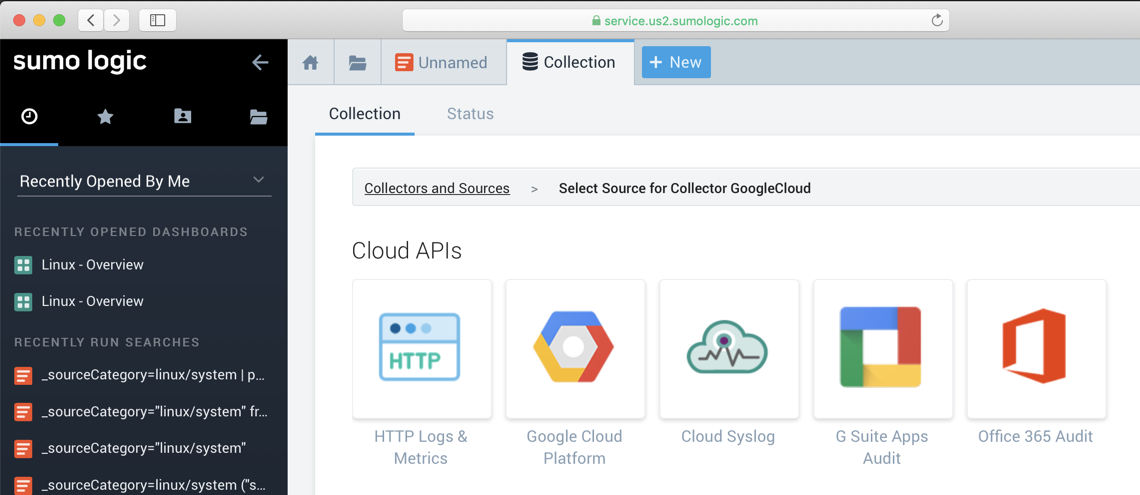
On the next page, click "Google Cloud Platform", as shown below.
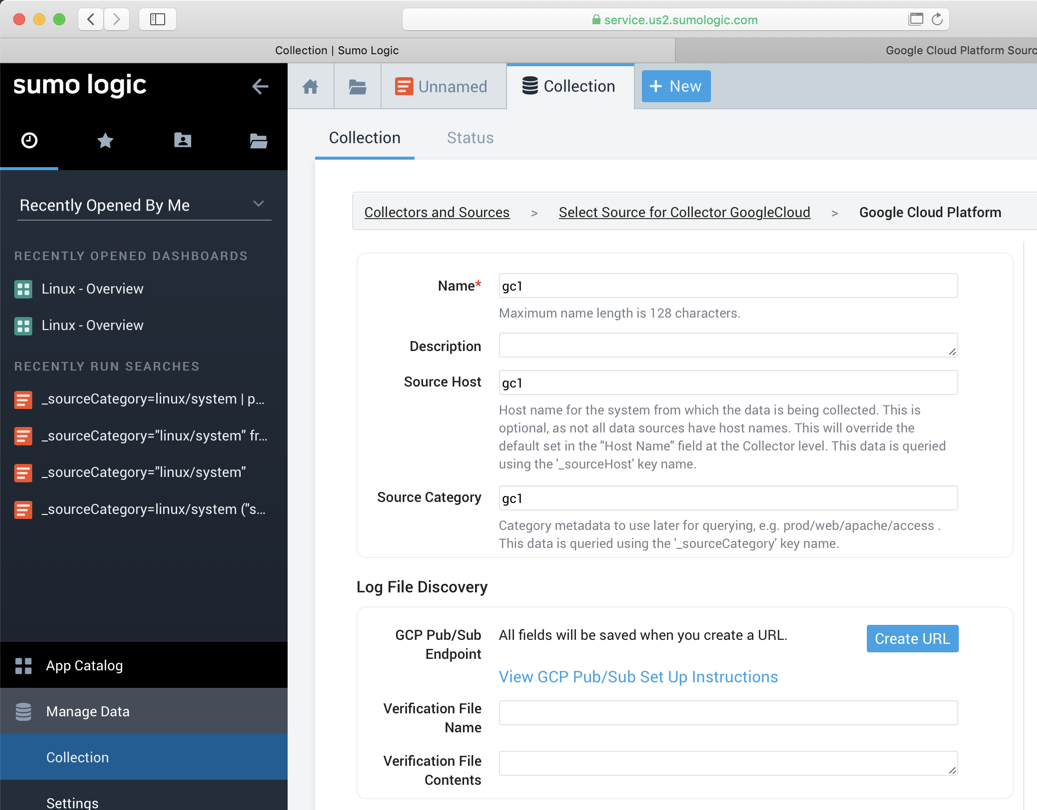
In the next page, enter gc1 in three of the fields and, on the right side, click the blue "Create URL" button.
Click the gray "Copy URL" button.
Click "APIs & Services", Credentials.
At the top center, in small gray letters, click "Domain verification".
Click the blue "Add Domain" button.
In the "Configure webhook notifications" box, paste in the URL, as shown below.
Click "ADD DOMAIN".
A "Verify ownership" box pops up.
Click "TAKE ME THERE".
Log in to your Google Cloud account. Click the red "ADD A PROPERTY" button.
Paste in the URL again.
Click Continue.
You see the page shown below.
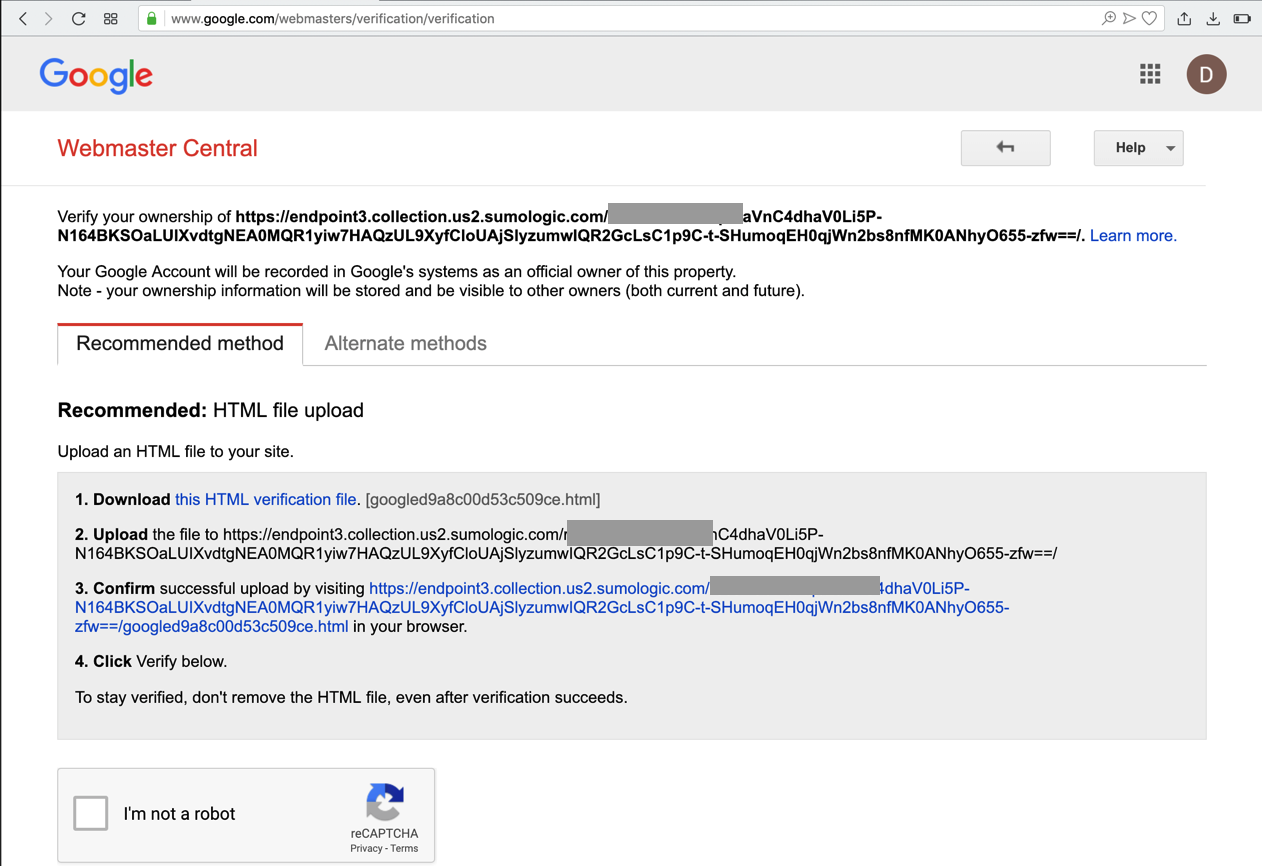
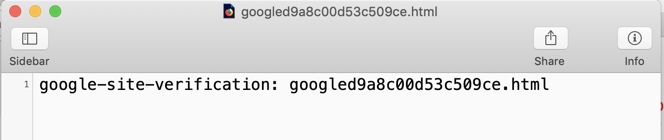
Do not click Verify yet. Download and open the HTML verification file. It contains a verification string, as shown below.
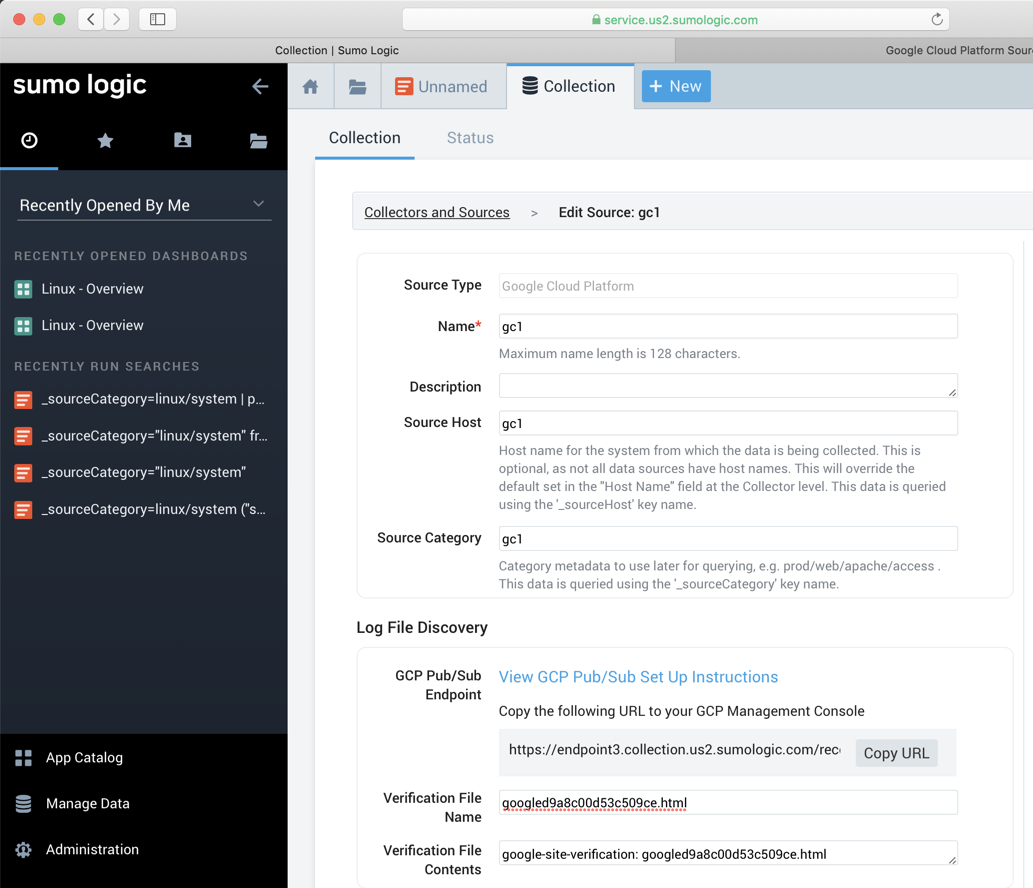
In the Sumo Logic page, paste in the Verification File Name and Verification File Contents, as shown below.
At the bottom, click the blue Save button.
Return to Google's Webmaster Central and click Verify. It should verify successfully.
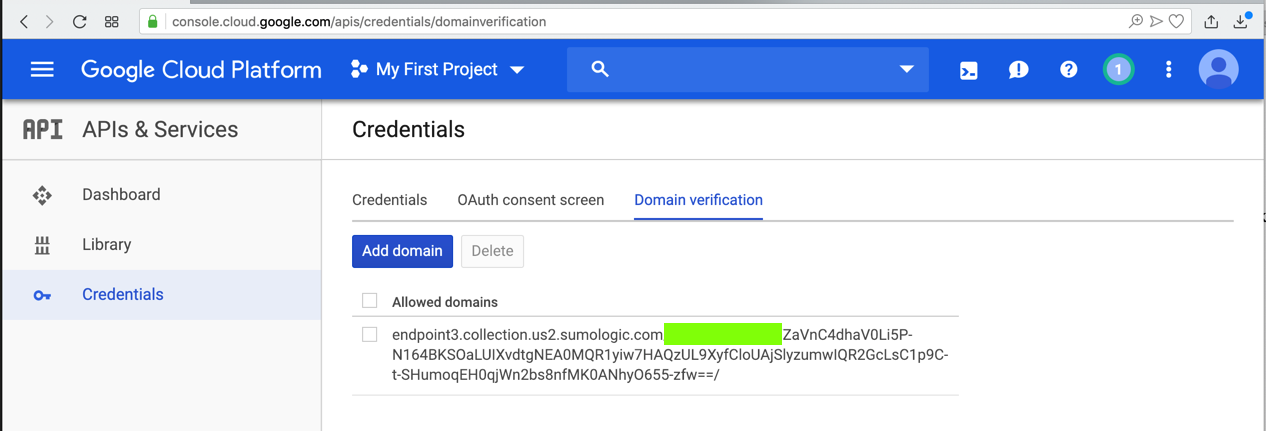
Click "APIs & Services", Credentials.
At the top center, in small gray letters, click "Domain verification".
The flag is covered by a green box in the image below.
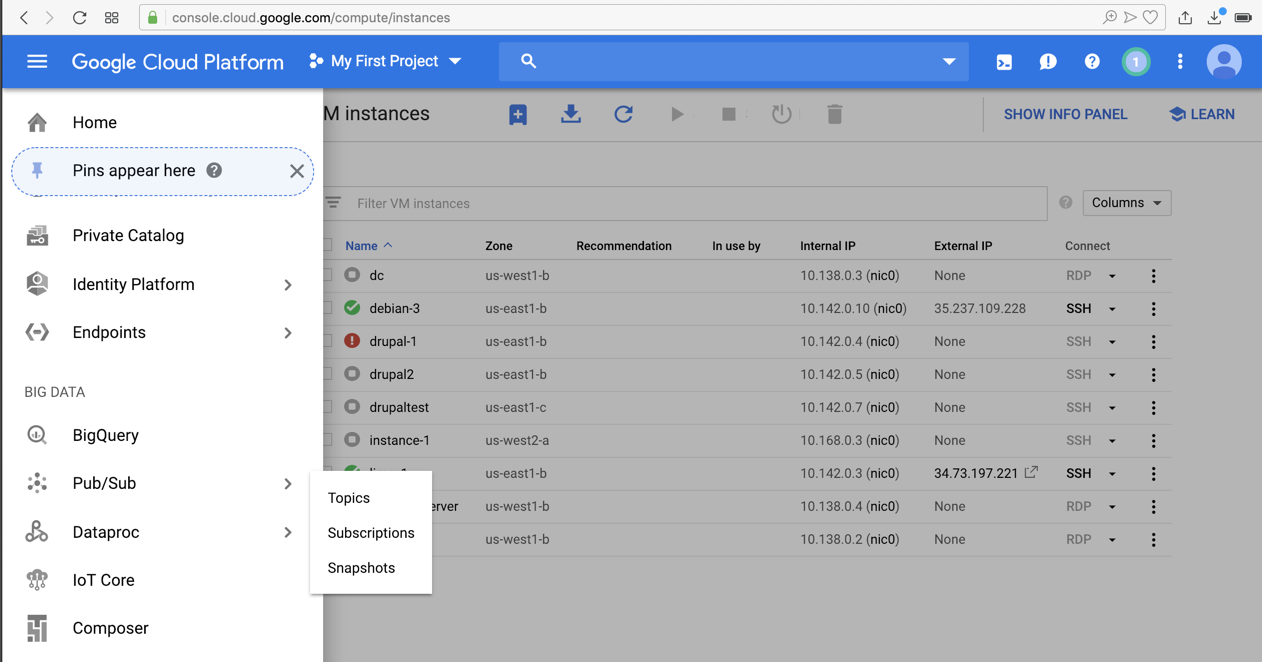
Scroll down to the "BIG DATA" section.
Click "Pub/Sub", Topics, as shown below.
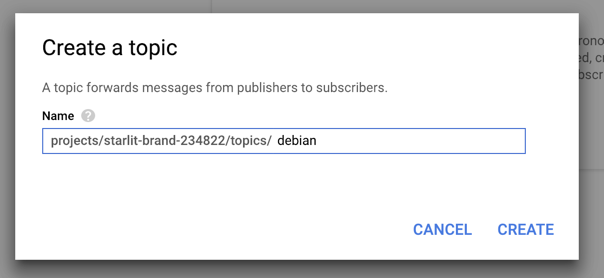
Click the blue "Create a topic" button.
In the "Create a topic" box, add debian to the name, as shown below.
Click CREATE.
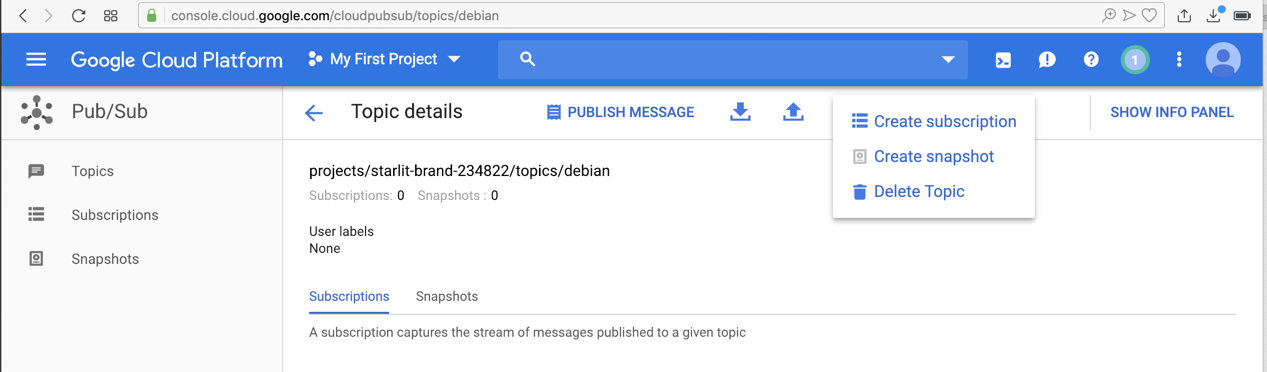
On the "Topic details" page, at the top center, click the three-dot icon and click "Create subscription", as shown below.
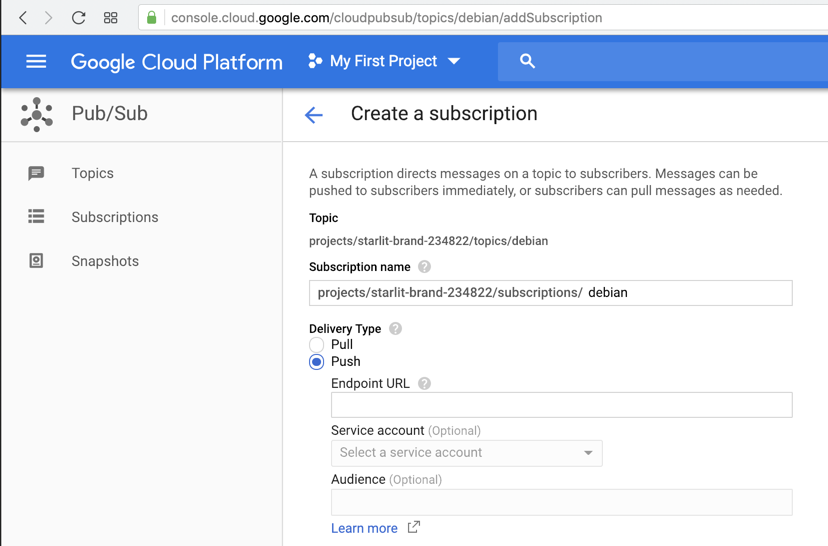
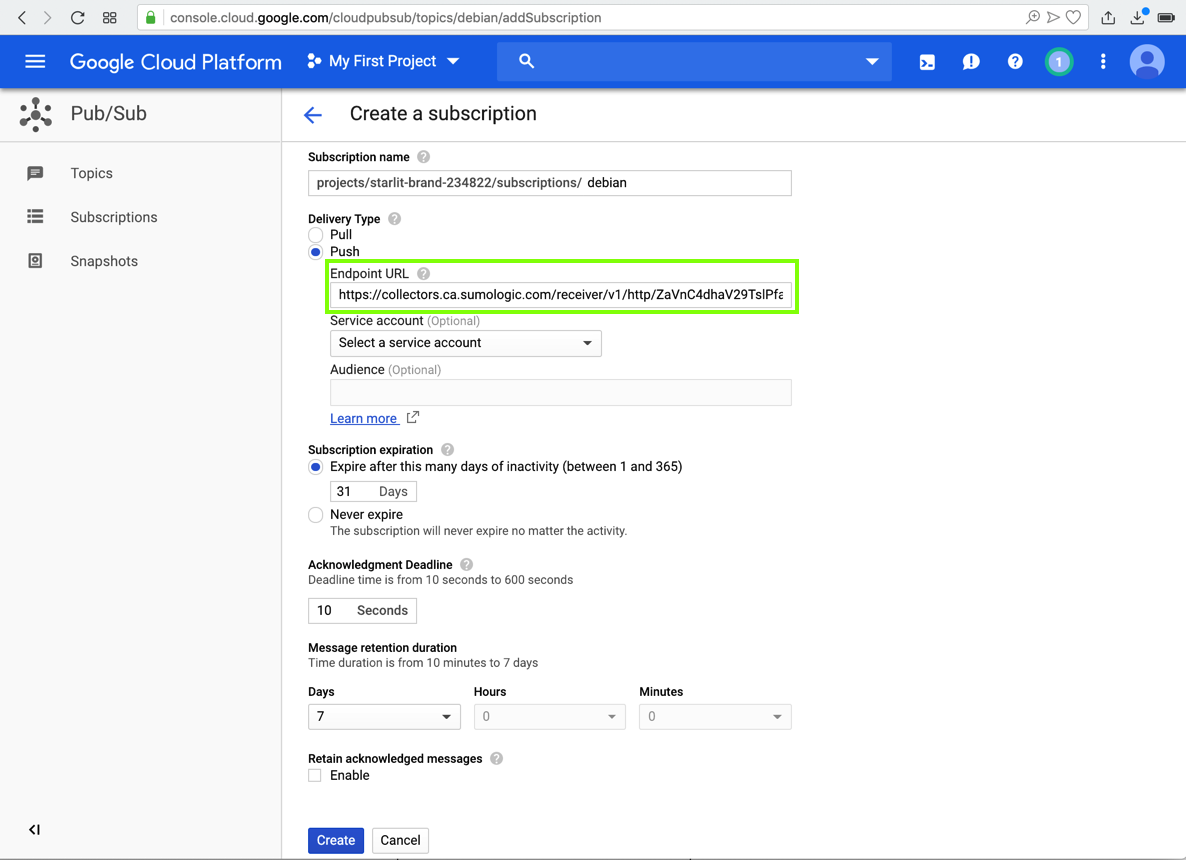
In the Create a subscription page, add debian to the "Subscription name".
In the "Delivery Type" section, click Push, as shown below.
On the Sumo Logic web page, on the left side, in the black bar, at the bottom, click "Manage Data".
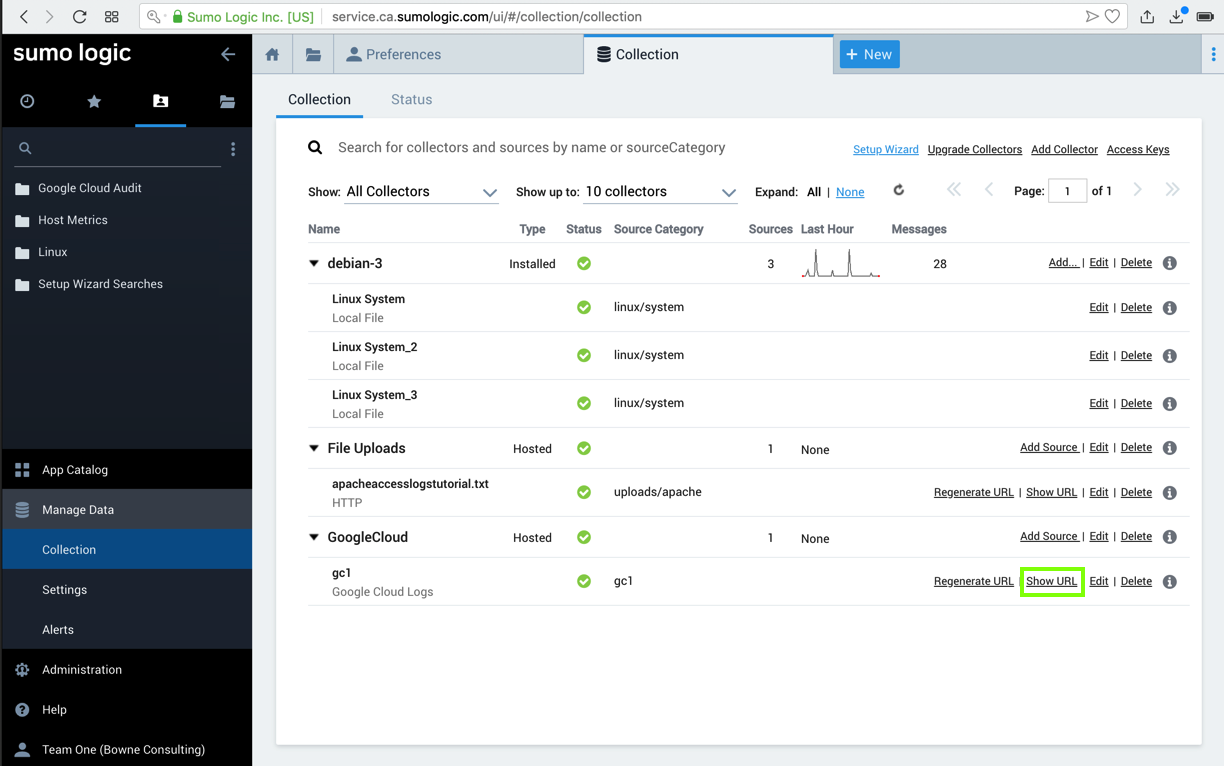
Click Collection.
In the main pane, on the right, In the "GoogleCloud" section, on the "gc1" line, click the "Show URL" link, as shown below.
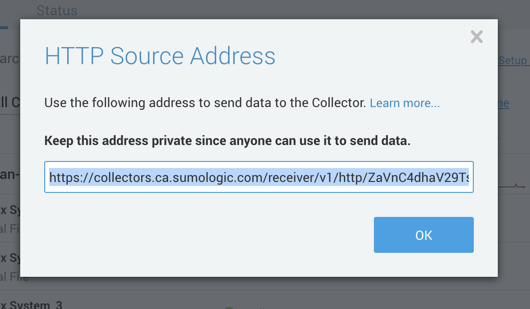
Your HTTP Source Address appears, as shown below.
Copy it.
In the Google Cloud Platform page, paste in the URL, as shown below.
At the bottom of the page, click Create.
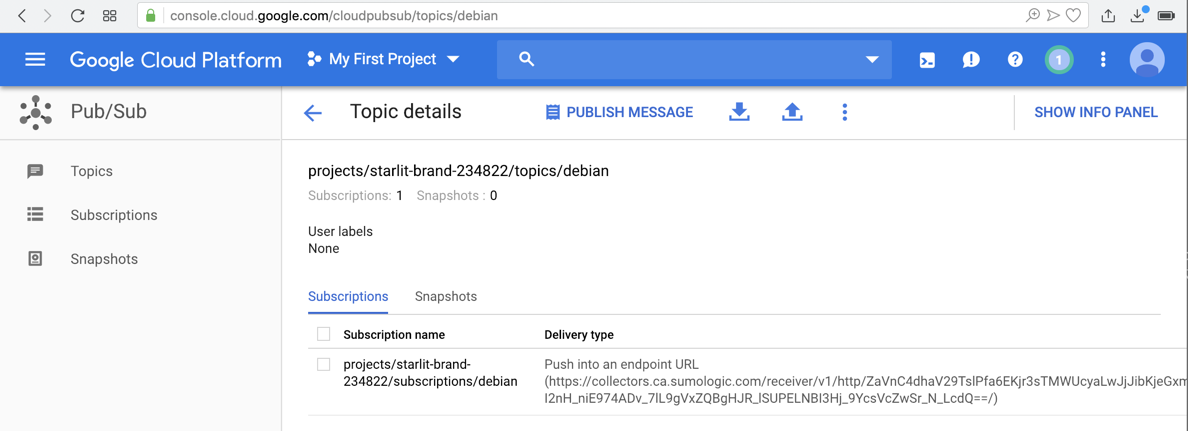
The subscription is created, as shown below.
Scroll down to the STACKDRIVER section.
Click Logging.
Click Exports.
Click "CREATE EXPORT".
In the top left drop-down list box, select "GCS Bucket".
In the Edit Export window on the right:
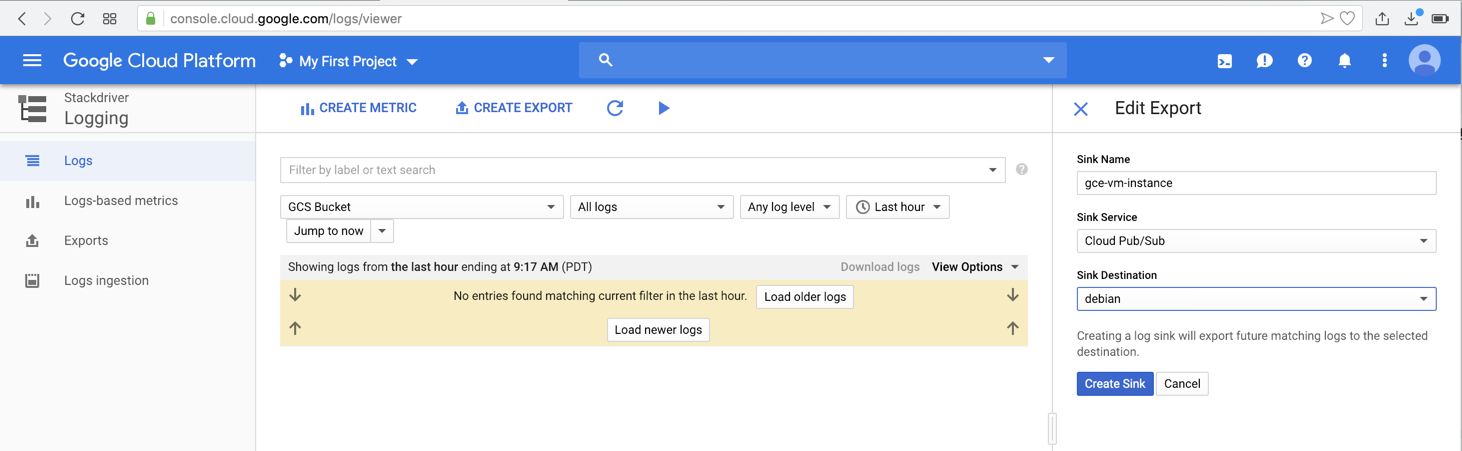
The flag is covered by a green box in the image below.
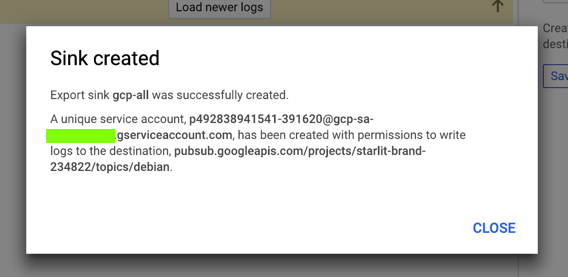
Click CLOSE.
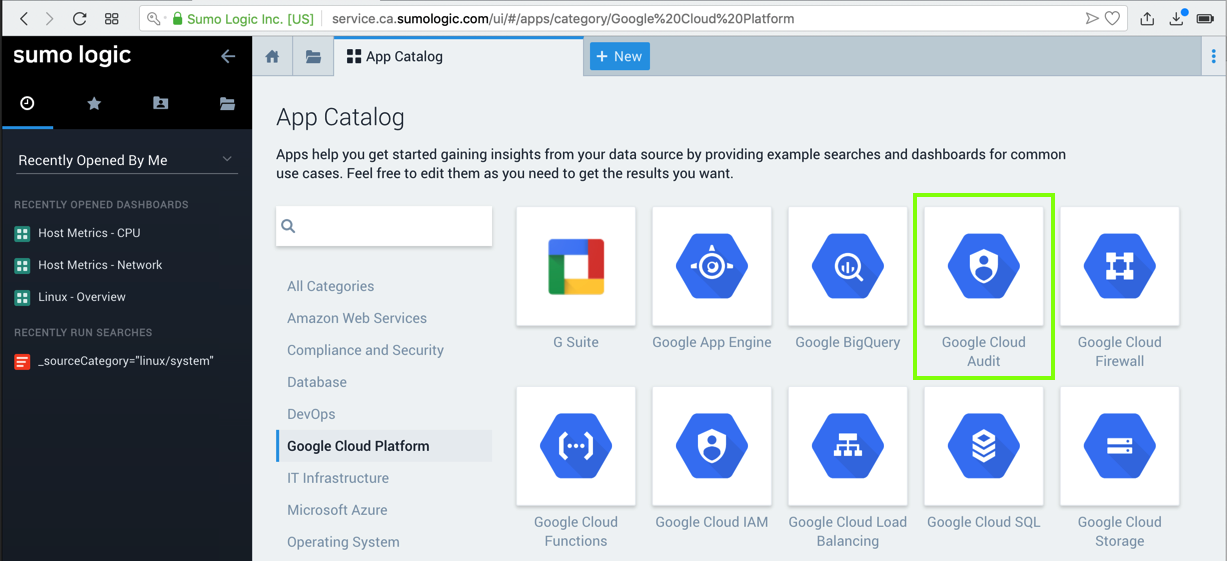
In the "App Catalog" pane, on the left side, click the "Google Cloud Platform" category.
Click thhe "Google Cloud Audit" icon, as shown below.
Click the blue "Add to Library" button.
An "Add Google Cloud Audit to Library" box pops up.
In the "Source Category" field, click the drop-down arrow and click "Enter a Custom Data Filter".
In the "Custom Data Filter" field, enter this value, as shown below.
_sourceCategory=gcloud
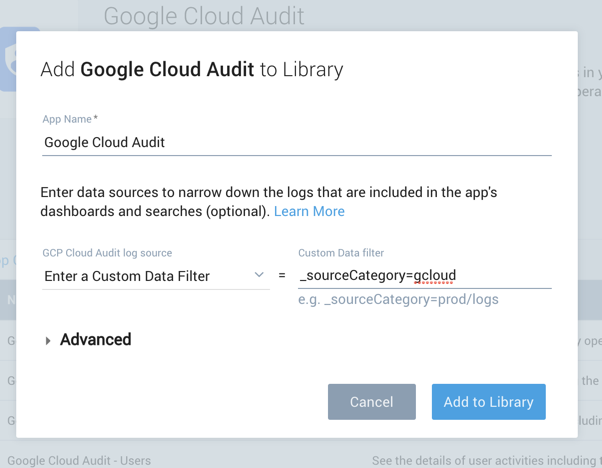
Click the blue "Add to Library"\ button.
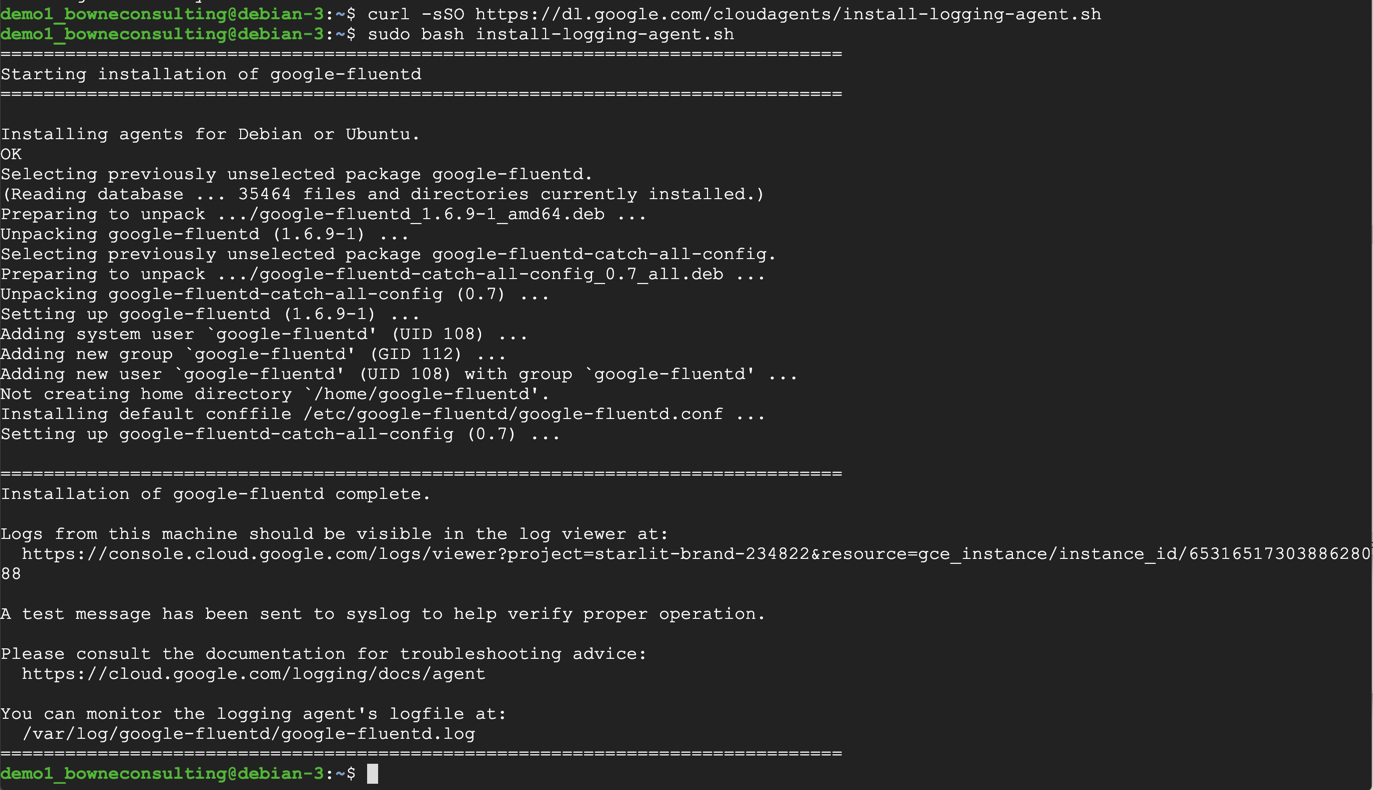
curl -sSO https://dl.google.com/cloudagents/install-logging-agent.sh
sudo bash install-logging-agent.sh
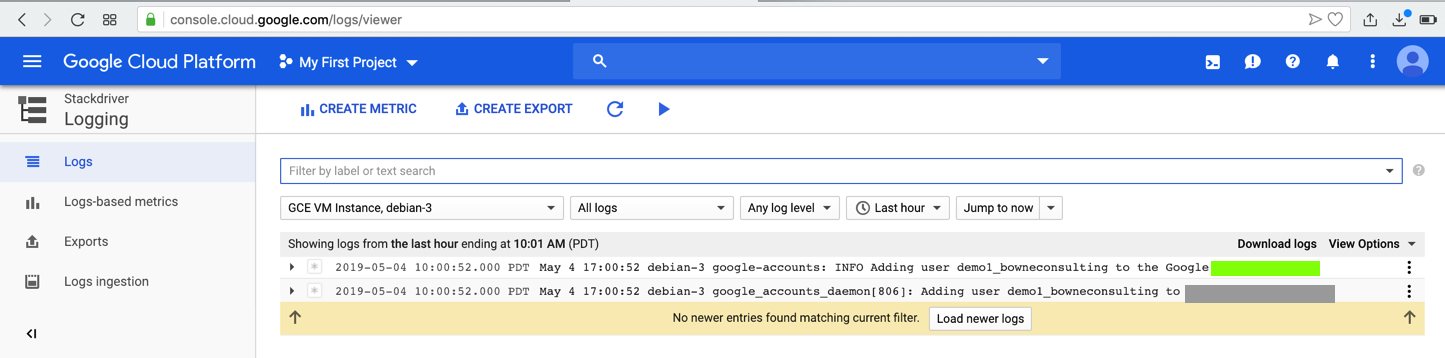
console.cloud.google.com/logs/viewer
In the top left drop-down list, select "GCE VM Instance", debian.
The log entries appear, as shown below.
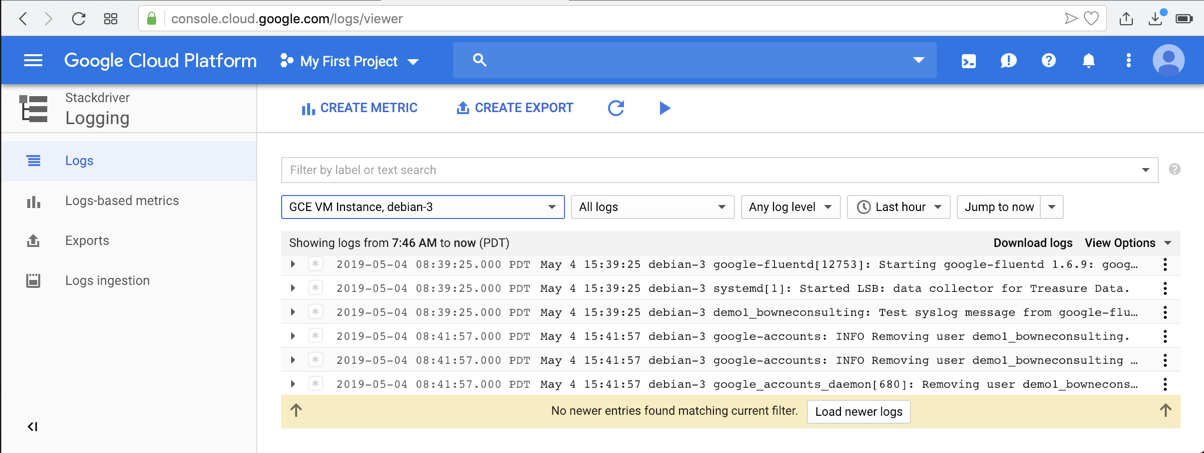
New log entries appear as a result.
The flag is covered by a green box in the image below.