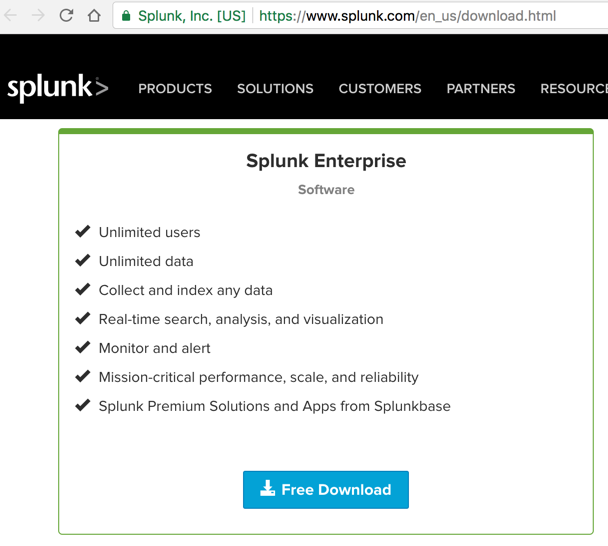
In the "Splunk Enterprise" section, as shown below, click the "Free Download" button.
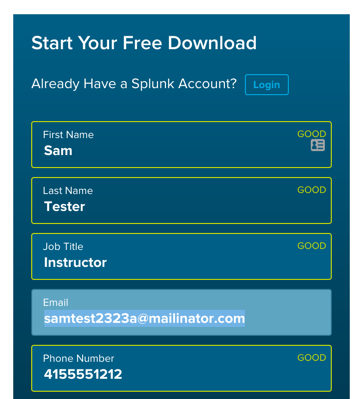
On the next page, create a Splunk account as shown below.
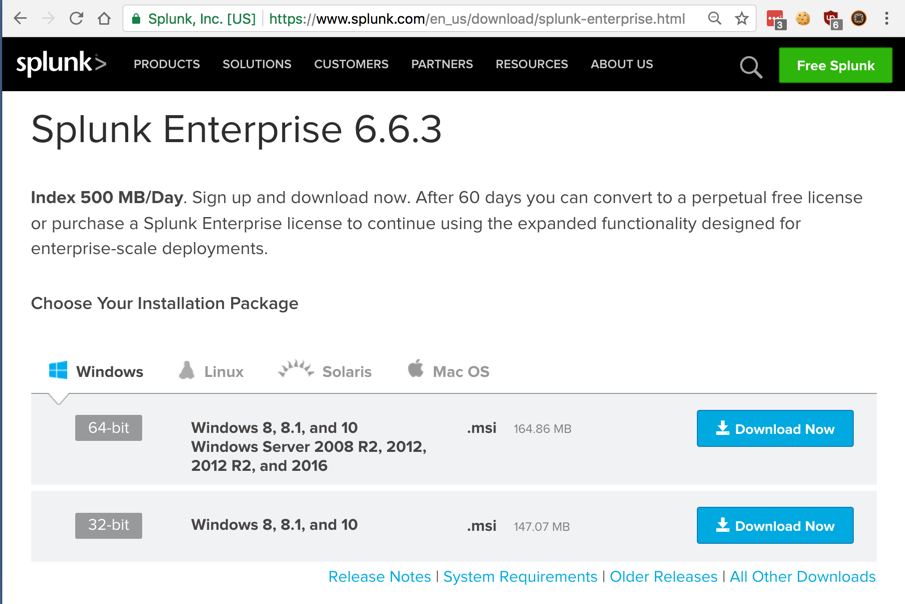
After you create your account, choose a version of Splunk to download, as shown below.
Run the installer and install Splunk with the default options.
Troubleshooting
If the Splunk installer stops with error R6034, restart your machine, uninstall Python, restart again, go into Control Panel and uninstall Splunk. Then run the Splunk installer again.
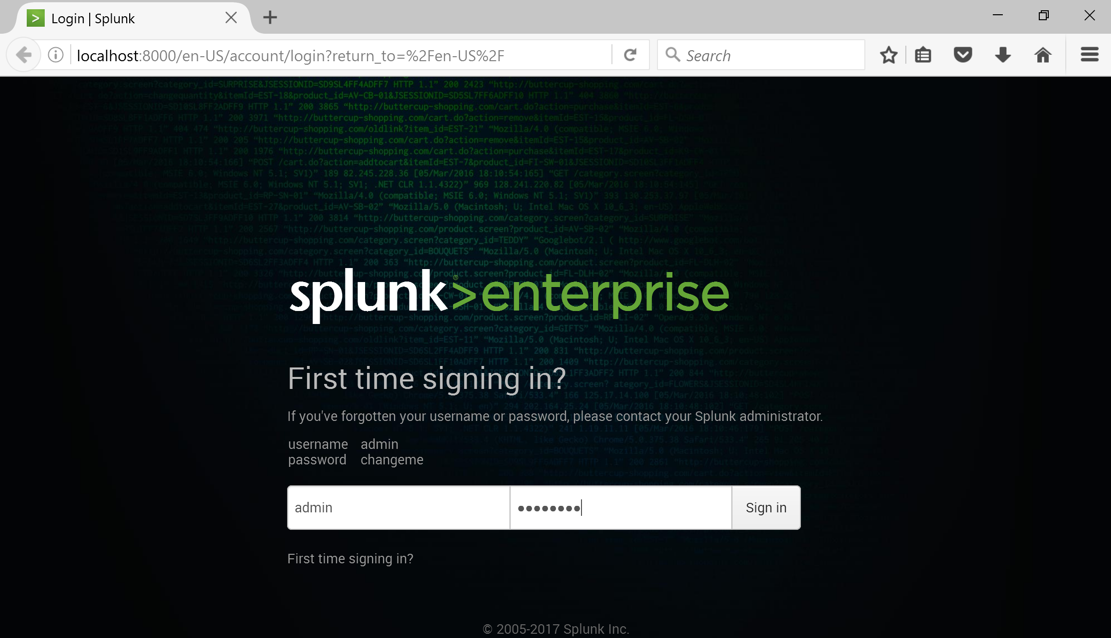
Log in with the default credentials admin and changeme
On the next page, enter a new password into both boxes. For this project, I recommend P@ssw0rd
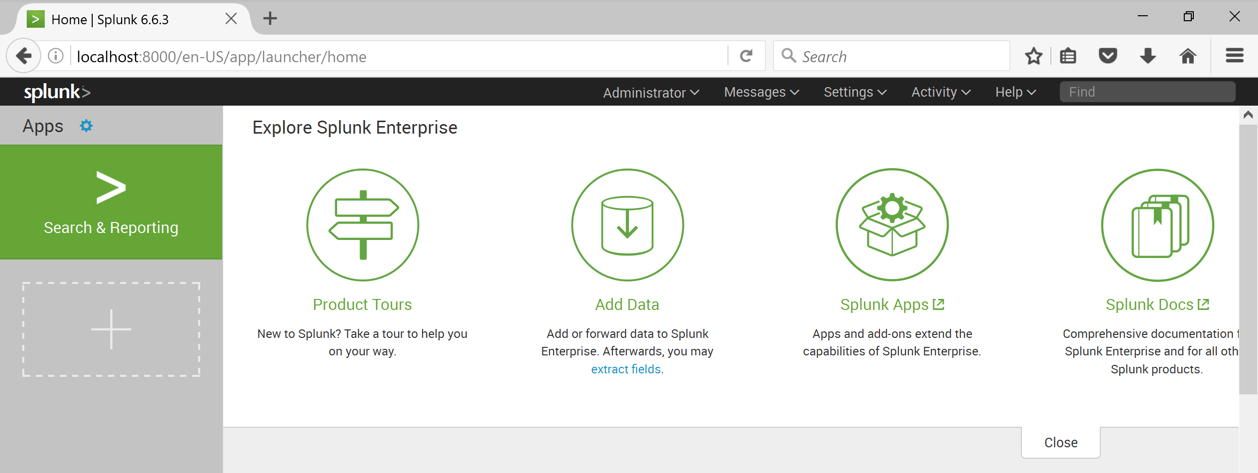
A box pops up asking you to help make Splunk better. Close it to show the "Explore Splunk Enterprise" page, as shown below.
The "Add data" page opens, as shown below.
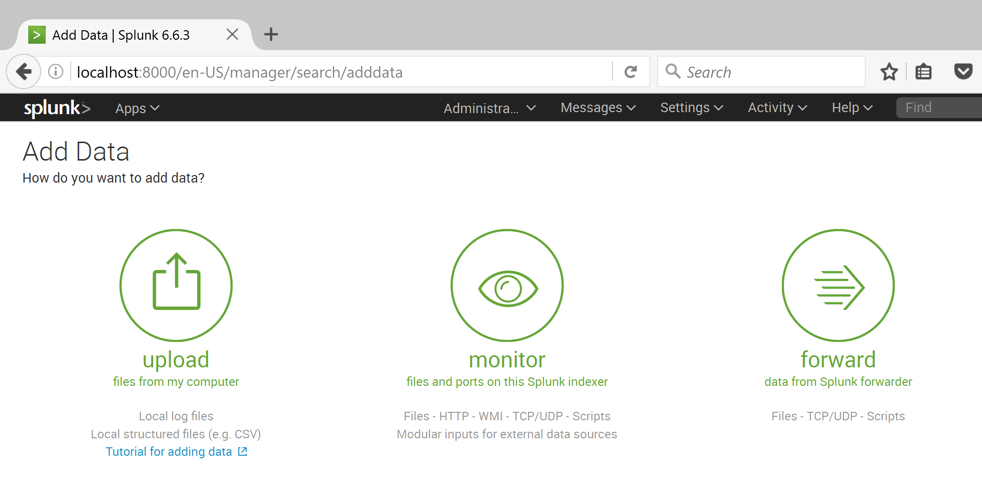
Click monitor. On the left side, click "Local Performance Monitoring".
In the right pane of the page, make these selections, as shown below:

At the top of the page, click the green Next button.
At the top of the page, click the green Review button.
At the top of the page, click the green Submit button.
A page appears saying "Local performance monitoring input has been created successfully" as shown below.
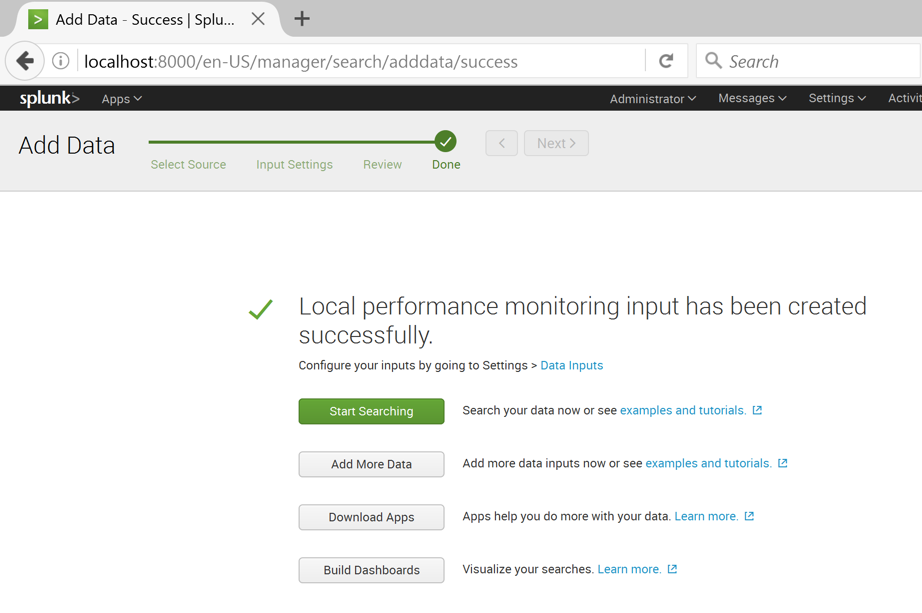
Click "Add more data".
If Splunk offers you a tour, click Skip.
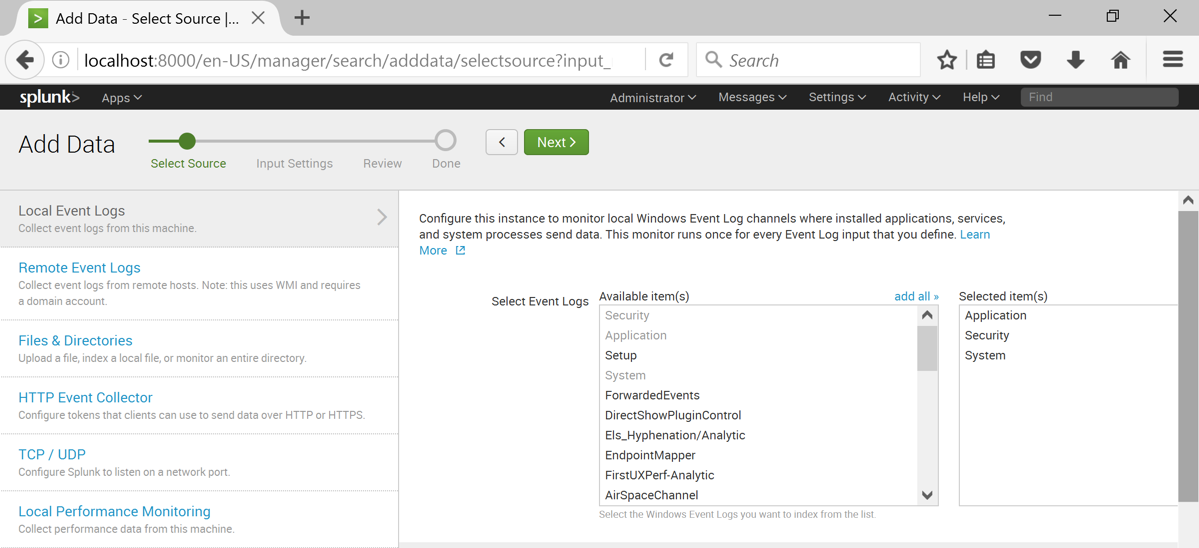
Click monitor.
On the left side, click "Local Event Logs".
In the right pane, select these three logs, as shown below:
At the top of the page, click the green Next button.
At the top of the page, click the green Review button.
At the top of the page, click the green Submit button.
A box appears, offering you a tour, as shown below. Click Skip.
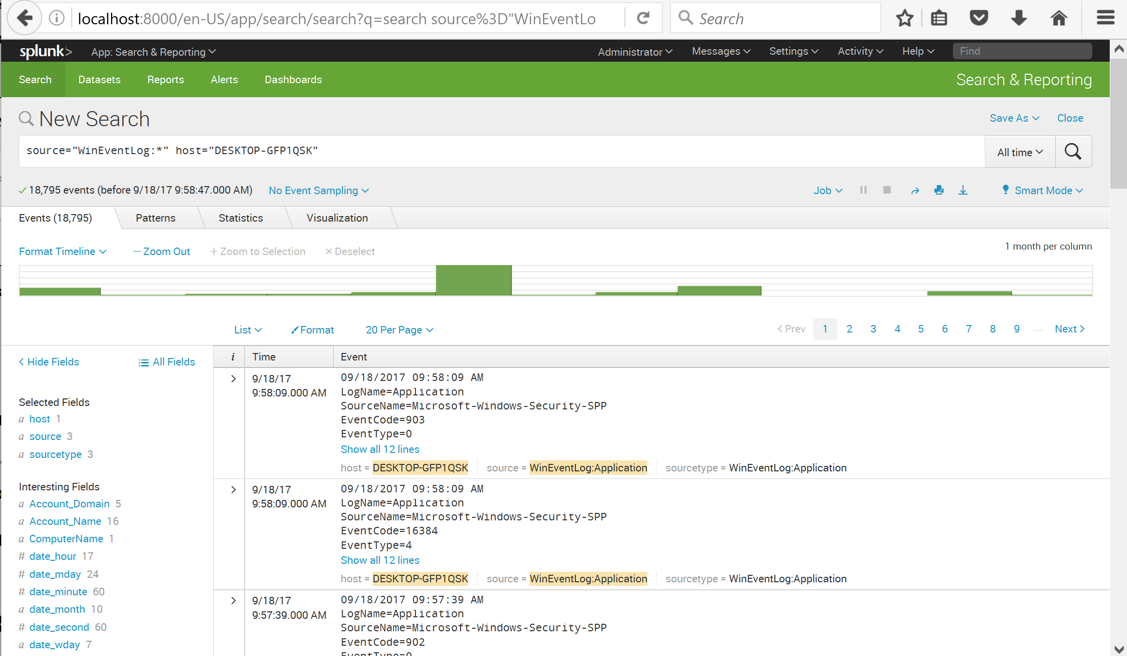
Splunk shows some log entries from your system, as shown below.
In the "New Search" page, enter a search string of splunk as shown below.
At the top right, click the magnifying glass to perform the search.
You should see results, showing events about splunk as shown below.
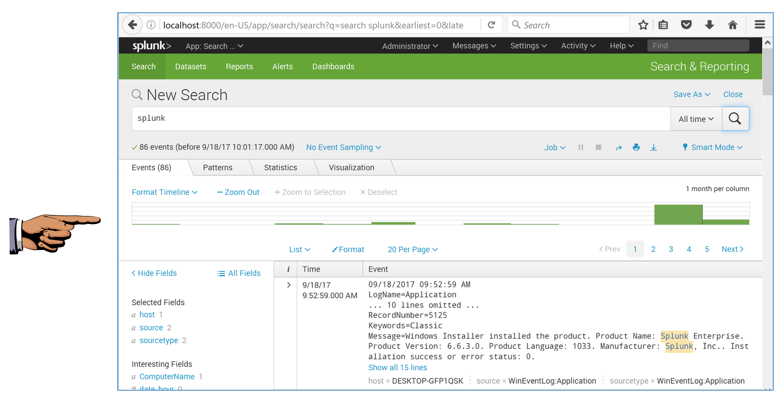
Make sure you can see at least one result, showing an event with the word splunk.
Save a FULL DESKTOP image with the filename Proj 3a from Your Name.
At the top right, click the magnifying glass to perform the search.
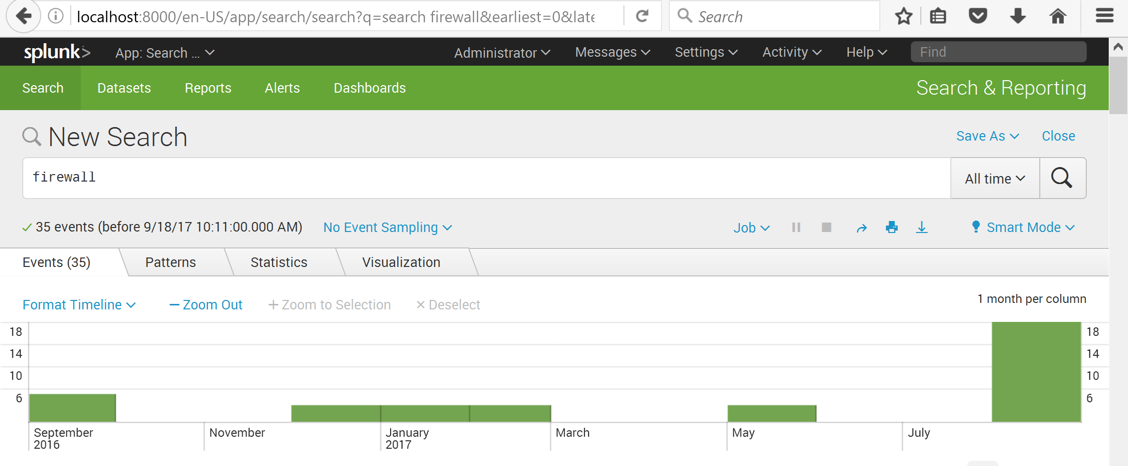
You should see results, showing events about firewall as shown below.
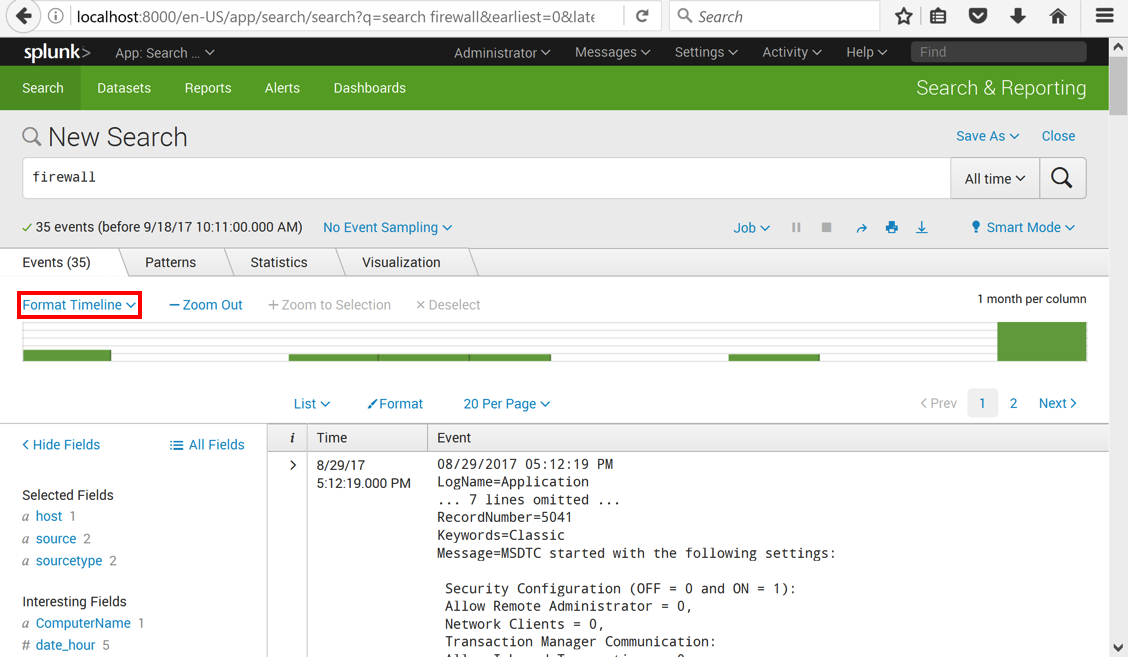
At the top left, click "Format Timeline", as outlined in red in the image above. Click Full.
The graph shows month and year labels, and green bars, showing the number of "firewall" events each month.
As shown below, the events are all old, from more than a month ago.
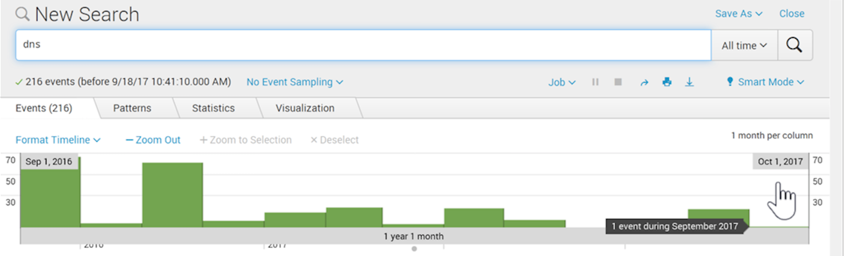
At the top right, click the magnifying glass to perform the search.
You should see results, as shown below.
control netconnections

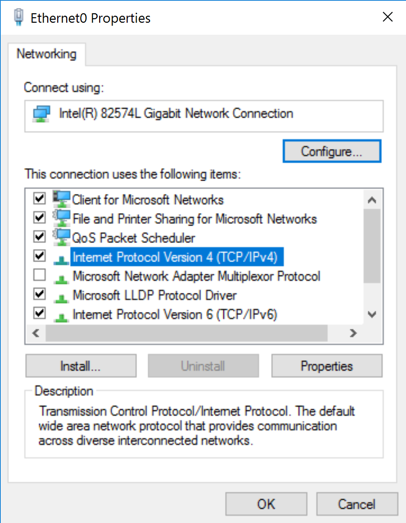
Right click your active network interface, which is probably Ethernet0, and click Properties.
"Ethernet0 Properties" opens, as shown below.
Double-click "Internet Protocol Version 4 (TCP/IPv4)".
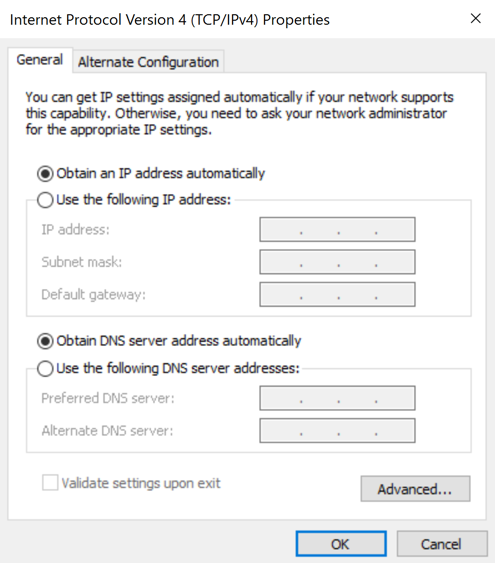
"Internet Protocol Version 4 (TCP/IPv4) Properties" opens.
Change the DNS server to
1.1.1.1
as shown below.
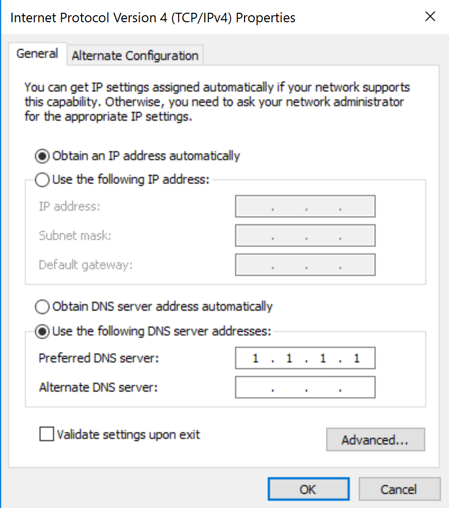
Click OK.
Click OK.
ping kittenwar.com

You should see an event saying "Name resolution for the name %1 timed out", as shown below.
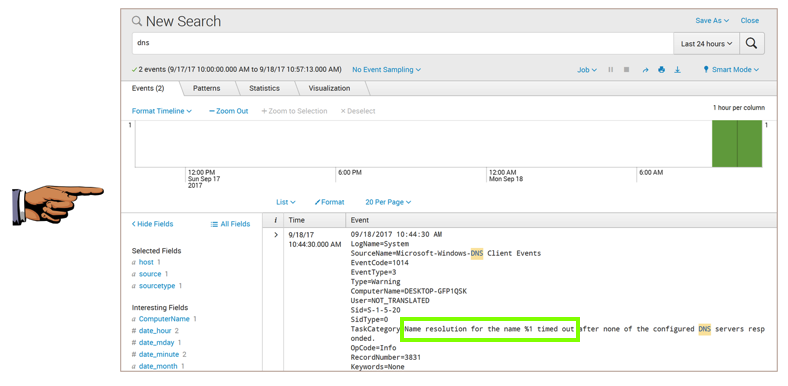
Make sure you can see "Name resolution for the name %1 timed out", as shown above.
Save a FULL DESKTOP image with the filename Proj 3b from Your Name.
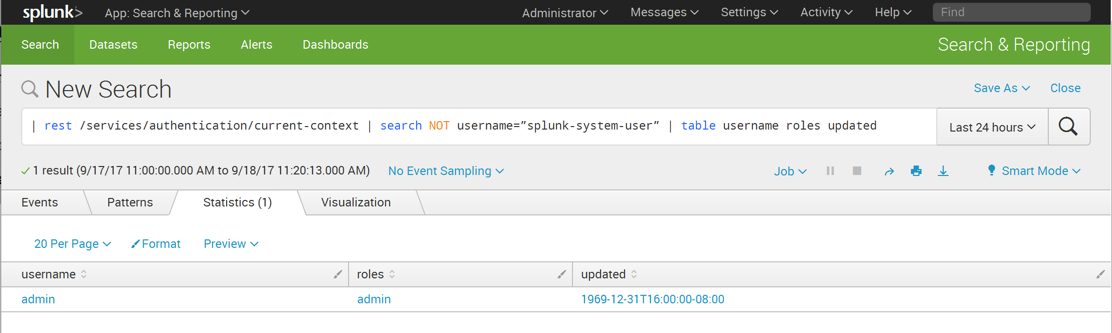
| rest /services/authentication/current-context | search NOT username=”splunk-system-user” | table username roles updated
Click the magnifying glass to perform the search.
You should see a single user named "admin", as shown below.
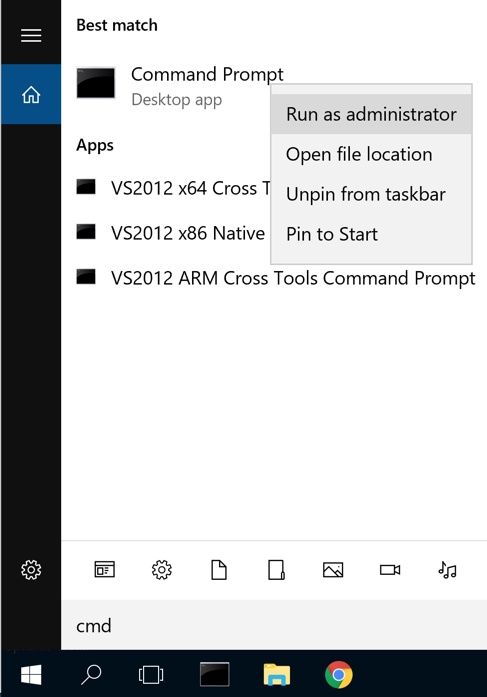
Search for CMD
Right-click "Command Prompt", as shown below, and click "Run as administrator". In the "User Account Control" box, click Yes.
net user /add YOURNAME YOURPASS

YOURNAME
Click the magnifying glass to perform the search.
You should see several events, as shown below.

In the events, some lines of data are omitted, and there are links to show them, such as the "Show all 49 lines" link outlined in green in the image above.
Click those links until you find the event showing this message: "A user account was created", as shown below.
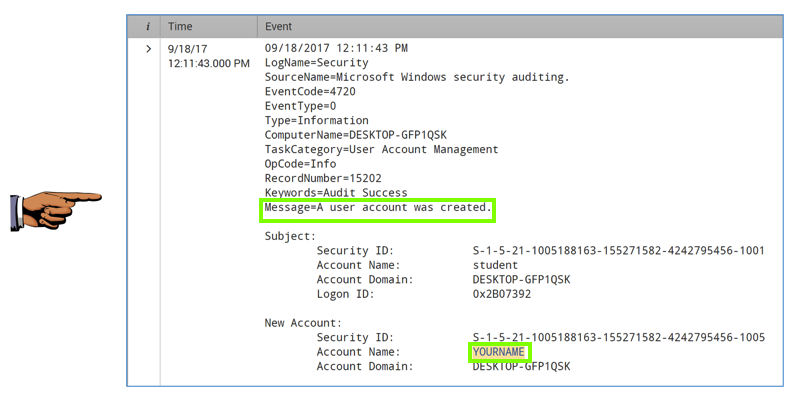
Save a FULL DESKTOP image with the filename Proj 3c from Your Name.