
For now, use the 30-day trial version. We should have free licenses for VMware products soon.
At the top, click DOWNLOAD
Download the ISO image. It's a file named securityonion-14.04.5.2.iso
Note: As of 12-10-17, the current version is now "securityonion-14.04.5.5.iso". You can use that one, the main difference is that it no longer includes Xplico by default.
From the menu bar, at the top of the screen, click File, New.
In the "Select the Installation Method" box, accept the default option of "Install from disk or image" and click Continue.
In the "Create a New Virtual Machine" box, click the "Use another disc or disc image..." button. Navigate to the securityonion-14.04.5.2.iso file, click Open, and click Continue.
In the "Choose Operating System" box, select Linux, "Ubuntu 64-bit", and click Continue.
In the "Finish" box, click the "Customize Settings" button.
In the next box, navigate to a location to save your virtual machine. Use a filename of YOURNAME-SO. Click Save.
A "YOURNAME-SO: settings" box opens. Click "Processors & Memory". Increase the memory to 3072 MB. Close the "YOURNAME-SO: settings" box.
Click the large rightward-pointing arrow to start your virtual machine.
In the "Welcome" screen, accept the default selection of English and click Continue.
In the "Preparing to install SecurityOnion" screen, check both boxes, as shown below, and click Continue.
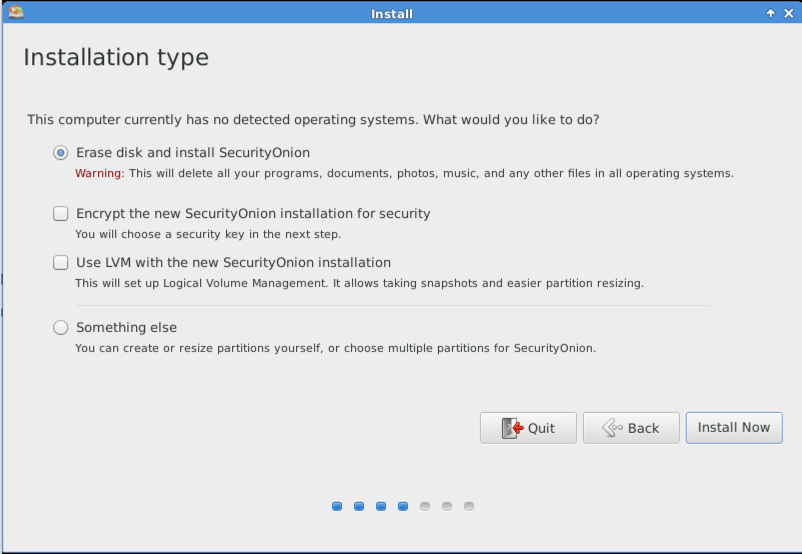
In the "Installation type" screen, accept the default selection of "Erase disk and install SecurityOnion", as shown below, and click "Install Now".
In the "Write the changes to disks?" box, click Continue.
In the "Where are you?" screen, verify that it has chosen your time zone and click Continue.
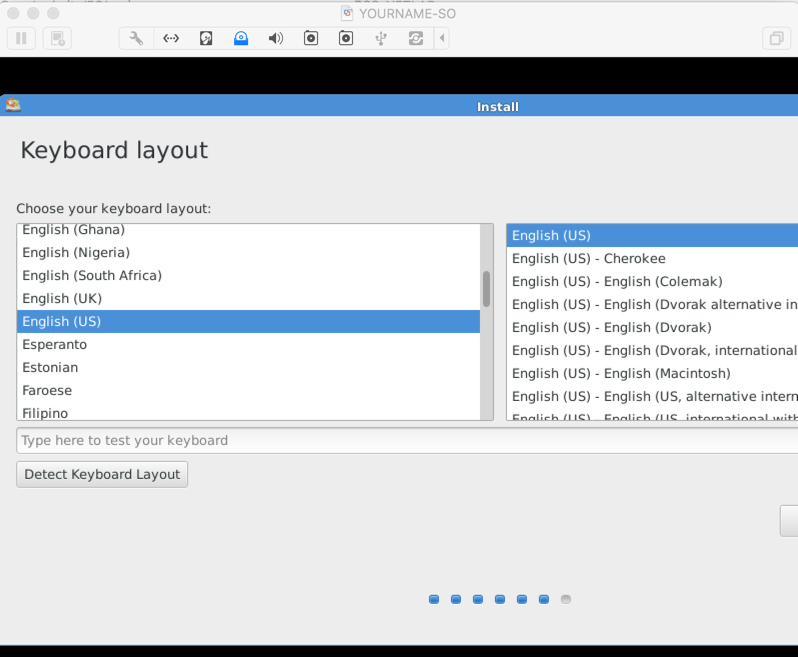
The next screen is titled "Keyboard layout", and it's too big to fit on the desktop, as shown below. This is a common problem with graphical Linux installers.
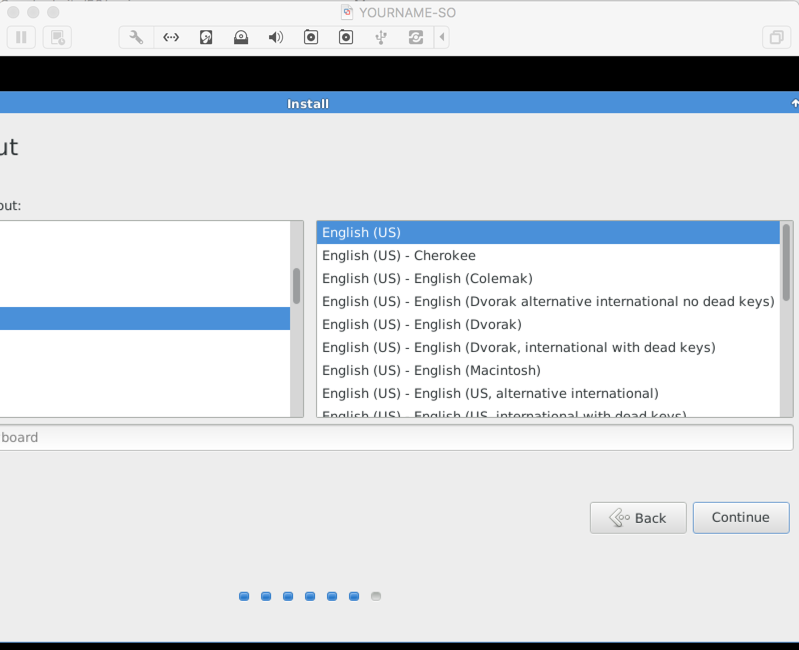
To continue, you need to click on the blue tite bar at the top of this window and drag it to the left, as shown below. Then click Continue.
In the next screen, enter a username and password, as shown below, and click Continue.
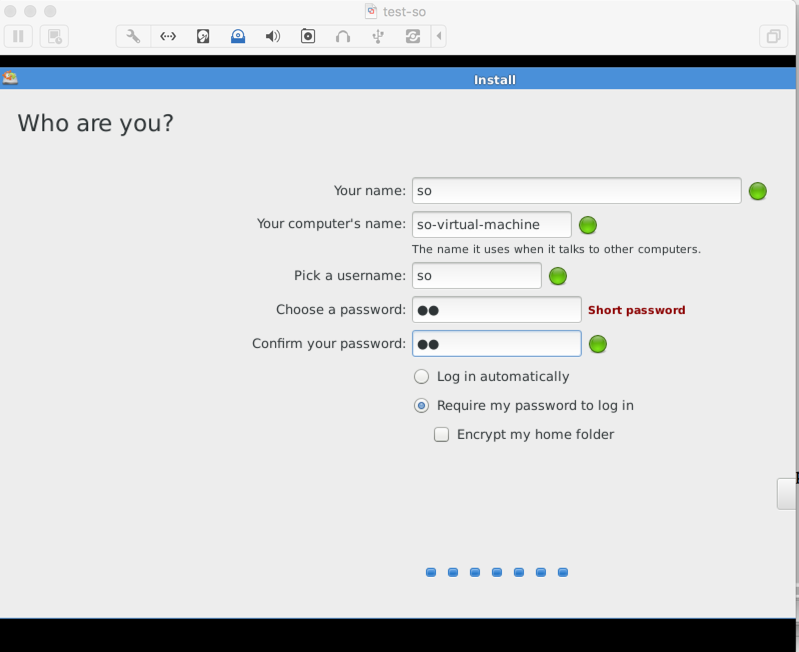
Don't forget the username and password! In my case, I used so for both. This is obviously insecure and used only for learning purposes.
When the installation finishes, an "Installation Complete" box appears. Click "Restart Now". Press Enter when you are prompted to. When the pale blue splash screen appears, wait a few seconds for it to boot with the default selection.
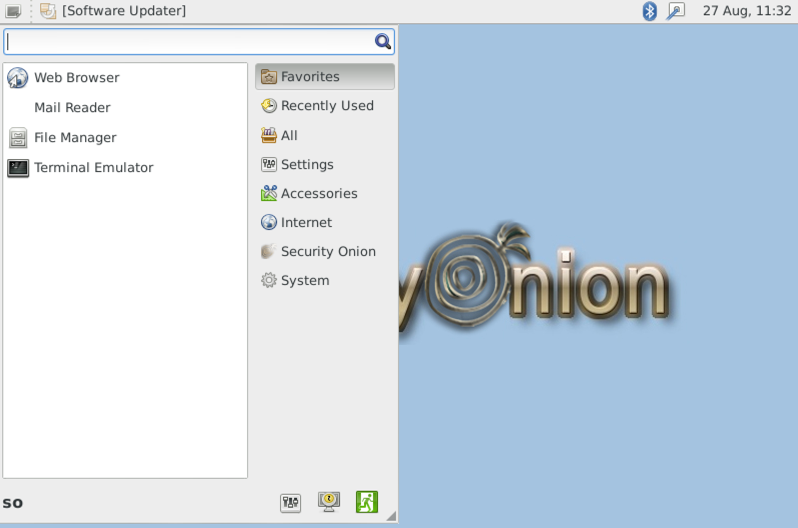
At the top left of the desktop, click the little dark rectangle icon. Click "Terminal Emulator", as shown below.
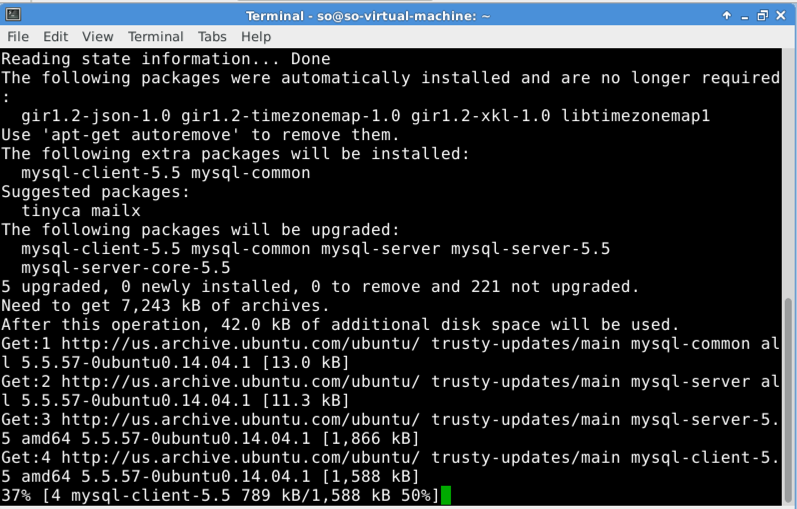
In the Terminal, execute this command:
sudo soup
Press Enter when you are prompted to. Wait while software downloads and installs, as shown below.
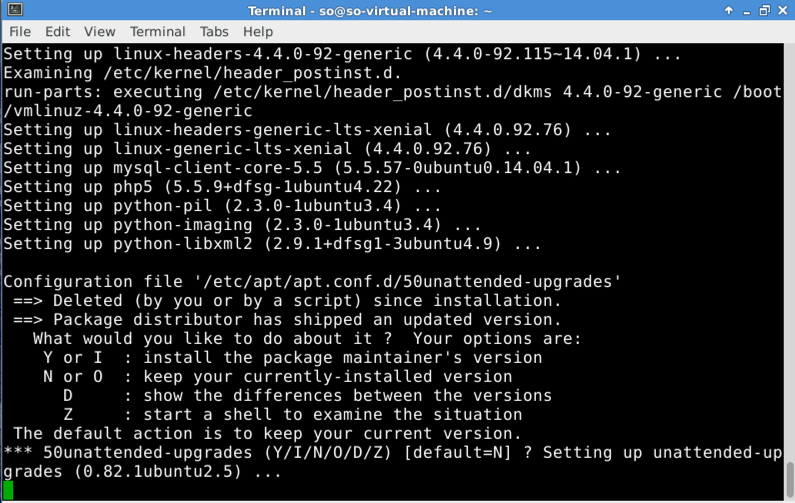
When the installer prints a question about unattended upgrades, as shown below, press Enter.
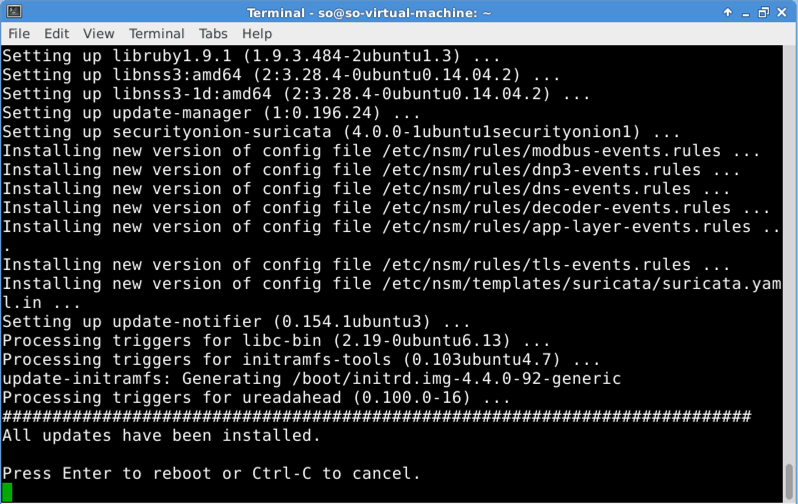
When you see the message "All updates have been installed", as shown below, press Enter.
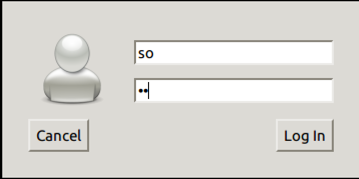
The VM restarts. Log in as usual.
Enter your password when you are prompted to.
In the "Welcome to Security Onion Setup!" box, click "Yes, Continue!".
In the "Would you like to configure /etc/network-interfaces now?" box, click "Yes, configure /etc/network-interfaces!".
The next box says "You only have one interface (eth0), which will be configured as a management interface."
Click OK.
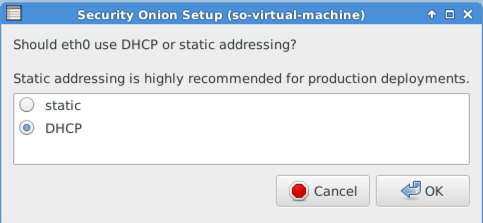
In the next box, click DHCP, as shown below. Click OK.
In the next box, click "Yes, make changes!".
In the next box, click "Yes, reboot!".
Click "Yes, Continue!".
Click "Yes, skip network configuration!".
If a box asks you whether to use "Stable Setup" or "Experimental Setup", accept the selection of "Stable Setup" and click OK.
In the "Evaluation Mode or Production mode" box, accept the default selection of "Evaluation Mode" and click OK.
The next box asks for a Sguil username. Enter
sguil and click OK.
The next box asks for a Sguil password. Enter
password and click OK.
The next box asks you to confirm the password. Enter
password and click OK.
In the next box, click "Yes, proceed with the changes!".
Click "Yes, Continue!".
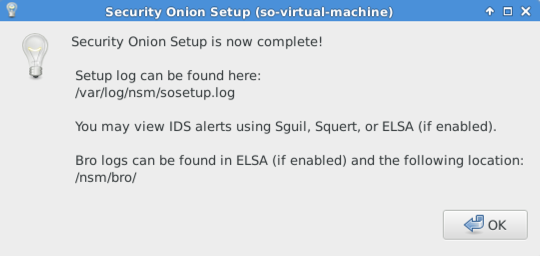
When you see the message "Security Onion Setup is now complete!", as shown below, click OK.
Click OK five more times. The SecurityOnion desktop appears, with several icons on it, including Sqert, as shown below.

Capture a whole-desktop image and save it as "Proj 1 from YOURNAME".
YOU MUST SEND IN A WHOLE-DESKTOP IMAGE FOR FULL CREDIT
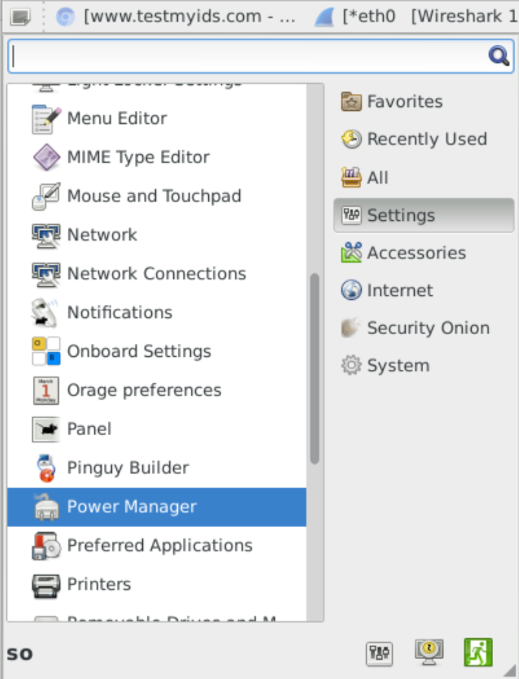
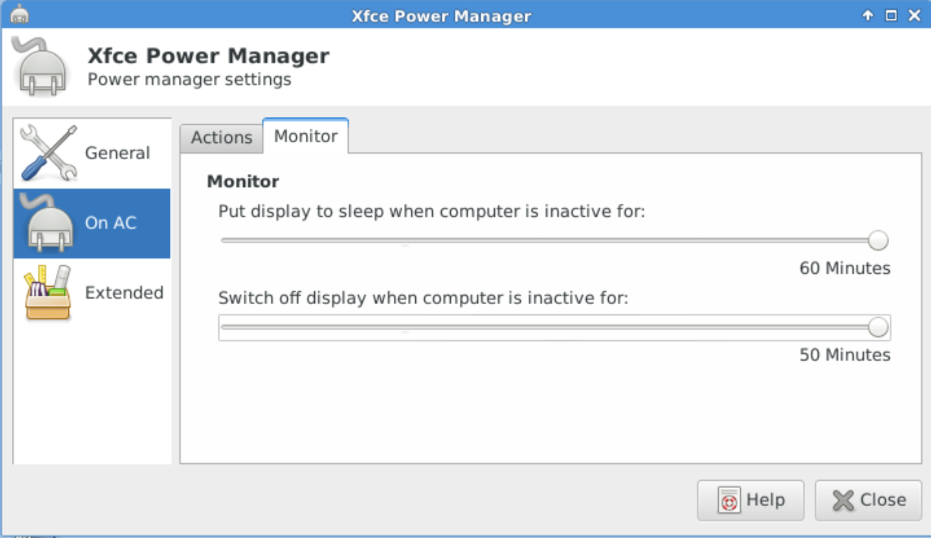
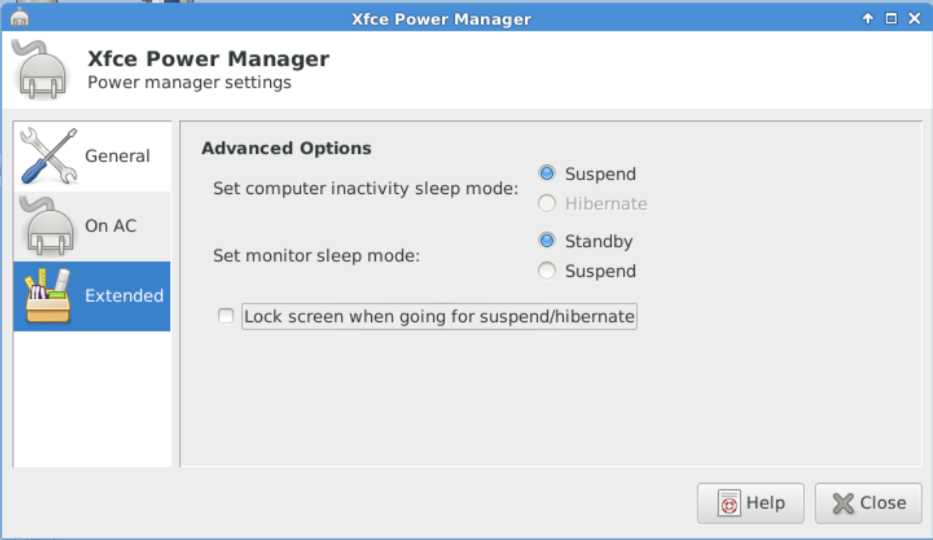
Adjust the power-saving settings to be less irritating, as shown below.
In the Terminal, execute this command:
sudo apt-get install -y open-vm-tools open-vm-tools-desktop
To set it to the local time zone, in the Terminal, execute this command:
sudo dpkg-reconfigure tzdata
sudo ufw allow 9876/tcp
Send a Cc to yourself.
Last Modified: 12-10-17