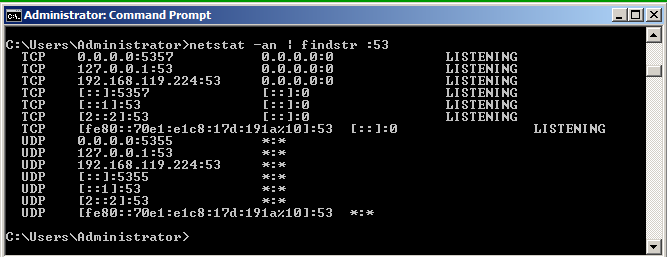
netstat -an | findstr :53
In a Command Prompt, execute the following command:
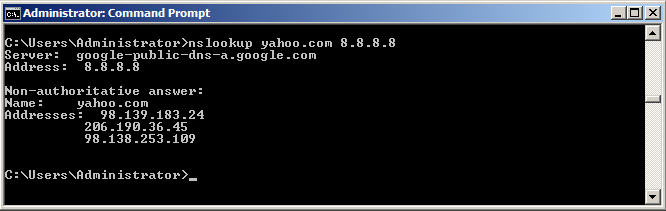
nslookup yahoo.com 8.8.8.8
You should see non-authoritative answers from the google-public-dns server, as shown below.
In a Command Prompt, execute the following command:
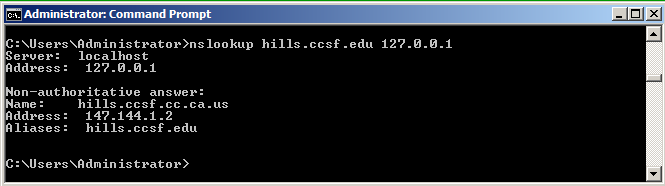
nslookup hills.ccsf.edu 127.0.0.1
You should see non-authoritative answers from the google-public-dns server, as shown below.
http://www.wireshark.org/download.html
Start Wireshark. On the left side, click your Internet-facing adapter. Click Start.
In the "Filter" bar, type dns and press Enter.
In the search results, click DNS.
In "DNS Manager", on the left side, right-click your server and click "Clear Cache", as shown below.

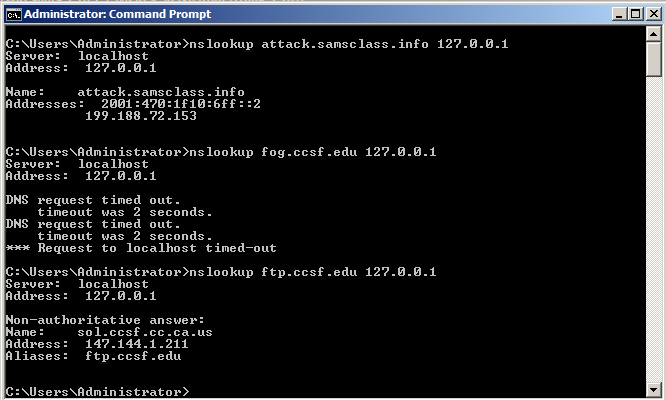
nslookup attack.samsclass.info 127.0.0.1

nslookup fog.ccsf.edu 127.0.0.1

nslookup ftp.ccsf.edu 127.0.0.1
Wireshark should show many DNS queries and responses, as shown below.

Look in the Info column, on the right side, and click a "Standard query..." packet.
In the middle pane, expand the "User Datagram Protocol..." line.
Right-click "Source port..." and click "Apply as Column", as shown below.
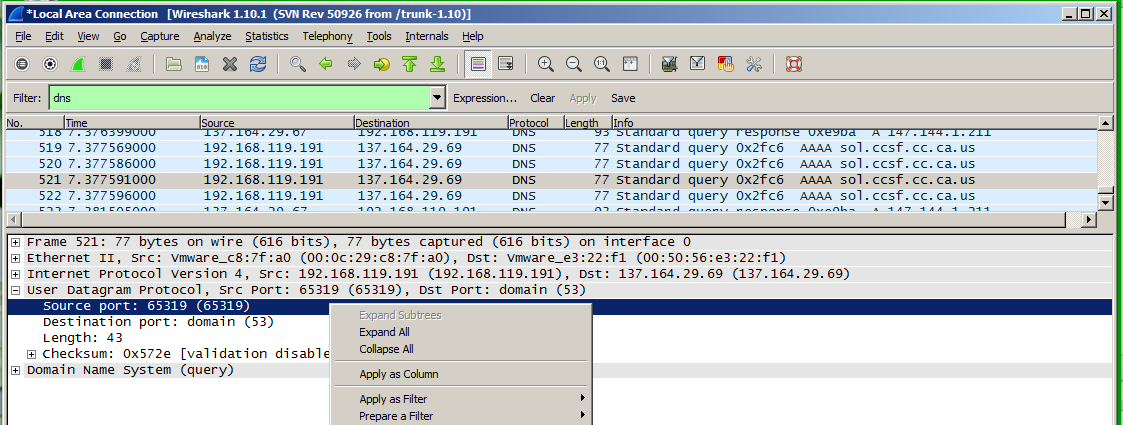
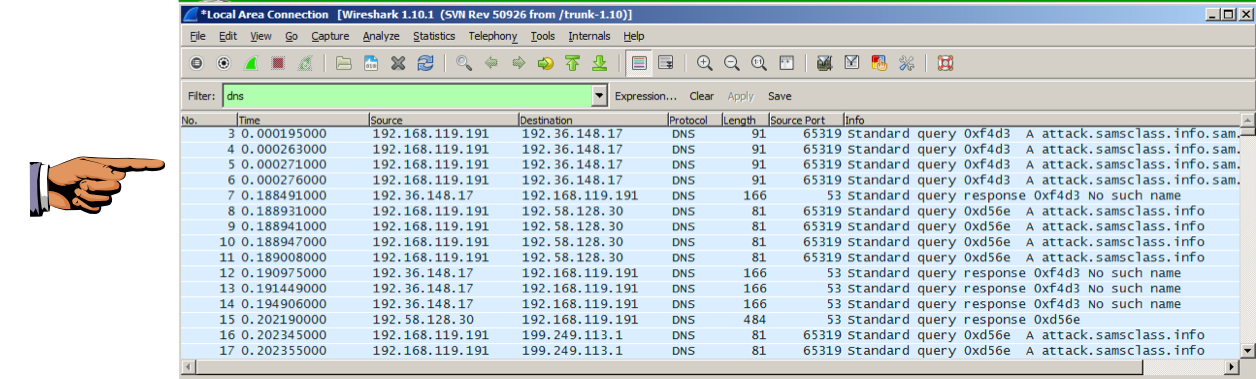
If necessary, scroll up until you find several "Standard query" packets. The Source Port for each packet should be visible as a column.
If you are using Windows Server 2008, all the Source Ports are the same. When I did it, they were all 65319, as shown below.
This is a serious server vulnerability, making it far easier to poison the cache on the server.
If you are using Windows Server 2008 R2, the source ports should be random.
Click the taskbar at the bottom of your host computer's desktop, to make the host machine listen to the keyboard, instead of the virtual machine.
Press the PrintScrn key in the upper-right portion of the keyboard. That will copy the whole desktop to the clipboard.
YOU MUST SUBMIT A FULL-DESKTOP IMAGE FOR FULL CREDIT!
On the host machine, not the virtual machine, click Start.
Type mspaint into the Search box and press the Enter key.
Click in the untitled - Paint window, and press Ctrl+V on the keyboard. The desktop appears in the Paint window.
In the upper left corner of the "untitled - Paint" window, click the little blue square icon (it looks like a floppy disk, something people used to use long ago--you might never have seen one).
Save the document with the filename "YOUR NAME Proj 4", replacing "YOUR NAME" with your real name.
Send a Cc to yourself.