sudo apt update
sudo apt install bind9 dnsutils bind9utils -y
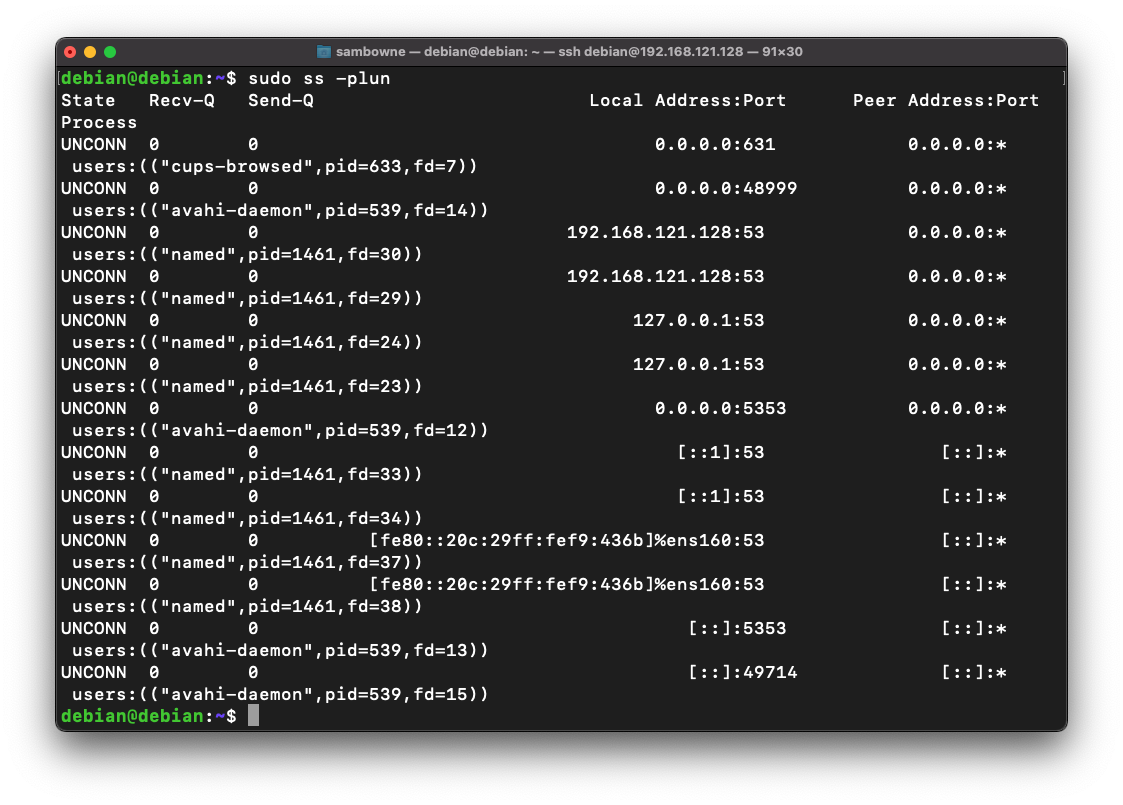
sudo ss -plun
You see the "named" process listening on port 53 on all available IP addresses, as shown below.
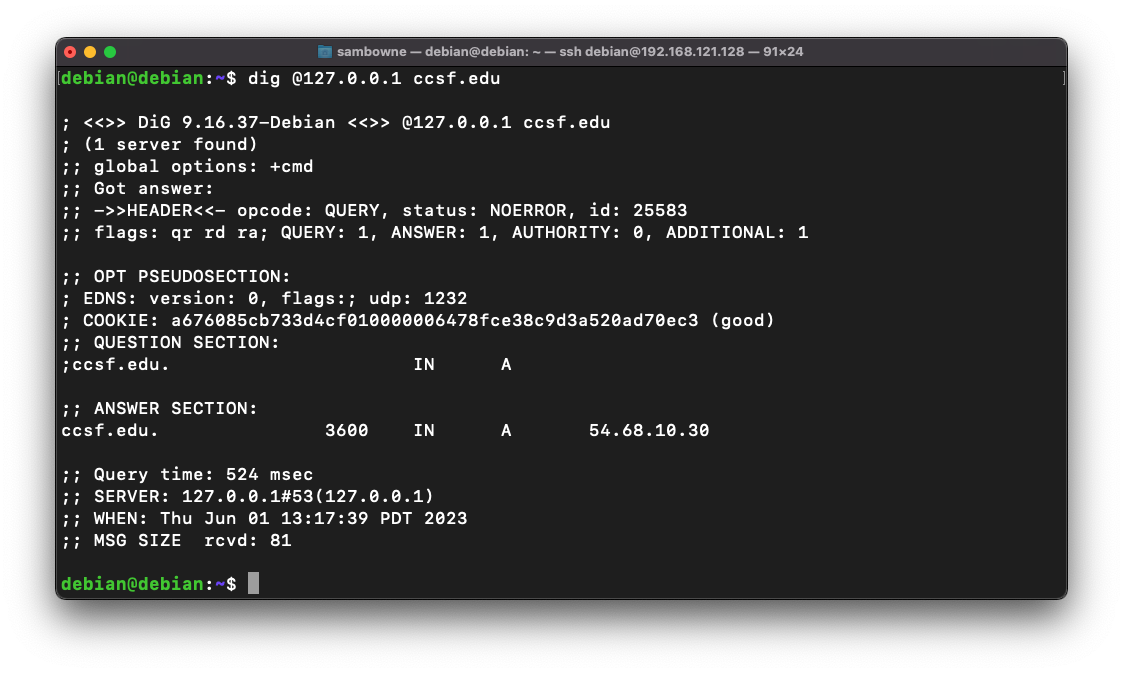
dig @127.0.0.1 ccsf.edu
As shown below, it finds an IPv4 address, and at the bottom, it shows the server that was used as "SERVER: 127.0.0.1#53(127.0.0.1)".
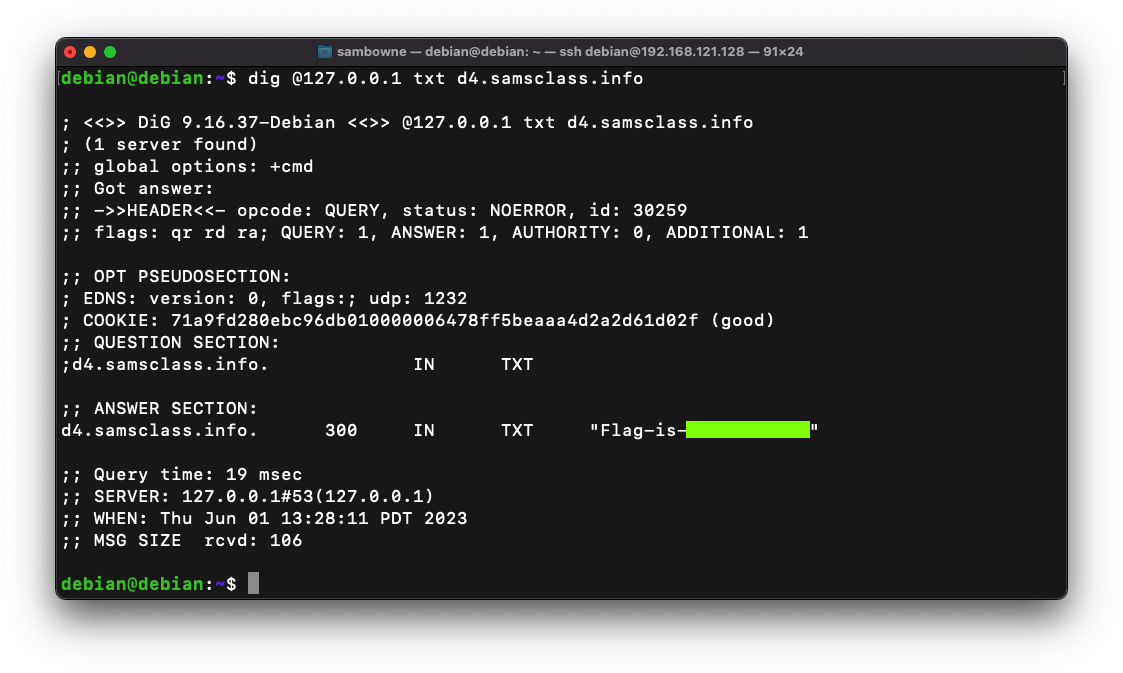
Flag D 4.1: TXT Record (10 pts)
In the Terminal window, execute this command:The flag appears, covered by a green rectangle in the image below.
sudo rndc dumpdb
nano /var/cache/bind/named_dump.db
Then press Enter.
You should the glue record for samsclass.info, as shown below.
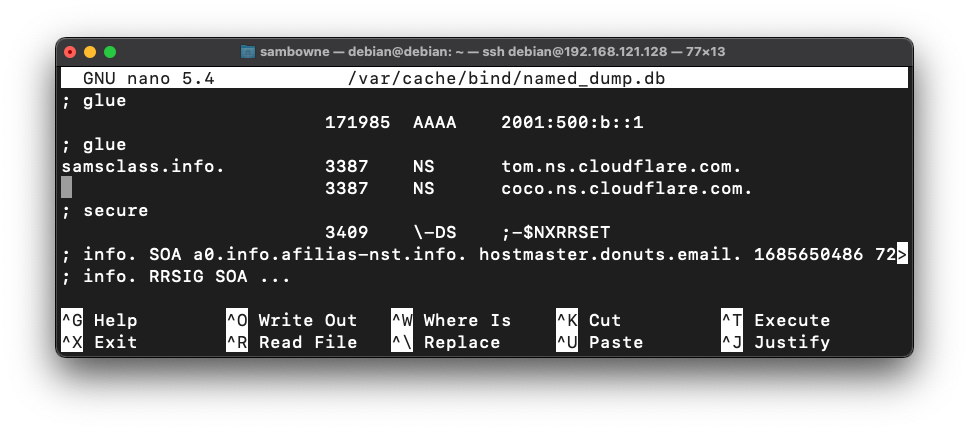
Type Ctrl+X to exit nano.
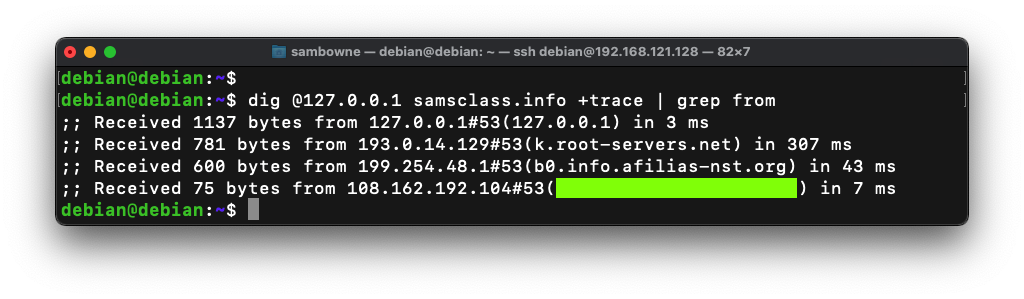
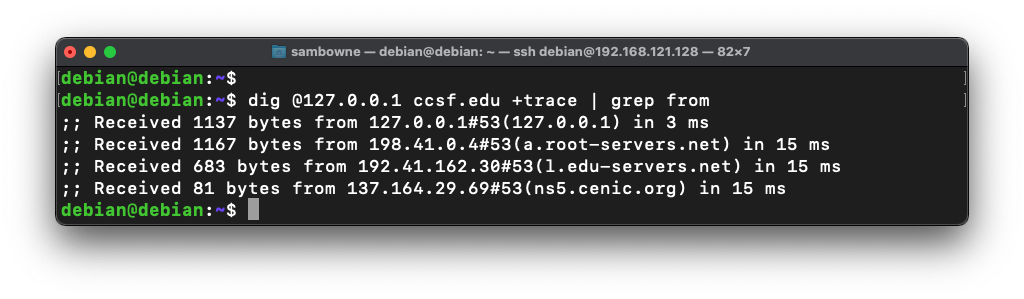
dig @127.0.0.1 ccsf.edu +trace | grep from
Flag D 4.2: SOA (5 pts)
In the Terminal window, execute this command:The flag appears, covered by a green rectangle in the image below.