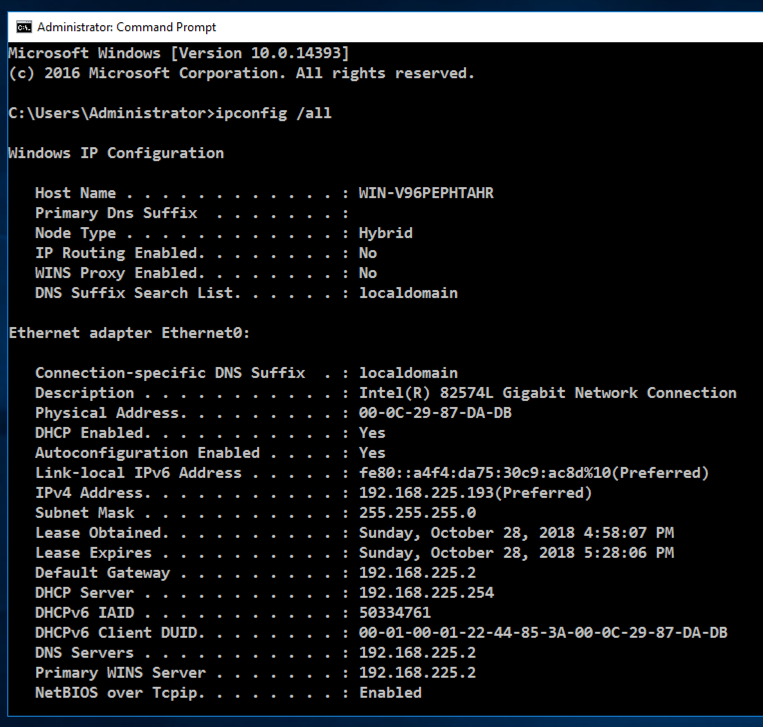
IPCONFIG /ALL
https://www.alienvault.com/products/ossim
In the bottom right of the page, click the blue "DOWNLOAD ALIENVAULT OSSIM ISO" button, as shown below.

On the next page, click the "No thanks..." link at the bottom to start the download.
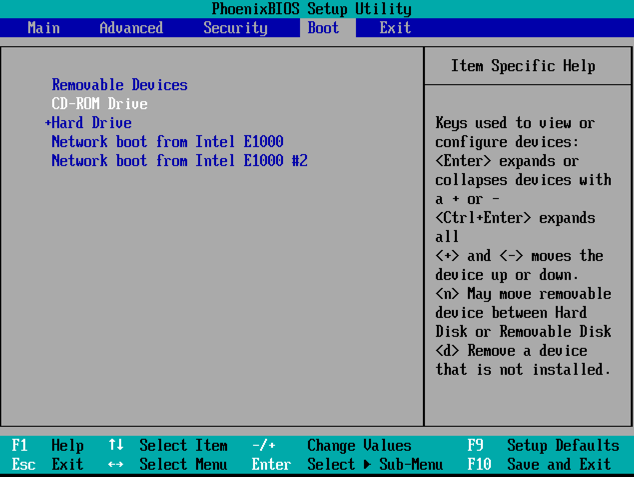
I had to adjust the BIOS to boot from CD, as shown below.
At the "Select a language" screen, click Continue to select the default of English.
At the "Select your location" screen, click Continue to select the default of "United States".
At the "Configure the network" screen, enter an unused IP address on the same subnet as your Windows machine, as shown below. click Continue.
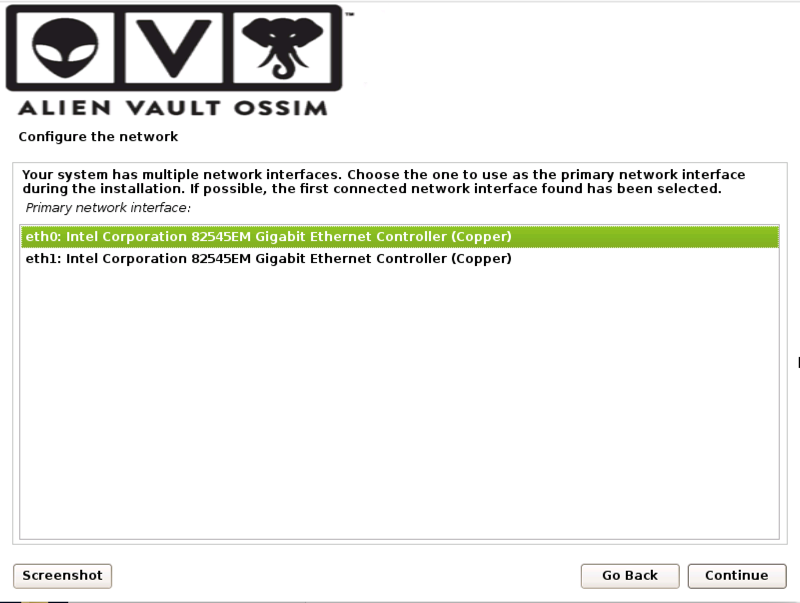
At the "Configure the network" screen, accept the default selection of eth0, as shown below, and click Continue to select the default of "American English".
At the "Netmask" screen, click Continue to select the default of 255.255.255.0.
At the "Gateway" screen, enter your correct gateway address and click Continue.
At the "Name server addresses" screen, enter your correct DNS server address and click Continue.
At the "Set up users and passwords" screen, enter a root password of P@ssw0rd in both boxes and click Continue.
At the "Configure the clock" screen, select Pacific and click Continue.
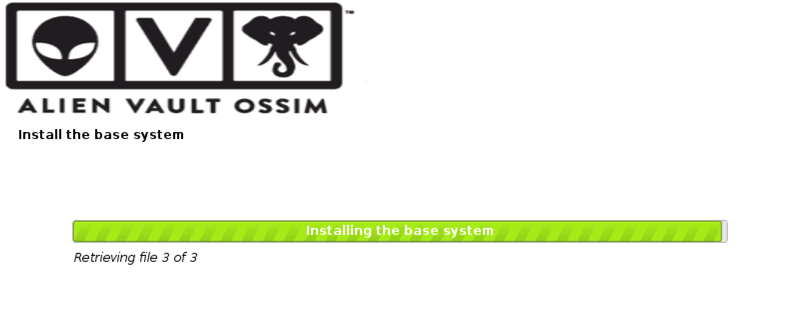
Wait while software installs, as shown below.
After the installation finishes, the virtual machine reboots, and the screen shown below appears.

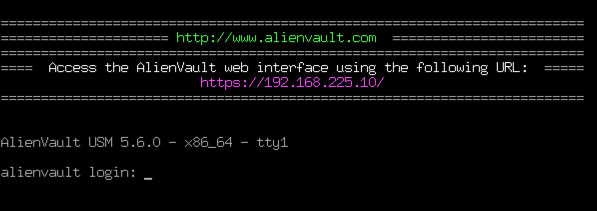
Wait a minute or so for the process to complete, and the scren below will appear, showing the IP address to use to connect to your AlienVault SIEM.
On your Windows machine, click Start and type FIREWALL
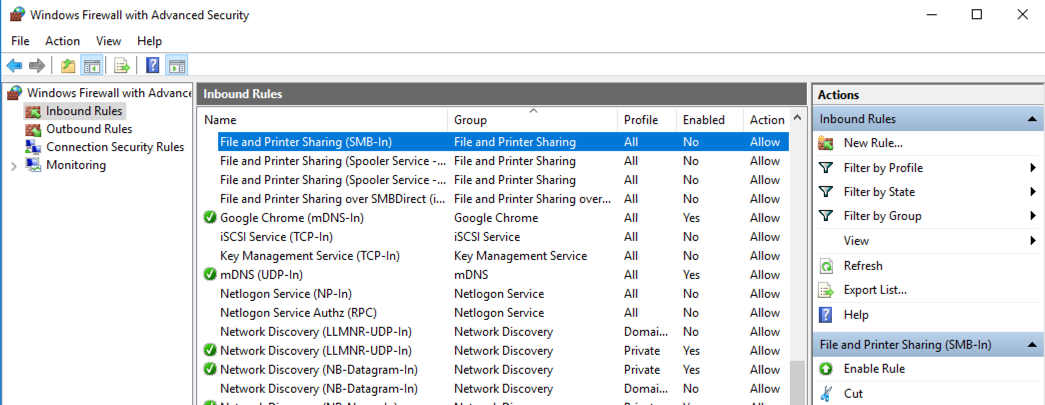
Click "Windows Firewall with Advanced Security".
On the left side, click "Inbound Rules".
In the center pane, click "File and Printer Sharing (SMB-In)" to highlight it, as shown below.
On the right side, click "Enable Rule".
On your Windows machine, click Start and type CMD
Right-click "Command Prompt" and click "Run as Administrator".
In the Administrator Command Prompt window, execute this command:
gpedit.msc
In the pop-up box, check both boxes, as shown below, and click OK.
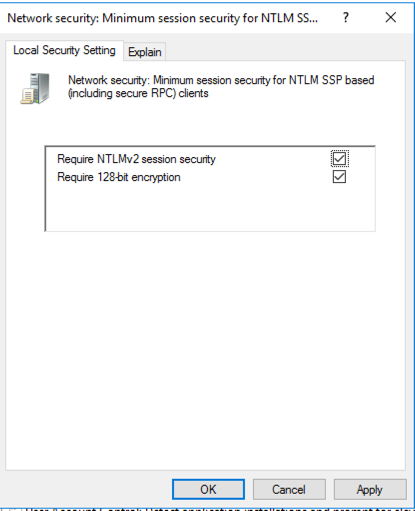
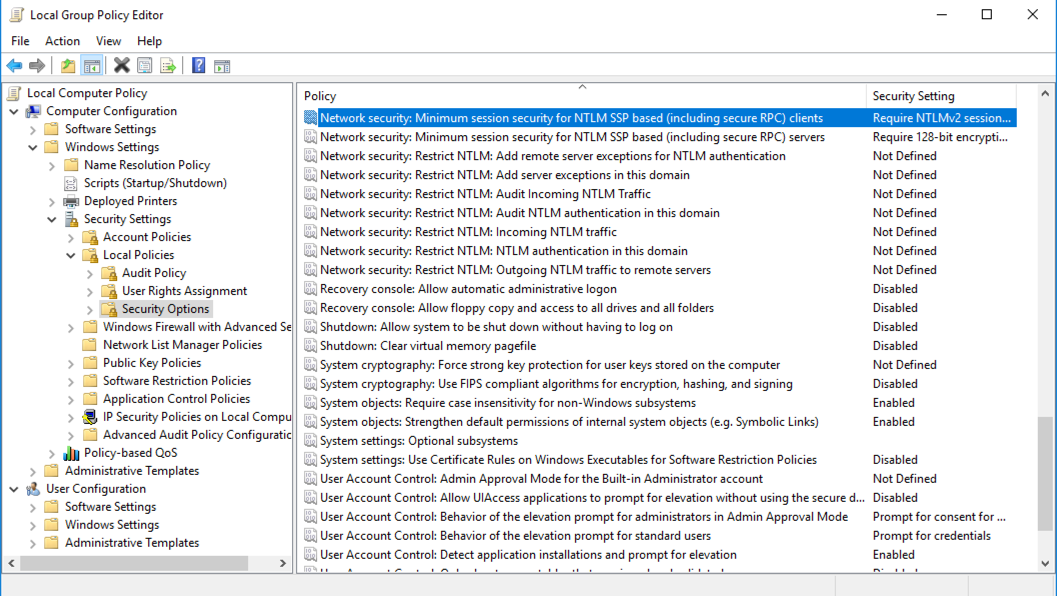
In Local Group Policy Editor, in the right pane, double-click "Network Security: Minimum session security for NTLMSPP based (including secure RPC) servers".
In the pop-up box, check both boxes, and click OK.
In Local Group Policy Editor, in the right pane, scroll up and double-click "Network Security: LAN Manager Authentication level".
In the pop-up box, select "Send NTLMv2 response only. Refuse LM & NTLM", as shown below.
Click OK.

In the Confirm Setting Change box, click Yes.
You will need to approve a security exception to view the page, because it uses a self-signed HTTPS certificate.
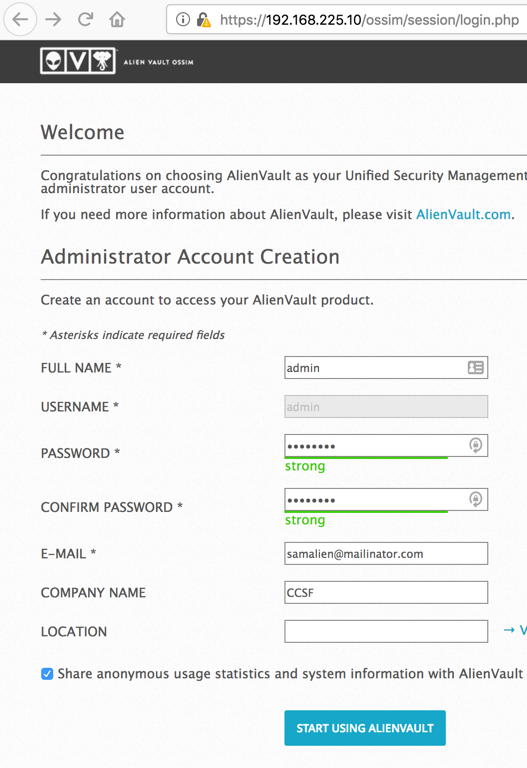
Fill out the form, using a name of admin and a password of P@ssw0rd, as shown below, and click "START USING ALIENVAULT".
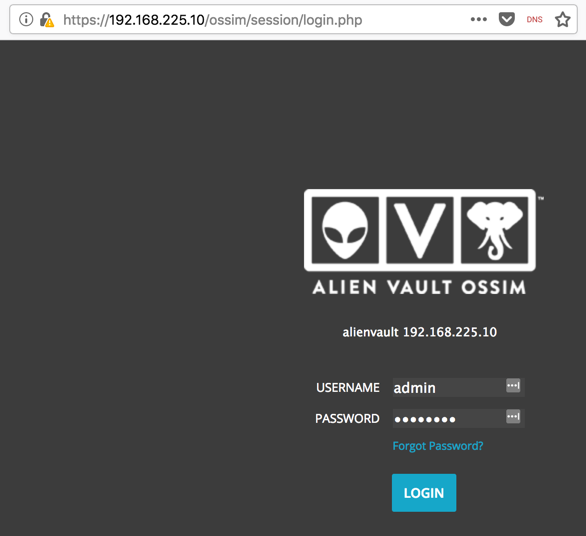
Log in with a username of admin and a password of P@ssw0rd, as shown below.
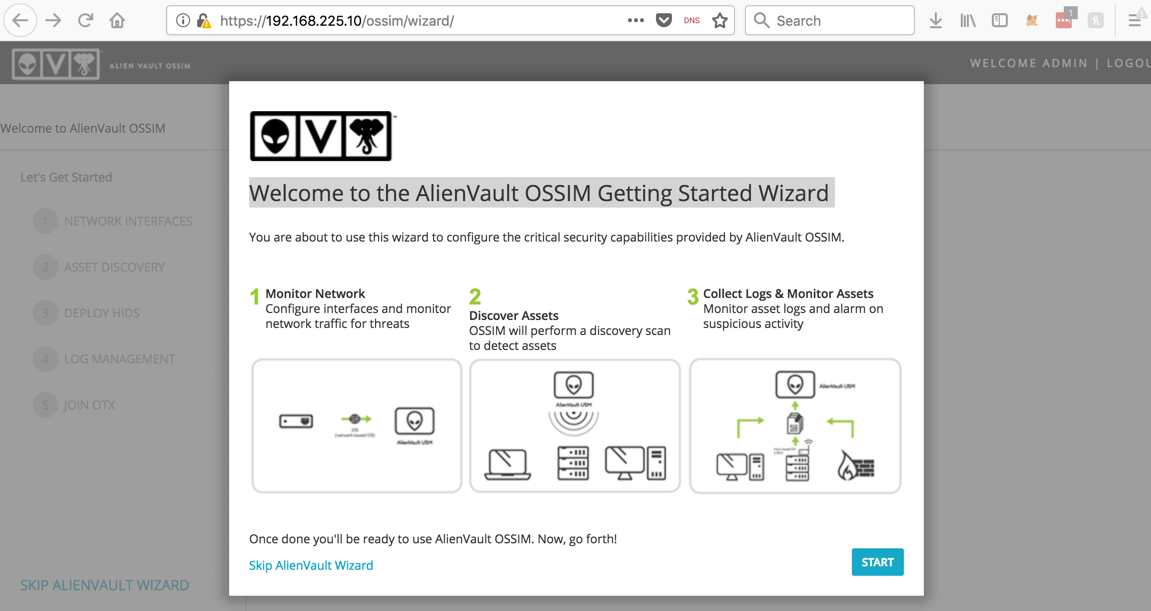
In the "Welcome to the AlienVault OSSIM Getting Started Wizard" page, click START, as shown below.
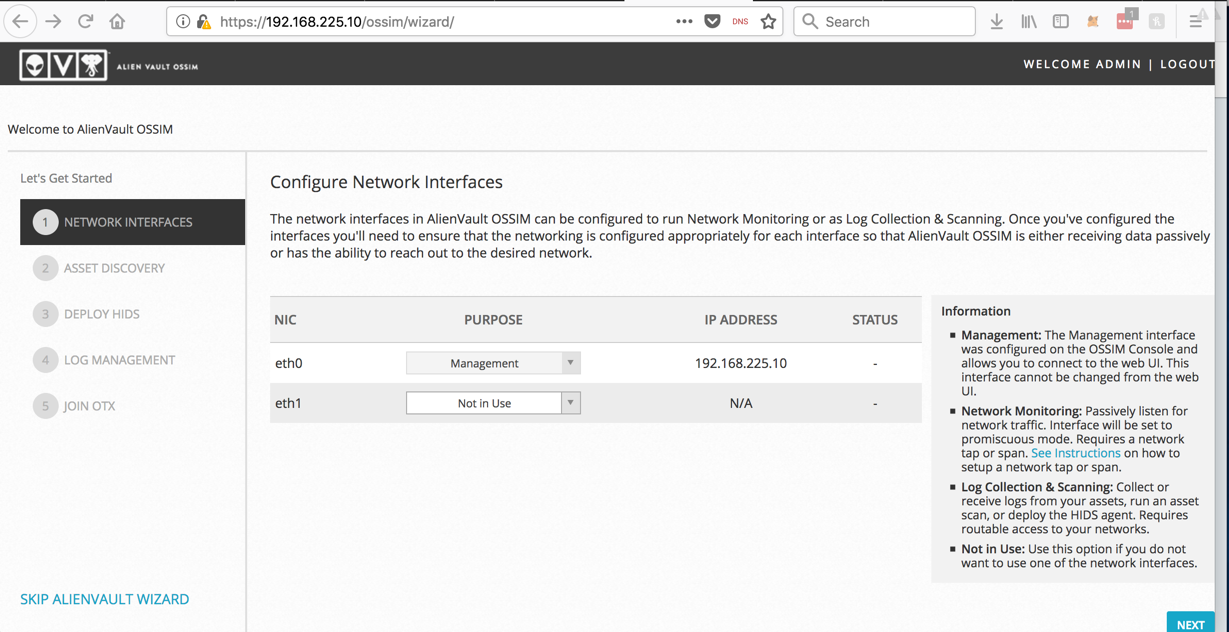
In the "Configure Network Interfaces" page, "eth1" is set to "Not in Use", as shown below.
Set "eth1" to "Log Collection & Scanning".
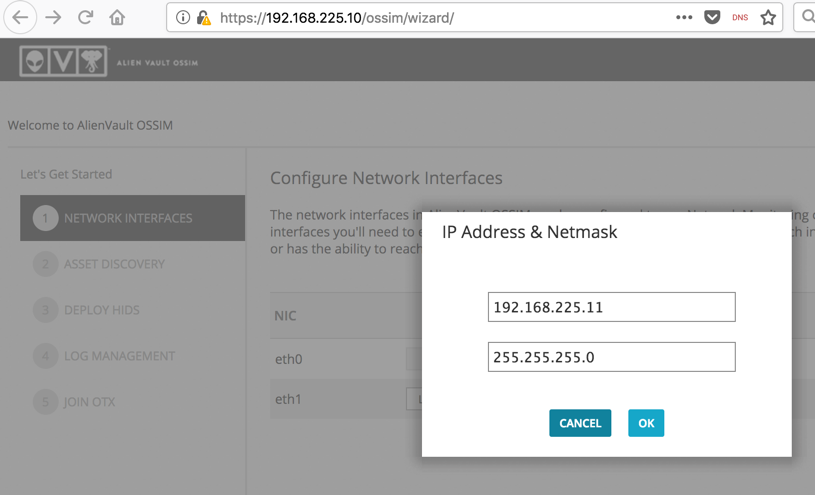
A box pops up asking for an IP address. Give it another IP address and network mask on the same subnet as your Windows machine, as shown below.
Click OK.
In the "Configure Network Interfaces" page, click NEXT.
In the "Scan & Add Assets" page, verify that your Windows server was detected, as outlined in green in the image below.
Click NEXT.

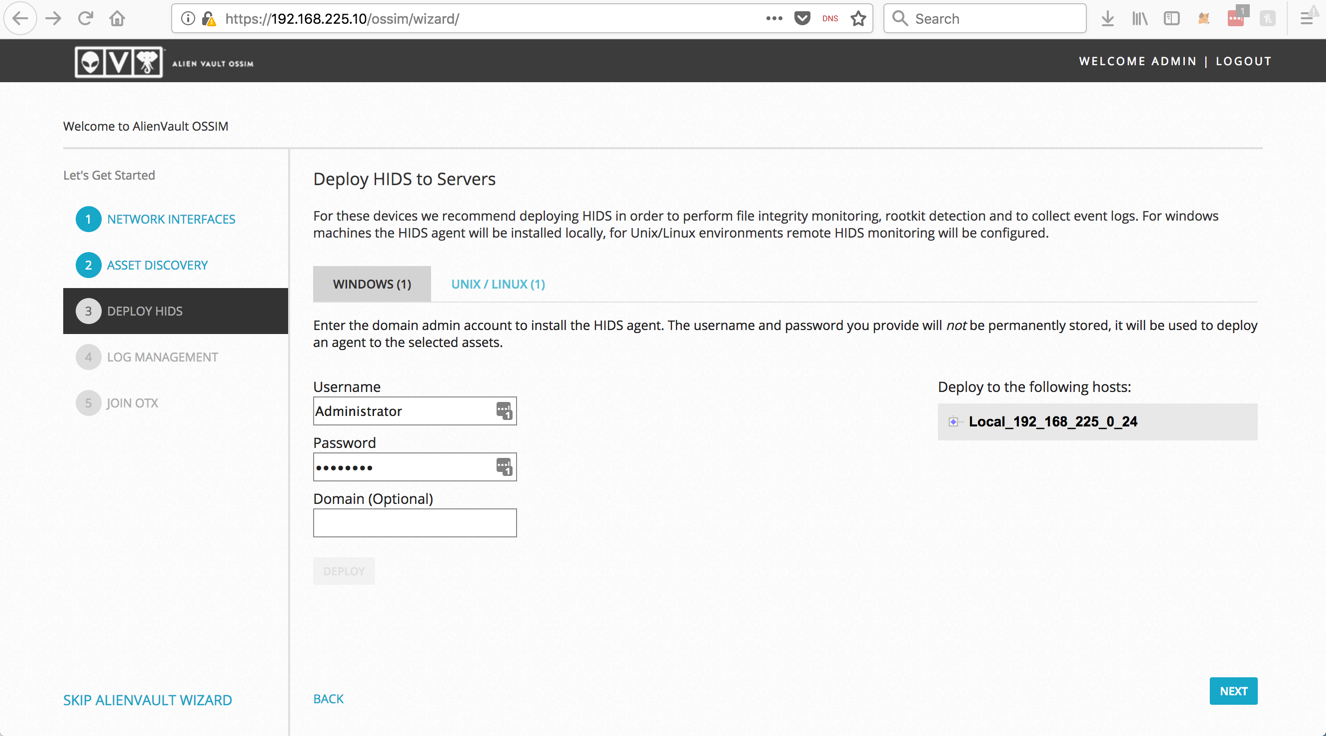
In the "Deploy HIDS to Servers" page, enter your Windows credentials, as shown below.
Click NEXT.
In the "Set up Log Management" page, a red message says "There are no network devices found.".
Click "SKIP THIS STEP".
In the "Join the Open Threat Exchange " page, click "SKIP THIS STEP".
On the next page, click FINISH".
A "Congratulations" box pops up. Click "EXPLORE ALIENVAULT OSSIM".
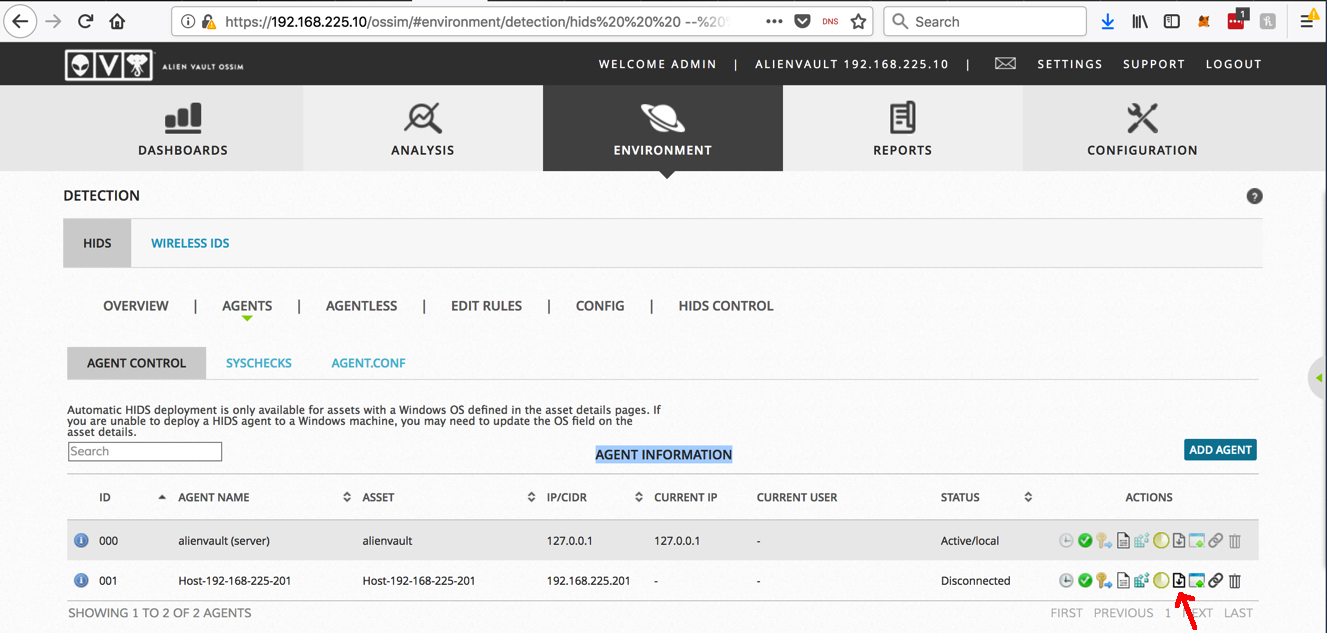
So to deploy the agent, in the Alienvault Web page, at the top center, click ENVIRONMENT, DETECTION.
In the center left, click AGENTS.
At the bottom of this window, in the "AGENT INFORMATION" section, in the line for your Windows host, on the right side, click the download icon, indicated by a red arrow in the image below.
Save the ossec_installer_001.exe file on your host system.
Drag the ossec_installer_001.exe file onto your Windows virtual machine's desktop and double-click the file to install the agent.
A Command Prompt pops up briefly saying "The OSSEC Agent is Starting" and then closes.
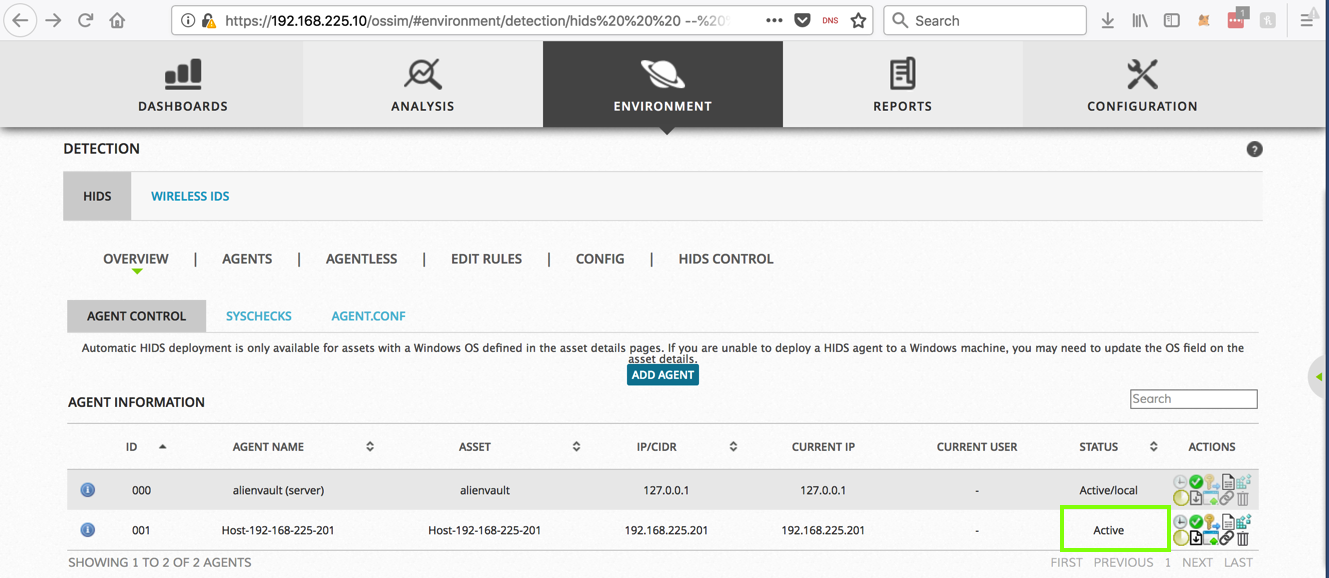
In the AlienVault Web page, the agent should change to "Active", as shown below, after a minute] or two. If it does not, try clicking the clockface icon to restart the agent.
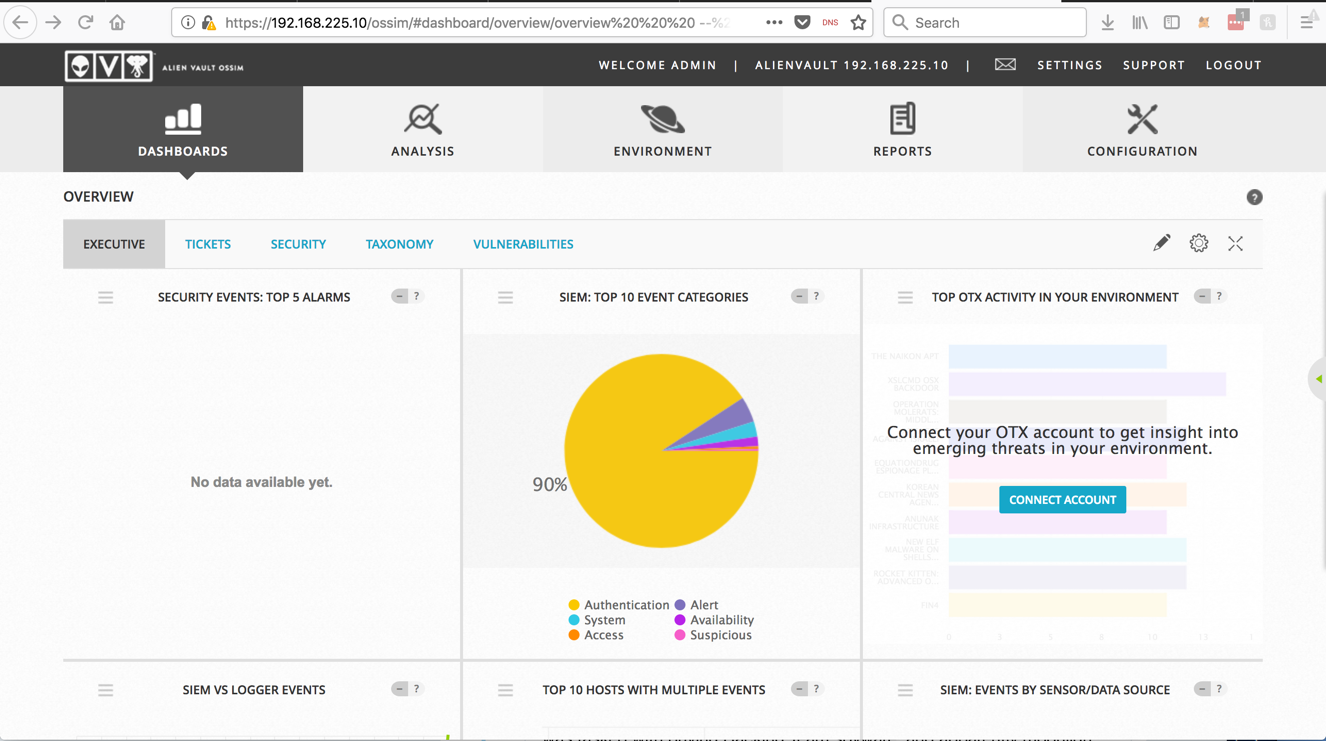
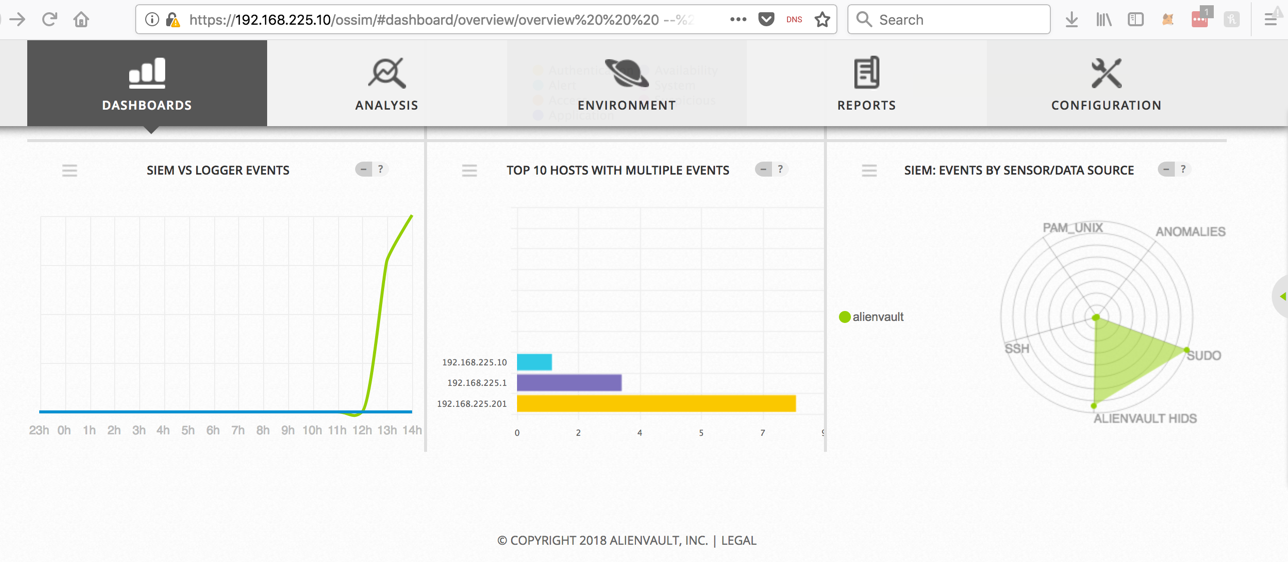
Scroll down to the "TOP 10 HOSTS WITH MULTIPLE EVENTS" section, as shown below.
Click the colored bar with your Windows server's IP address next to it.
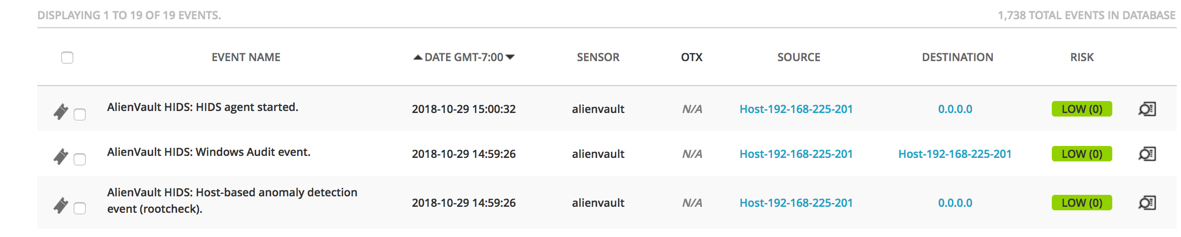
A "SECURITY EVENTS (SIEM)" page opens. Scroll to the bottom to see individual events.
You should see events from the Windows server, including "AlienVault HIDS: HIDS agent started", as shown below.
Right-click "Command Prompt" and click "Run as Administrator".
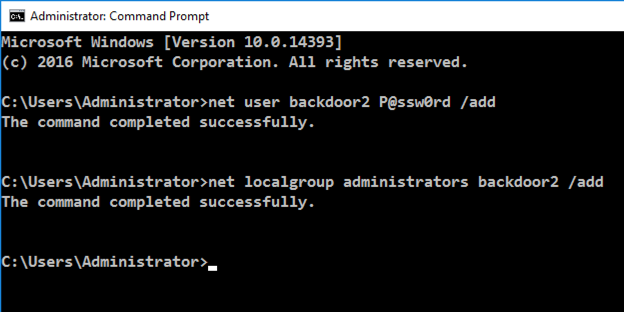
In the Administrator Command Prompt window, execute these commands, as shown below.
net user backdoor2 P@ssw0rd /add
net localgroup administrators backdoor2 /add
In the "DATA SOURCES" field, select "AlienVault HIDS", as shown below.
On the right side, click the "ADVANCED SEARCH" button.
A box pops up. Click "QUERY DB".
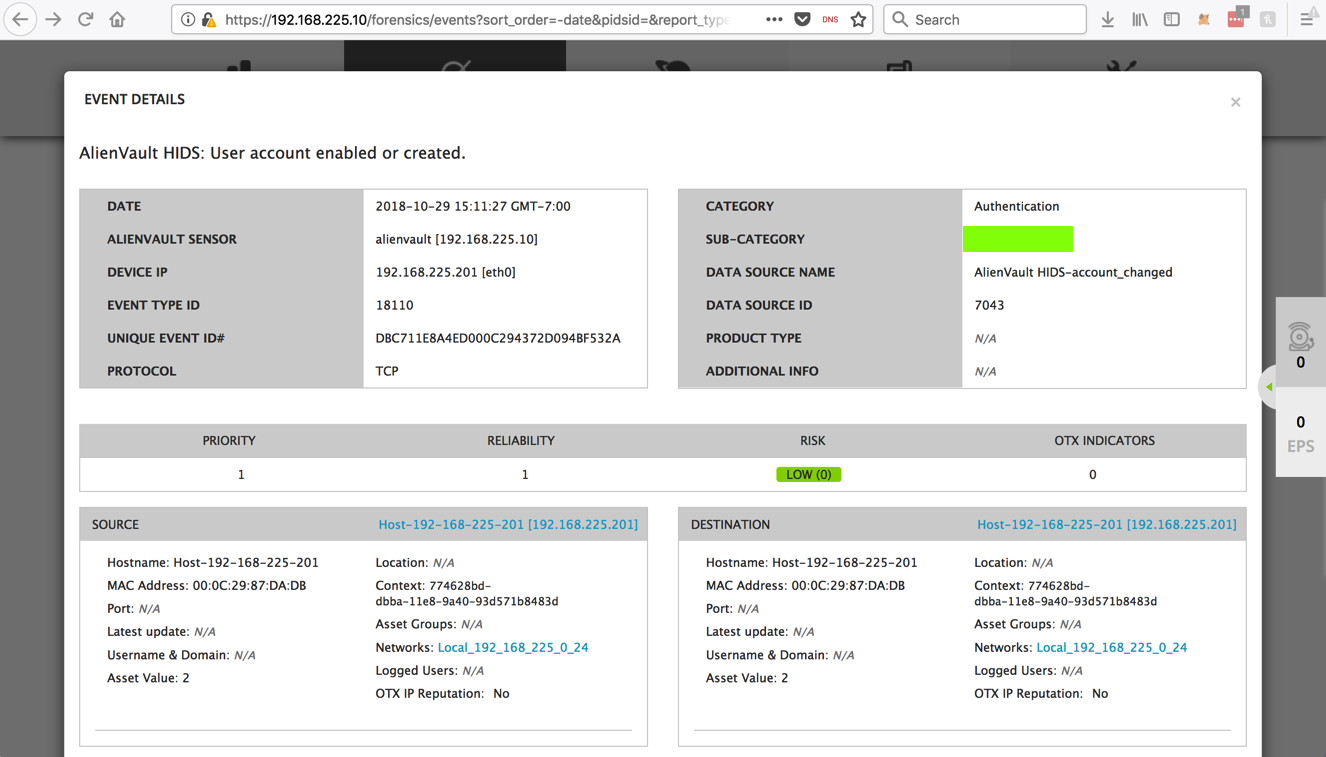
Scroll down to see the events. You should find an event named "AlienVault HIDS: User account enabled or created.", as shown below.
Click that event to see details.

A details page opens, as shown below. Find the "SUB-CATEGORY" name, which is covered by a green box in the image below.
If you don't have a Canvas account, see the instructions here.