
On your Windows Server 2016 desktop, click Start. Click "Server Manager".
Click "Add Roles and Features".
Click Next.
In the "Select installation type" box, accept the default selection of "Role-based or feature-nased installation" and click Next.
In the "Select destunation server" box, accept the default selection and click Next.
In the "Select server roles" box, expand the "File and Storage Services" section. Expand the "File and iSCSI Services" section. Click "File Server", as shown below.
Click Next.
In the "Select features" box, click Next.
In the "Confirm installation selections" box, click Install.
https://www.rapid7.com/try-now
In the "InsightVM" section, click the "Free Trial" button, as shown below.
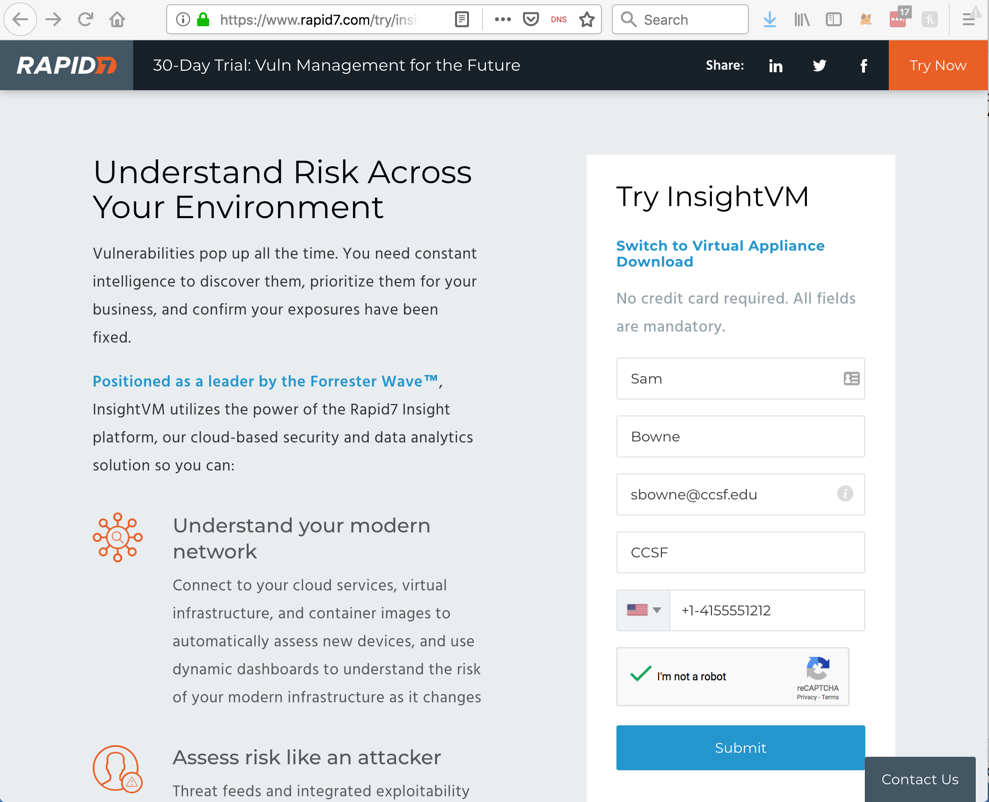
On the next page, fill in the form and click Submit, as shown below.
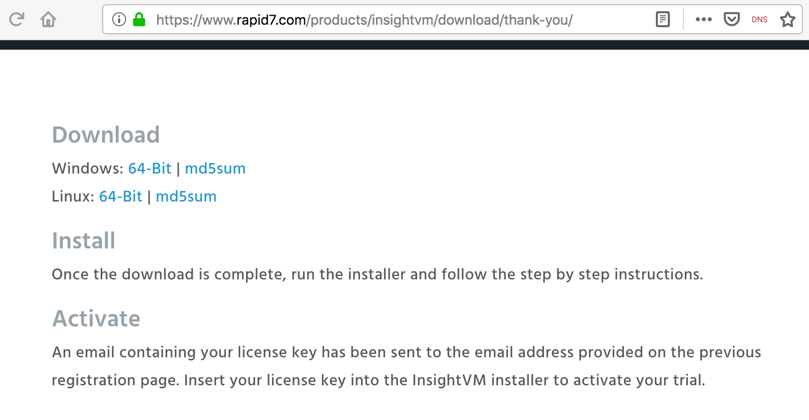
On the next page, download the Windows 64-Bit version, as shown below.
It may complain that it wants more disk space or RAM, but you can bypass those complaints.
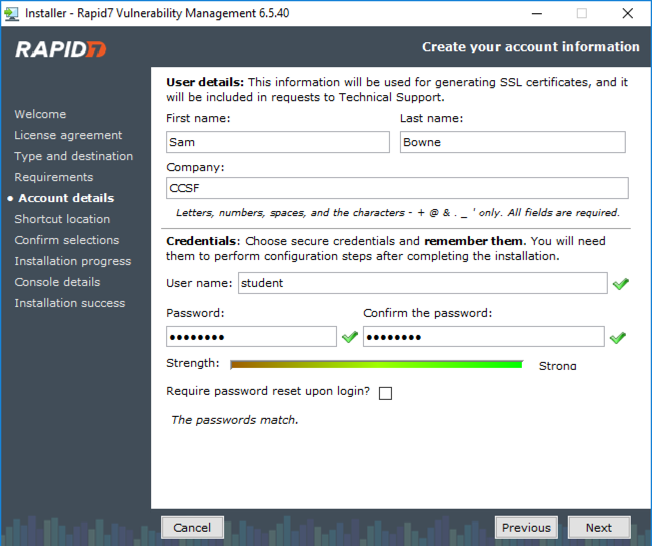
You'll have to make an account, as shown below. I recommend a username of student and a password of P@ssw0rd
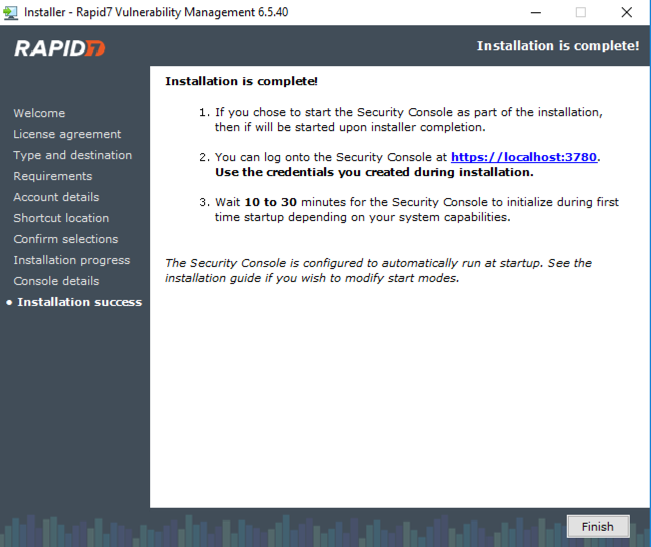
The last screen tells you how to connect to the product, and warns you that it may take 30 minutes to finish setup, as shown below.
Restart your server, when you are prompted to.
Log in again.
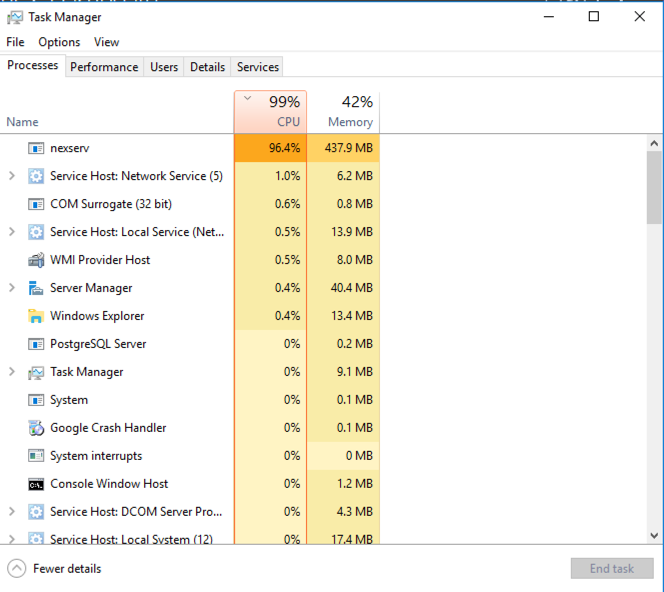
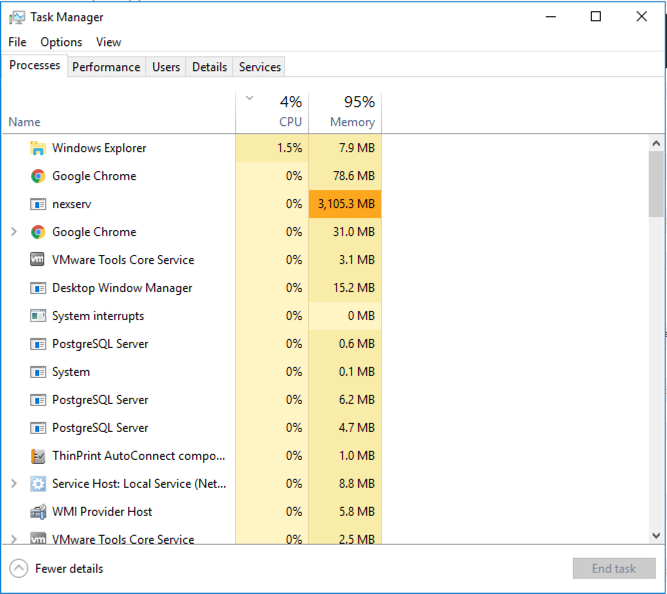
Task Manager will show the "nexserv" process consuming all available CPU, as shown below.
When the CPU usage falls to a low value, the installation is complete. It took about 20 minutes when I did it.
Accept the self-signed certificate and log in with your credentials, which are probably student and P@ssw0rd
I never got a product key from the previous form I filled out. I had to fill this one out also:
https://www.rapid7.com/info/nexpose-community/
After that, I got a product key in my email.
Enter your key into the product and activate it.
Click "Create a Site".
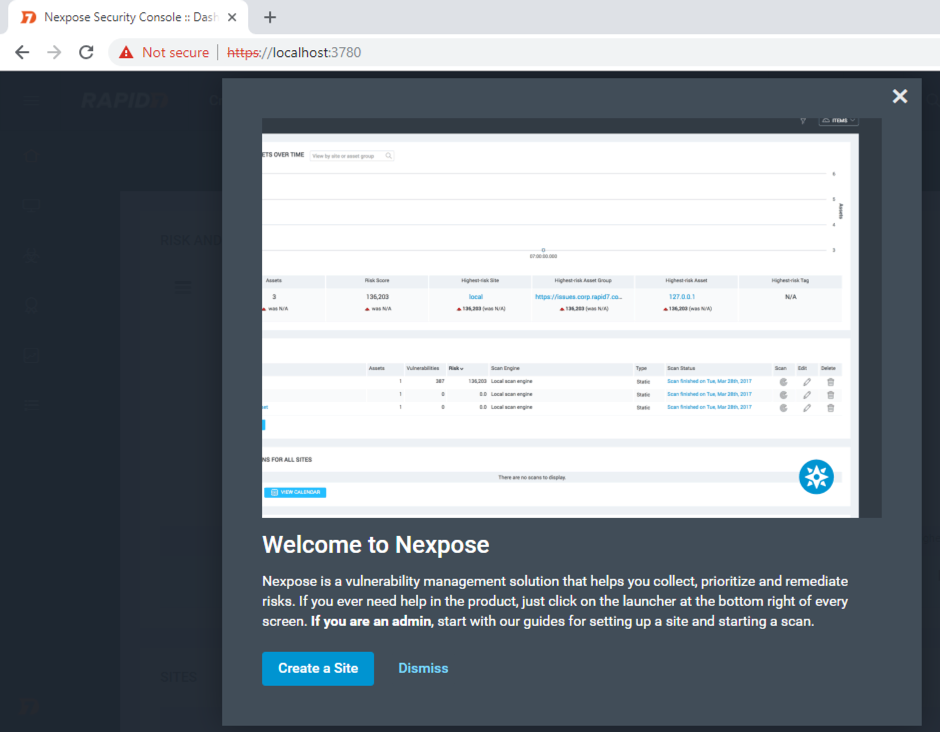
A help box appears. Close it.
In the next page, enter a Name of
YOURNAME_Site
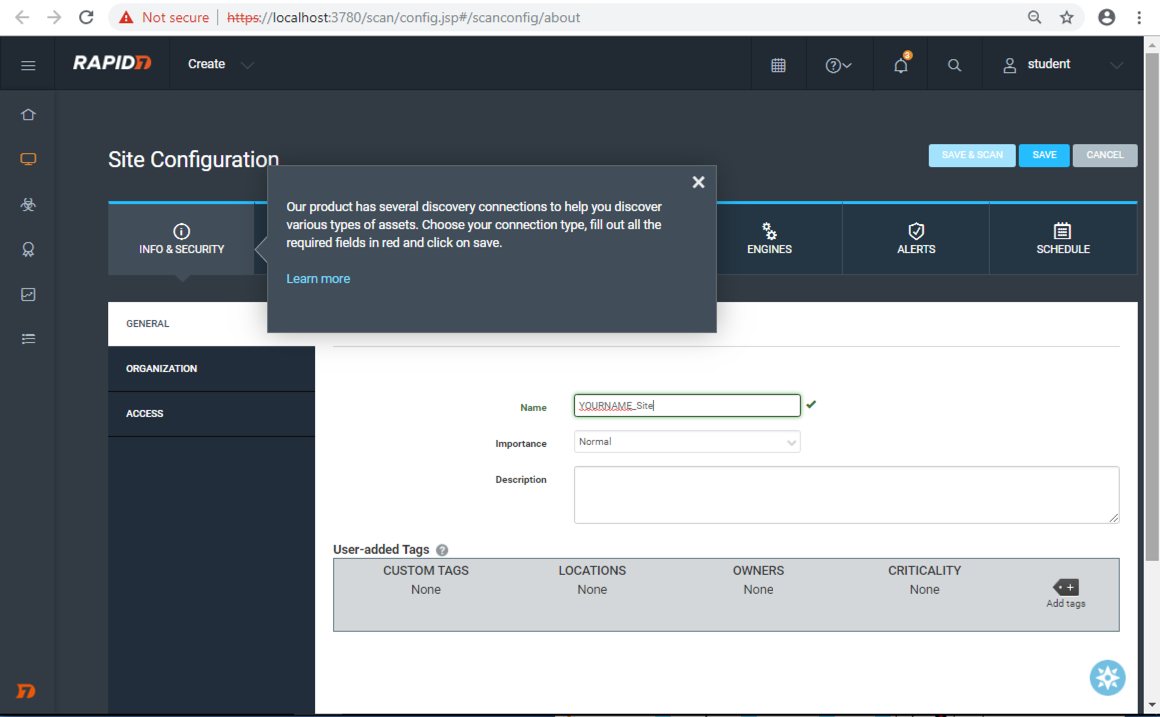
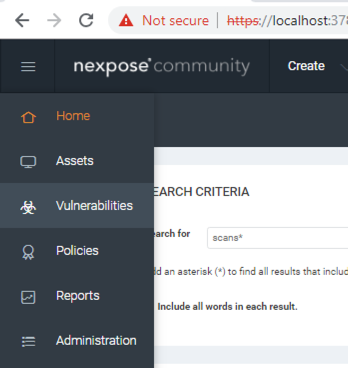
In the top bar, click ASSETS.
A help box appears. Close it.
In the "Assets" box, enter
127.0.0.1
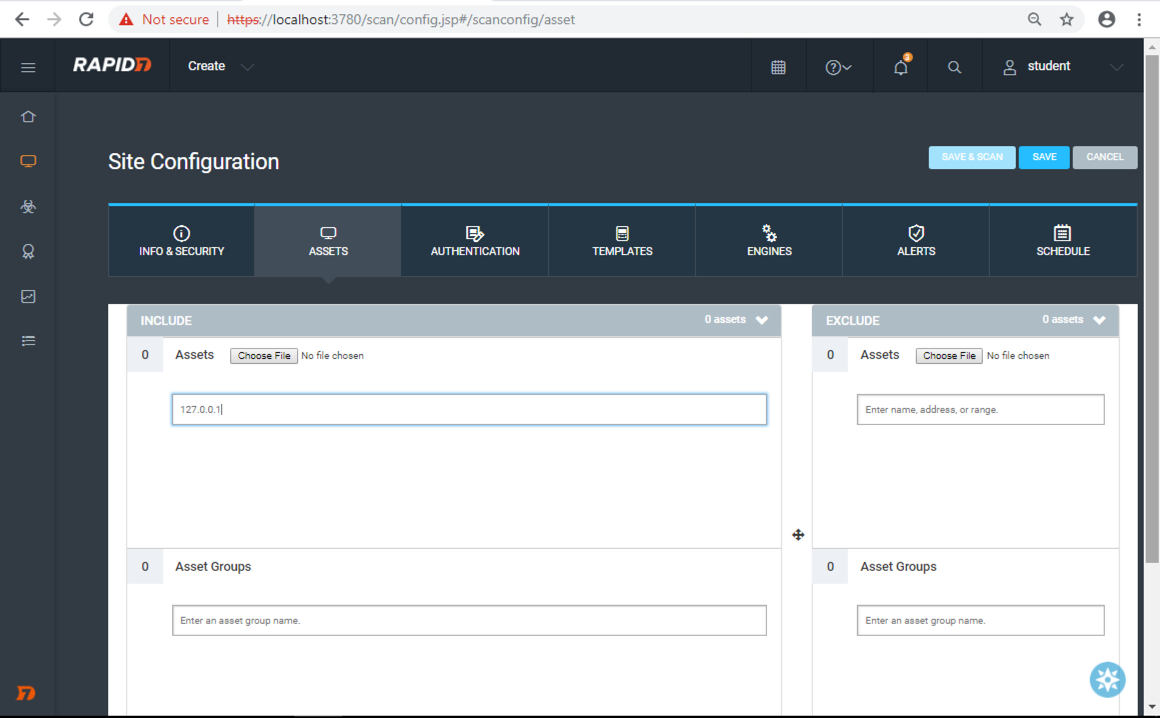
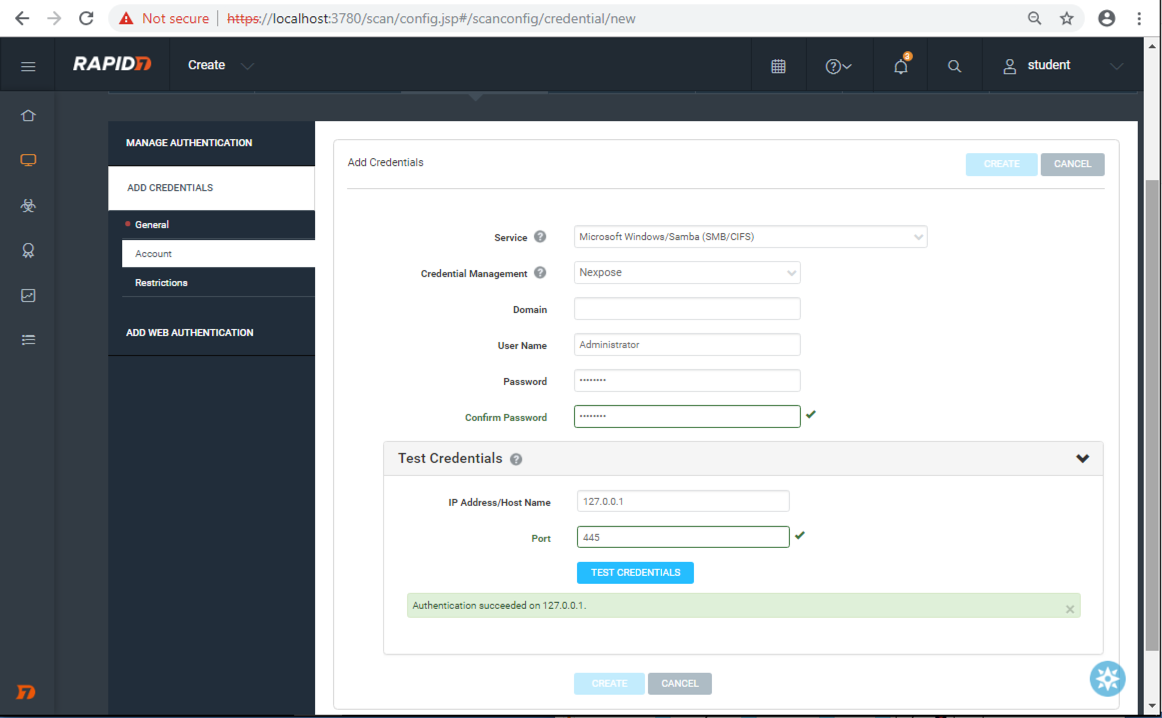
In the top bar, click AUTHENTICATION.
Enter these values:
Enter these values:
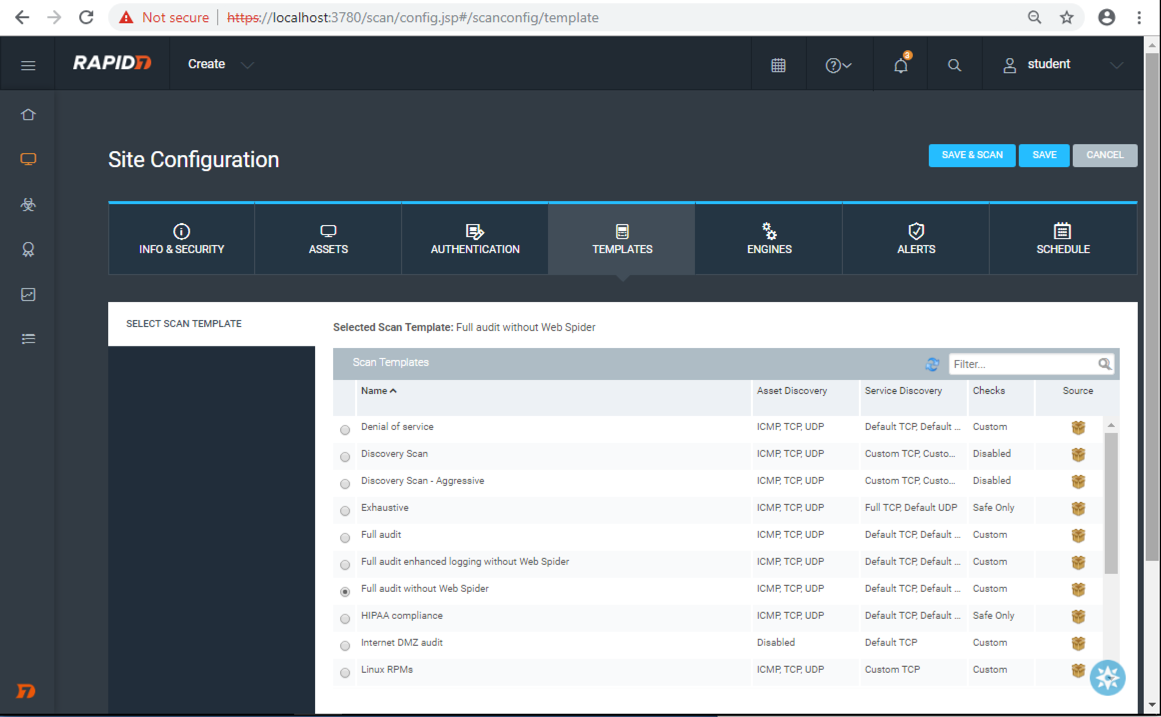
In the top bar, click TEMPLATES.
Accept the default selection of "Full audit without Web Spider", as shown below.
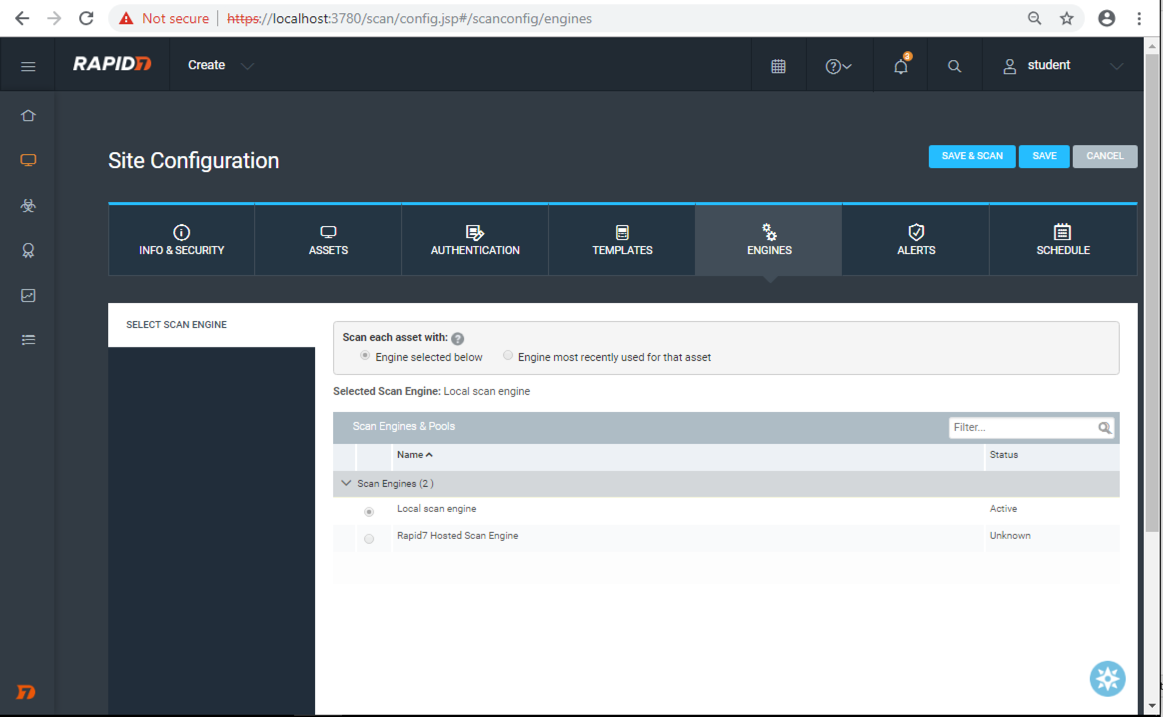
In the top bar, click ENGINES.
Accept the default selection of "Local scan engine", as shown below.
At the top right, click the "SAVE & SCAN" button.
A box pops up, asking "Are you sure...". Click the "SAVE & SCAN" button.
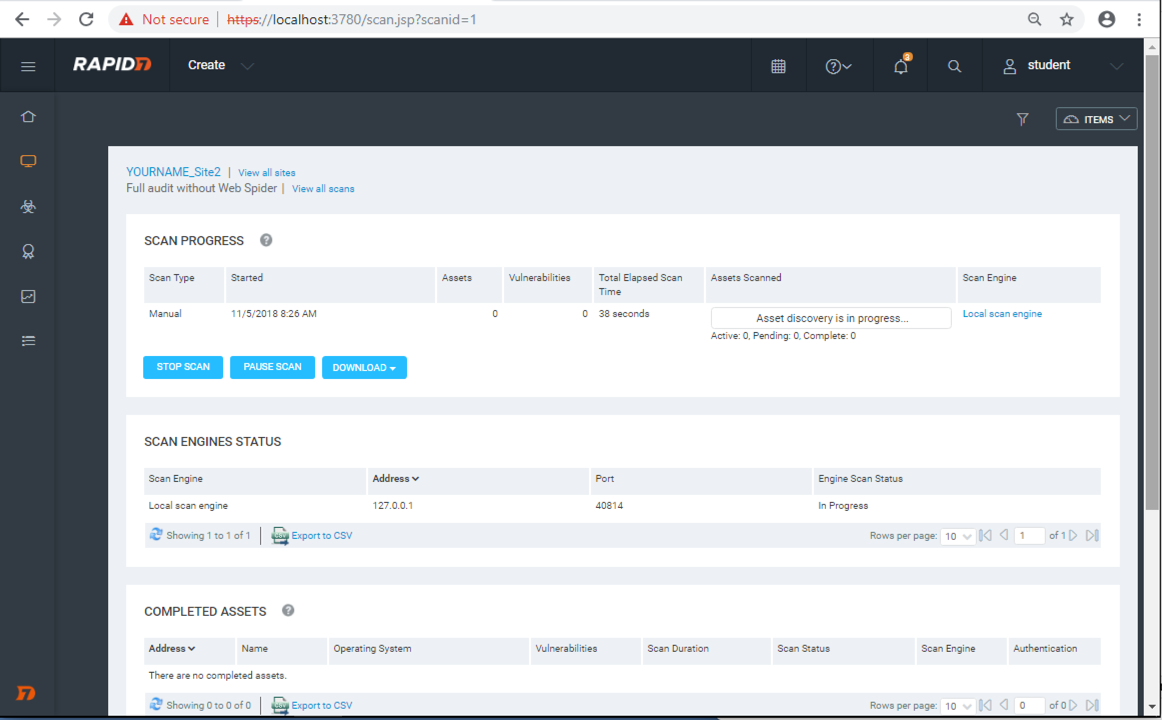
A page appears showing the progress of the scan, as shown below. It refreshes every few seconds.
Checking Task Manager shows that the scan doesn't consume much CPU, but it hogs up all available RAM, as shown below.
After waiting 7 minutes, I stopped the scan to add more RAM to my virtual machine.
I am using a Mac with 4 cores and 16 GB of RAM. I gave the VM 3 cores and 12 GB of RAM.
The scan completed in 10 minutes, as shown below. Wait for yours to complete, even if it takes longer.

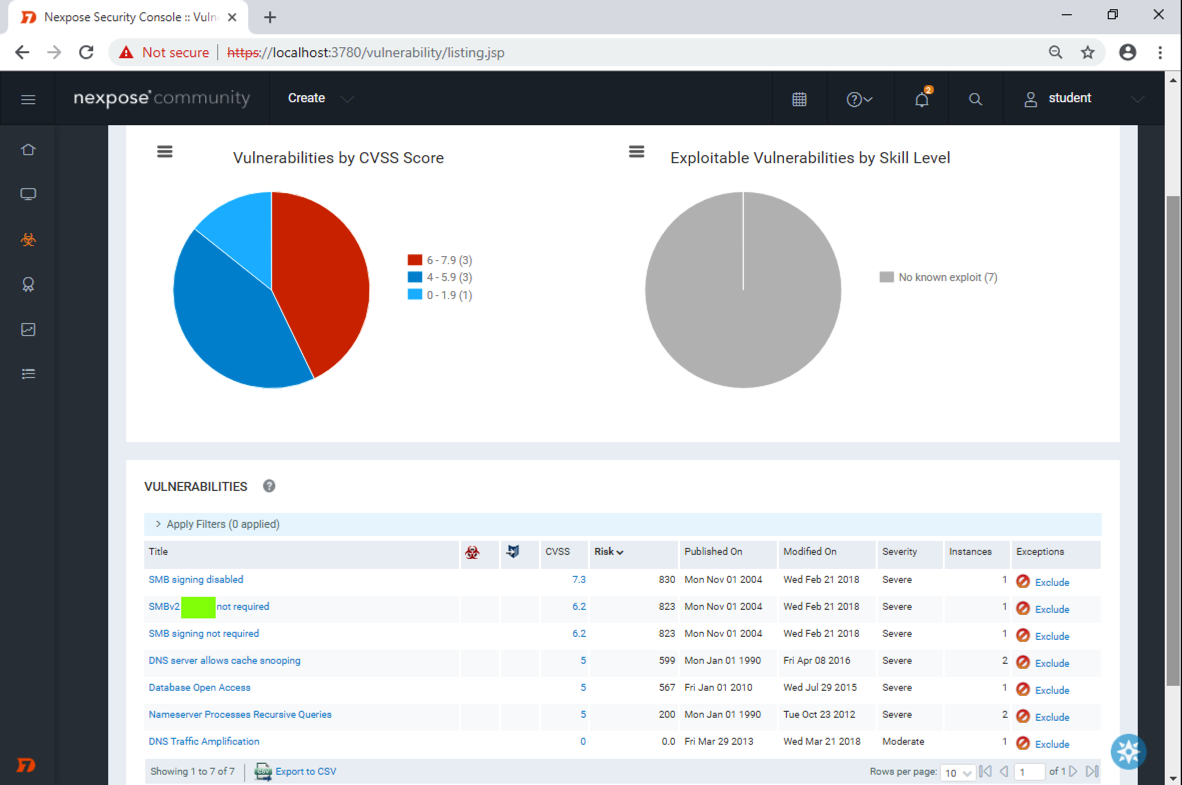
A list of vulnerabilities appears, as shown below.
Find the SMB2 vulnerability name, covered by a green box in the image below. Enter it in the form below to record your success.
If you don't have a Canvas account, see the instructions here.