https://github.com/Velocidex/velociraptor/releases
Download the latest Windows version (the one ending in amd64.msi and install it.
In a working installation, there would be one server, probably a Linux one, and many clients.
In an Administrator Command Prompt, execute this command:
"c:\Program Files\Velociraptor\Velociraptor.exe" gui
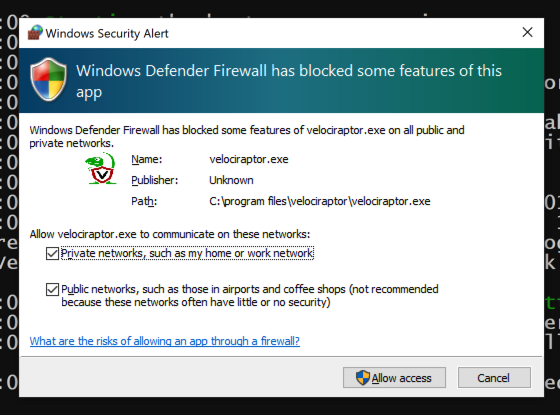
If a box pops up from Windows Defender Firewall, check both network type boxes and click "Allow access", as shown below.
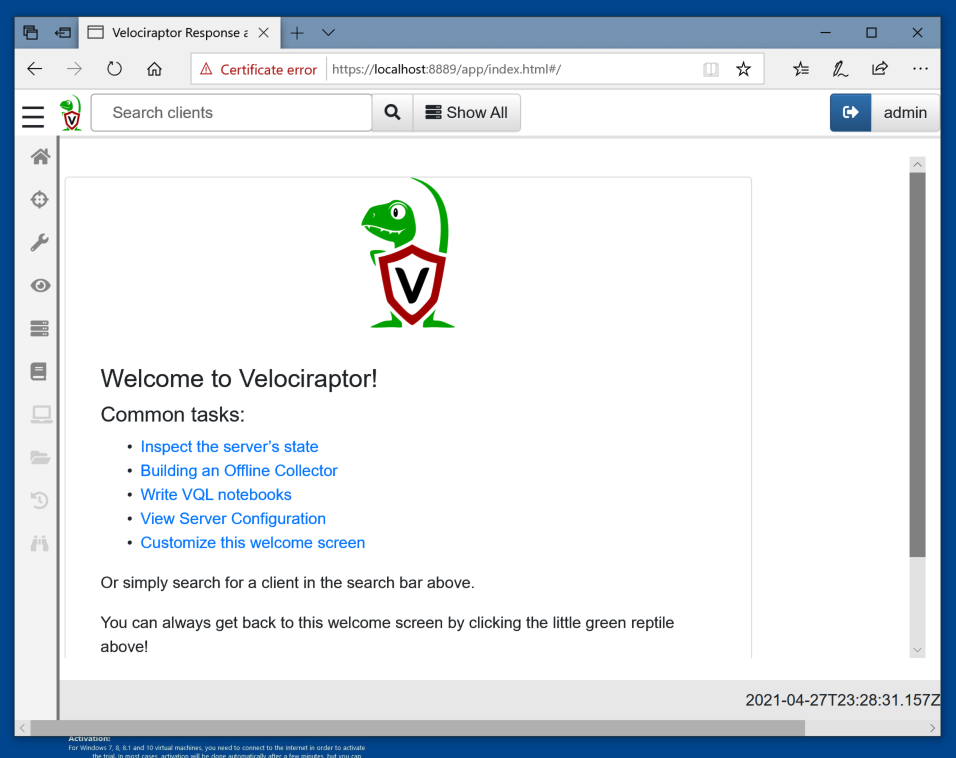
Your browser will warn you that the site is not secure. Bypass the warning and go to the site anyway.
Enter these credentials:
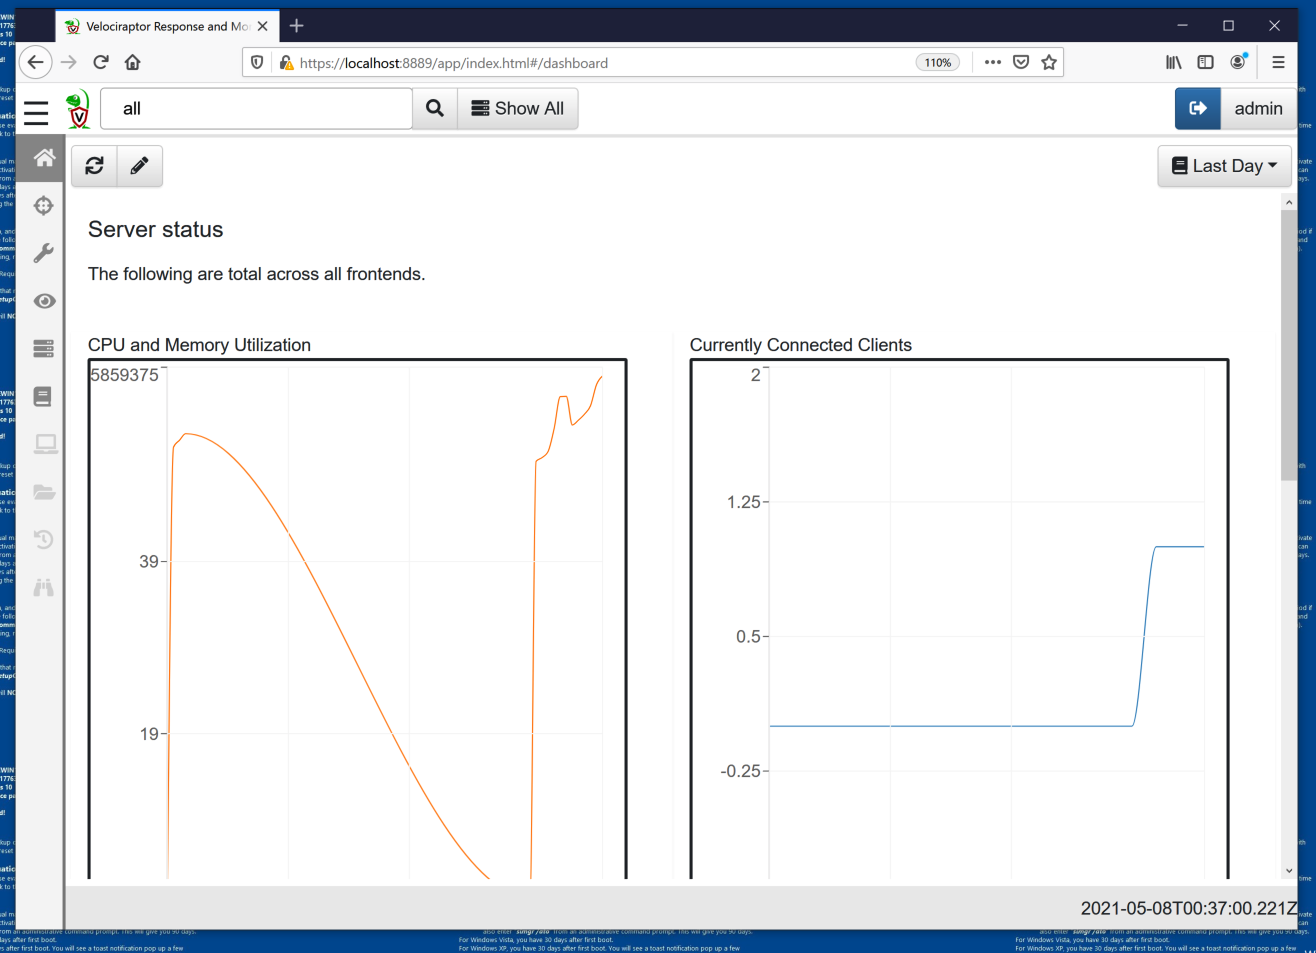
You see the CPU and Memory Utilization, and Currently Connected Clients, as shown below.
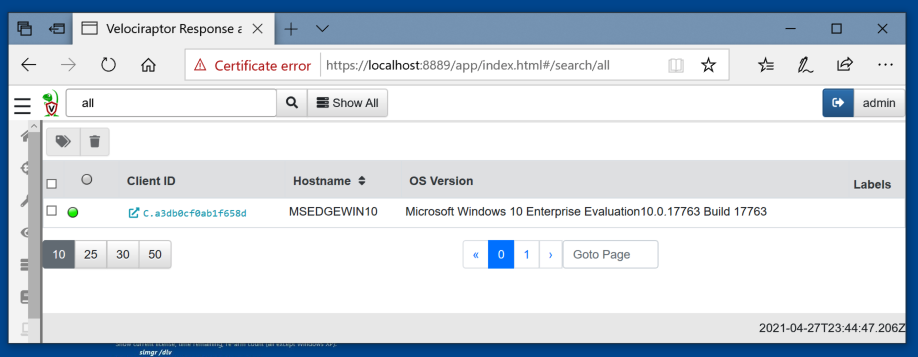
Click your client's Client ID, which appears in blue text, as shown below.
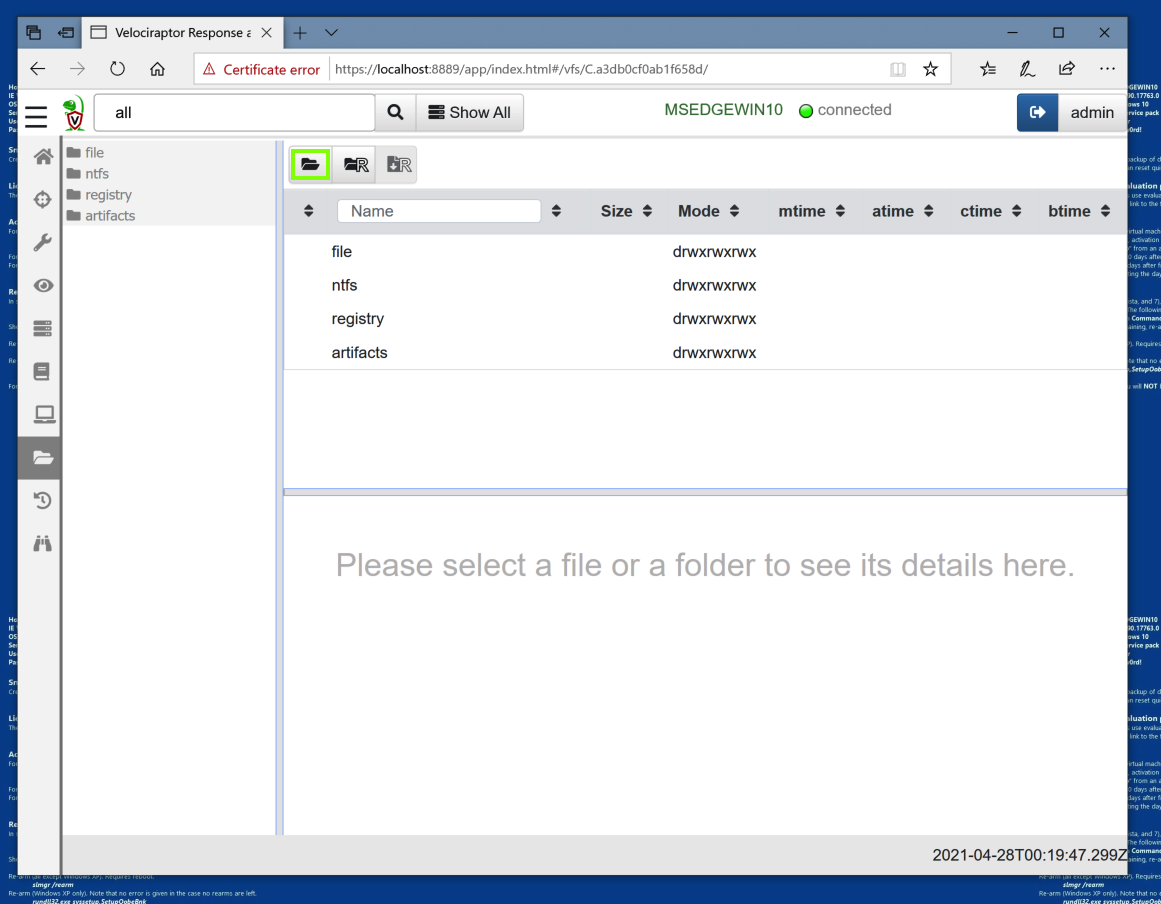
At the top left, there are four top-level categories: file, ntfs, registry, and artifacts.
Click file. In the top center, click the first folder icon to refresh this directory, outlined in green in the image below.
IR 370.1: Registry Information (10 pts)
Refresh the ntfs and registry categories the same way.Refresh the HKEY_CURRENT_USER container.
The flag appears, covered by a green rectangle in the image below.
IR 370.2: Collecting a File (10 pts)
Note: in order to do this, I needed to increase the RAM on my Windows VM to 16 GB, assign it 4 server cores, and switch to Firefox as the browser.In the file category, refresh these items:
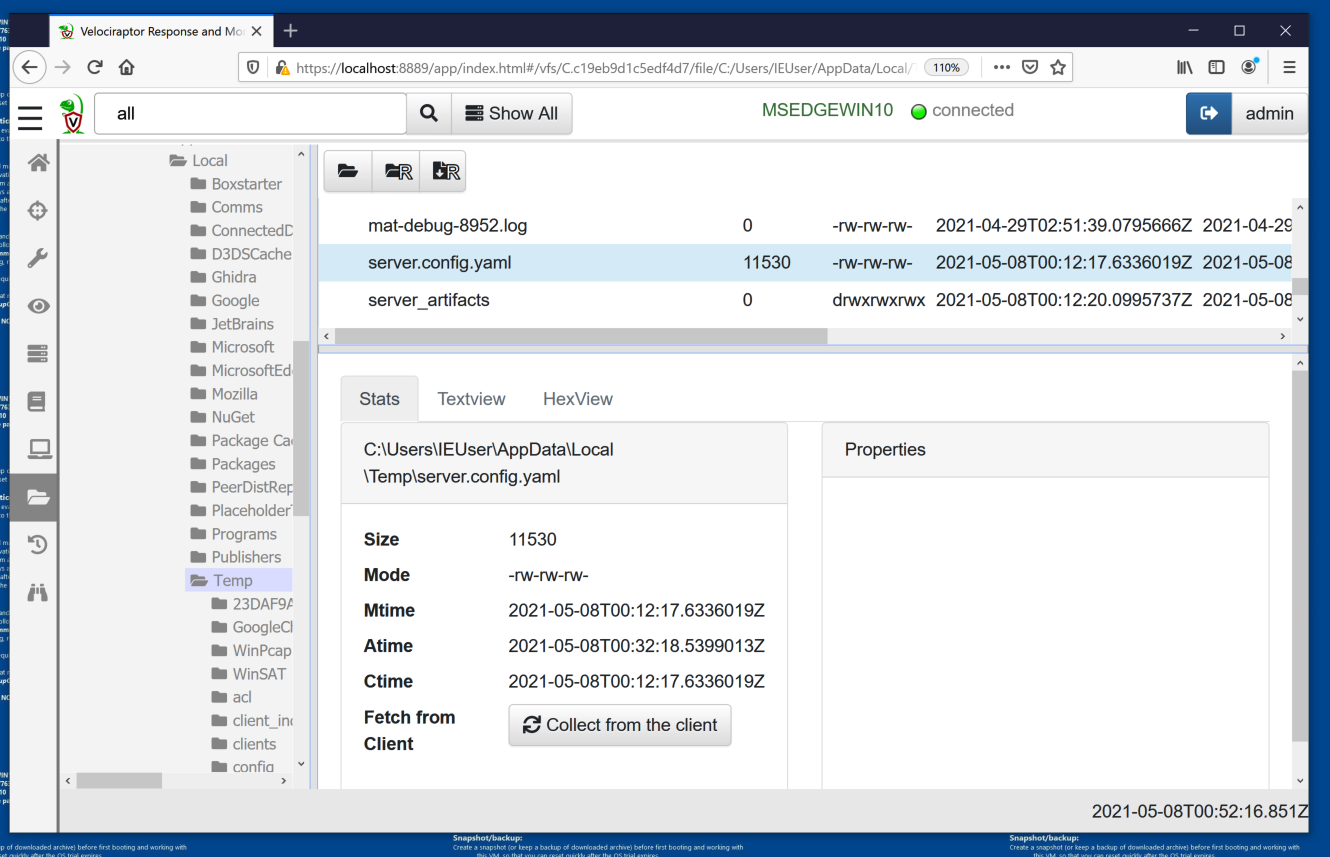
Scroll down to the server_config.yaml file and click it, as shown below.
- C:
- Users
- IEUser (or your own username, if it is different)
- AppData
- Local
- Temp
In the lower pane, click the "Collect from the client" button.
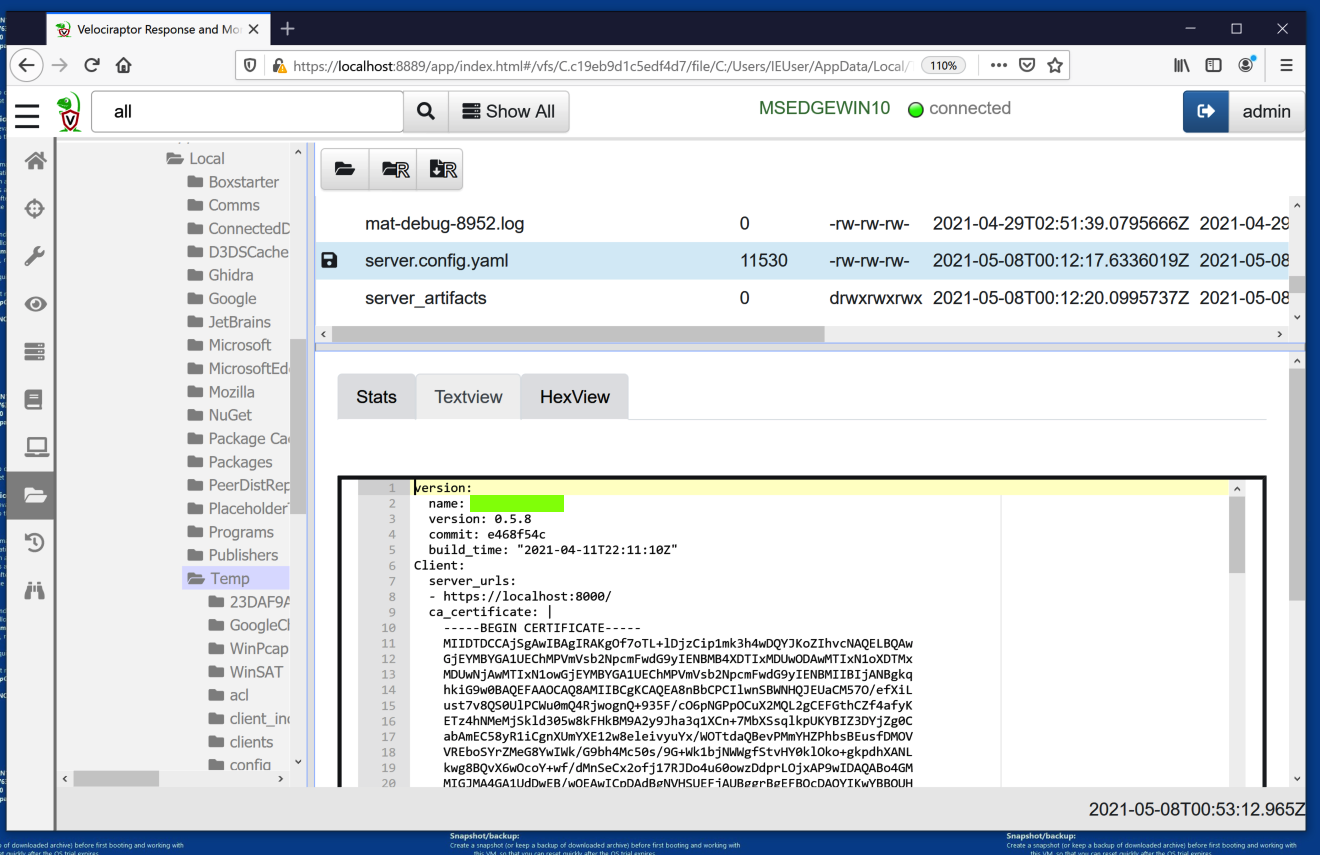
Click the Textview tab.
The flag appears, covered by a green rectangle in the image below.
In the left pane, click "View Artifacts".
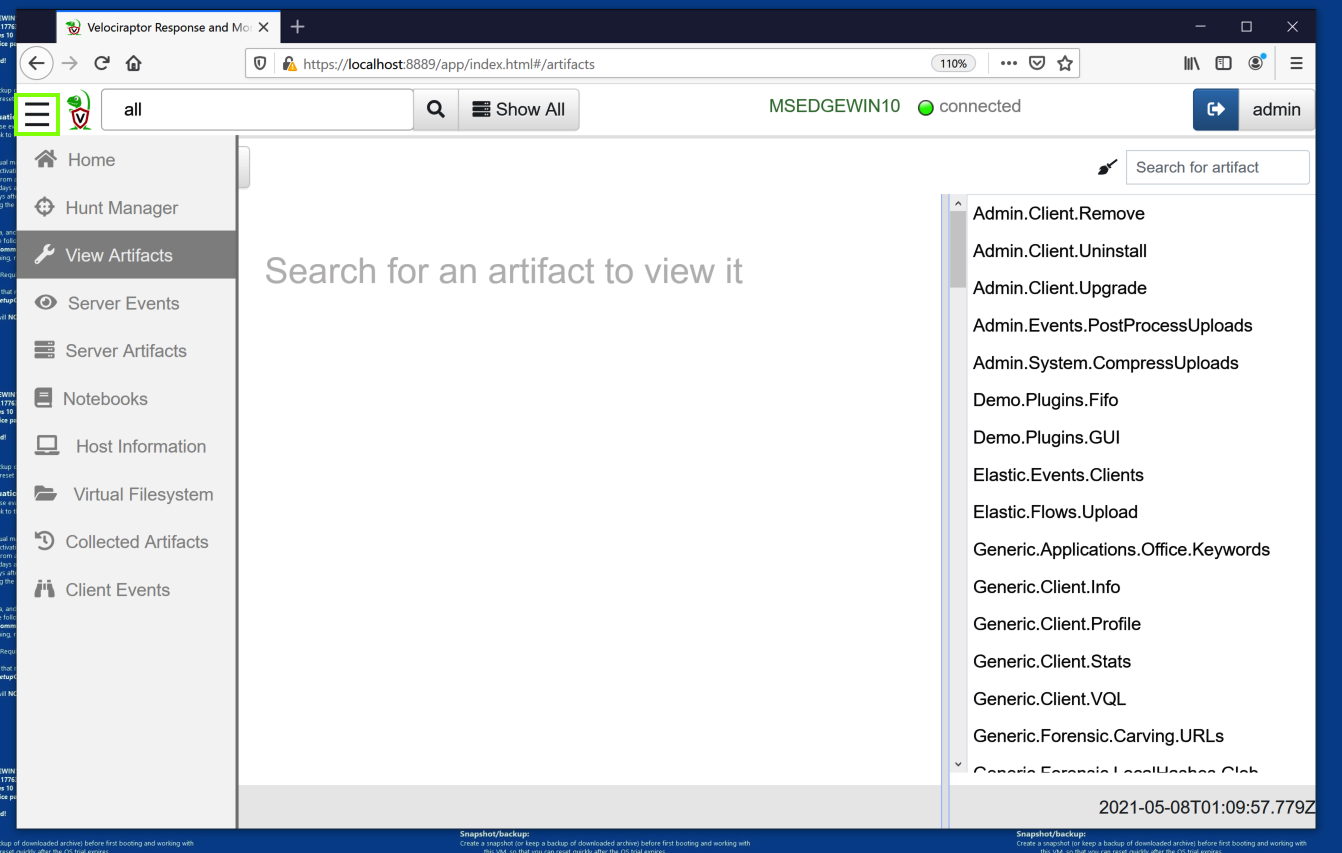
At the top right, in the search box, type windows.
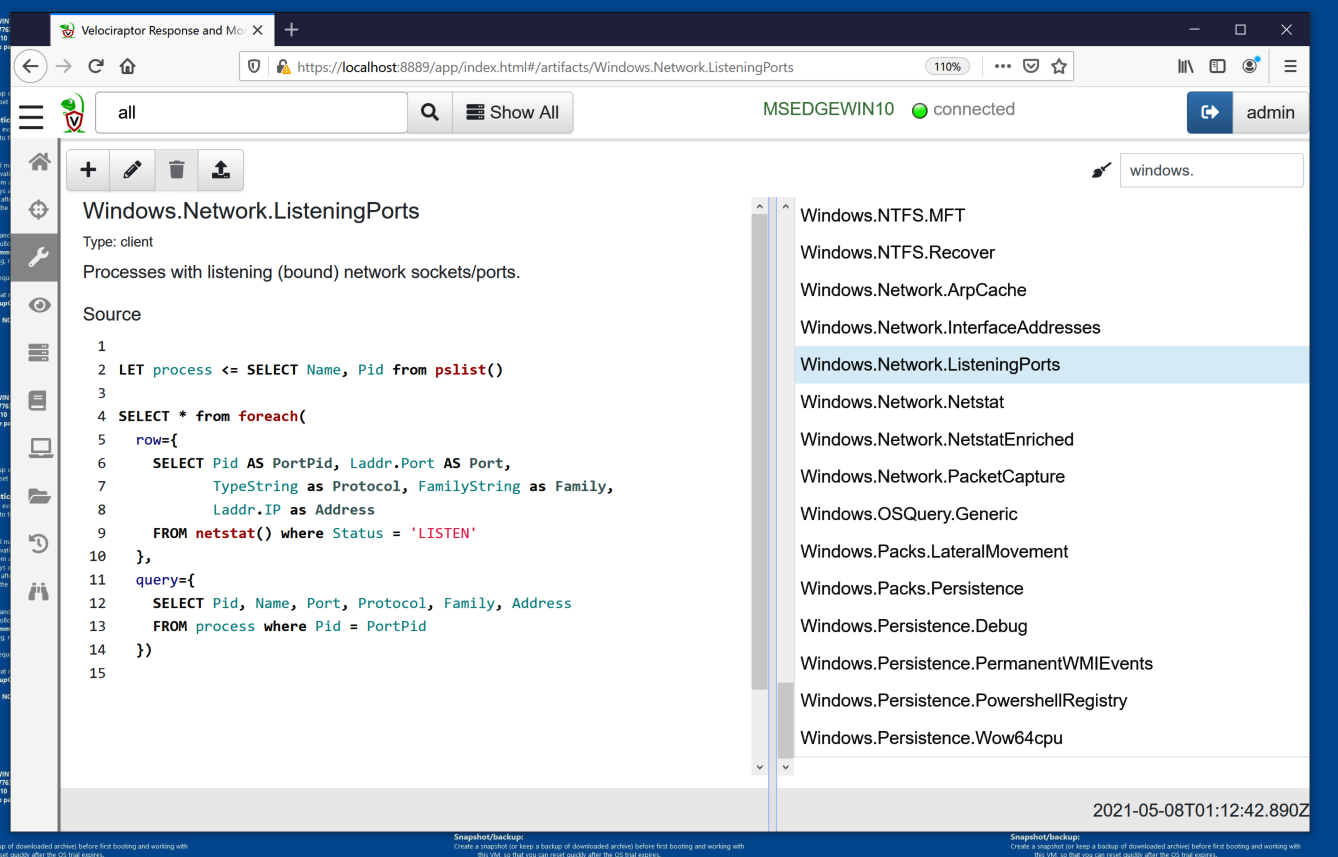
Scroll down and click Windows.Network.ListeningPorts.
In the center pane, the script used to collect this artifact appears, in the VQL language, as shown below.
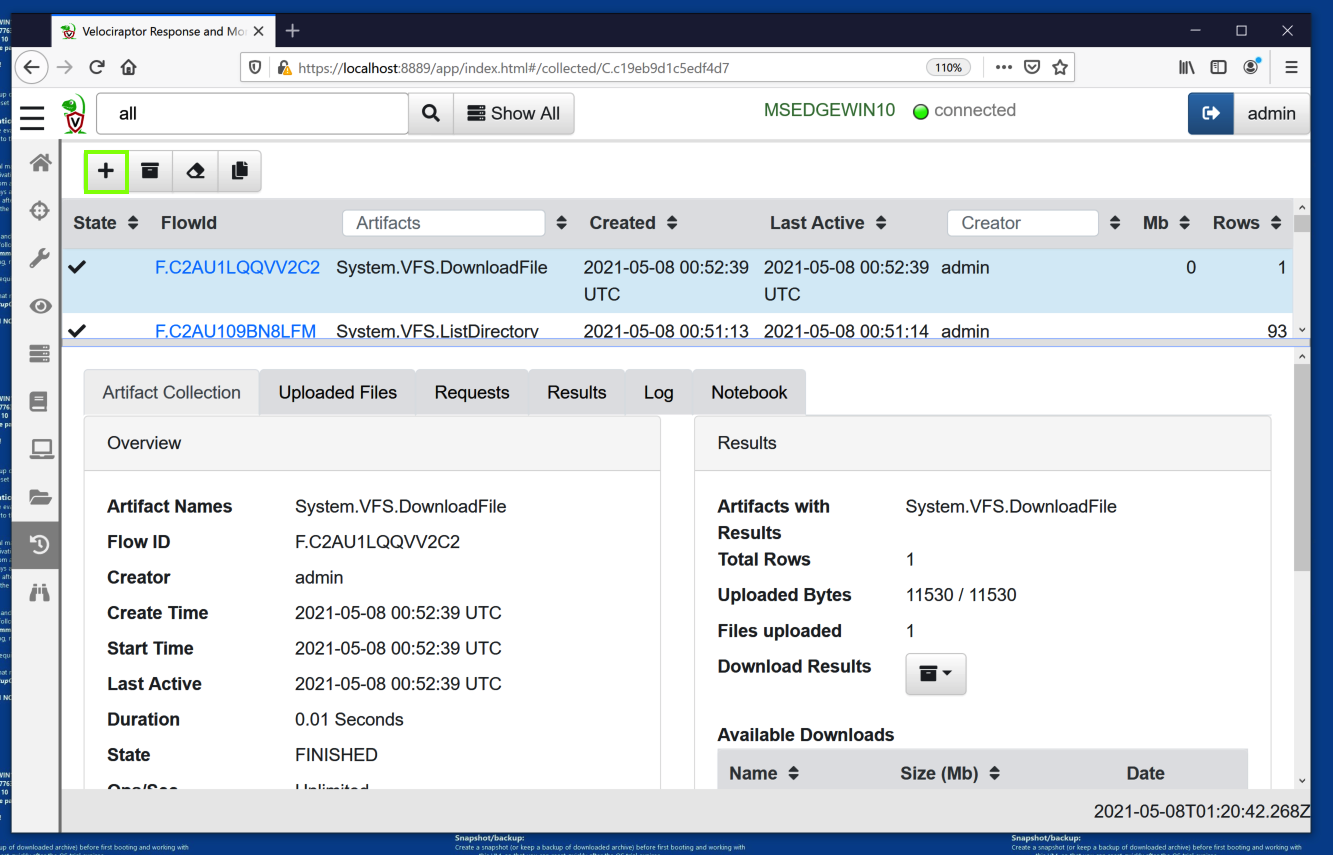
In the left pane, click "Collected Artifacts".
In the top left, click the plus-sign icon, outlined in green in the image below.
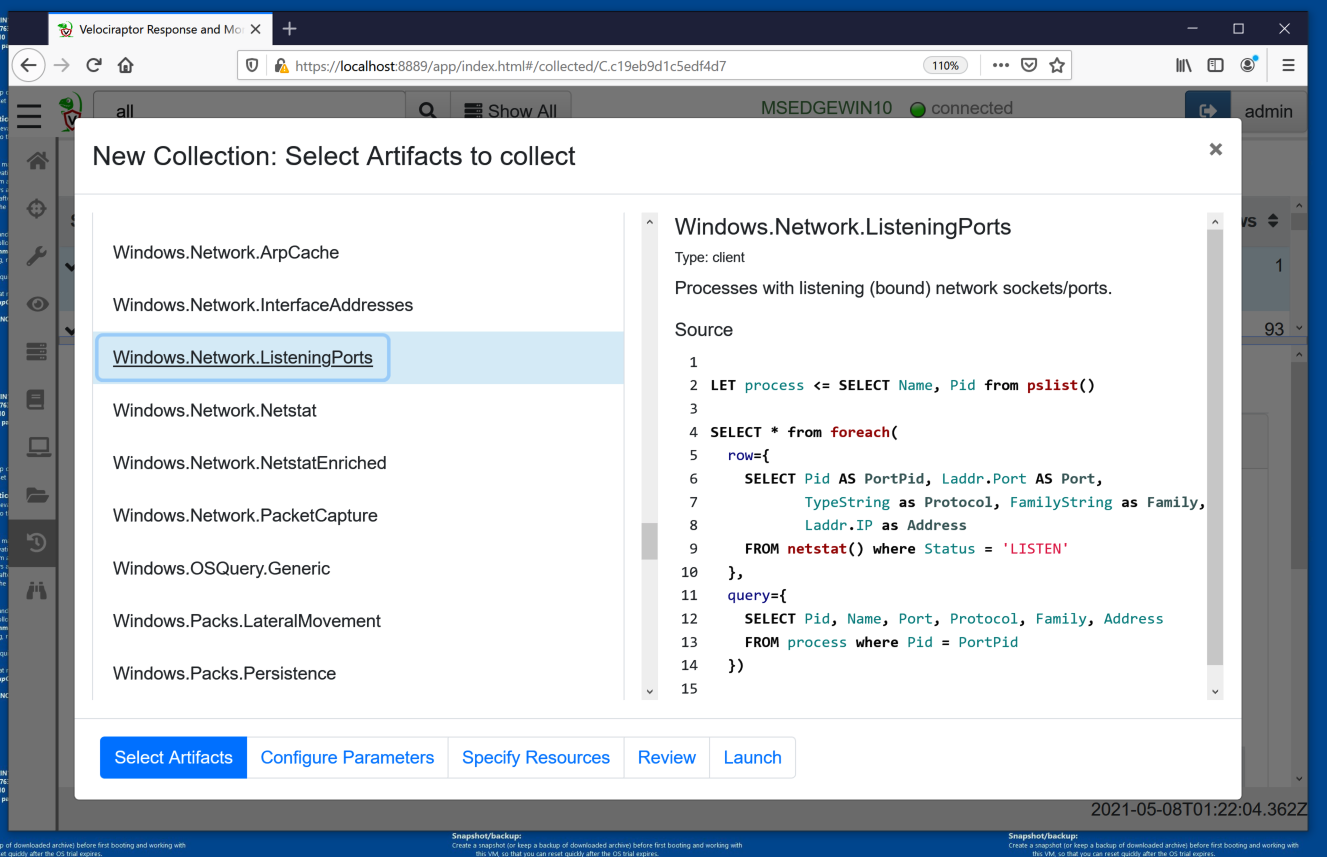
In the search box, type windows.
Scroll down and click Windows.Network.ListeningPorts, as shown below.
In the lower center, click Launch.
IR 370.3: Listening Ports (10 pts)
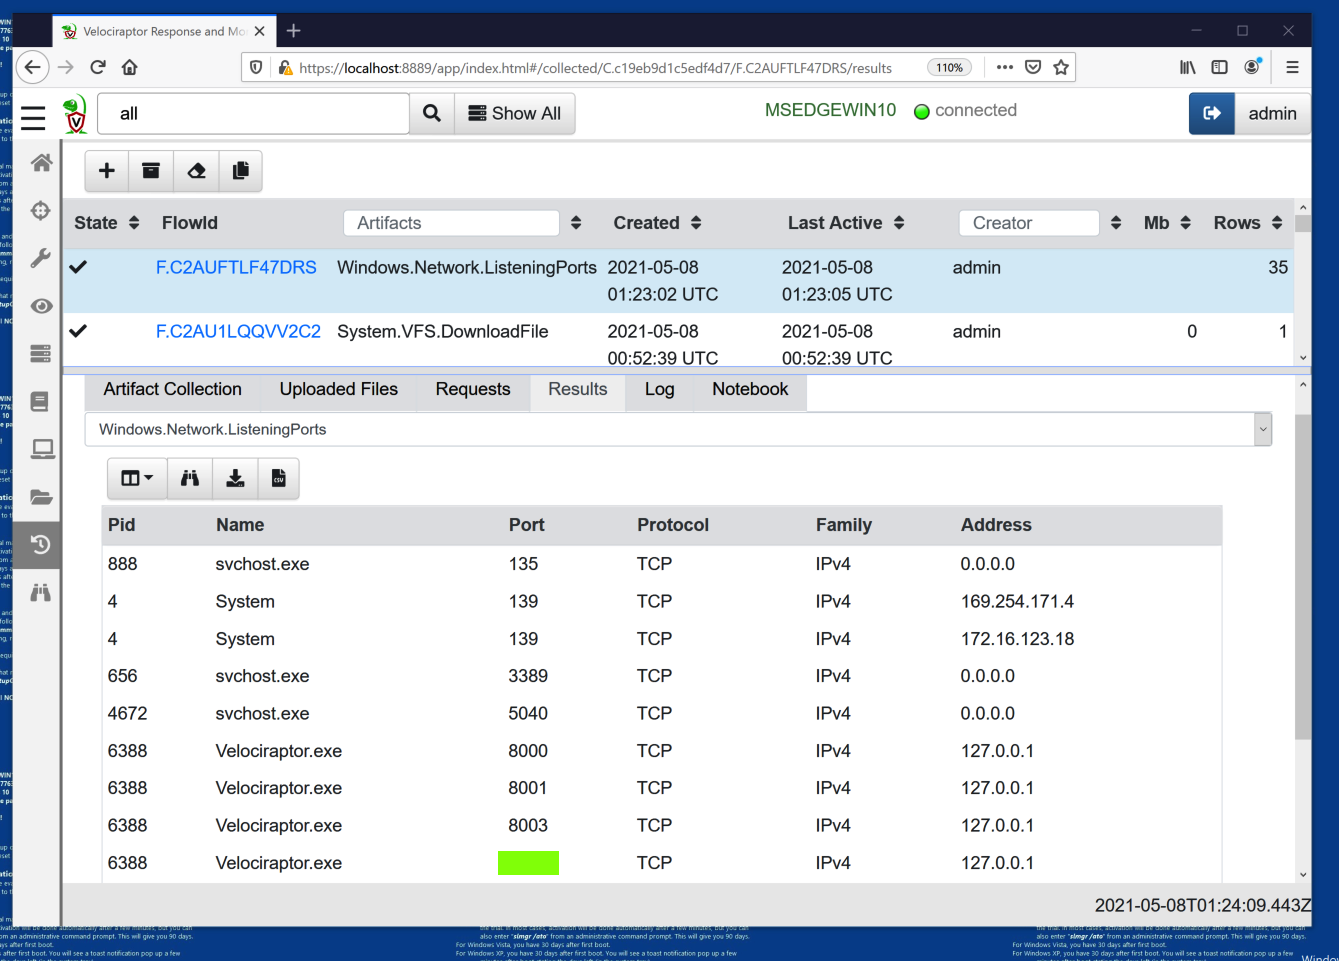
In the top pane, find the Windows.Network.ListeningPorts artiface and click the blue Flowid number on its line.The lower pane shows the listening processes on your Windows machine, as shown below.
The largest port number used by Velociraptor is the flag, covered by a green rectangle in the image below.
Posted 5-7-2021