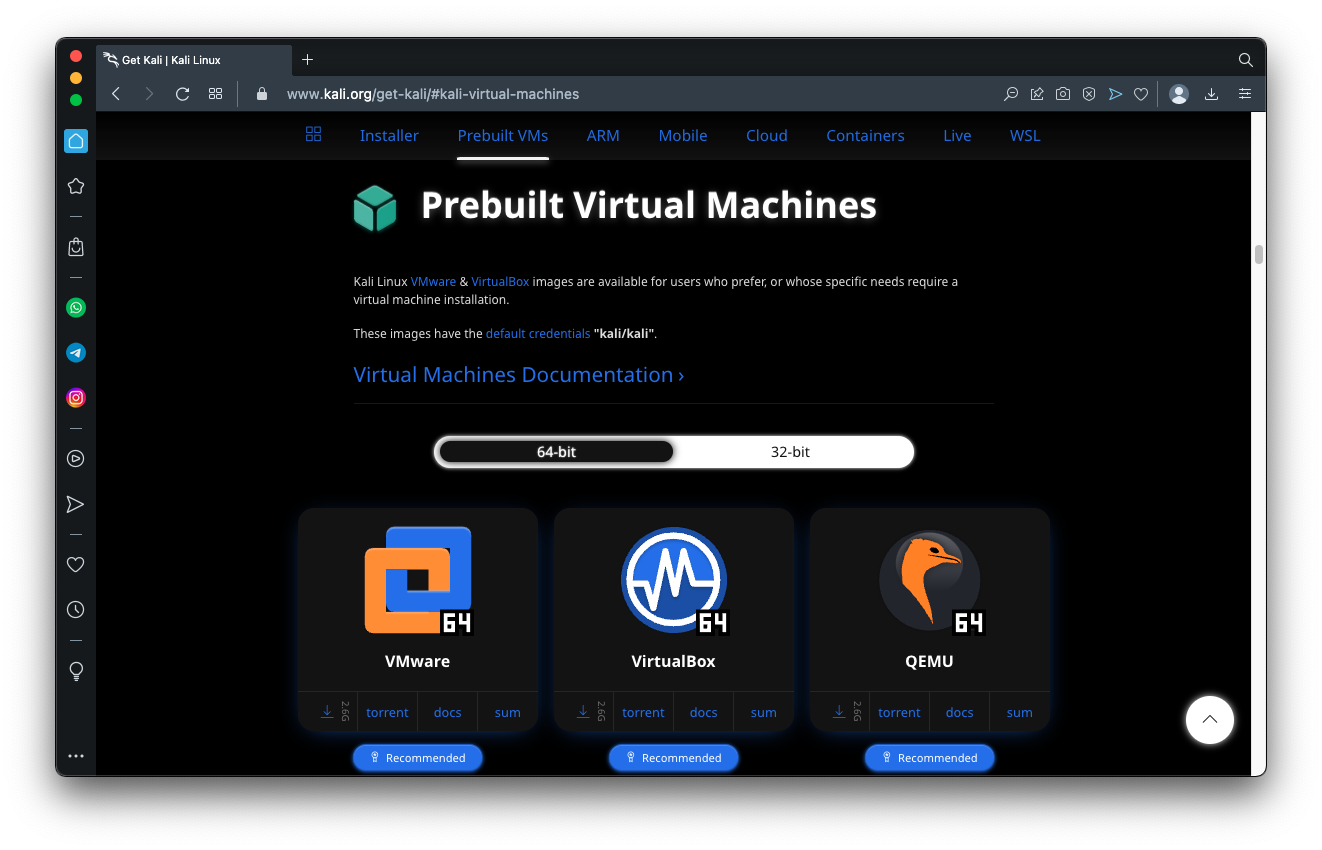
https://www.kali.org/get-kali/#kali-virtual-machines
Download the appropriate version for your system, as shown below.
Then right-click the Kali .7z file and use the "7-Zip" item to unzip it.
If you are using a Mac, unzip the file with the default Archive Utility.

Navigate to the Kali VM you unzipped and start it.
Troubleshooting: Number of Processors
If you see a message saying the virtual machine is configured to use four processors, adjust it with these steps:
- On the left side of the VMware Player window, click Kali once to select it.
- On the lower right side of the VMware Player window, click "Edit virtual machine settings".
- On the left side of the Virtual Machine Settings window, click Processors
- On the right side of the Virtual Machine Settings window, adjust the number to 1 and click OK
Log in to Kali with the username kali and a password of kali
Troubleshooting: Slow Performance
If your virtual machines run very slowly, your host machine may be low on RAM.
You can adjust the RAM using the Virtual Machine Settings window, as explained in the previous Troubleshooting box.Try lowering the RAM on the Kali VM to 1024 MB.
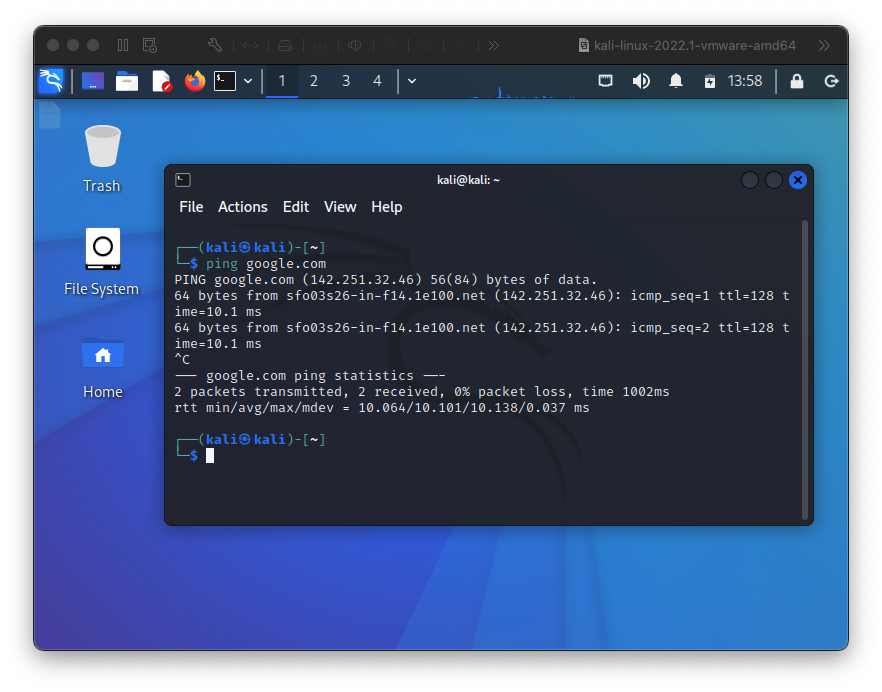
You should see the Kali Linux desktop as shown below:

In the Terminal window, type in this command to find your IP address, and then press the Enter key:
ping google.com
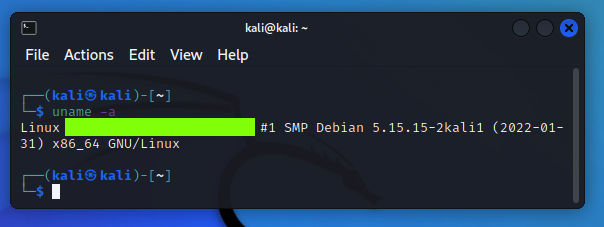
H 100: Linux Version (10 pts)
In the Terminal window, type in this command and then press the Enter key:You should see information about your Linux version, as shown below. Find the text that is covered by a green box in the image below. That's the flag.uname -a
I recommend just using SSH, with these instructions:
If you want to try to get VMware Tools working, proceed with the steps below.
On your host Windows system, in your Web browser, use the mouse to highlight and copy this command:
echo "Copy and paste works!"

If the command did not appear, perform these steps to fix VMware Tools.
apt purge open-vm-tools-desktop -y
apt purge open-vm-tools -y
rm -rf /etc/vmware-tools
Click Install.
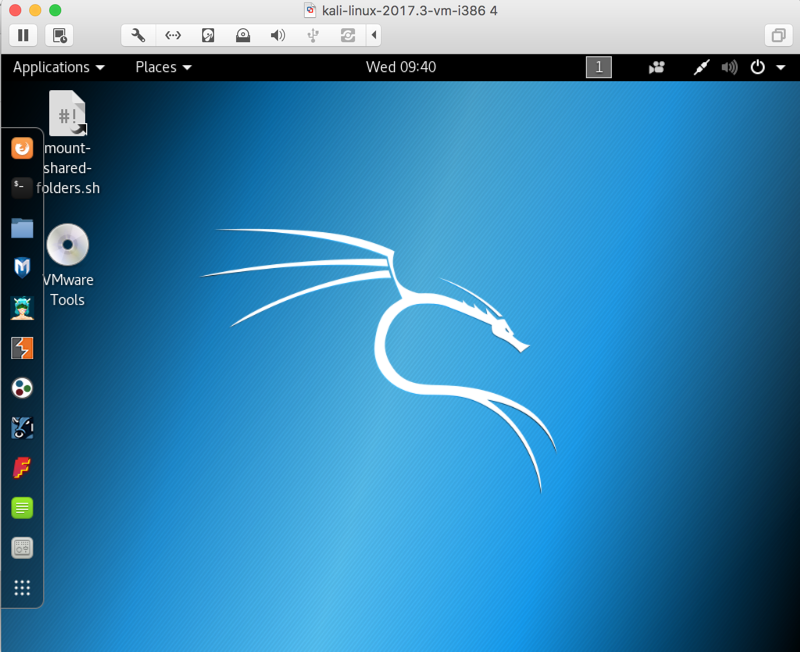
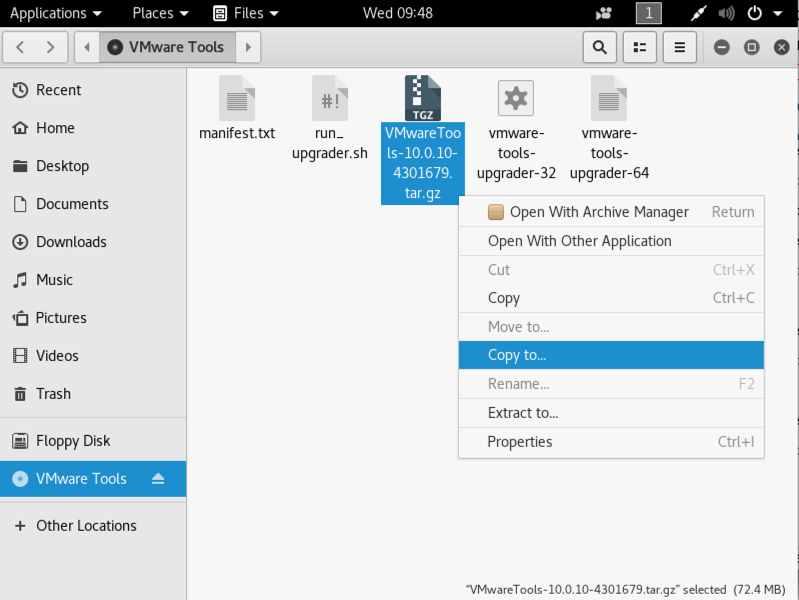
A CD icon appears on your Kali desktop, as shown below.
Double-click the CD icon. Right-click VMwareTools...tar.gz and click "Copy to...", as shown below.
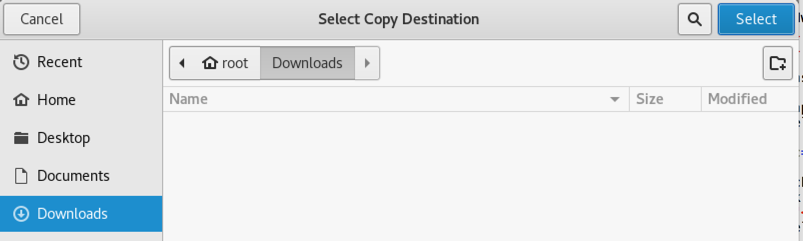
In the "Select Copy Destination" box, on the left side, click Downloads.
At the top right, click Select, as shown below.
Close the VMware Tools window.
In a Terminal window, execute these commands:
cd
cd Downloads
tar xzf VMwareTools*
cd vmware-tools-distrib
./vmware-install.pl
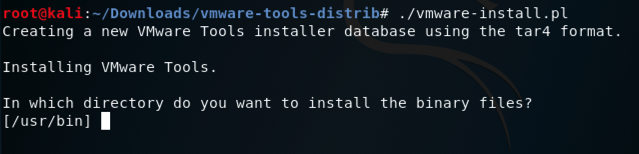
The installer asks many questions. Accept the default directories, but make sure the answer to every yes/no question is yes, including this one, which is "no" by default:
Execute this command to start VMware tools:
service vmware-tools start
Execute this command to make a Bash script:
nano /usr/local/bin/startvm
#!/bin/bash
if [ $(/usr/sbin/service vmware-tools status | grep Active: | grep inactive | wc -l) -gt 0 ]
then
  /usr/sbin/service vmware-tools start
fi

Press Ctrl+X, Y, Enter to save the file.
Execute this command to make the script executable:
chmod +x /usr/local/bin/startvm
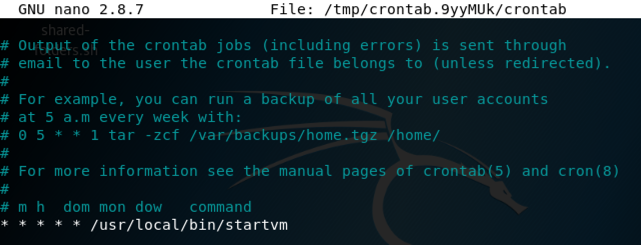
crontab -e
Add this line at the end of the file, as shown below.
* * * * * /usr/local/bin/startvm
Press Ctrl+X, Y, Enter to save the file.
Now VMware Tools will start automatically :)
On the right side of the Kali 2.0 desktop, click the lowest circle to show the bottom screen.
Then click Settings, as shown below.

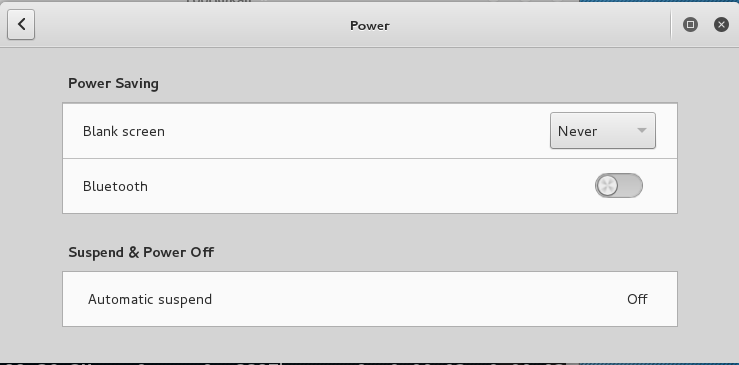
In the "All Settings" window, click Power.
Set "Blank screen" to Never, as shown below.
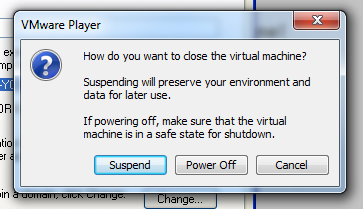
Suspend freezes your VM in its current state. This is usually the best choice.
Power Off is only for emergencies, when the guest operating system has crashed. It's the equivalent of pulling out the power plug on a real computer.
Click Suspend.
Integrated with Canvas 6-27-18
SSH link fixed incorrectly 9-10-18
SSH link restored 9-11-18
Adapted for 128 1-14-19
VMware download links updated 9-10-24