sudo apt-get update
sudo apt install -y build-essential cmake libboost-all-dev
cd
git clone --recursive https://github.com/ethereum/solidity.git
cd solidity
mkdir build && cd build
cmake ..
make
sudo make install
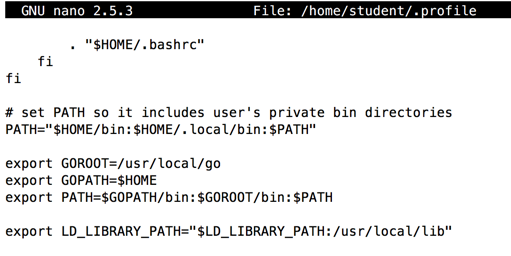
nano ~/.profile
export LD_LIBRARY_PATH="$LD_LIBRARY_PATH:/usr/local/lib"
Save the file with Ctrl+X, Y, Enter.
Execute this command to restart the machine:
sudo reboot
solc --version
lllc --version

cd
nano identity.sol
pragma solidity ^0.4.0;
contract IdentityFunction {
  function identity (uint value) returns (uint) {
    return value;
  }
}
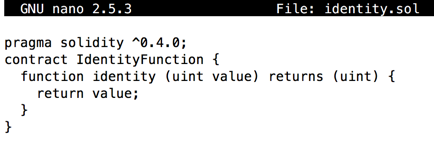
Save the file with Ctrl+x, y, Enter.
solc --optimize --bin identity.sol

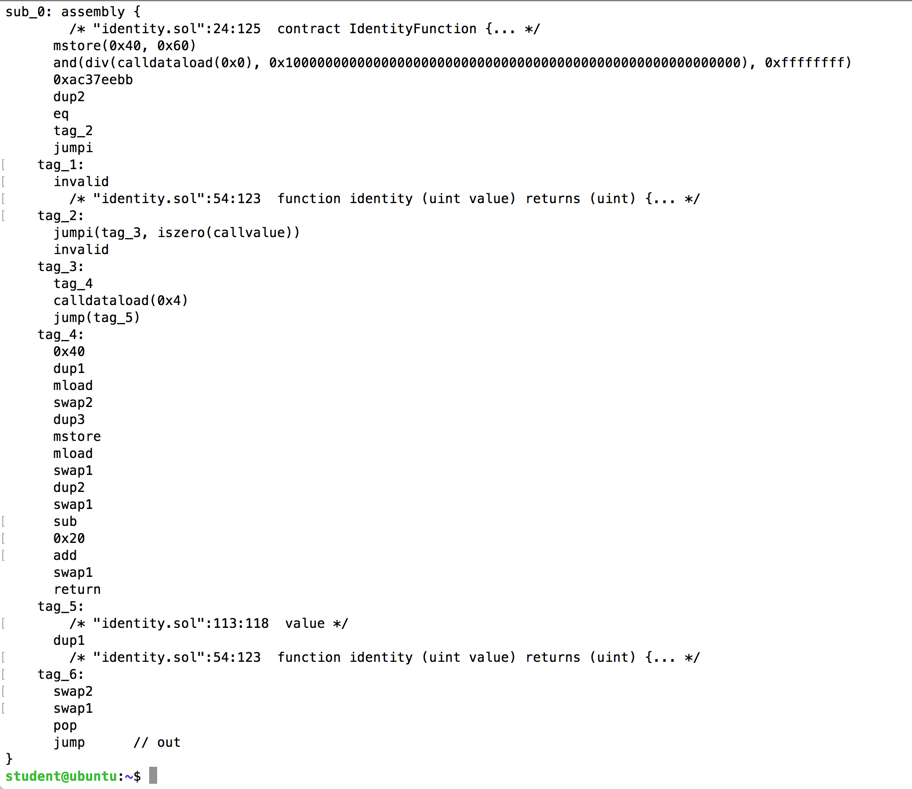
solc --optimize --asm identity.sol
This code looks strange at first, but it's a lot like other assembly code, with opcodes including ADD, XOR, and NOT, as listed here.

Execute these commands:
cd
wget https://nodejs.org/dist/v8.1.0/node-v8.1.0-linux-x64.tar.gz
tar xvf node-v8.1.0-linux-x64.tar.gz
sudo chown -R root.root node-v8.1.0-linux-x64
sudo mv node-v8.1.0-linux-x64 /opt/node
sudo ln -s /opt/node/bin/node /usr/bin/node
sudo ln -s /opt/node/lib/node_modules/npm/bin/npm-cli.js /usr/bin/npm
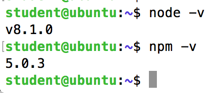
node -v
npm -v
Execute this command:
npm install web3
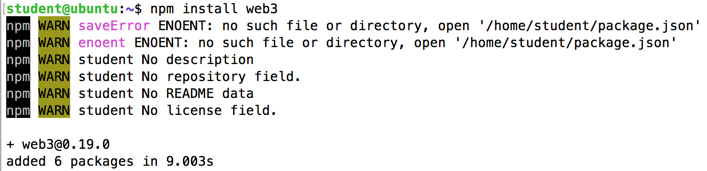
It also executes transactions immediately, without waiting for blocks to be mined.
Execute these commands:
sudo npm install --unsafe-perm -g scrypt
sudo npm install --unsafe-perm -g ethereumjs-testrpc
cd /opt/node/lib/node_modules/ethereumjs-testrpc/node_modules/scrypt
sudo ln -s /opt/node/lib/node_modules/scrypt/build
testrpc
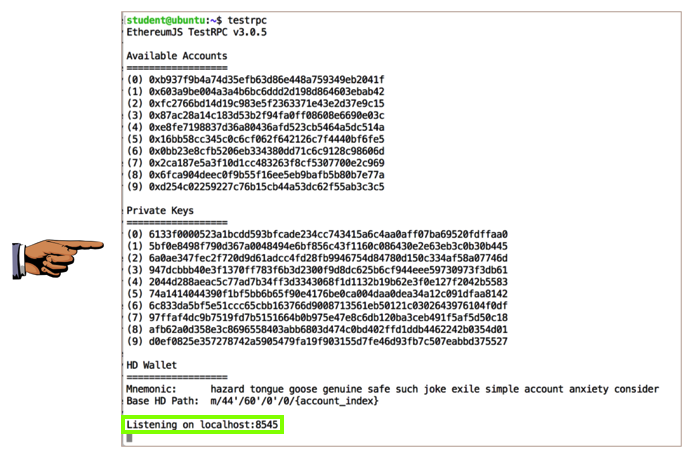
Leave this window open and running.
Capture a full-screen image.
YOU MUST SUBMIT A FULL-SCREEN IMAGE FOR FULL CREDIT!
Save the image with the filename "YOUR NAME Proj 12a", replacing "YOUR NAME" with your real name.
Open a second Terminal window and execute this command:
node
At the > prompt, execute these commands to connect the web3 library to our testrpc Ethereum node:
var Web3 = require('web3');
var web3 = new Web3(new Web3.providers.HttpProvider("http://localhost:8545"));

We'll use an online Solidity compiler named "remix" to do that.
In a Web browser, open:
The online compiler opens, showing sample code titled "ballot.sol", as shown below.

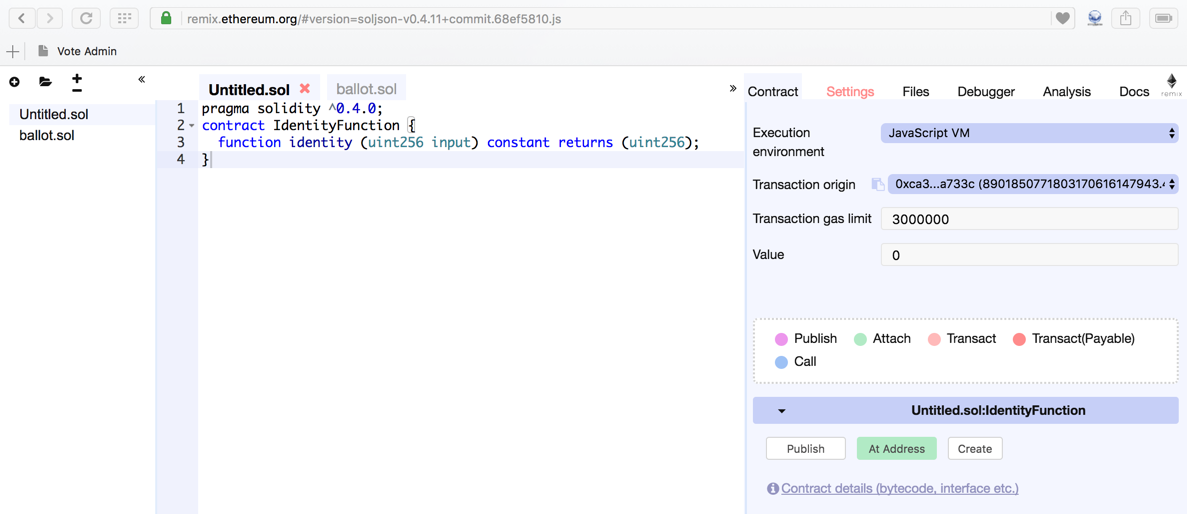
At the top left, click the first icon, which shows a white plus sign in a black circle.
A new pane opens, titled "Untitled.sol". Paste in this code, as shown below.
pragma solidity ^0.4.0;
contract IdentityFunction {
  function identity (uint256 input) constant returns (uint256);
}
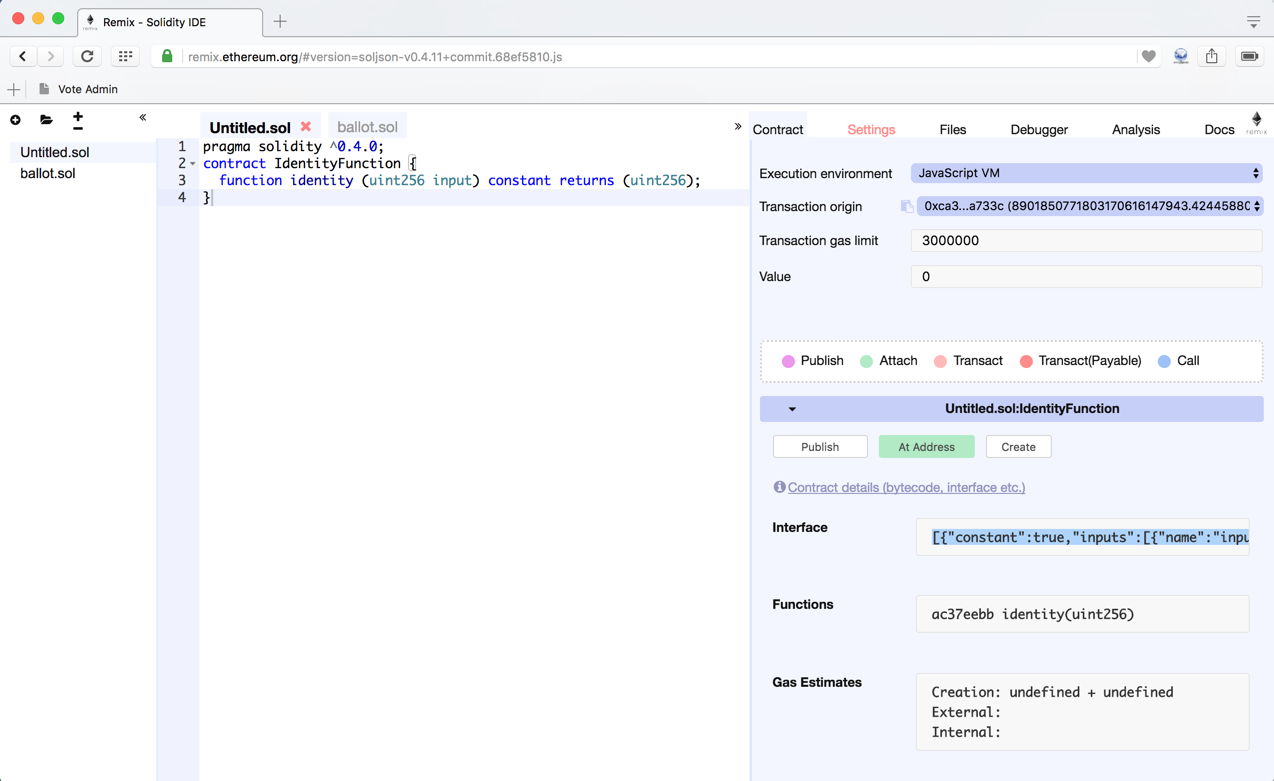
On the right side of the compiler page, on the Contract tab, at the bottom, click the "Contract details (bytecode, interface etc.)" link.
JavaScript code appears in the Interface field. Highlight this code and copy it, as shown below.
In your Terminal window, at the > prompt, type this:
var abi =

We have now stored the JavaScript in a variable named "abi".
The next step is to create an "Identity" object from that JavaScript code.
In your Terminal window, at the > prompt, type this:
var Identity = web3.eth.contract(abi);
Next we need to insert the bytecode we created earlier in this project.
In your Terminal window, at the > prompt, paste in this long line of text:
var bin = '60606040523415600b57fe5b5b608e8061001a6000396000f300606060405263ffffffff7c0100000000000000000000000000000000000000000000000000000000600035041663ac37eebb81146039575bfe5b3415604057fe5b6049600435605b565b60408051918252519081900360200190f35b805b9190505600a165627a7a72305820f7b2ec8f7a81287fa09c3bf1cdf6590ffd9ff4548907f8ab36a15aa131f1922f0029';

In your Terminal window, at the > prompt, type this:
var account = web3.eth.coinbase;
var tut = Identity.new({data: bin, from: account, gas: 100000});
Once again, the reply is "undefined", as shown below.

The Terminal window running "testrpc" shows the newly created transaction, as shown below.

tut.abi

tut.identity(1337)
The function returns the number we put in, as shown below.

Capture a full-screen image.
YOU MUST SUBMIT A FULL-SCREEN IMAGE FOR FULL CREDIT!
Save the image with the filename "YOUR NAME Proj 12b", replacing "YOUR NAME" with your real name.
Posted 7-13-17 by Sam Bowne