This would prevent attacks like the one Mark Zuckerberg used to steal journalists' passwords in 2010.
Instead of sending a secret to the verifier, the prover sends a "proof.json" file containing a blob of hexadecimal data.
The verifier performs calculations on that data using only public information and a smart contract, and the only output is true or false. The verifier discovers whether the claim is true, but does not learn any secrets.
See these articles for more explanations:
sudo apt update
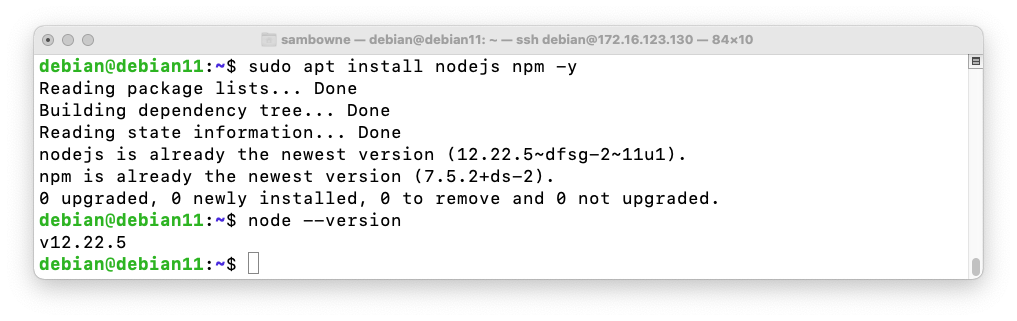
sudo apt install nodejs npm -y
node --version
sudo apt install curl -y
sudo apt install cmake build-essential -y
curl --proto '=https' --tlsv1.2 https://sh.rustup.rs -sSf | sh
On your Linux machine, in a Terminal window, execute these commands:
git clone https://github.com/iden3/circom.git
cd circom
source $HOME/.cargo/env
cargo build --release
On your Linux machine, in a Terminal window, execute these commands:
cargo install --path circom
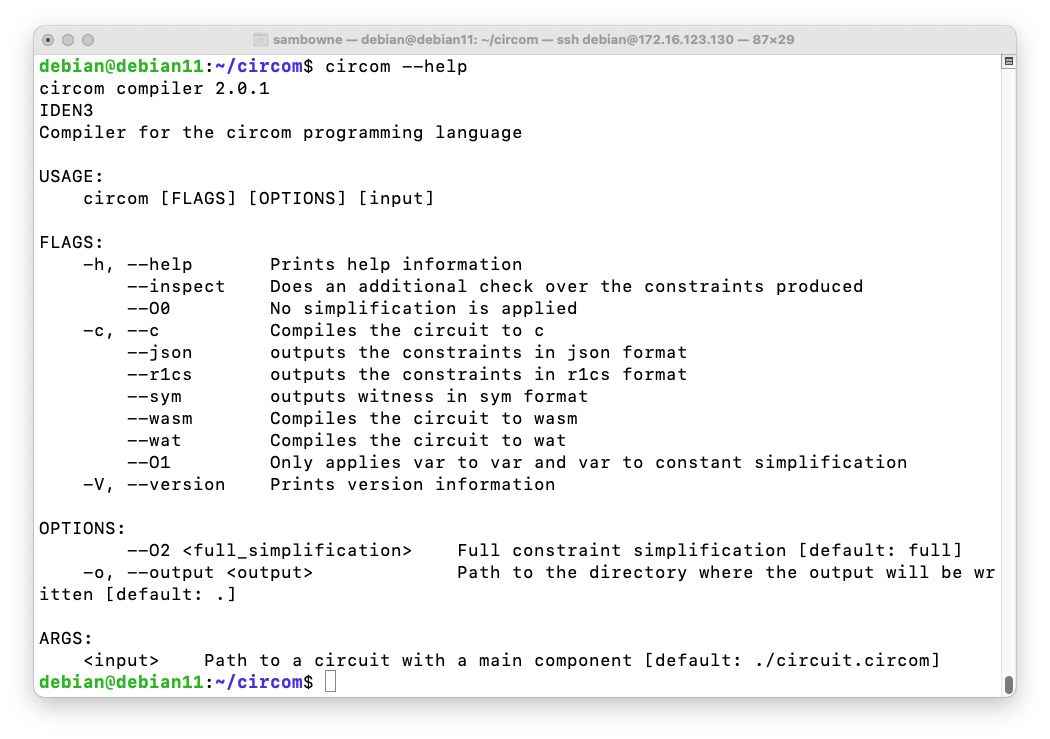
circom --help
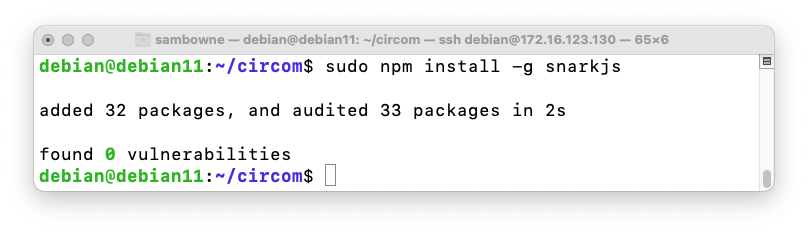
sudo npm install -g snarkjs
To prepare it, execute these commands:
cd
mkdir snark
cd snark
snarkjs powersoftau new bn128 12 pot12_0000.ptau -v

snarkjs powersoftau contribute pot12_0000.ptau pot12_0001.ptau --name="First contribution" -v
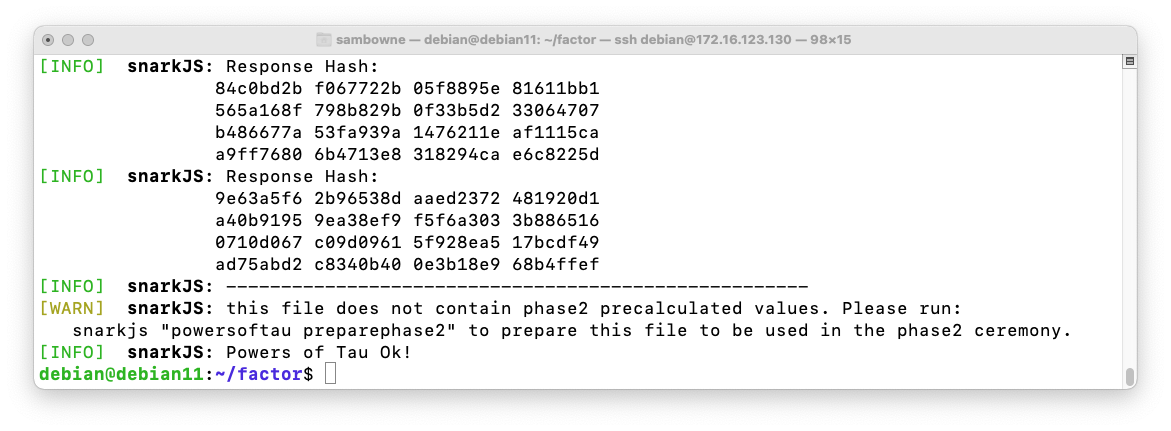
You see a lot of random hash values, as shown below.

Execute these commands, replacing "some random text" with something random.
snarkjs powersoftau contribute pot12_0001.ptau pot12_0002.ptau --name="Second contribution" -v -e="some random text"

snarkjs powersoftau verify pot12_0002.ptau
Execute these commands:
snarkjs powersoftau beacon pot12_0002.ptau pot12_beacon.ptau 0102030405060708090a0b0c0d0e0f101112131415161718191a1b1c1d1e1f 10 -n="Final Beacon"

snarkjs powersoftau prepare phase2 pot12_beacon.ptau pot12_final.ptau -v
When it's done, execute this command to verify it:
snarkjs powersoftau verify pot12_final.ptau

On your Linux machine, in a Terminal window, execute these commands:
nano circuit.circom
pragma circom 2.0.0;

template Multiplier(n) {
    signal input a;
    signal input b;
    signal output c;

    signal int[n];

    int[0] <== a*a + b;
    for (var i=1; i<n; i++) {
    int[i] <== int[i-1]*int[i-1] + b;
    }

    c <== int[n-1];
}

component main = Multiplier(1000);

Save the file with Ctrl+X, Y, Enter.
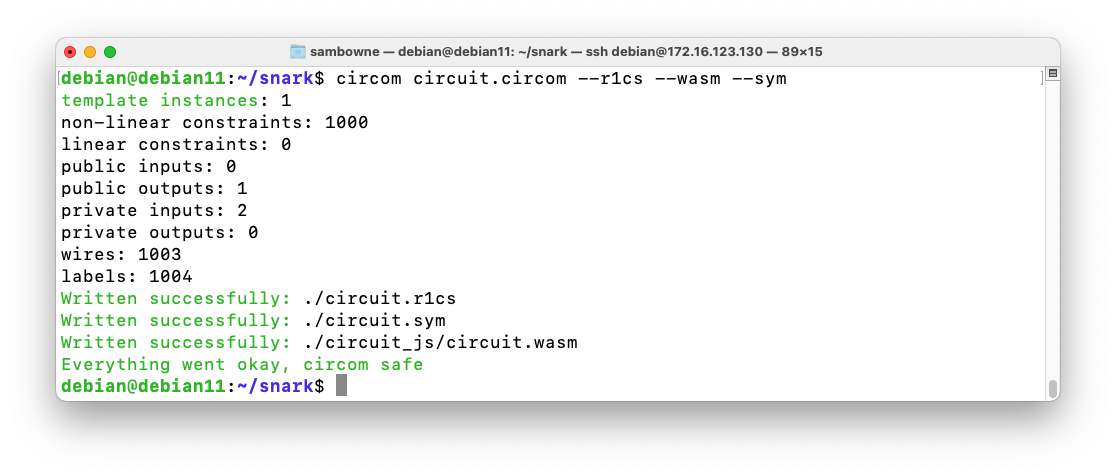
circom circuit.circom --r1cs --wasm --sym
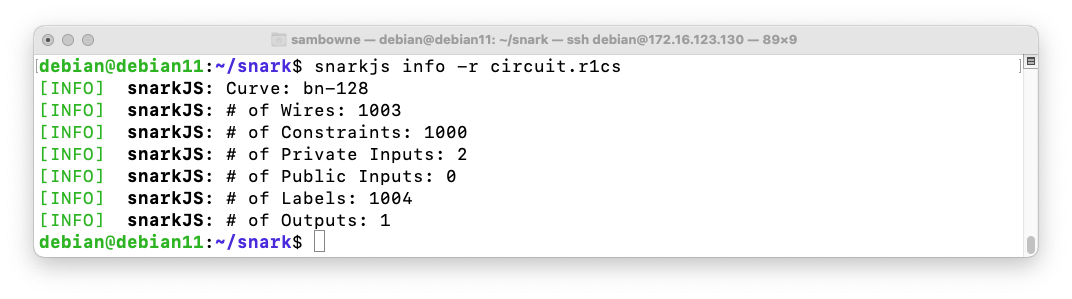
snarkjs info -r circuit.r1cs
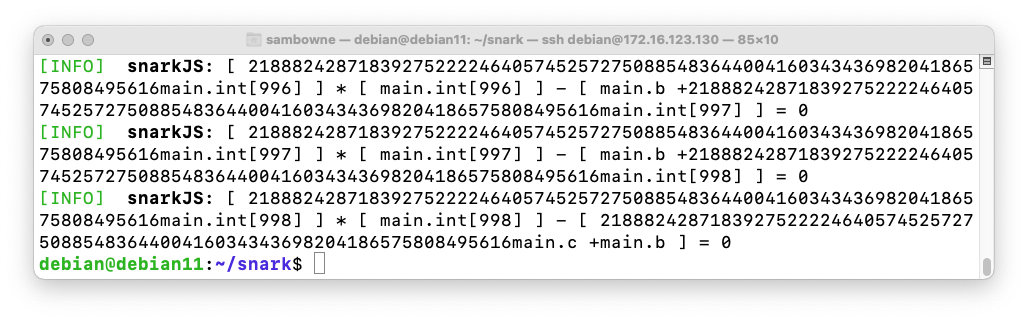
To see the constraints of the circuit, execute this command:
snarkjs r1cs print -r circuit.r1cs -s circuit.sym
Execute these commands:
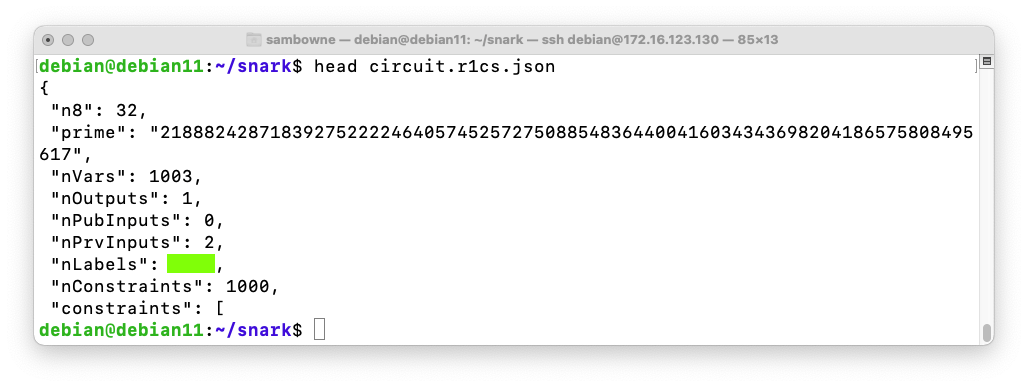
snarkjs r1cs export json circuit.r1cs circuit.r1cs.json
head circuit.r1cs.json
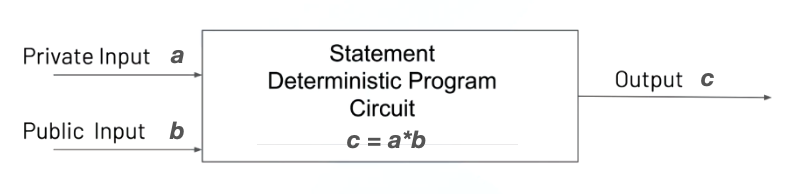
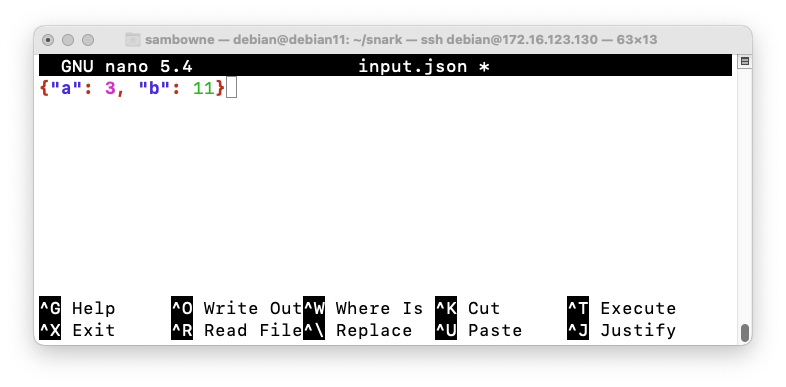
Next we specify the inputs. We'll use a=3 and b-11.
C 523.1: nLabels (10 pts)
The flag is covered by a green rectangle in the image below.
Execute this command:
nano input.json
{"a": 3, "b": 11}
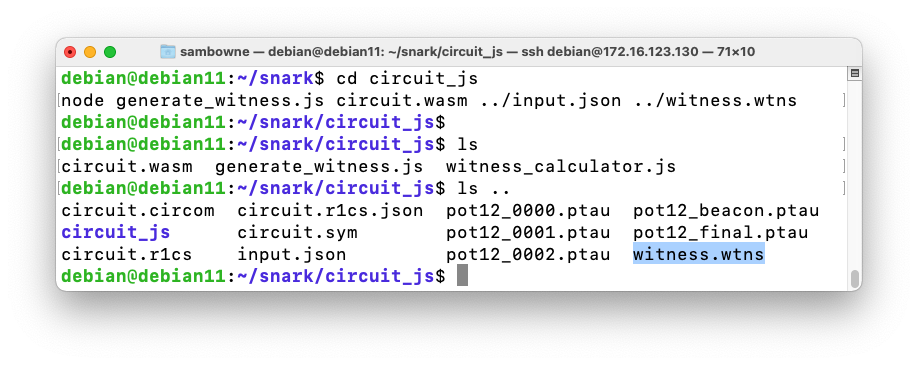
To create the witness, execute these commands:
cd circuit_js
node generate_witness.js circuit.wasm ../input.json ../witness.wtns
ls
ls ..
cd ..
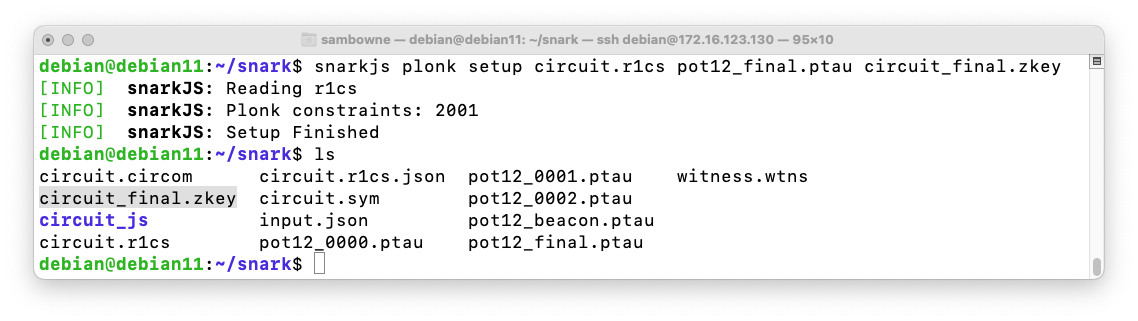
snarkjs plonk setup circuit.r1cs pot12_final.ptau circuit_final.zkey
ls
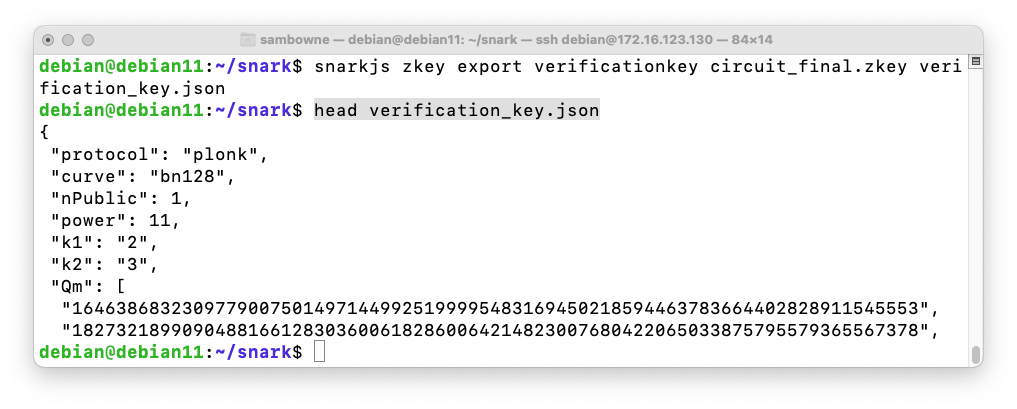
snarkjs zkey export verificationkey circuit_final.zkey verification_key.json
head verification_key.json
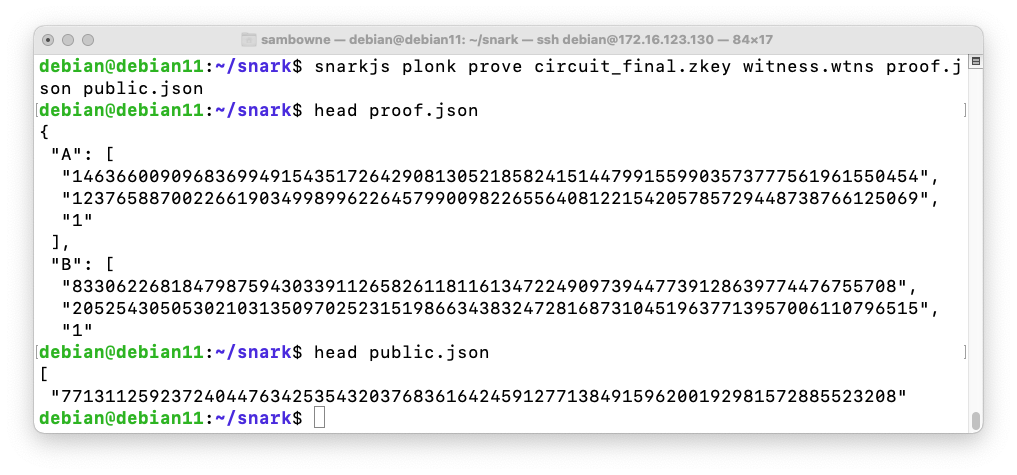
snarkjs plonk prove circuit_final.zkey witness.wtns proof.json public.json
head proof.json
head public.json
snarkjs plonk verify verification_key.json public.json proof.json

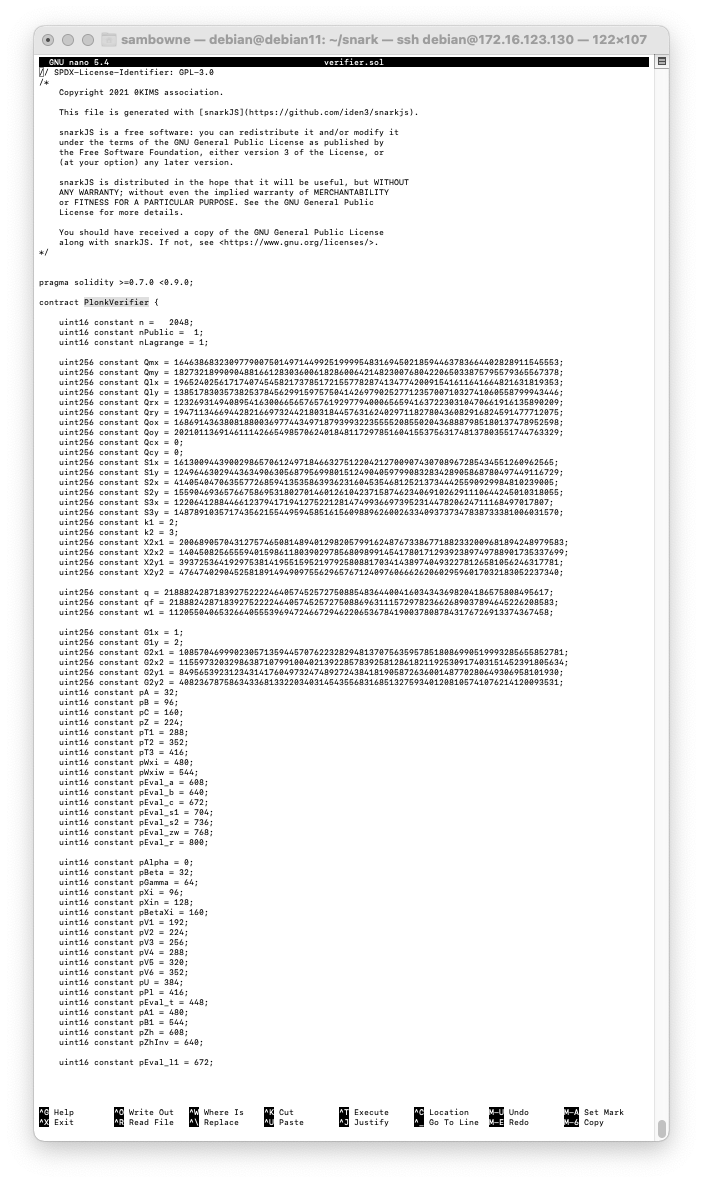
snarkjs zkey export solidityverifier circuit_final.zkey verifier.sol
head verifier.sol

Execute this command:
nano verifier.sol
https://remix.ethereum.org/In the left pane, right-click contracts and click "New File", as shown below.
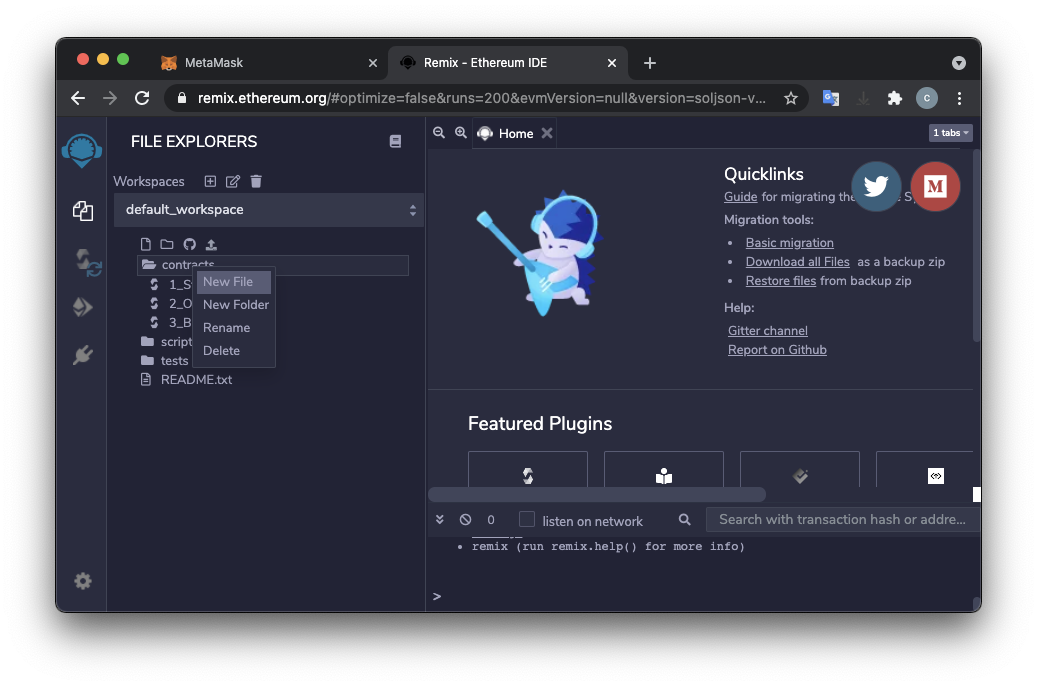
Type the name PlonkVerifier.sol and press Enter.
A "PlonkVerifier.sol" tab appears on the right side.
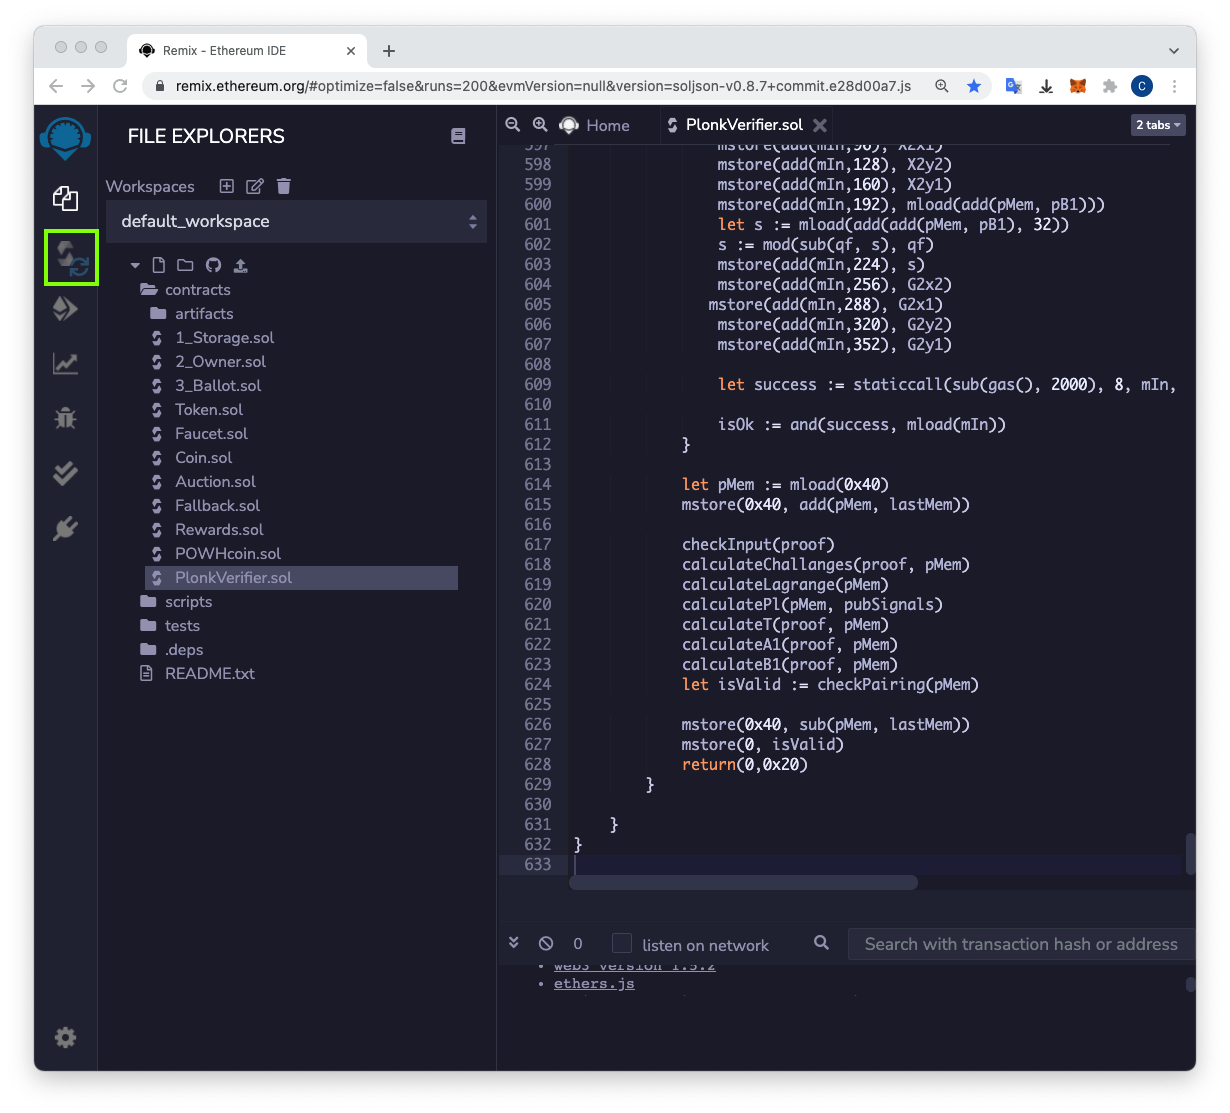
Carefully copy the code from nano and paste it in. It will take several cycles of copying and pasting.
There are more than 600 lines of code, as shown below.
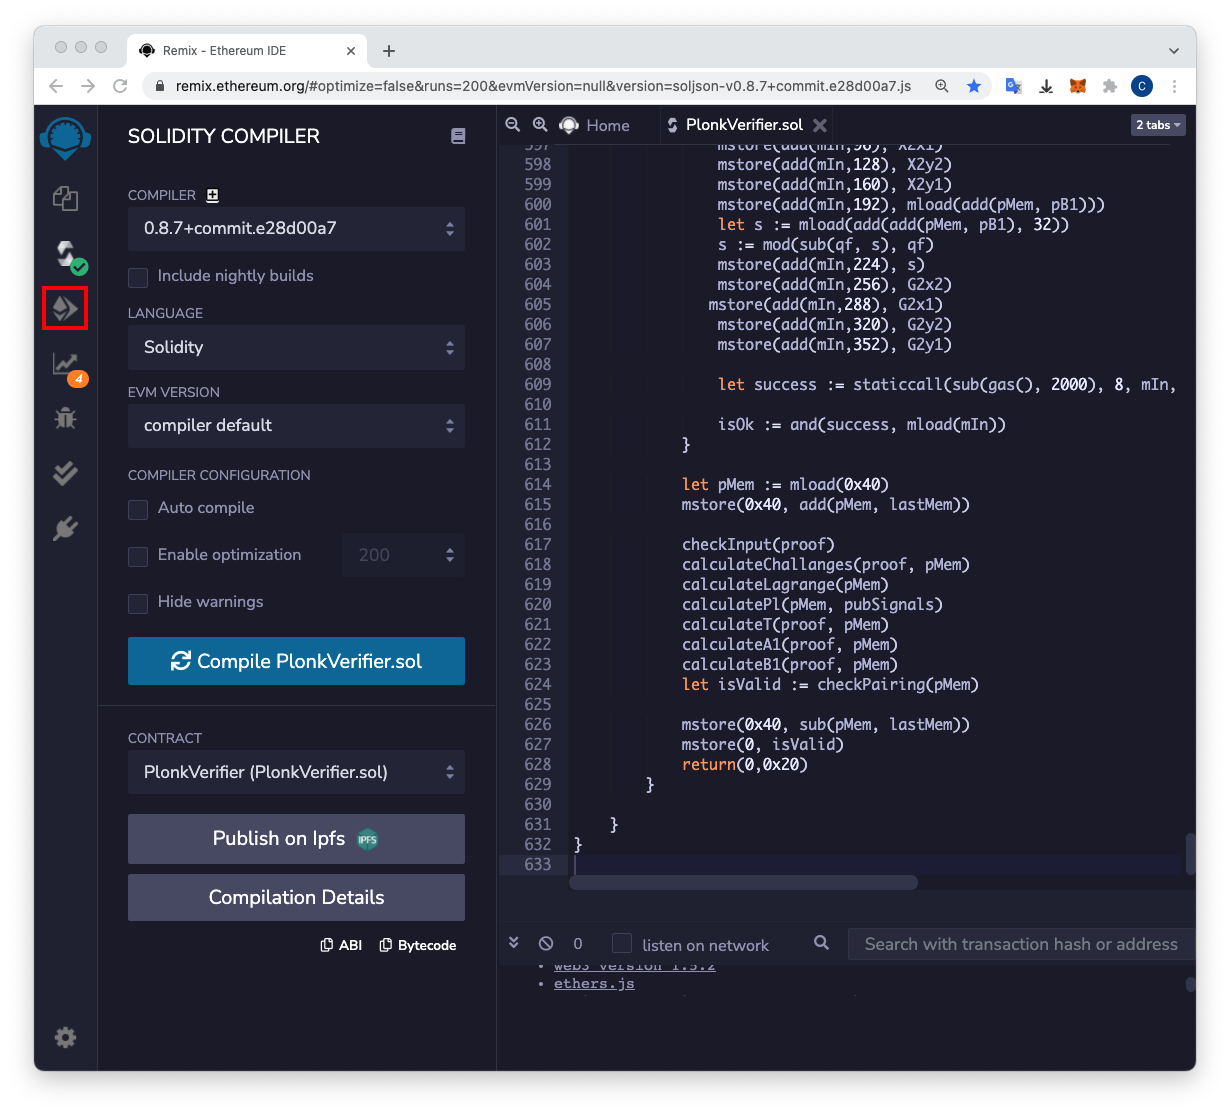
On the left side, the third icon now has a green check-mark on it, as shown below.
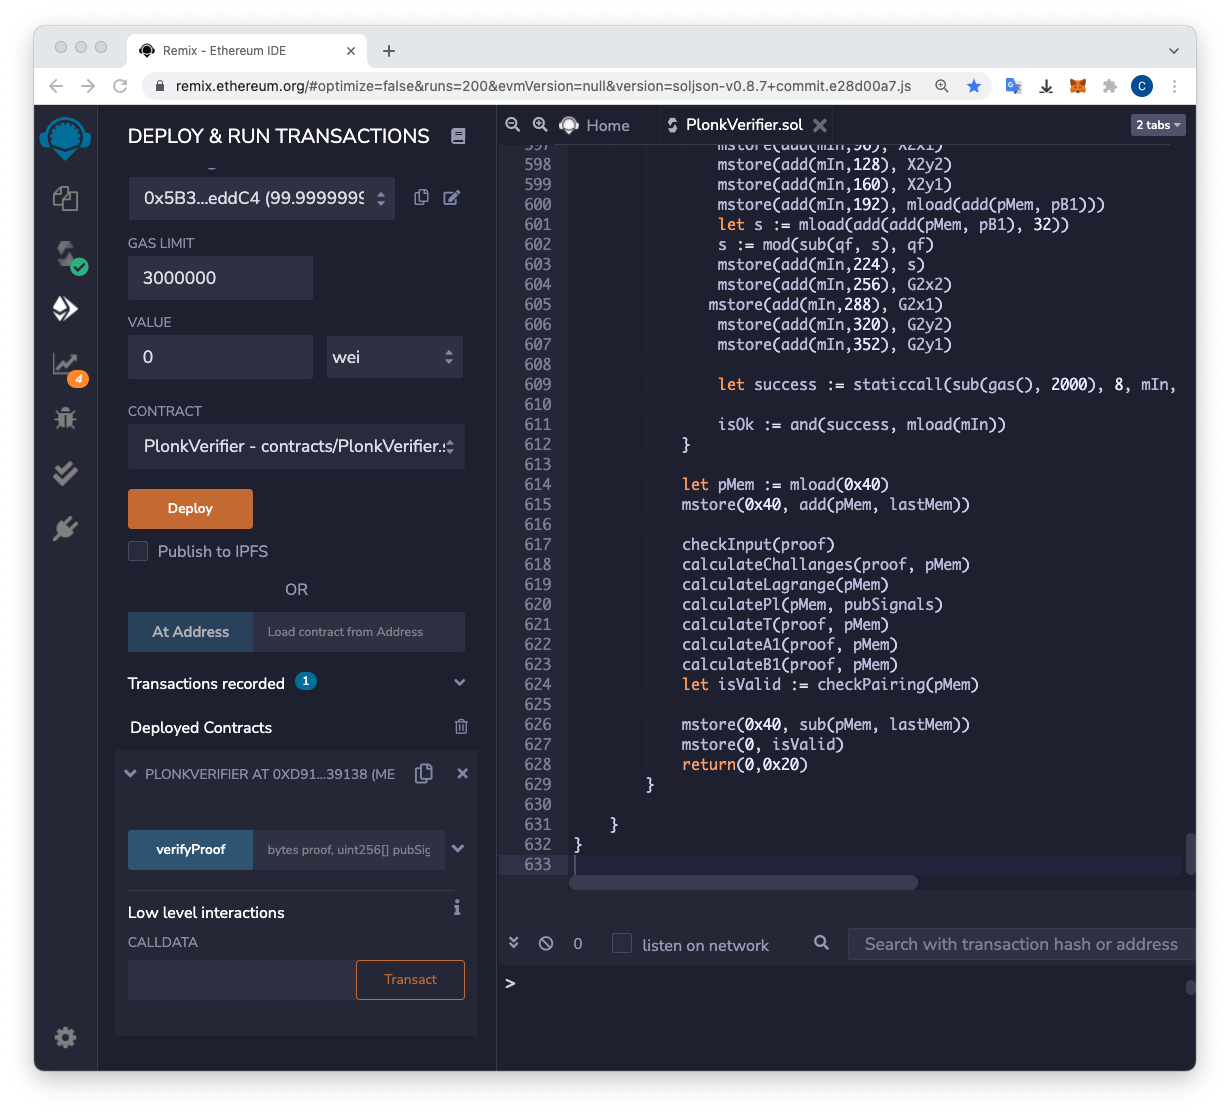
The "DEPLOY & RUN TRANSACTIONS" pane opens.
Use the default Environment of "JavaScript VM (London)".
On the lower left, in the Deployed Contracts section, you see "PLONKVERIFIER". Click the > sign next to "PlonkVerifier" to expand that section.
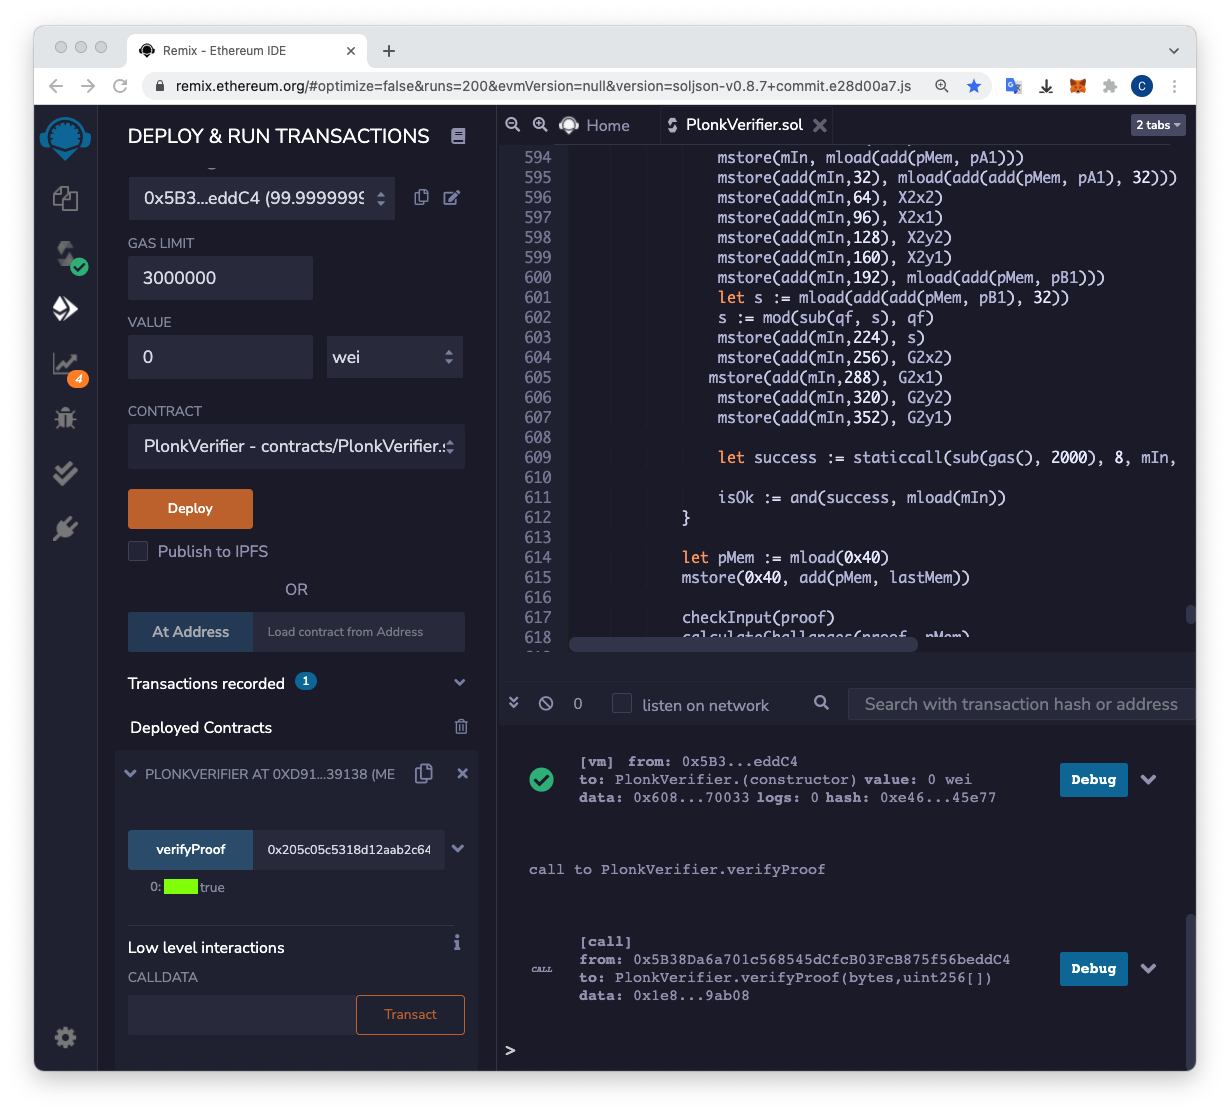
You see a blue verifyProof button, as shown below.
Restore the font to a normal size.
Execute this command:
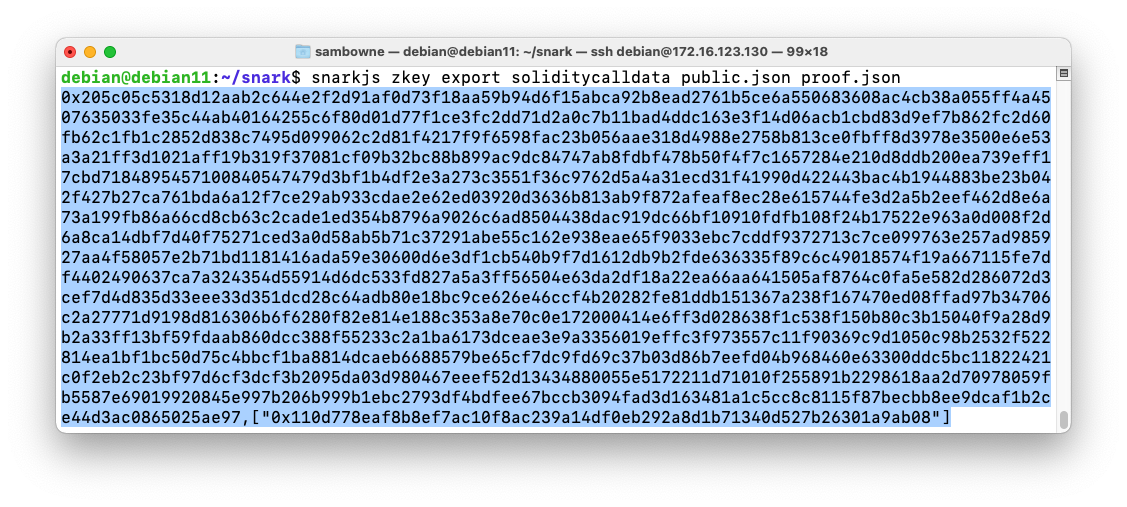
snarkjs zkey export soliditycalldata public.json proof.json
C 523.2: Result (10 pts)
Paste the blob of hexadecimal code into the field next to the verifyProof button and click verifyProof button.The result is true -- the verification succeeds!
The flag is covered by a green rectangle in the lower left, in the image below.
Change the last character.
Click the verifyProof button.
The result changes to false.
Posted 11-14-21
Meaning of zk-SNARK added 11-16-21