In a Web brower, go to
https://www.pythonanywhere.com/pricing/Click "Create a Beginner account".
Fill in the form to create an account.
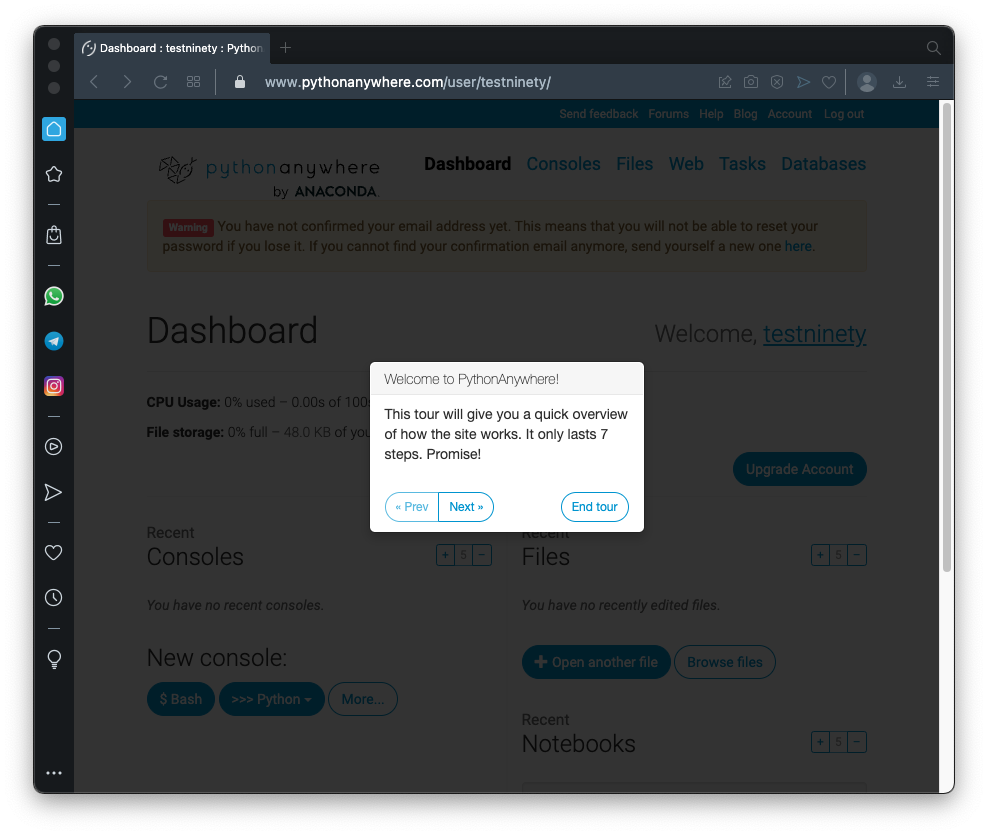
Go through the tour, as shown below.
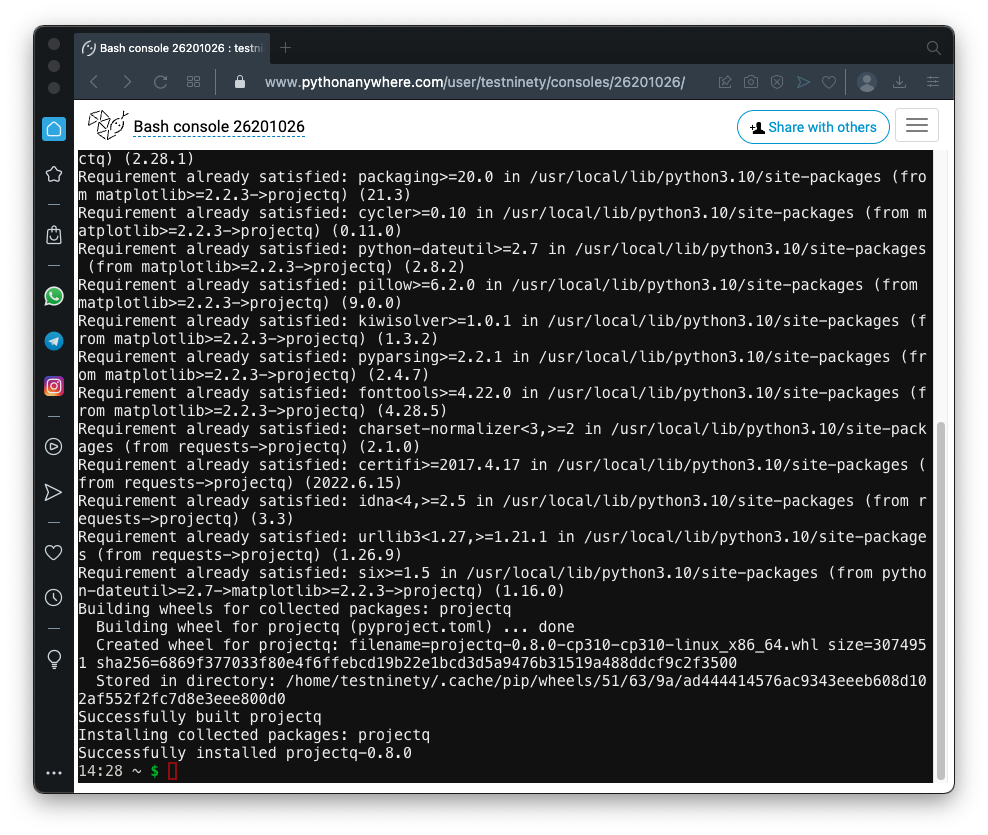
python3 -m pip install --upgrade pip
python3 -m pip install --user projectq
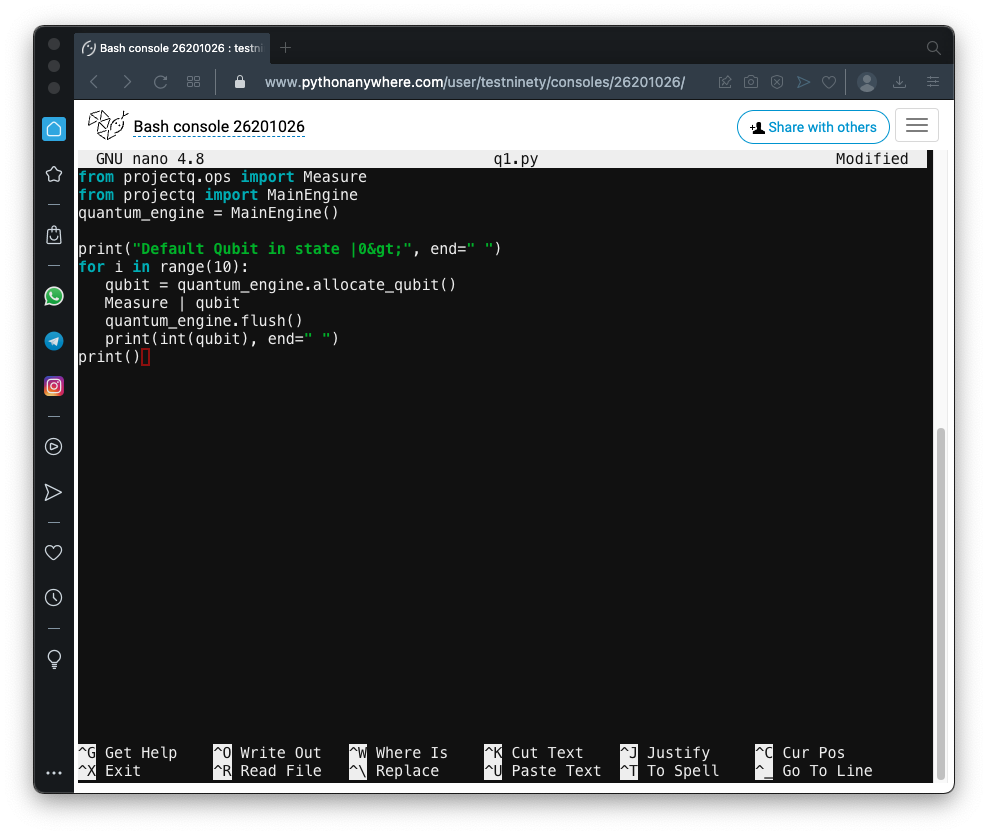
Execute this command to create a file named q1.py
nano q1.py
This program creates a qubit and measures it ten times.
from projectq.ops import Measure
from projectq import MainEngine
quantum_engine = MainEngine()

print("Default Qubit in state |0>", end=" ")
for i in range(10):
   qubit = quantum_engine.allocate_qubit()
   Measure | qubit
   quantum_engine.flush()
   print(int(qubit), end=" ")
print()
Save the program with Ctrl+X, Y, Enter.
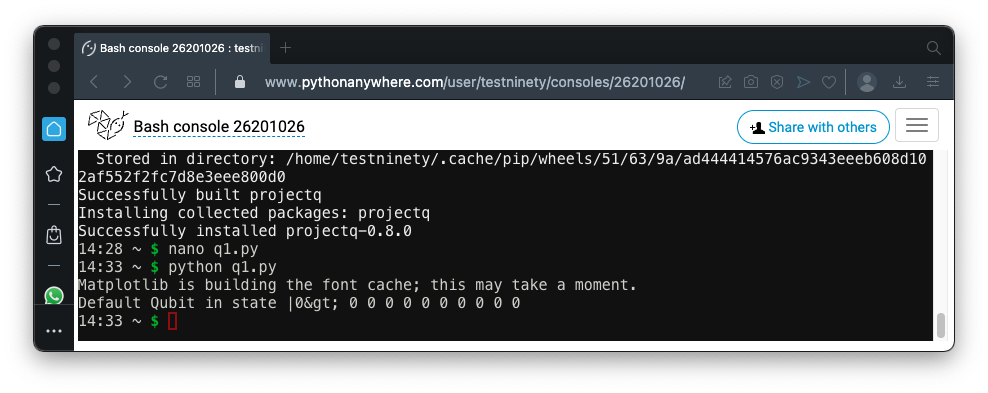
Execute this command to run the program:
python q1.py
|0>.
Therefore, all ten measurements of the qubit result in 0, as shown below.
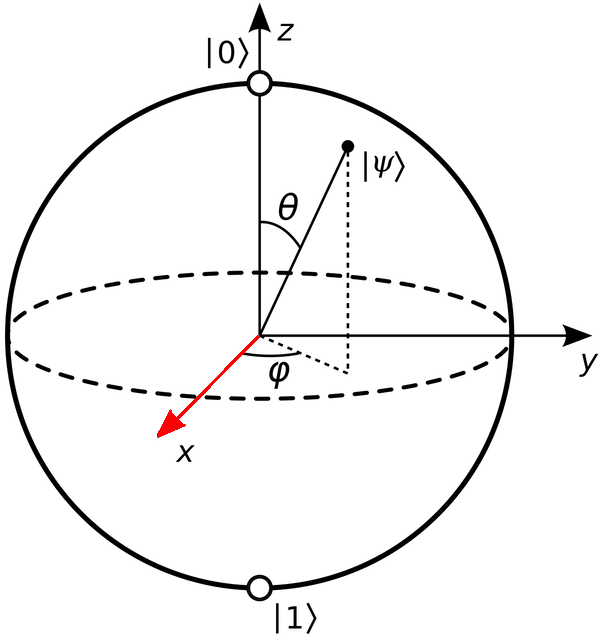
A newly created qubit starts in
state |0>,
shown as a green arrow in the figure below.
An X-gate rotates the qubit 180 degrees around the X-axis,
so the arrow points down, to
state |1>.
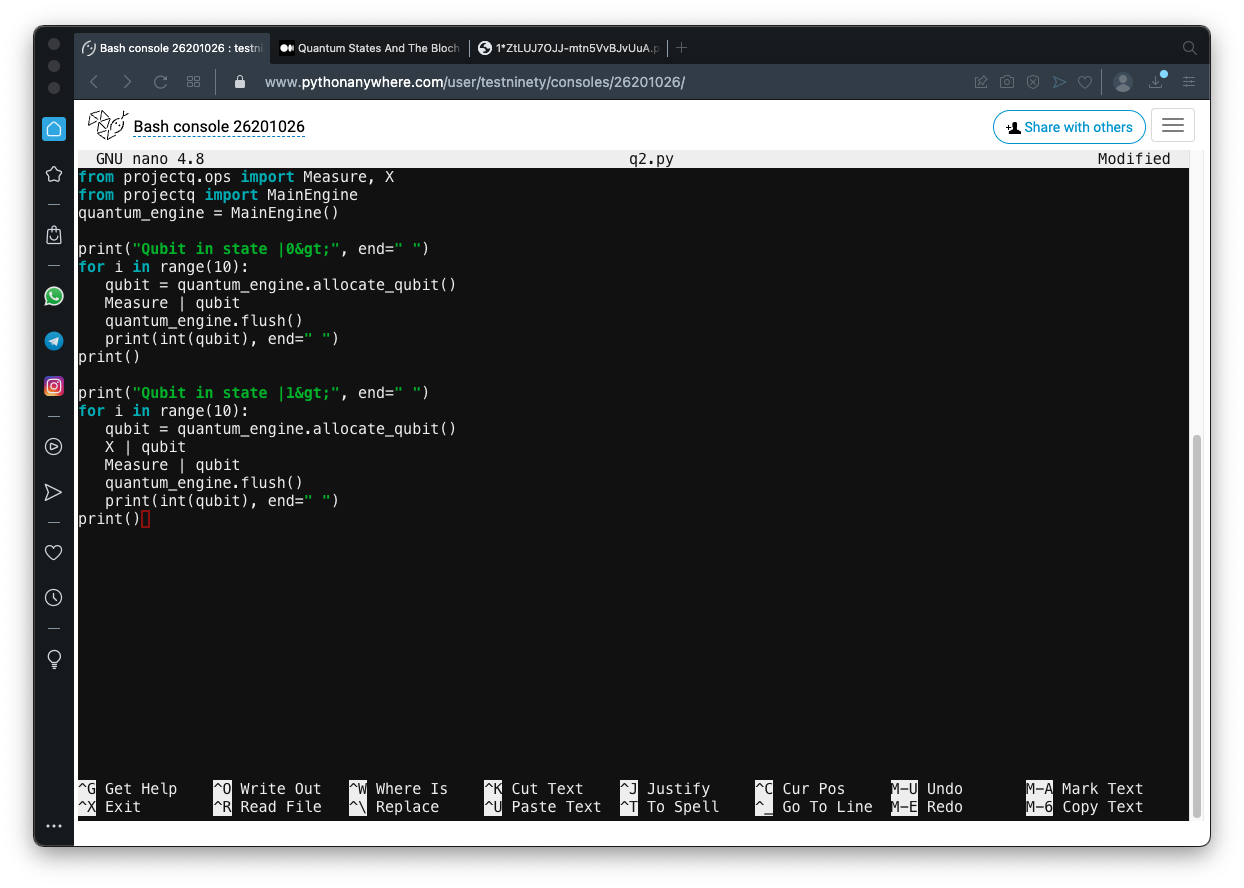
Create a file named q2.py containing this code, as shown below.
from projectq.ops import Measure, X
from projectq import MainEngine
quantum_engine = MainEngine()

print("Qubit in state |0>", end=" ")
for i in range(10):
   qubit = quantum_engine.allocate_qubit()
   Measure | qubit
   quantum_engine.flush()
   print(int(qubit), end=" ")
print()

print("Qubit in state |1>", end=" ")
for i in range(10):
   qubit = quantum_engine.allocate_qubit()
   X | qubit
   Measure | qubit
   quantum_engine.flush()
   print(int(qubit), end=" ")
print()
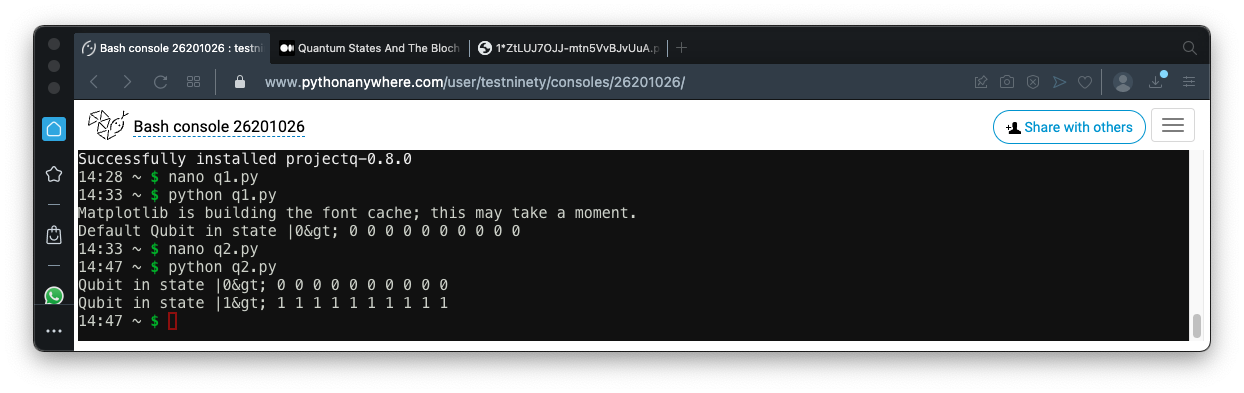
Run the program.
the X gate flips the Qubit to
the state
|1>.
Measuring that Qubit always
results in 1,
as shown below.
|0>
and
|1>.
The Hadamard gate moves the Qubit into
a superposition state containing
equal amounts of
|0>
and
|1>.
This state is represented by the red arrow on the Bloch sphere figure above.
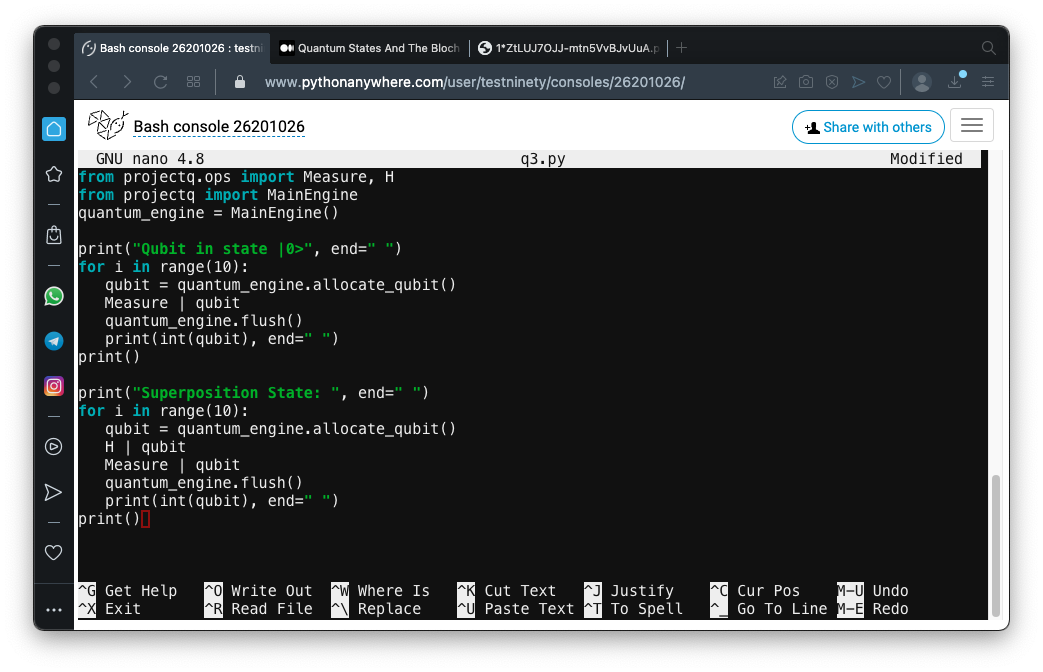
In a text editor, create a file named q3.py containing this code:
from projectq.ops import Measure, H
from projectq import MainEngine
quantum_engine = MainEngine()

print("Qubit in state |0>", end=" ")
for i in range(10):
   qubit = quantum_engine.allocate_qubit()
   Measure | qubit
   quantum_engine.flush()
   print(int(qubit), end=" ")
print()

print("Superposition State: ", end=" ")
for i in range(10):
   qubit = quantum_engine.allocate_qubit()
   H | qubit
   Measure | qubit
   quantum_engine.flush()
   print(int(qubit), end=" ")
print()
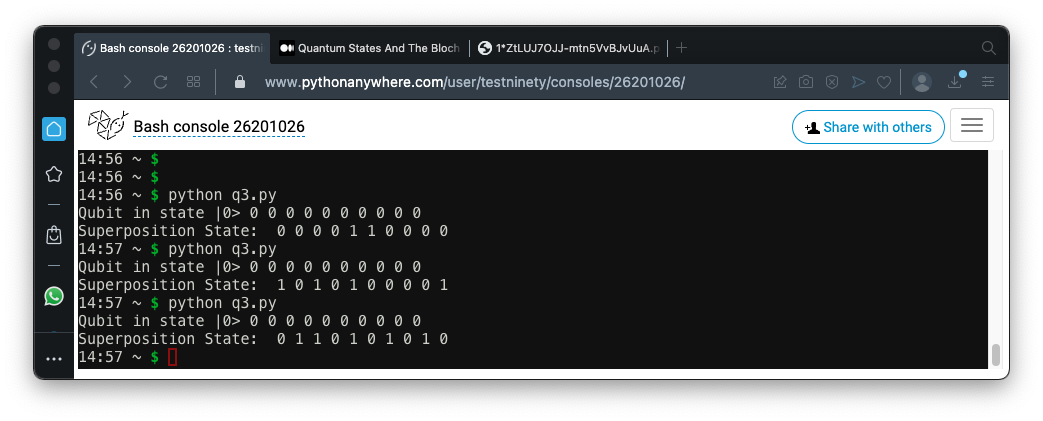
Run the program several times. The superposition state has a 50% chance of being 0 when measured, and a 50% chance of being 1, as shown below.
This is "quantum uncertainty" and it is a fundamental aspect of reality that changed everything about physics. It bothered Einstein, who said "God does not play dice." However, as far as we can tell, Einstein was wrong and this uncertainty is a real property of quantum objects.
To entangle Qubits, we use the CNOT operator.
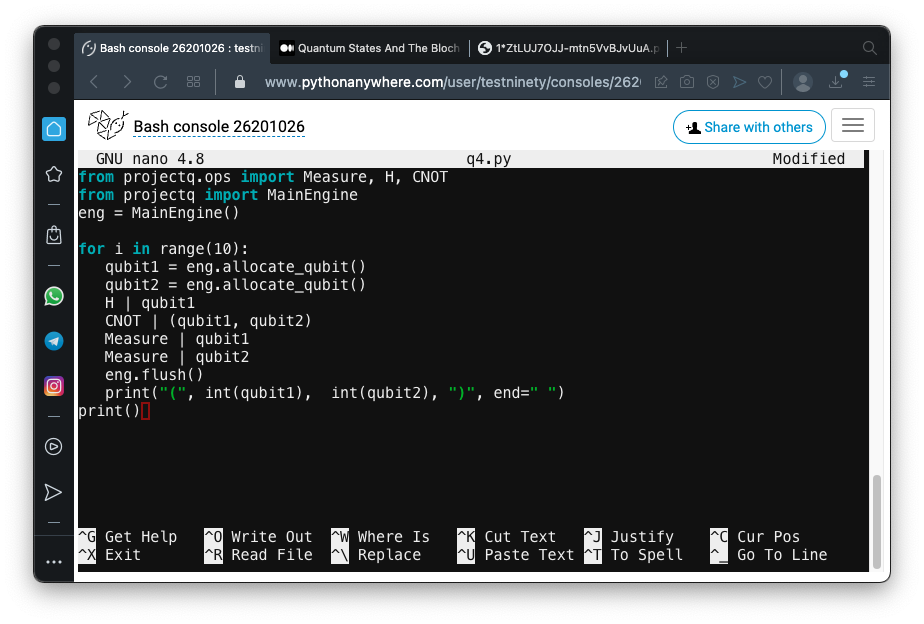
In a text editor, create a file named q4.py containing this code:
from projectq.ops import Measure, H, CNOT
from projectq import MainEngine
eng = MainEngine()
for i in range(10):
qubit1 = eng.allocate_qubit()
qubit2 = eng.allocate_qubit()
H | qubit1
CNOT | (qubit1, qubit2)
Measure | qubit1
Measure | qubit2
eng.flush()
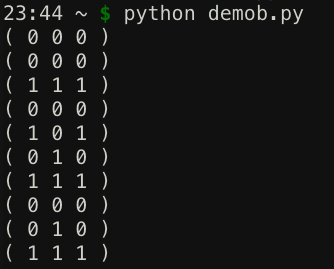
print("(", int(qubit1), int(qubit2), ")", end=" ")
print()
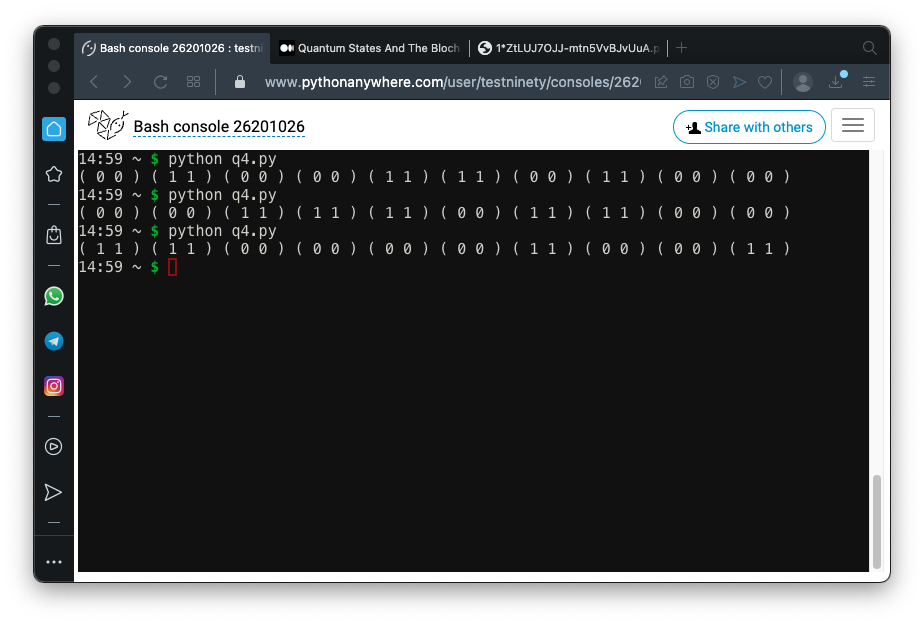
Run the program several times. The Qubits are sometimes 0, sometimes 1, but they are always equal, as shown below.
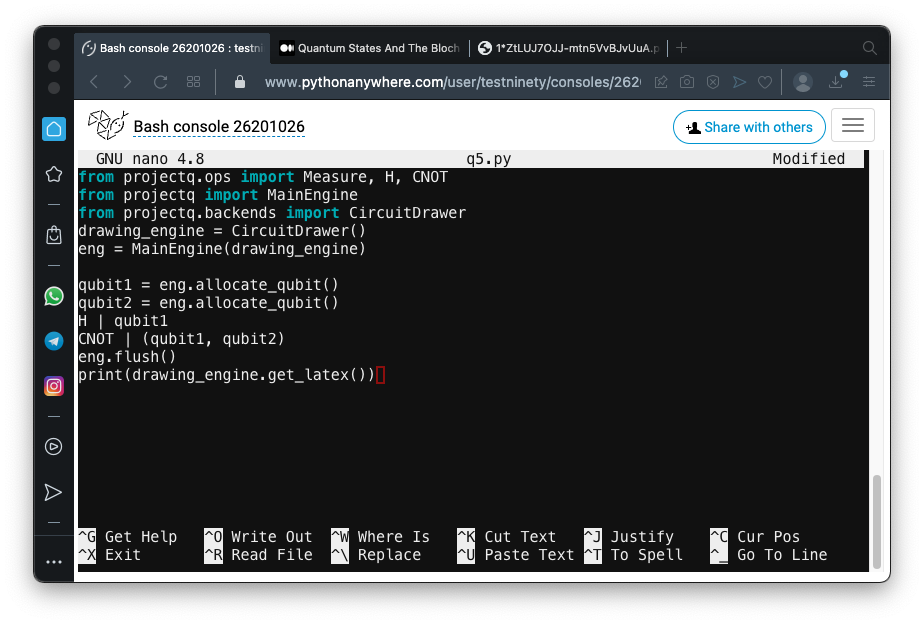
In a text editor, create a file named q5.py containing this code:
from projectq.ops import Measure, H, CNOT
from projectq import MainEngine
from projectq.backends import CircuitDrawer
drawing_engine = CircuitDrawer()
eng = MainEngine(drawing_engine)

qubit1 = eng.allocate_qubit()
qubit2 = eng.allocate_qubit()
H | qubit1
CNOT | (qubit1, qubit2)
eng.flush()
print(drawing_engine.get_latex())
Execute this command to write a LaTeX file:
python3 q5.py > q5.tex
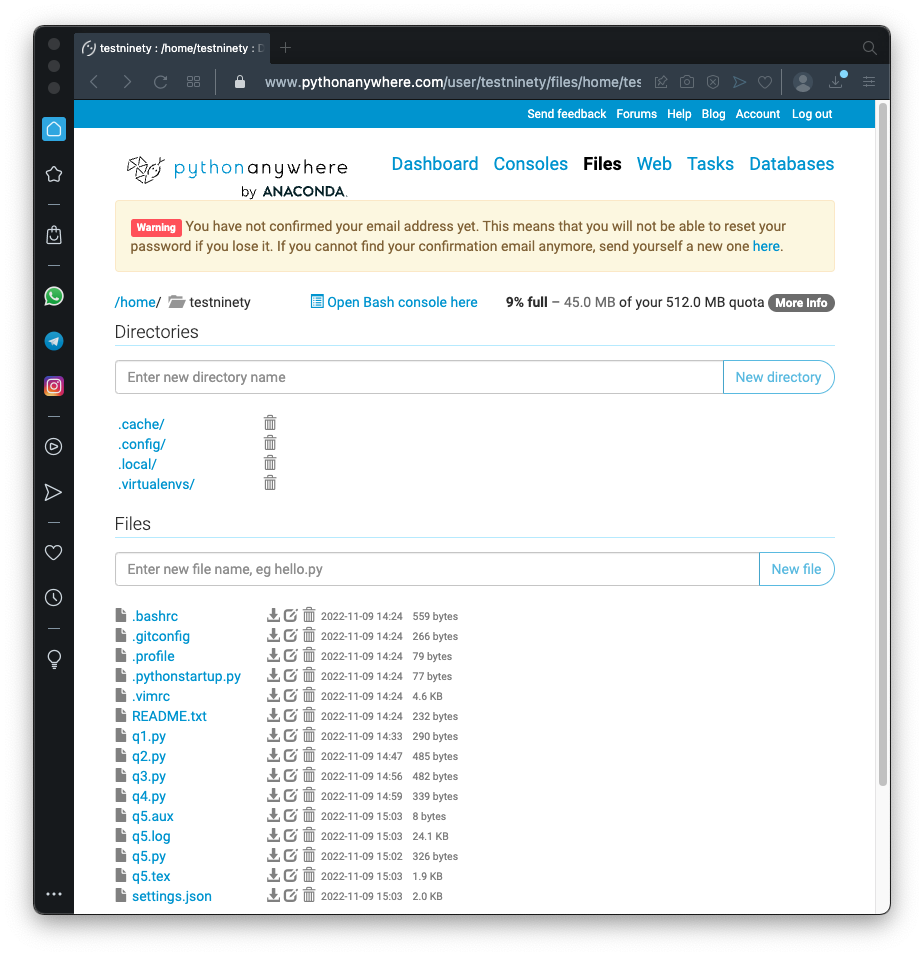
Click Files.
On the "q5.tex" line, right-click the down-arrow icon, click "Save link as...", and save the file in your Downloads folder.
Use this online conversion site ito convert the tex file to a PDF:
https://www.freefileconvert.com/
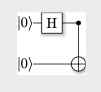
Browse to q5.pdf and double-click it. You see a pretty diagram of your quantum circuit, as shown below.
The two Qubits start in their
default states of
|0> .
One of them passes through a Hadamard gate, and then they are entangled, denoted by the the ⊕ symbol.
from projectq.ops import Measure, H, CNOT
from projectq import MainEngine
from projectq.backends import CircuitDrawer
drawing_engine = CircuitDrawer()
eng = MainEngine(drawing_engine)

qubit1 = eng.allocate_qubit()
qubit2 = eng.allocate_qubit()
qubit3 = eng.allocate_qubit()
H | qubit1
CNOT | (qubit1, qubit3)
H | qubit2
eng.flush()
print(drawing_engine.get_latex())
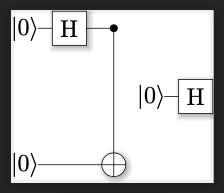
The circuit is shown below. The first and third qubits are entangled, and the second one stands alone.
To see the qubit values, create this file:
from projectq.ops import Measure, H, CNOT
from projectq import MainEngine
eng = MainEngine()

for i in range(10):
  qubit1 = eng.allocate_qubit()
  qubit2 = eng.allocate_qubit()
  qubit3 = eng.allocate_qubit()
  H | qubit1
  CNOT | (qubit1, qubit3)
  H | qubit2
  Measure | qubit1
  Measure | qubit2
  Measure | qubit3
  eng.flush()
  print("(", int(qubit1),  int(qubit2), int(qubit3), ")")
print()
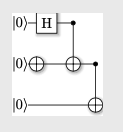
C 510.1: Three Qubits (10 pts)
Program the quantum circuit shown below.Note that the ⊕ symbol on a single line denotes an X gate.
You will need to import the X function.
Create a second program that measures and prints out the value of the qubits, instead of drawing a diagram.
Run that circuit a few times, printing the three qubits. The answers vary.
Find the answer containing the largest number of ones, and concatenate the bits, like this:
That's the flag.
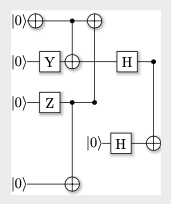
C 510.2: Five Qubits (10 pts)
Program the quantum circuit shown below.Note that the ⊕ symbol on a single line denotes an X gate.
Run that circuit a few times, printing the five bits. The answers vary.
Interpret each sequence of five bits into a binary number, and convert it to decimal.
The highest possible value is the flag.
For example, if the bits were
the flag would be 31.
Posted 7-12-2020 by Sam Bowne
PDF instructions updated 12-28-20
Updated to use PythonAnywhere 11-9-22
Flag 1 process explained more, and three-qubit demo added 11-13-23
Bloch Sphere image updated 6-20-24
Video added 4-9-25