 What you need:
The image is named "tux.bmp" and I got it from Wikipedia.
sudo apt update
sudo apt install python3-pip -y
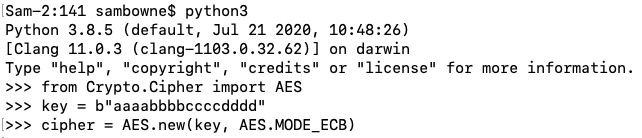
python3 -m pip install pycryptodome
cd Downloads
python3
from Crypto.Cipher import AES
key = b"aaaabbbbccccdddd"
cipher = AES.new(key, AES.MODE_ECB)
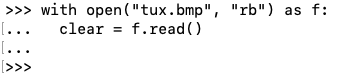
Execute these commands to read the "tux.bmp" binary file into a variable named "clear". After the second line, press Enter twice.
with open("tux.bmp", "rb") as f:
  clear = f.read()
Execute this command to encrypt the data in "clear".
ciphertext = cipher.encrypt(clear)

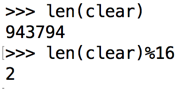
Execute these commands to see the length of the "clear" data, and the length modulus 16.
len(clear)
len(clear)%16
Execute this command to trim a section of "clear" out, skipping the first 64 bytes (the image file header), and the last 2 bytes, saving the result in a variable named "clear_trimmed".
clear_trimmed = clear[64:-2]

Execute these commands to see the length of the "clear_trimmed" data, and the length modulus 16.
len(clear_trimmed)
len(clear_trimmed)%16

Execute this command to encrypt the data in "clear_trimmed", and put it in a variable named "ciphertext".
ciphertext = cipher.encrypt(clear_trimmed)

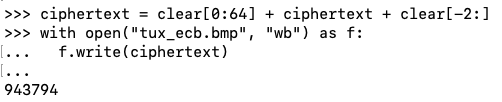
Execute these commands to add the first 64 bytes and the last 2 bytes to "ciphertext", and write it to a file named "tux_ecb.bmp".
After the third line, press Enter twice.
ciphertext = clear[0:64] + ciphertext + clear[-2:]
with open("tux_ecb.bmp", "wb") as f:
  f.write(ciphertext)
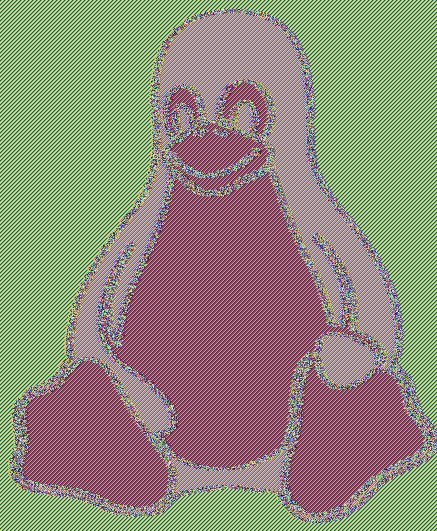
The encrypted file still shows a lot of information about the image, as shown below.
with open("tux_ecb.bmp", "rb") as f:
  bytes = f.read()

C 202.1: Hexadecimal Values (10 pts)
Execute this command to show the last four bytes of the encrypted file in hexadecimal.The flag is covered by a green rectangle in the image below.
CBC mode requires an additional "iv" parameter, as shown below.
iv = b"0000111122223333"
cipher = AES.new(key, AES.MODE_CBC, iv)

Execute this command to encrypt the data in "clear_trimmed", and put it in a variable named "ciphertext".
ciphertext = cipher.encrypt(clear_trimmed)
Execute these commands to add the first 64 bytes and the last 2 bytes to "ciphertext", and write it to a file named "tux_cbc.bmp".
After the third line, press Enter twice.
ciphertext = clear[0:64] + ciphertext + clear[-2:]
with open("tux_cbc.bmp", "wb") as f:
  f.write(ciphertext)
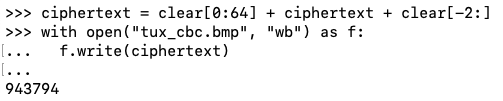
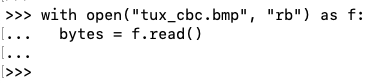
The encrypted file is now random pixels, as shown below.

with open("tux_cbc.bmp", "rb") as f:
  bytes = f.read()
C 202.2: Hexadecimal Values (10 pts)
Execute this command to show the last four bytes of the encrypted file in hexadecimal.The flag is covered by a green rectangle in the image below.
Execute these commands to create a new "cipher" object in GCM mode.
iv = b"0000111122223333"
cipher = AES.new(key, AES.MODE_GCM, nonce=iv)
ciphertext = cipher.encrypt(clear_trimmed)
After the third line, press Enter twice.
ciphertext = clear[0:64] + ciphertext + clear[-2:]
with open("tux_gcm.bmp", "wb") as f:
  f.write(ciphertext)
The encrypted file is now random pixels, as shown below.

with open("tux_gcm.bmp", "rb") as f:
  bytes = f.read()
C 202.3: Hexadecimal Values (10 pts)
Execute this command to show the last four bytes of the encrypted file in hexadecimal.The flag is covered by a green rectangle in the image below.