Downloading the Virtual Machines
Find the "CNIT 140" section and download the Palo Alto Firewall file.
You end up with a 1.7 GB file named PA-VM-ESX-7.1.0.ova.
Browse to the PA-VM-ESX-7.1.0.ova file and double-click it.
In the "Choose an Existing Virtual Machine" window, click the Continue button.
Choose a location to save your Palo Alto VM and click the Save button.
Wait till the import completes. Then click the Finish button.
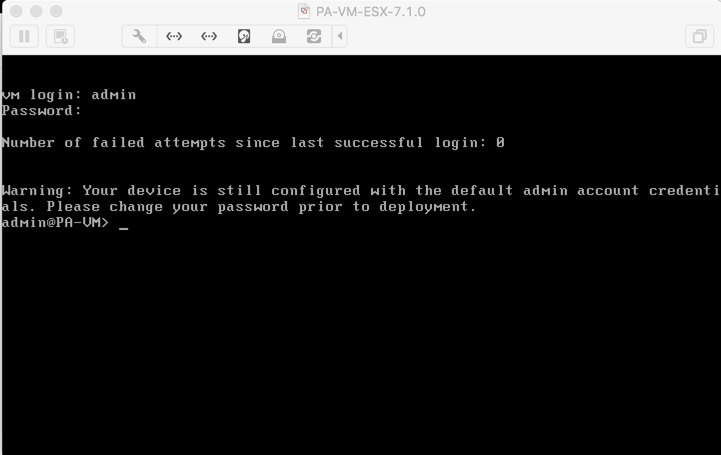
The Palo Alto starts up, saying "Welcome to the PanOS Bootloader".
In the VM window, at the "vm login" prompt, log in with these credentials:
Username: admin
Password: admin
You're in, as shown below:
A list of available commands appears, as shown below.
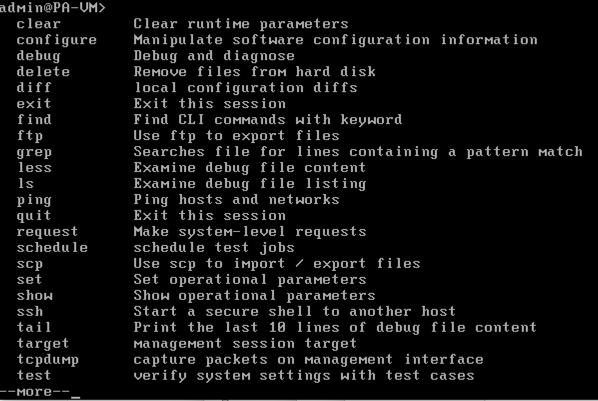
Type show? to see a list of parameters for the "show" command.
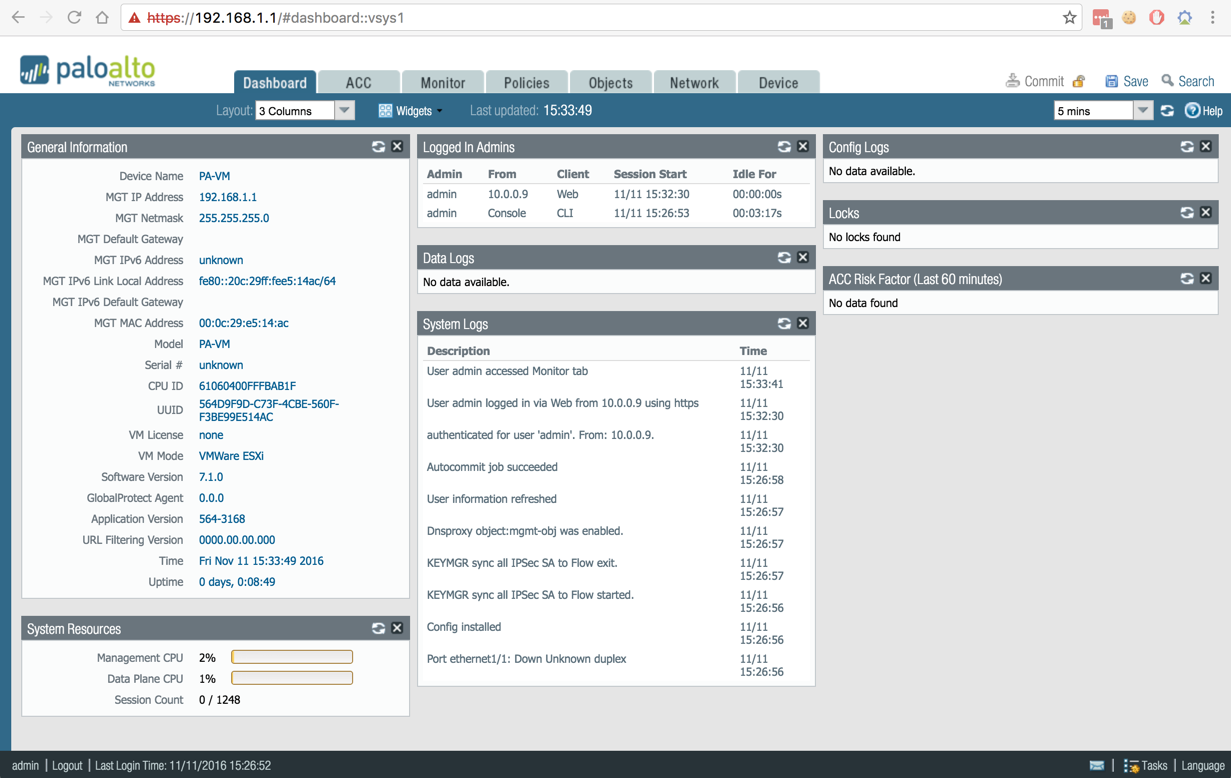
https://192.168.1.1/
Accept the certificate, and log in as admin/admin.
In the Welcome box, click Close.
You now have the PAN GUI, as shown below.
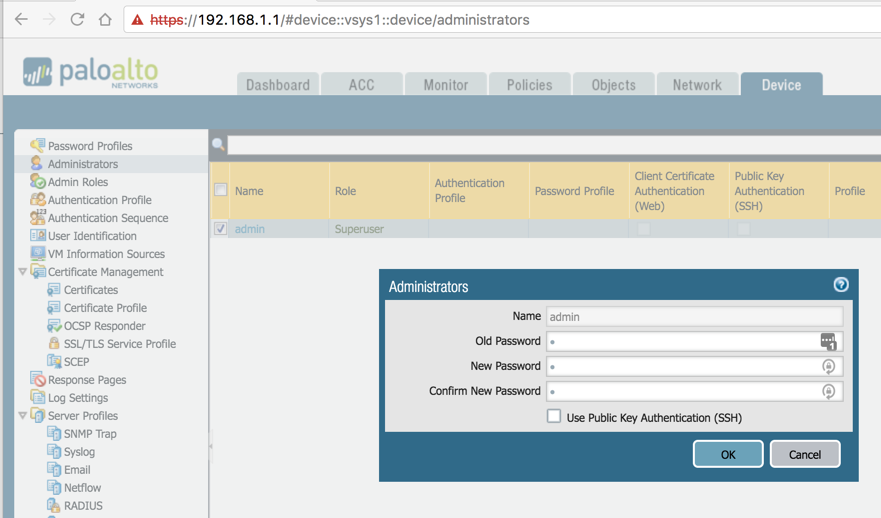
Near the top of the left pane, click Administrators.
In the center pane, click the blue admin.
A box appears, allowing you to change the password, as shown below.
Enter the IP Address, Netmask, and Default Gateway. (Leave them alone).
To prevent unauthorized access to the management interface, it is a best practice to Add the Permitted IP Addresses from which an administrator can access the MGT interface.
Set the Speed to auto-negotiate.
Select which management services to allow on the interface.
Make sure Telnet and HTTP are not selected because these services use plaintext and are not as secure as the other services and could compromise administrator credentials.
Click OK.
A Commit box pops up. Click Commit.
The device may take up to 90 seconds to save your changes.
request shutdown system
ethernet2.virtualDev = "vmxnet3"
PAN 1: PAN-OS® Command Line Interface (CLI) Reference Guide
PAN 2: PAN-OS� 7.0 CLI Quick Start
PAN 3: CLI Cheat Sheets
PAN 4: Use the Command Line Interface (CLI)
PAN 5: Importing an OVA file into VMware Fusion