Configuring Entourage X for POP
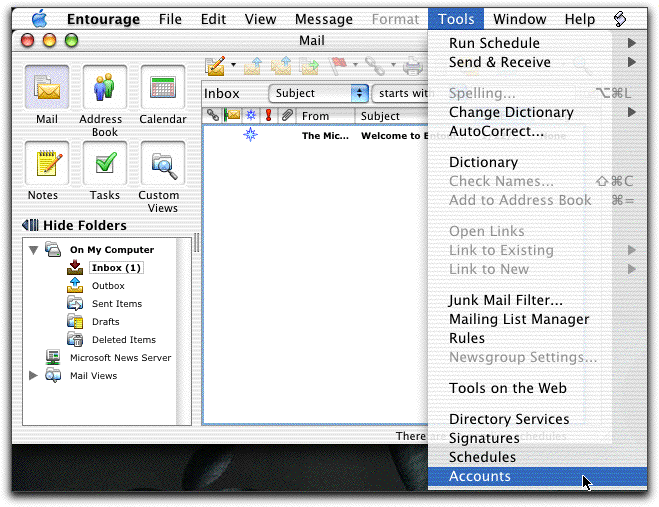
- Start Entourage. If the account assistant program does not automatically, click Tools and then click Accounts.
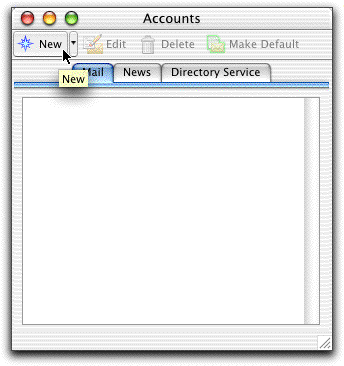
- In the Accounts window click New.
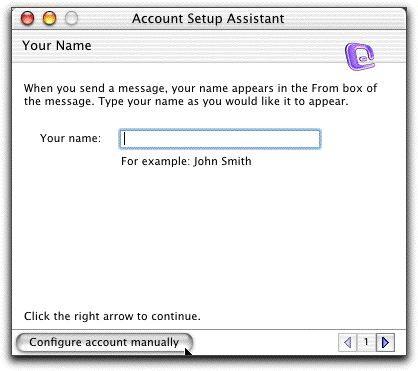
- The Account Setup Assistant will start. Click the Configure account manually button.
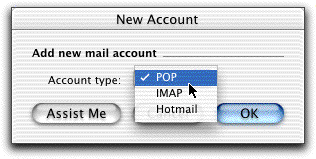
- Select POP for Account type and click OK.
- Enter your settings.
- Account Name
- Name your account something descriptive such as "CCSF".
- Name
- Enter your full name as you would like it to appear on the messages that you send.
- Email address
- Enter your fully qualified email address (flast01@hills.ccsf.edu)
- Account ID
- Enter your fully qualified email address (flast01@hills.ccsf.edu)
- POP Server
- This is the CCSF incoming server.
- This field should be set to hills.ccsf.cc.ca.us
- SMTP Server
- This is the CCSF outgoing server.
- This field should be set to hills.ccsf.cc.ca.us
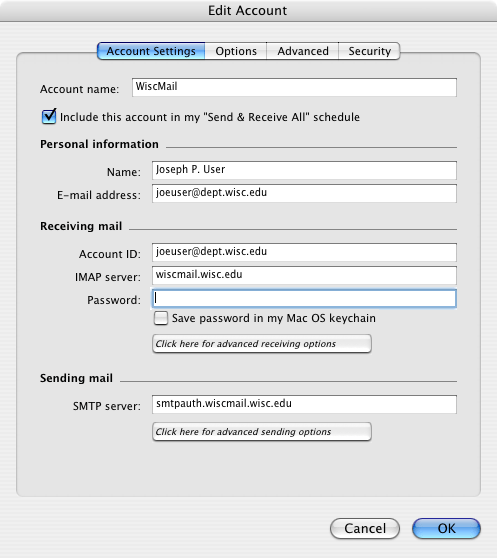
- Account Name
- Click OK in the Edit Account window.
- Close the Accounts window to save your settings.
Your CCSF account is now configured to check and send mail.
I did not write this document. I modified it from one I found here http://helpdesk.wisc.edu/page.php?id=3012. --Sam Bowne 2-17-05