After installing a DNSCrypt client, you'll see that some private DNS traffic is now encrypted.
In "Network and Sharing Center", click "Manage Network Connections" (Microsoft changes the name of this option in every version of Windows, because they are evil and cruel).
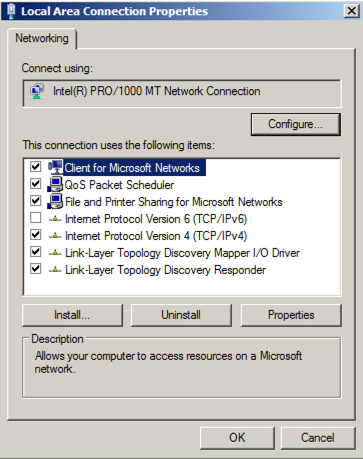
In "Network Connections", right-click "Local Area Connection" (or whatever the name of the adapter that goes to the Internet is), and click Properties.
In "Network Connections", make clear the check box next to "Internet Protocol Version 6 (TCP/IPv6)", as shown below.
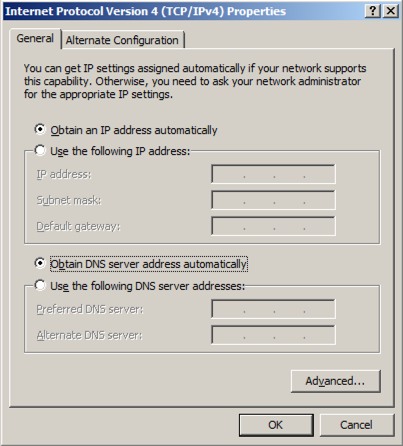
In "Local Area Connection Properties", double-click "Internet Protocol Version 4 (TCP/IPv4)".
Make sure both the IP address and DNS servers are set to automatically configure, as shown below. Click OK. Click OK.
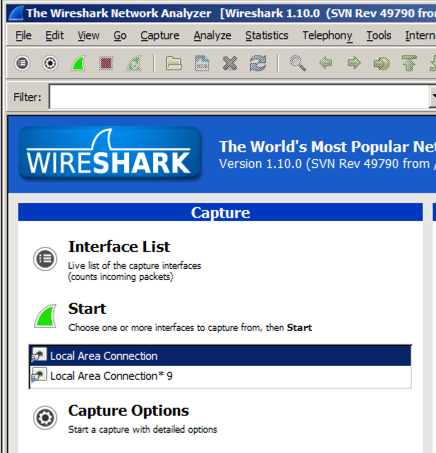
At the top of the Wireshark window, in the Filter: bar, enter this code:
frame contains facebook && dns
Now Wireshark will only show DNS traffic containing "facebook".
Open a web browser and go to
Wireshark should show DNS traffic resolving domain names at facebook, as shown below. You may need to expand the window, or scroll sideways, to see it.
From the Wireshark menu bar, click Capture, Stop.

Capture a whole-desktop image.
Save the image with the filename "Your Name Proj 3xa". Use your real name, not the literal text "Your Name".
YOU MUST SUBMIT AN IMAGE OF THE WHOLE DESKTOP TO GET FULL CREDIT!
https://github.com/simonclausen/dnscrypt-winservicemgr
On the right side, click the green "Clone or Download" button. Click "Download ZIP".
On your Windows machine, right-click the dnscrypt-winservicemgr-master.zip file and click "Extract All...", Extract.
A "dnscrypt-winservicemgr-master" folder opens.
Double-click the dnscrypt-winservicemgr-master sub-folder to open it.
Double-click the "DNSCrypt Windows Service Manager Package" sub-folder to open it.
Right-click the dnscrypt-winservicemgr application, as shown below. Click "Run as Administrator".
Move the other windows or minimize them, to find the "DNSCrypt Windows Service Manager" box. It should say "DNSCrypt Service is Enabled", as shown below.
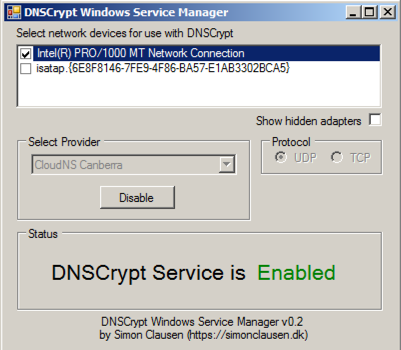
Although it claims to be working, it isn't, because the default DNS server in Canberra no longer works.
In the the "DNSCrypt Windows Service Manager" box, click the Disable button.
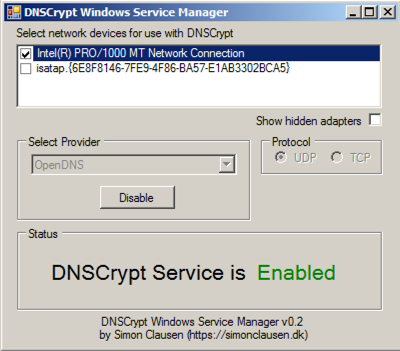
In the "Select Provider" list, select OpenDNS, as shown below.
In the the "DNSCrypt Windows Service Manager" box, click the Enable button.
At the top of the Wireshark window, in the Filter: bar, enter this code:
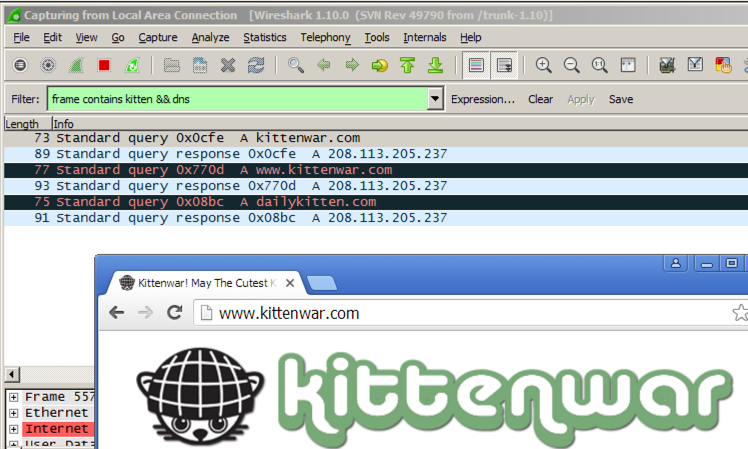
frame contains kitten && dns
In a Web browser, go to
Wireshark still shows DNS requests, leaking information about the URL you are visiting, as shown below.
In Wireshark, click Capture, Stop.
Click Start. In the Search box, type NETWORK. Open "Network and Sharing Center".
In "Network and Sharing Center", click "Manage Network Connections"
In "Network Connections", right-click "Local Area Connection" (or whatever the name of the adapter that goes to the Internet is), and click Properties.
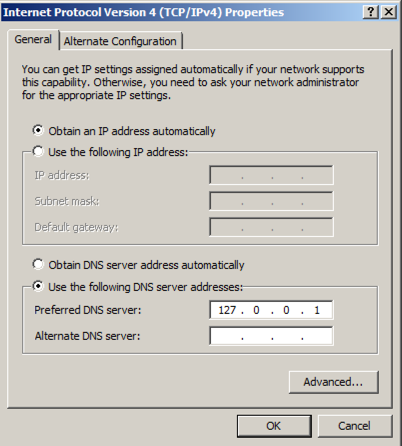
In "Local Area Connection Properties", double-click "Internet Protocol Version 4 (TCP/IPv4)".
Set the DNS server to
127.0.0.1
Click OK. Click OK.
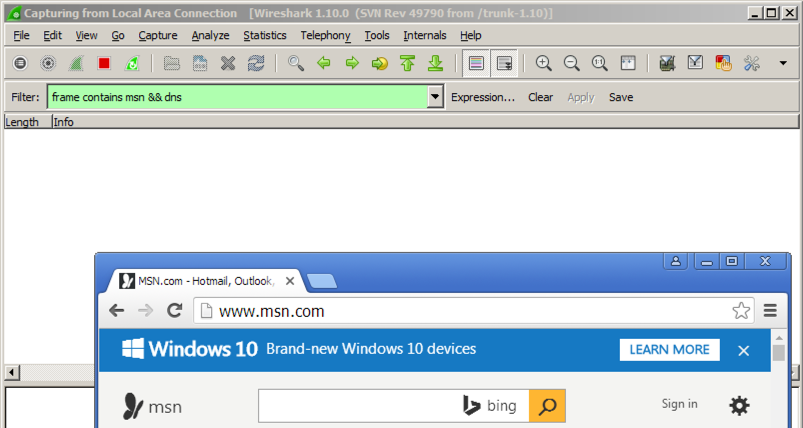
At the top of the Wireshark window, in the Filter: bar, enter this code:
frame contains msn && dns
In a Web browser, go to
Wireshark doesn't find any packets containing "msn", as shown below.
Now you have more privacy!
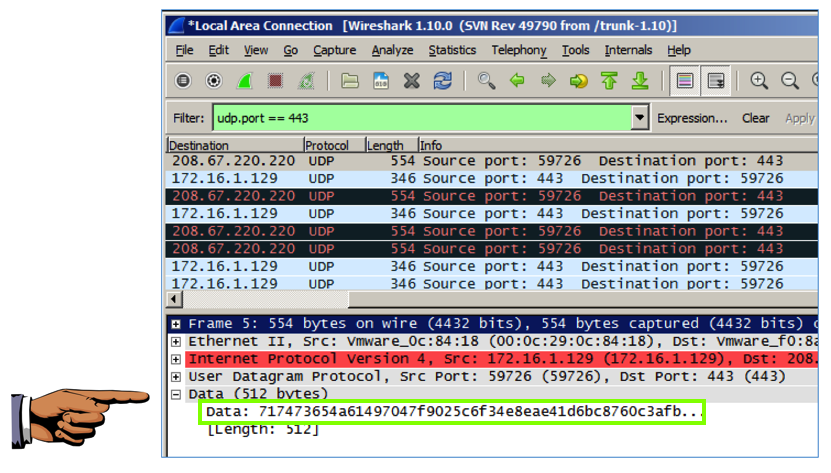
udp.port == 443
In Wireshark, click Capture, Stop.
In the middle pane of Wireshark, expand the Data section (it may be labeled Payload) to show the random numbers, as shown below--this is the encrypted DNS data used by DNSCrypt.
Capture a whole-desktop image.
Save the image with the filename "Your Name Proj 3xb". Use your real name, not the literal text "Your Name".
YOU MUST SUBMIT AN IMAGE OF THE WHOLE DESKTOP TO GET FULL CREDIT!
Thanks to "var_x" for a tip that led to this project.