
Apache is listening on port 80, as shown below.sudo apt update sudo apt install apache2 -y sudo ss -nltp
Find the IP address that can reach your host machine (not the localhost address), highlighted in the image below:ip a

http://34.69.247.115You should see the default Apache page, as shown below.
On Windows, open Notepad as Administrator and open this file:
C:\Windows\System32\drivers\etc\hostsOn MacOS, in a Terminal window, execute this command:
Choose a domain name to use for this project, such as:sudo nano /etc/hosts
yourname-https.netYou don't have to actually purchase that domain name. It will only work from your host system.
Add a DNS record to your hosts file connecting your local server's IP address to that name, as shown below.

Save your changes to the Hosts file.
In a Web browser, go to this URL, replacing the domain name with the domain name you chose:
http://yourname-https.netYou should see the default Apache page, as shown below.

sudo mkdir -p /etc/ssl/certs
sudo mkdir -p /etc/ssl/private
sudo make-ssl-cert generate-default-snakeoil --force-overwrite
Enter this data, as shown below:sudo a2enmod ssl sudo nano /etc/apache2/sites-available/yourname-https.net.conf
<VirtualHost *:443>
SSLEngine On
SSLCertificateFile /etc/ssl/certs/ssl-cert-snakeoil.pem
SSLCertificateKeyFile /etc/ssl/private/ssl-cert-snakeoil.key
</VirtualHost>
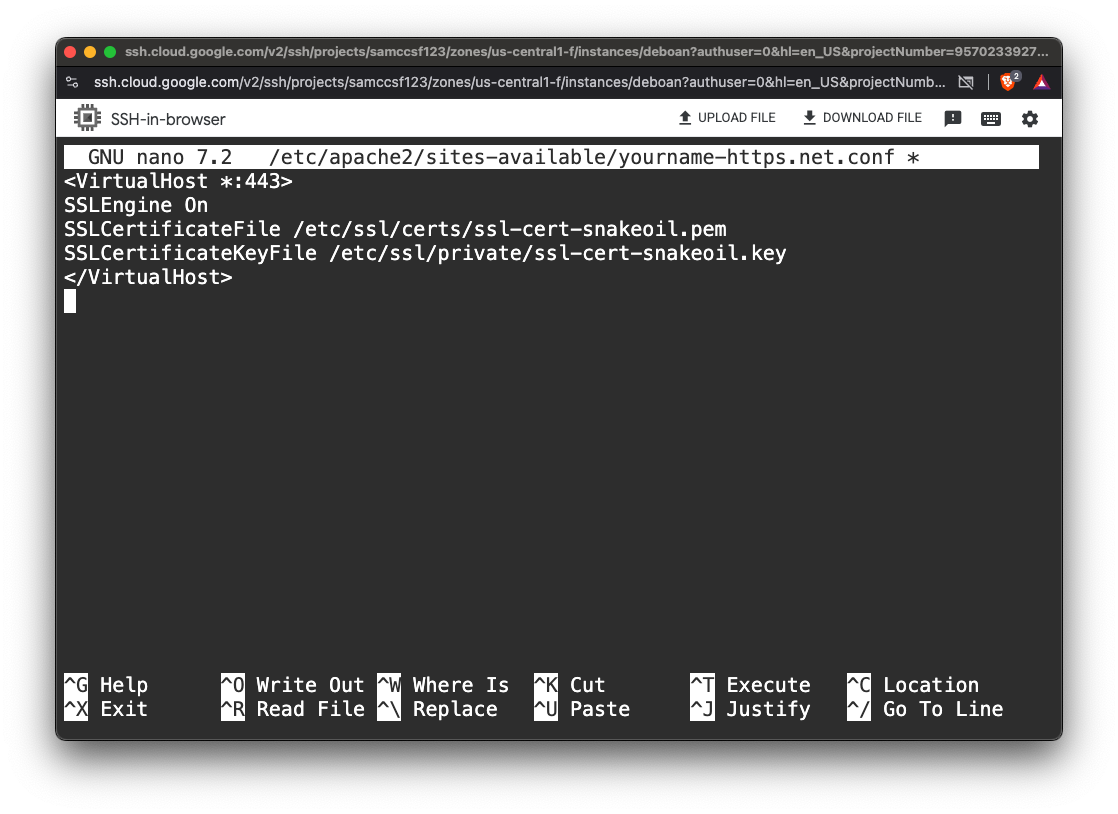
Save the file with Ctrl+X, Y, Enter.
Execute these commands to enable the new site and restart Apache, adjusting the domain name to match your chosen domain name:
sudo a2ensite yourname-https.net
sudo service apache2 restart
https://yourname-https.netThe page shows a warning message, as shown below. It may look somewhat different, depending on your browser.

Click through the warning to view the page.
ping yourname-https.net
Start sniffing on the interface that carries traffic from your host system to your virtual machine.
If you are using VMware in NAT mode, it might be named vmnet8 or vmnet 3.
You'll know it's the right interface when you see the pings, as shown below.

In Wireshark, at the top left, enter this display filter:
tcp.port==443Press Enter to activate the filter.
In your web browser, refresh this page:
https://yourname-https.netWhen the page loads, stop Wireshark capturing.
Flag W 11.1: Revocation status (10 pts)
Find the Client Hello packet.Expand the TLS section, as shown below, to see the Cipher Suites.
The flag is covered by a green rectangle in the image below.
Hint: If you don't see the flag, use the Chrome browser
