https://colab.research.google.com/If you see a blue "Sign In" button at the top right, click it and log into a Google account.
From the menu, click File, "New notebook".
!wget https://samsclass.info/129S/proj/content2.zip
!unzip content2.zip
!wget https://samsclass.info/129S/proj/helpers.py.zip
!unzip helpers.py.zip

import matplotlib.pyplot as plt
import imageio as iio

image = iio.v2.imread("content2/extracted_letter_images/R/001099.png")
plt.imshow(image, cmap='gray')
plt.show()

image = iio.v2.imread("content2/extracted_letter_images/R/000387.png")
plt.imshow(image, cmap='gray')
plt.show()
Make a new code block.
Enter the code below:
import cv2
import pickle
import os.path
import numpy as np
from imutils import paths
from sklearn.preprocessing import LabelBinarizer
from sklearn.model_selection import train_test_split
from helpers import resize_to_fit
LETTER_IMAGES_FOLDER = "content2/extracted_letter_images"
MODEL_FILENAME = "captcha_model.hdf5"
MODEL_LABELS_FILENAME = "model_labels.dat"
# initialize the data and labels
data = []
labels = []
# loop over the input images
for image_file in paths.list_images(LETTER_IMAGES_FOLDER):
# Load the image and convert it to grayscale
image = cv2.imread(image_file)
image = cv2.cvtColor(image, cv2.COLOR_BGR2GRAY)
# Resize the letter so it fits in a 20x20 pixel box
image = resize_to_fit(image, 20, 20)
# Add a third channel dimension to the image to make Keras happy
image = np.expand_dims(image, axis=2)
# Grab the name of the letter based on the folder it was in
label = image_file.split(os.path.sep)[-2]
# Add the letter image and it's label to our training data
data.append(image)
labels.append(label)
# scale the raw pixel intensities to the range [0, 1] (this improves training)
data = np.array(data, dtype="float") / 255.0
labels = np.array(labels)
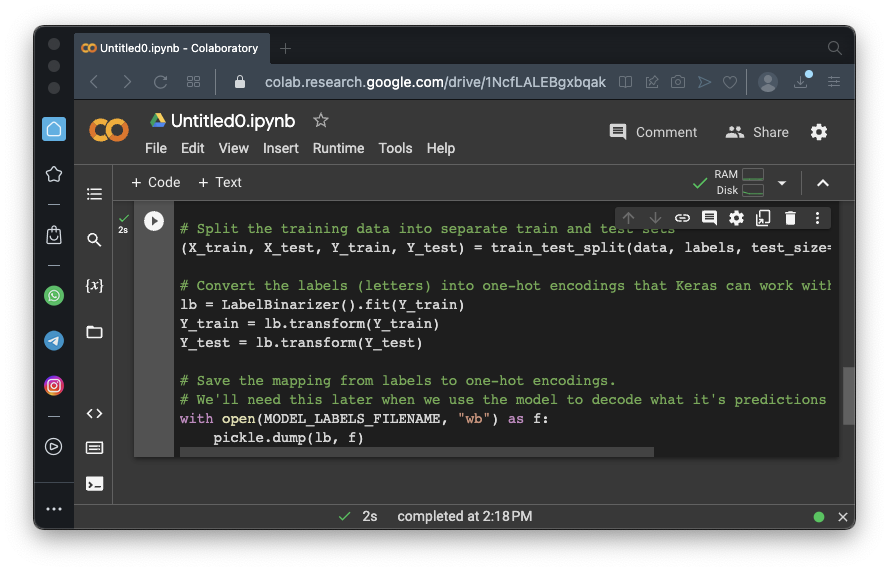
# Split the training data into separate train and test sets
(X_train, X_test, Y_train, Y_test) = train_test_split(data, labels, test_size=0.25, random_state=0)
# Convert the labels (letters) into one-hot encodings that Keras can work with
lb = LabelBinarizer().fit(Y_train)
Y_train = lb.transform(Y_train)
Y_test = lb.transform(Y_test)
# Save the mapping from labels to one-hot encodings.
# We'll need this later when we use the model to decode what it's predictions mean
with open(MODEL_LABELS_FILENAME, "wb") as f:
pickle.dump(lb, f)
The code runs, but doesn't print out any output. You can see a "completed" message at the bottom of the Colab window, as shown below.
Visualizing Convolutional Neural Networks | Layer by Layer
Make a new code block.Enter the code below:
from keras.models import Sequential
from keras.layers import Conv2D, MaxPooling2D
from keras.layers import Flatten, Dense
model = Sequential()
# First convolutional layer with max pooling
model.add(Conv2D(20, (5, 5), padding="same", input_shape=(20, 20, 1), activation="relu"))
model.add(MaxPooling2D(pool_size=(2, 2), strides=(2, 2)))
# Second convolutional layer with max pooling
model.add(Conv2D(50, (5, 5), padding="same", activation="relu"))
model.add(MaxPooling2D(pool_size=(2, 2), strides=(2, 2)))
# Hidden layer with 500 nodes
model.add(Flatten())
model.add(Dense(500, activation="relu"))
# Output layer with 32 nodes (one for each possible letter/number we predict)
model.add(Dense(32, activation="softmax"))
# Ask Keras to build the TensorFlow model behind the scenes
model.compile(loss="categorical_crossentropy", optimizer="adam", metrics=["accuracy"])
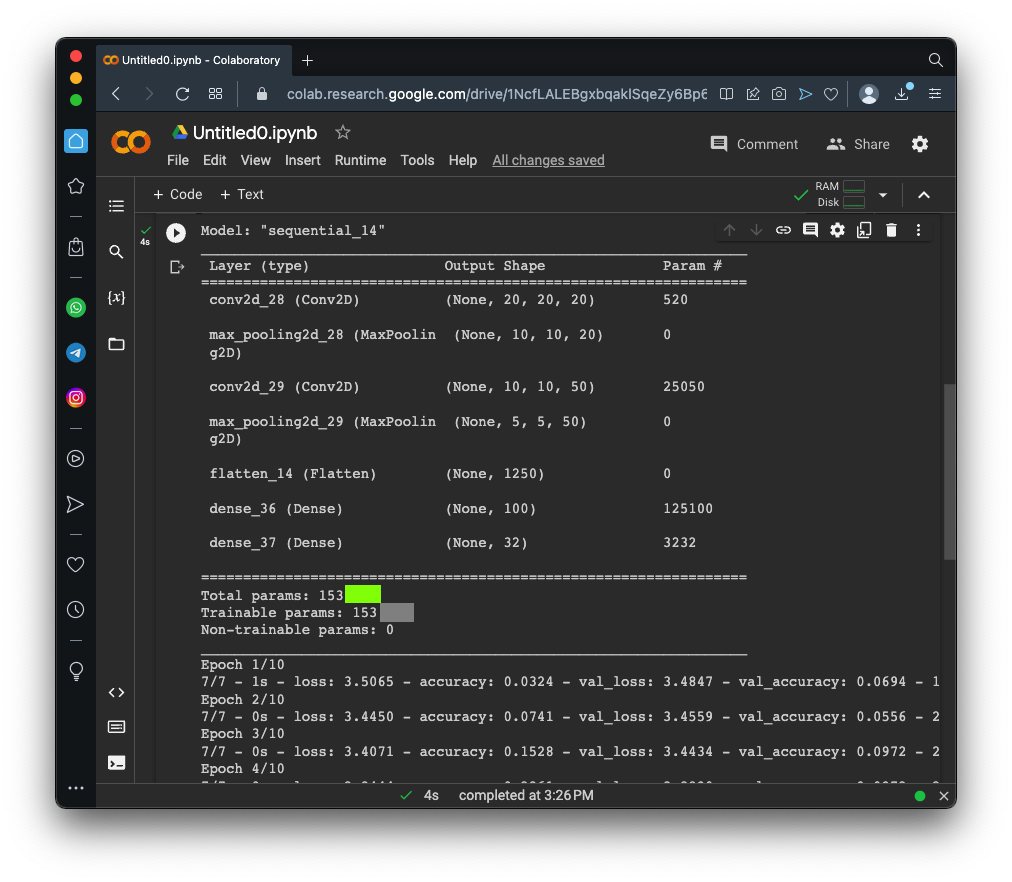
model.summary()
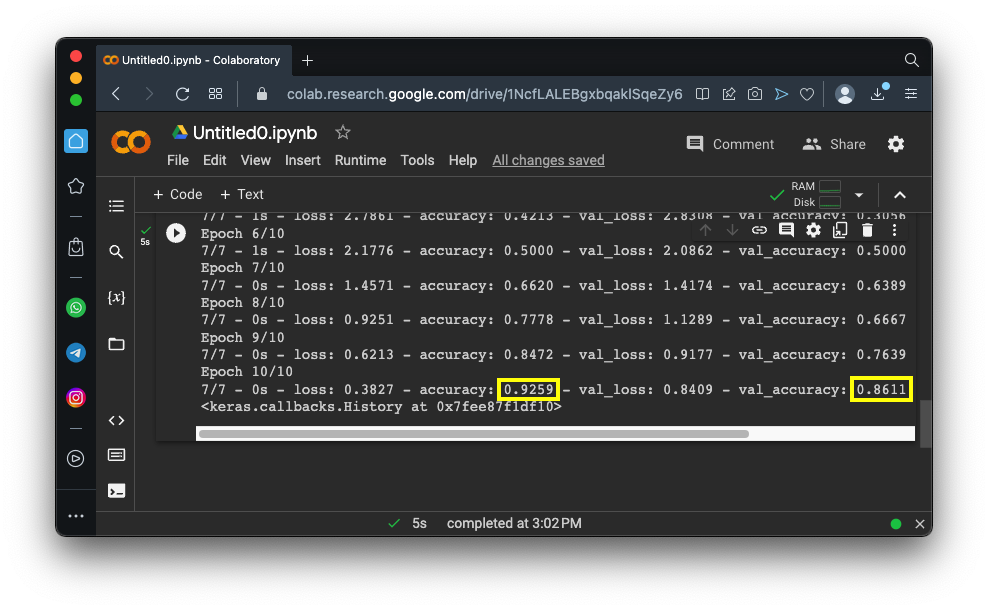
model.fit(X_train, Y_train, validation_data=(X_test, Y_test), batch_size=32, epochs=10, verbose=2)
As shown below, the model attains 93% accuracy on the training data and 86% on the test data.
Flag ML 102.1: Model Summary (10 pts)
Change the Dense line to the line shown below, wso there are only 100 hidden nodes:Run this model.The flag is covered by a green rectangle in the image below.
Posted 4-10-23
Video updated 4-20-23
"extra" removed from points 9-16-23
keras import statements fixed 9-16-23
CNN video added 7-22-24