CNIT 40 Proj 11x: DNSCrypt on Windows (10 pts extra)
What you need
- A Windows machine, real or virtual, more recent than Windows Server 2008. I used a Windows Server 2016 virtual machine.
Purpose
First you'll observe normal DNS traffic, and see
how it compromises your privacy by sending domain
names over the network in plaintext.
After installing a DNSCrypt client, you'll
see that some private DNS traffic is now encrypted.
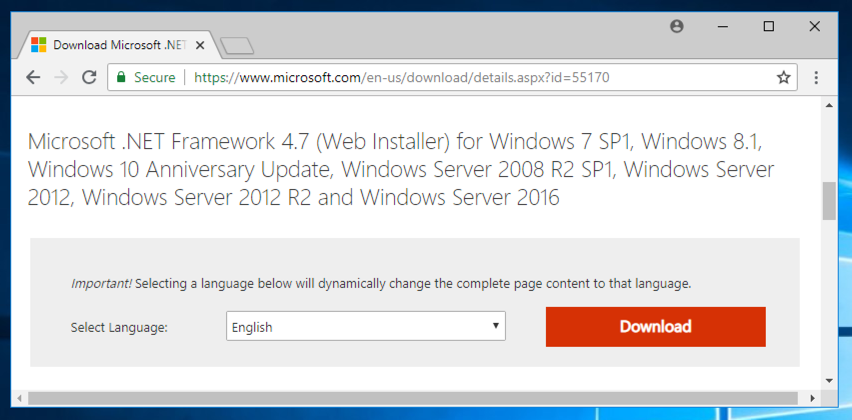
Installing .NET 4.7
Download and install it from this URL:
https://www.microsoft.com/en-us/download/details.aspx?id=55170
You cannot use Windows Server 2008. You need a more
modern Windows version.
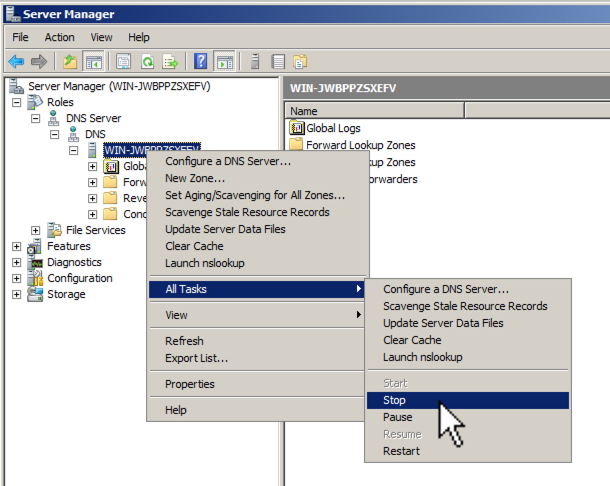
Stopping your DNS Server
If you are using a shared machine, or taking
CNIT 40, your Windows machine may be a DNS server.
Open Server manager and stop the DNS server,
as shown below.
Installing Wireshark
If you don't already have Wireshark installed,
get it here:
https://www.wireshark.org/
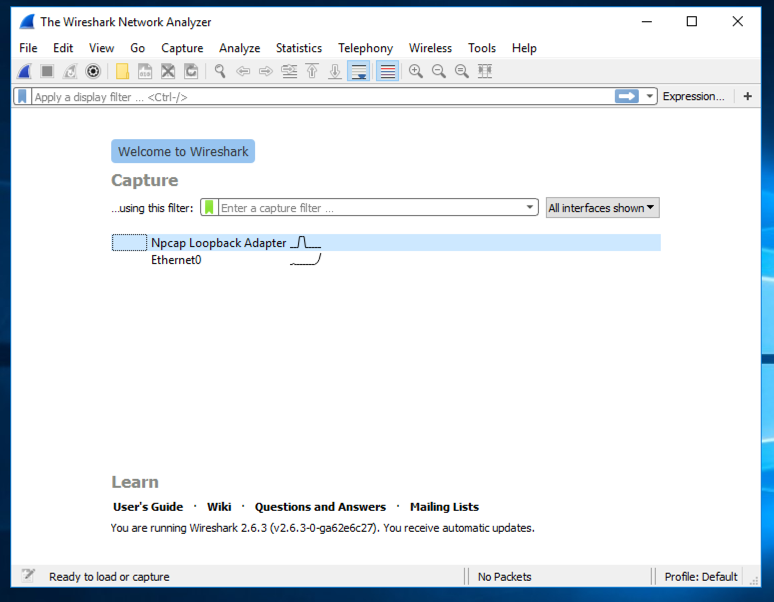
Viewing Normal DNS Traffic
Open Wireshark.
In the Capture section, double-click
the network interface that goes
to the Internet. In the image below,
it's Ethernet0.
At the top of the Wireshark window,
in the Filter: bar, enter this code:
frame contains facebook && dns
Press Enter.
Now Wireshark will only show DNS
traffic containing "facebook".
Open a web browser and go to
facebook.com
Wireshark should show DNS traffic
resolving domain names at facebook, as shown below.
You may need to expand the window, or
scroll sideways, to see it.
From the Wireshark menu bar, click
Capture, Stop.

Privacy Implications
This is pretty nasty--anyone who inspects
network traffic can see what sites
each person is visiting anytime.
Monitoring DNS is a common technique used
to catch employees doing forbidden Web surfing
at work.
To maintain privacy, this traffic should be
encrypted, but the DNS protocol doesn't
include that option.
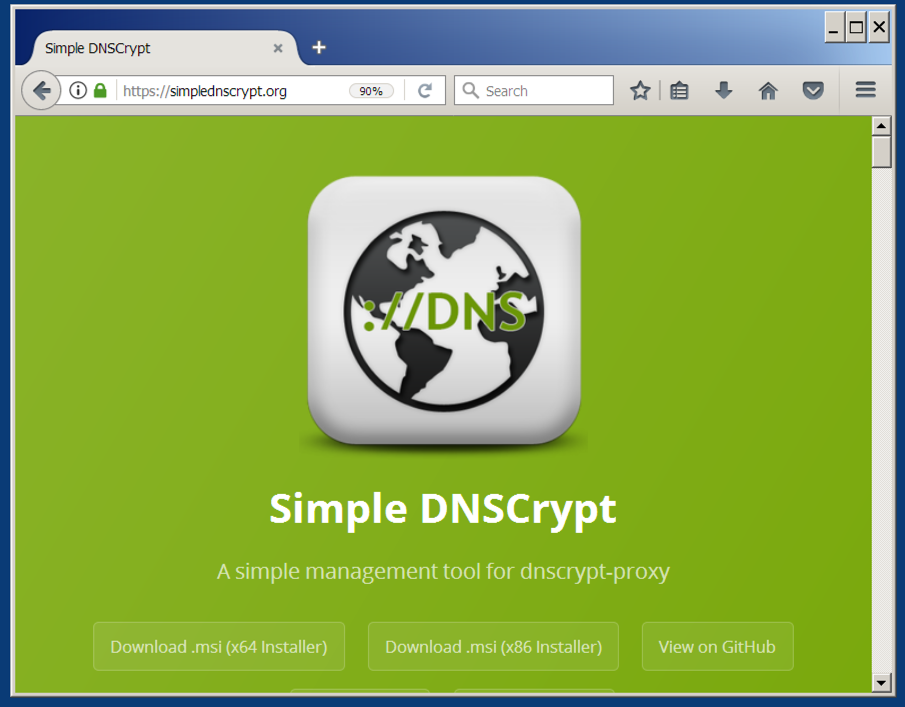
Installing Simple DNSCrypt
In a Web browser, go to
https://simplednscrypt.org/
Download the correct version for your system,
64-bit or32-bit,
as shown below.
If you don't know which system you have,
open a Command Prompt and execute the
control system
command to find out.
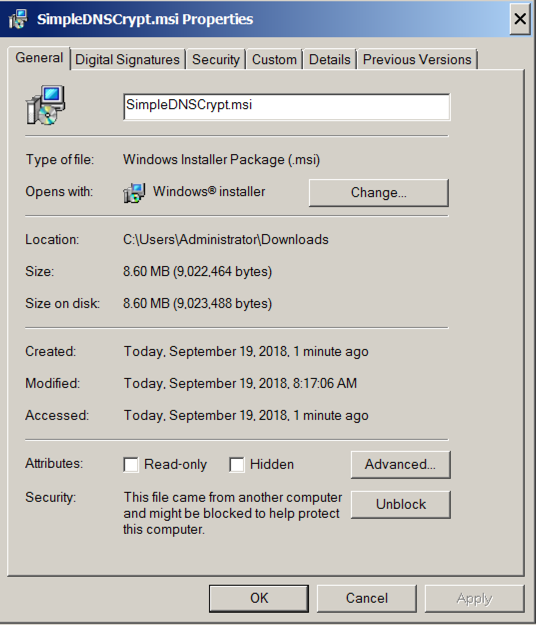
Run the installer. If it won't launch,
right-click the file you downloaded and click
Properties. At the bottom of the
Properties sheet, click
Unblock,
as shown below. Then launch the installer
again.
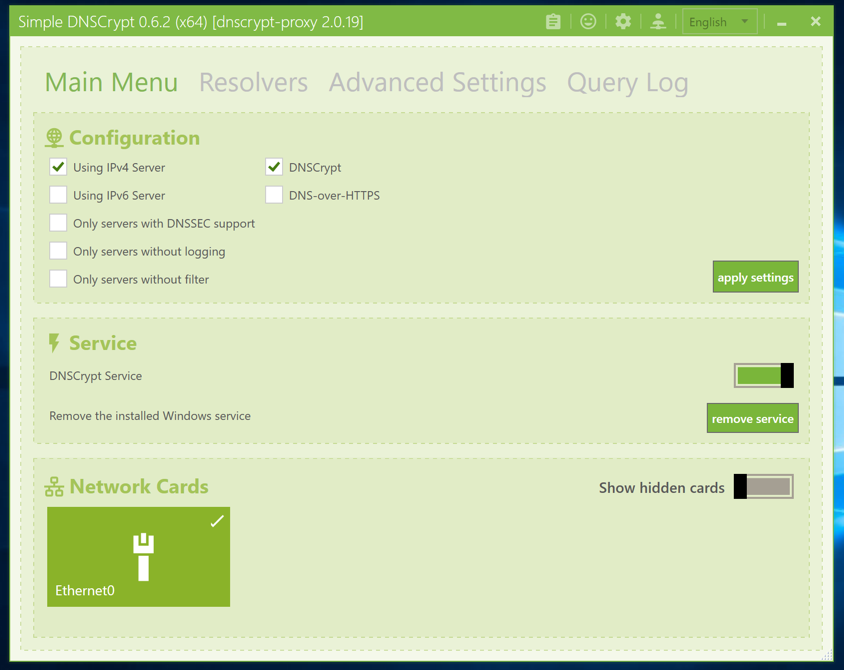
The "Simple DNSCrypt" window opens.
On the "Main Menu" tab, make the adjustments
shown belowe, and then click the
"apply settings" button.
Restarting Packet Capturing
In Wireshark, from the menu bar, click
Capture, Start.
Click "Continue without Saving".
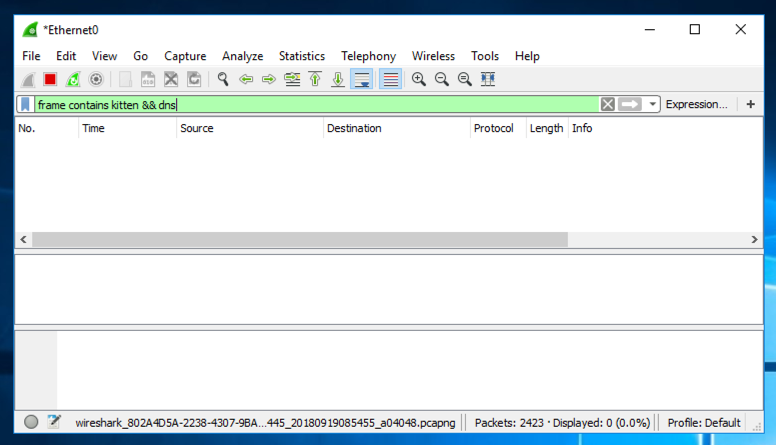
At the top of the Wireshark window,
in the Filter: bar, enter this code:
frame contains kitten && dns
Press Enter.
In a Web browser, go to
kittenwar.com
Wireshark doesn't find any packets
containing "kitten", as shown below.
Now you have more privacy!
Using Quad9 Resolvers
In the "Simple DNSCrypt" window, click the
Resolvers tab.
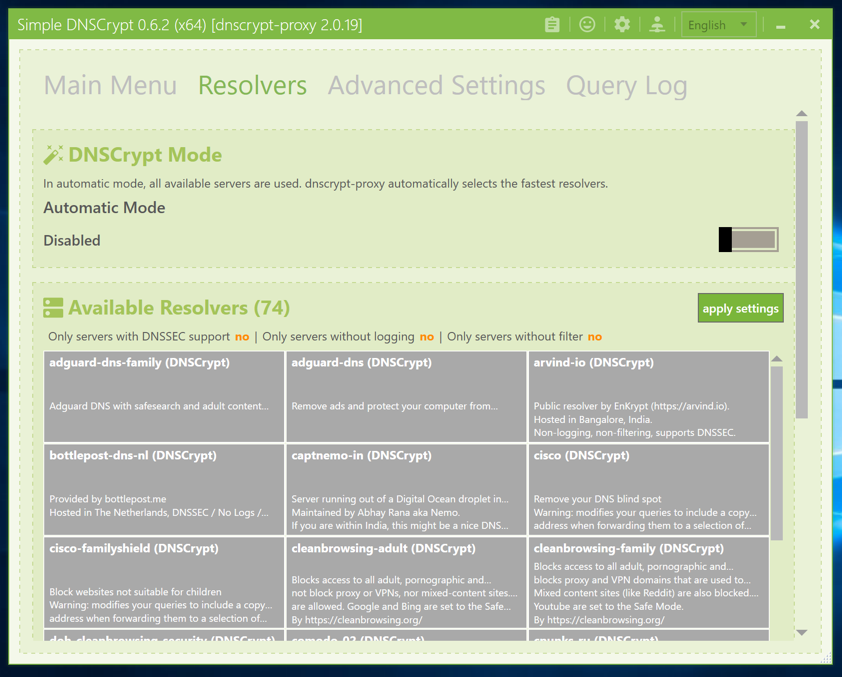
Scroll down and click the two Quad9 resolvers,
as shown below.
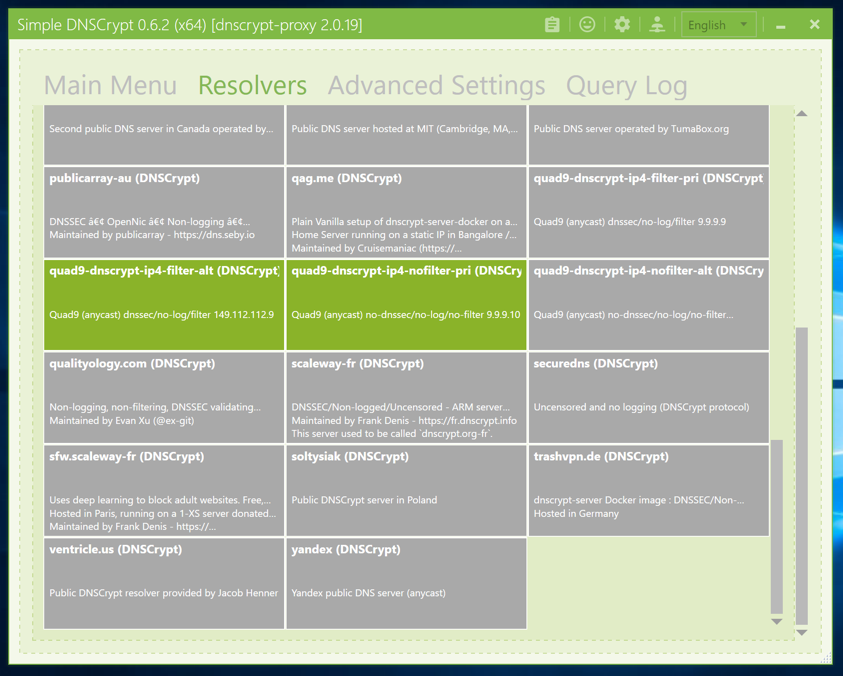
Scroll to the top.
Click the slider on the right to disable
Automatic Mode, as shown above.
Click the
"apply settings" button.
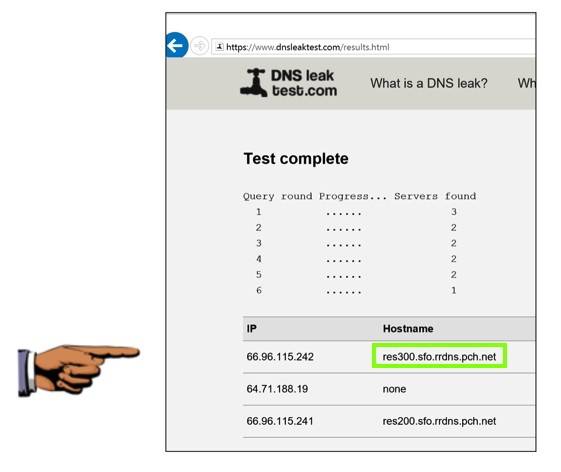
Testing your Resolvers
Open a Web browser and go to:
https://www.dnsleaktest.com
Click the "Extended Test"
button.
You should at least one address ending in
pch.net,
as shown below. This is the Quad9 network,
and it shows that you are using their
DNSCurve system.
Saving a Screen Image
Make sure the
pch.net
domain is visible.
Capture a whole-desktop image.
Save the image with the filename "Your Name Proj 11x". Use your real name, not the literal text "Your Name".
YOU MUST SUBMIT AN IMAGE OF THE WHOLE DESKTOP TO GET FULL CREDIT!
Turning in your Project
Send the image to: cnit.40@gmail.com with a subject line of "Proj 11x From Your Name", replacing Your Name with your own first and last name. Send a Cc to yourself.
References
DNSCrypt Now in Testing
Posted 9-19-18
Updated to use Quad9 on 12-6-18
Step order