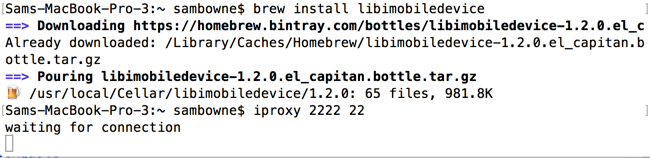
On the Mac, in a Terminal window, execute these commands to install "libmobiledevice" and start a proxy listening on port 2222, which connects to port 22 via the USB cable.
brew install libimobiledevice

iproxy 2222 22
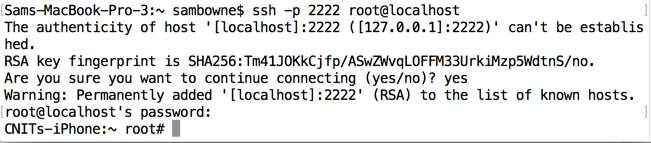
In a new Terminal window, execute this command:
ssh -p 2222 root@localhost
You should see a root command prompt, as shown below.
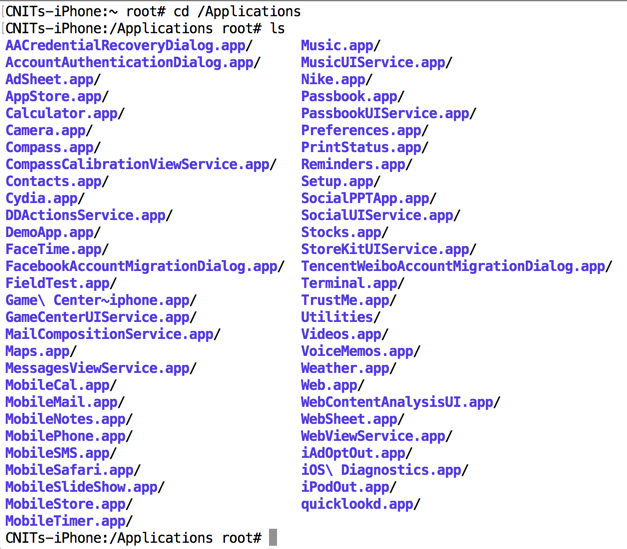
cd /Applications

ls
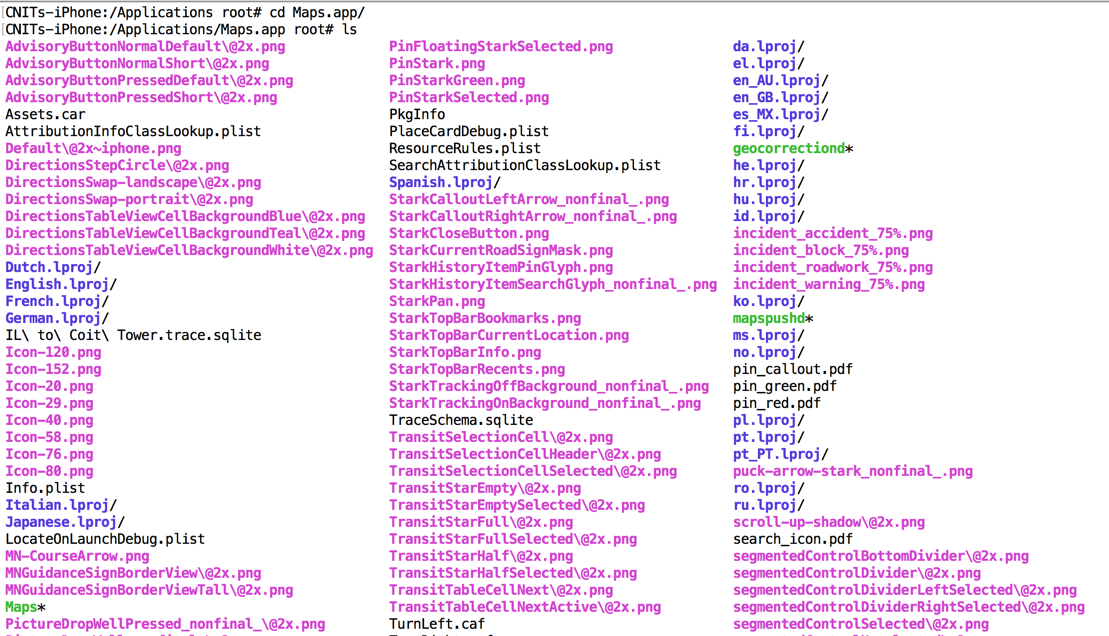
cd Maps.app

ls
Open a new Terminal window and execute this command:
sftp -P 2222 root@localhost
You should see an "sftp>" prompt, as shown below.

At the "sftp>" prompt, execute these commands:
get /Applications/Maps.app/Maps

quit

In the same Terminal window, execute this command to see the local file:
ls -l Maps

In the search box, enter
50 Phelan Ave., San Francisco
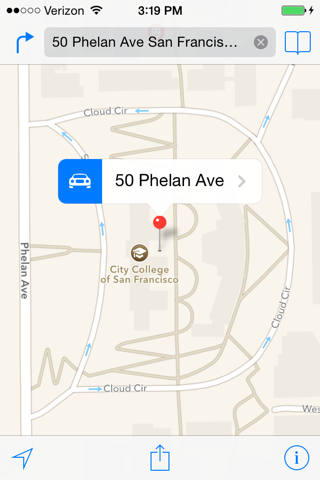
Tap the rightward-pointing arrow.
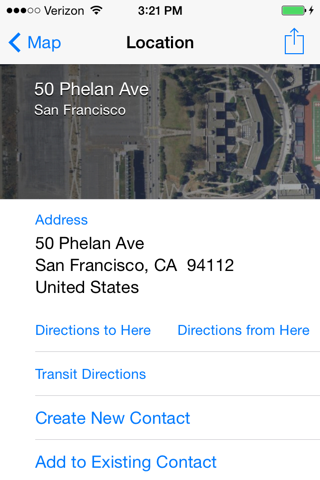
In the next screen, notice the "Directions to here" option, as shown below.
On your Mac computer, in a Web browser, go to
http://stevenygard.com/projects/class-dump/
Download the class-dump-3.5.dmg file, and double-click it. A window shows the single executable inside it, as shown below.
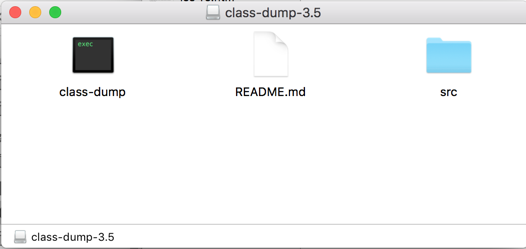
Drag the class-dump icon out of this window and drop it on your Mac's desktop.
In a Terminal window, execute this command to copy the class-dump executable to the /usr/local/bin directory:
cp ~/Desktop/class-dump /usr/local/bin
class-dump
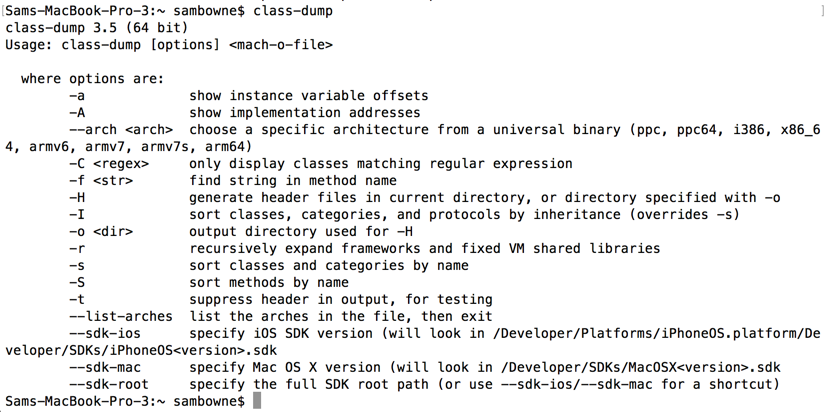
class-dump Maps
In a Terminal window, execute this command, replacing YOURNAME with your own name.
class-dump Maps > Maps-YOURNAME
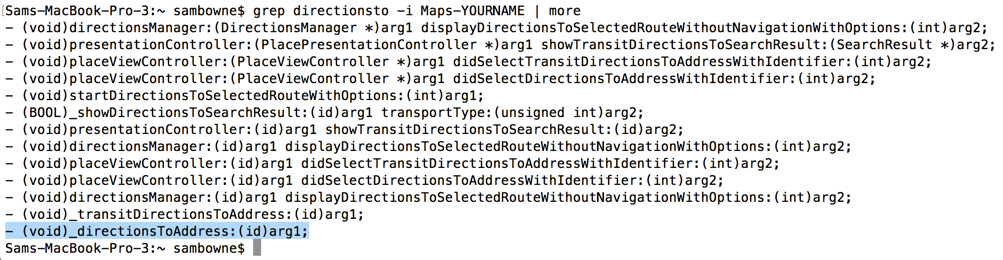
grep directionsto -i Maps-YOURNAME
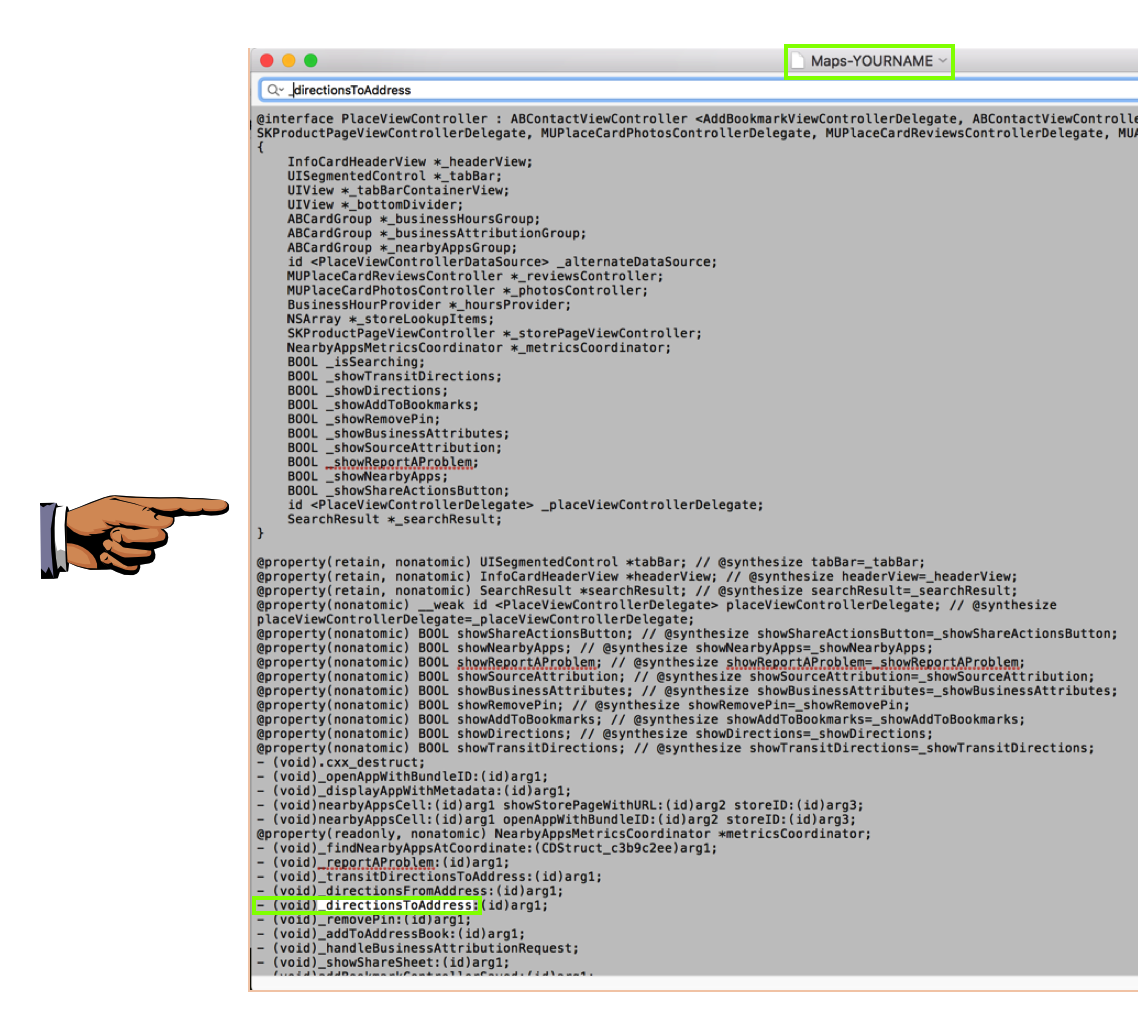
Execute this command to open the file in a graphical text editor:
Open /Applications/TextEdit.app/ Maps-YOURNAME
_directionsToAddress
Capture a full-screen image.
YOU MUST SUBMIT A FULL-SCREEN IMAGE FOR FULL CREDIT!
Save the image with the filename "YOUR NAME Proj 2xa", replacing "YOUR NAME" with your real name.
1. The apps are stored in a different location: /var/mobile/Applications/
2. Unlike the apps that come preinstalled with the device, the apps are encrypted, hence you will have to decrypt them first. We'll use the "Clutch" utility to decrypt them.
On the iPhone, from the home screen, tap "App Store".
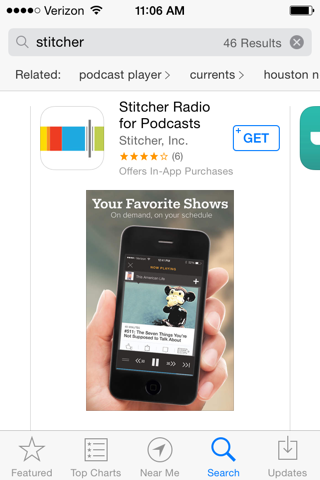
Search for stitcher. Install "Stitcher Radio for Podcasts", as shown below, by tapping GET and tapping INSTALL.
If you need to log in to install the app, use these credentials:
On the iPhone, open Cydia.
If you are prompted to upgrade, click "Complete Upgrade".
At the bottom, click Sources
At the top right, click Edit.
At the top left, click Add.
Enter http://cydia.iphonecake.com/ and tap "Add Source".
Tap "Add Anyway".
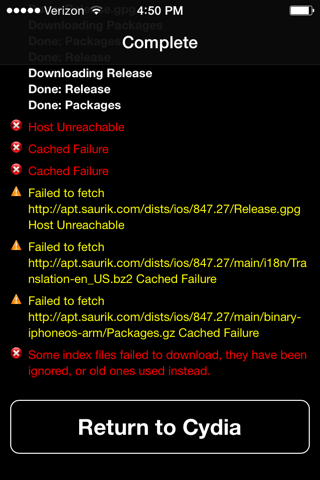
Wait while files download. When the downloads are done, tap "Return to Cydia".
When I did it, some sources failed to download, as shown below. I had to move to a place with a better Wi-Fi signal and Refresh the sources to complete the downloads.
Troubleshooting
If you can't find Clutch, try adding this repository:http://repo.xarold.com
In Cydia, at the bottom, right, click Search.
Search for Clutch, as shown below.
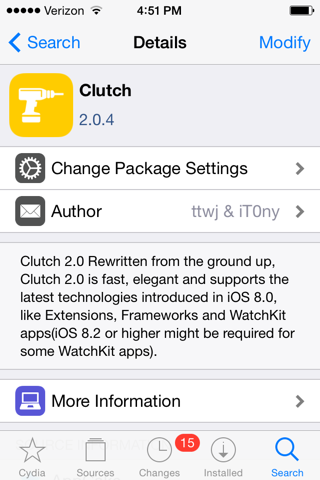
At the top right, tap Modify. Tap Install. Tap Confirm.
When the download is complete, tap "Return to Cydia".
You should have an SSH session open, connected to your iPhone via USB. If you don't, open one now, as you did at the start of this project.
In the ssh session, execute this command:
Clutch

This error is easy to fix. Execute this command to see the problem:
ls -l /usr/bin/Clutch*

To fix it, execute this command:
chmod a+x /usr/bin/Clutch2
Clutch
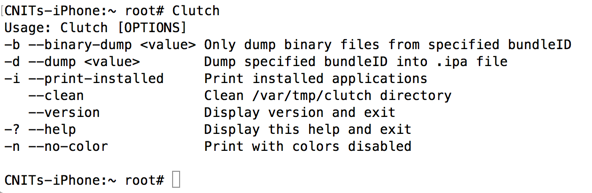
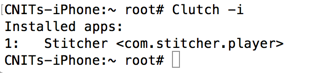
Clutch -i
In the ssh session, execute this command to decrypt Stitcher:
Clutch -d com.stitcher.player
Open a new Terminal window and execute this command:
sftp -P 2222 root@localhost
You should see an "sftp>" prompt, as shown below.
At the "sftp>" prompt, execute these commands:
get /private/var/mobile/Documents/Dumped/com.stitcher.player-iOS7.0-(Clutch-2.0.4).ipa

quit

In the same Terminal window, execute this command to see the local file:
ls -l com.stitch*

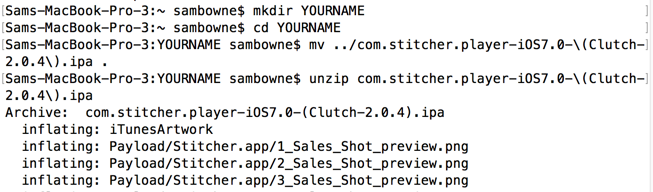
mkdir YOURNAME

cd YOURNAME

mv ../com.stitcher.player-iOS7.0-\(Clutch-2.0.4\).ipa .

unzip com.stitcher.player-iOS7.0-\(Clutch-2.0.4\).ipa
In the same Terminal window, execute these commands:
cd Payload/Stitcher.app

ls -l
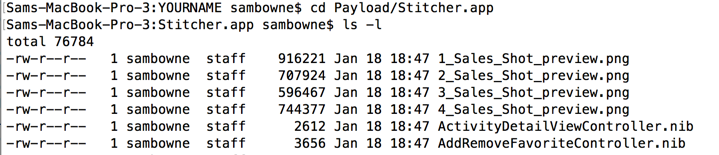
Scroll up and find the "Stitcher" file--this is the main executable file that launches the app. It's a large file, approximately 16 MB in size, as shown below.

class-dump Stitcher > Stitcher-YOURNAME

grep -i password Stitcher-YOURNAME
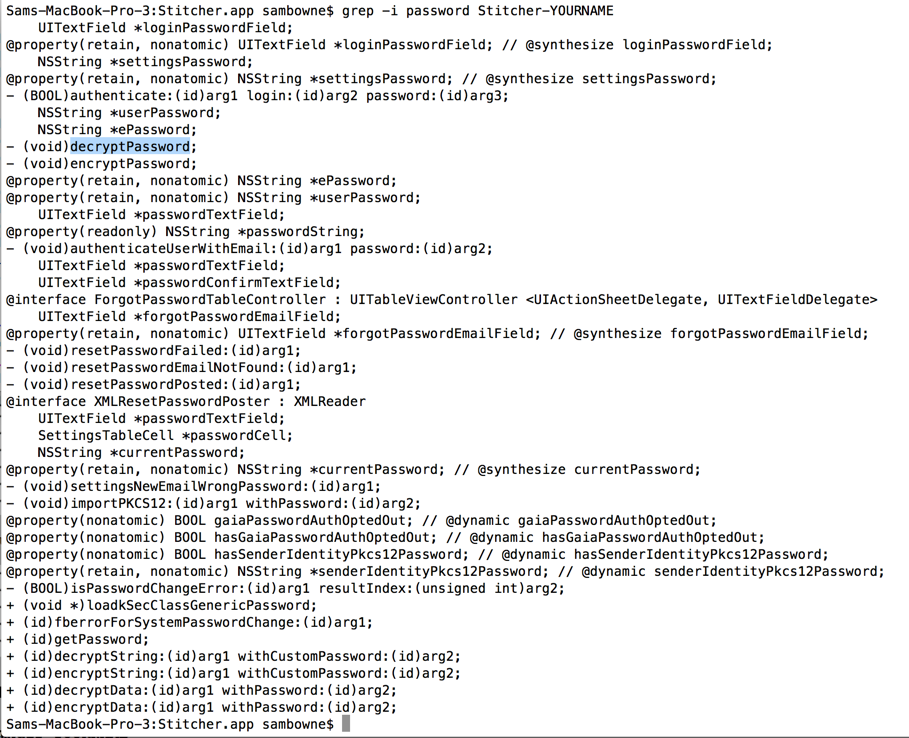
In the Android app, the password was encrypted with a slightly modified Caesar cipher. This method is worth examining to see if that's also true of the iPhone app.
Execute this command to open the file in a graphical text editor:
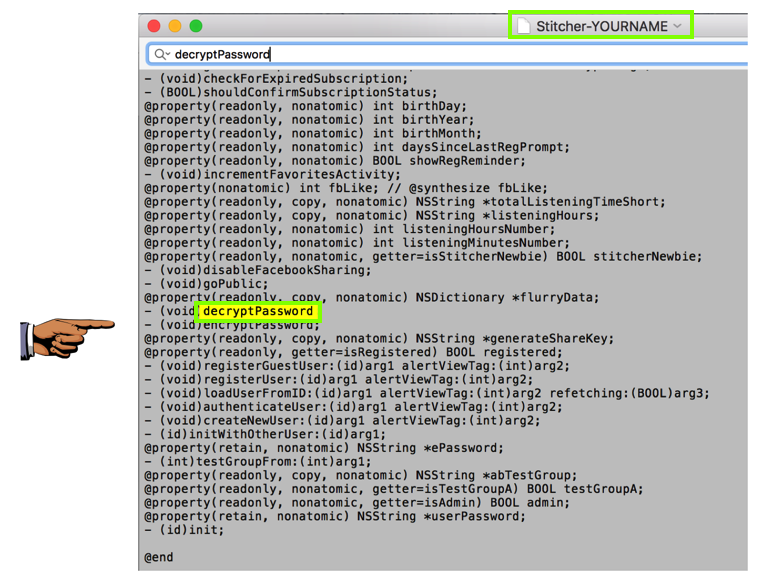
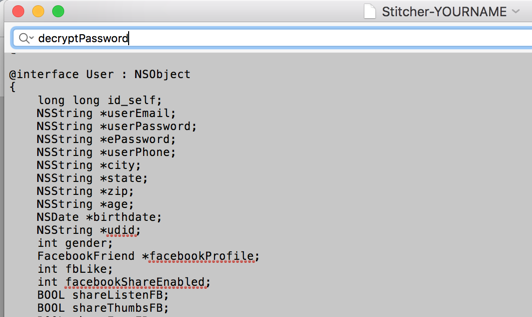
Open /Applications/TextEdit.app/ Stitcher-YOURNAME
decryptPassword
Capture a full-screen image.
YOU MUST SUBMIT A FULL-SCREEN IMAGE FOR FULL CREDIT!
Save the image with the filename "YOUR NAME Proj 2xb", replacing "YOUR NAME" with your real name.
A Quick Guide to Using Clutch 2.0 to Decrypt iOS Apps
Posted 1-24-17
Revised 2-22-17