At the top right, click "Free Trial".
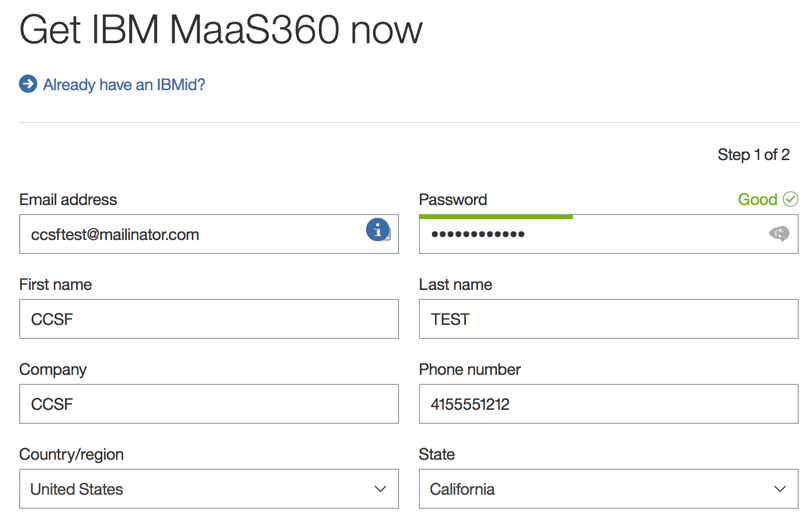
Fill in the form with any data you like, as shown below.
DON'T FORGET THIS PASSWORD!
Click the Continue button.
Check your email to get the Confirmation Code. Enter it into the next page and click the "Start your free trial" button.
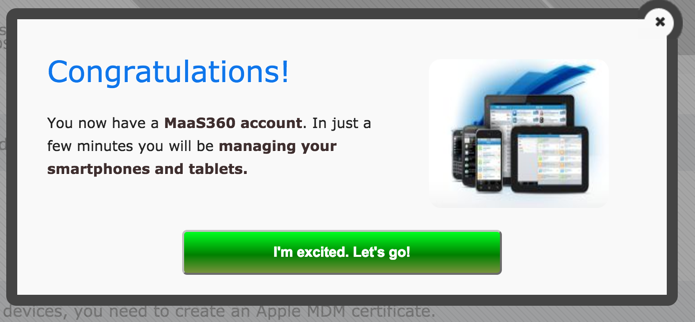
When the "Congratrulations" box opens, as shown below, click the "I'm excited. Let's go!" button.
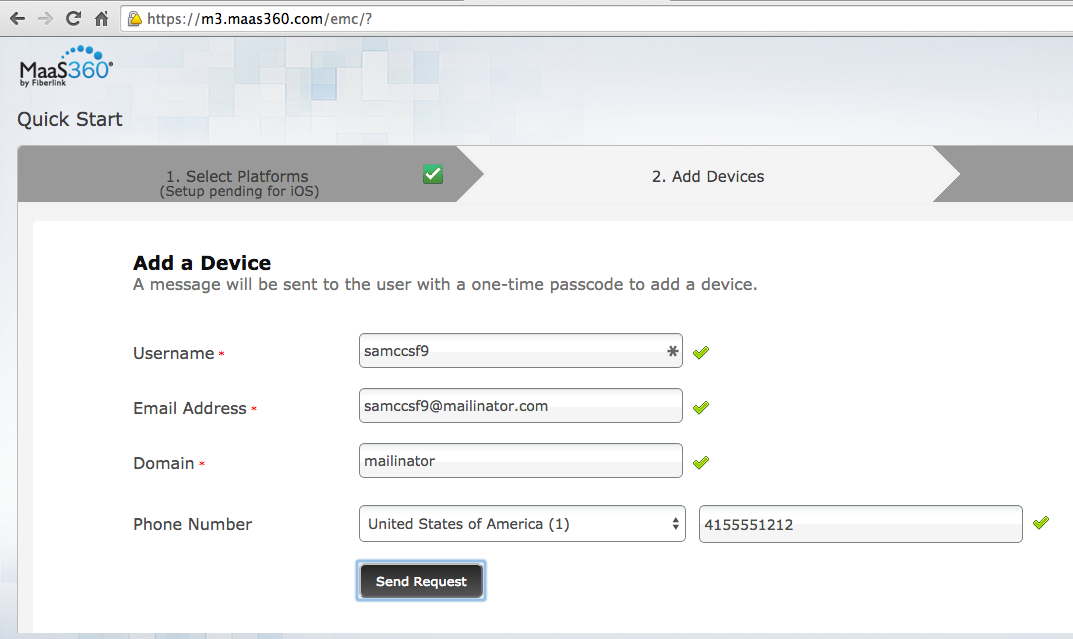
On the next page, make sure to enter an email address that works, as shown below.
Click the "Send Request" button.
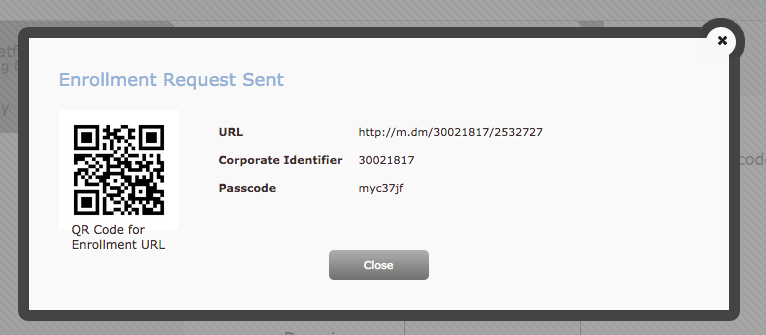
You see an "Enrollment Request Sent" message, as shown below.
Leave this message open--it contains useful information for enrolling your device.
From the home page, click the circle.
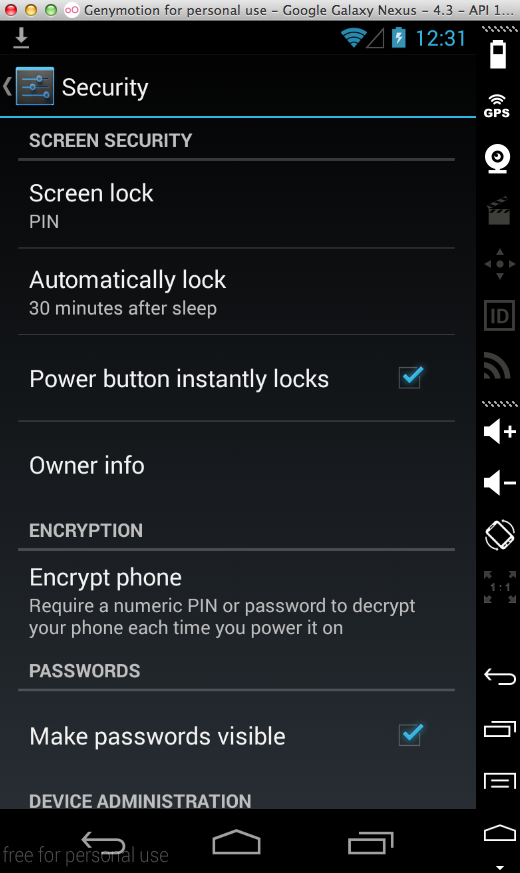
Click Settings. Scroll down and click Security.
Ensure that the Screen Lock is set to "PIN", as shown below.
If you are using Mailinator, use the Web browser and go to mailinator.com
You will see several messages from MaaS360, as shown below.
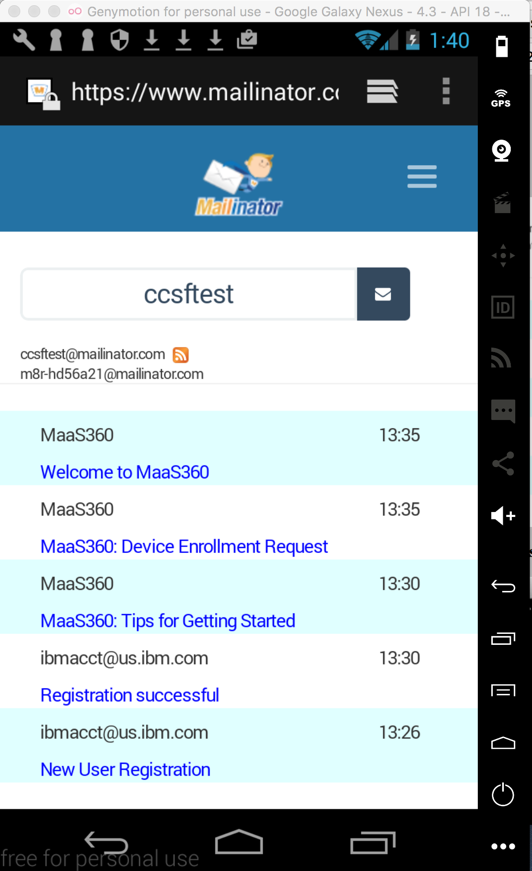
Open the messsage with a subject line of "MaaS360: Device Enrollment Request".
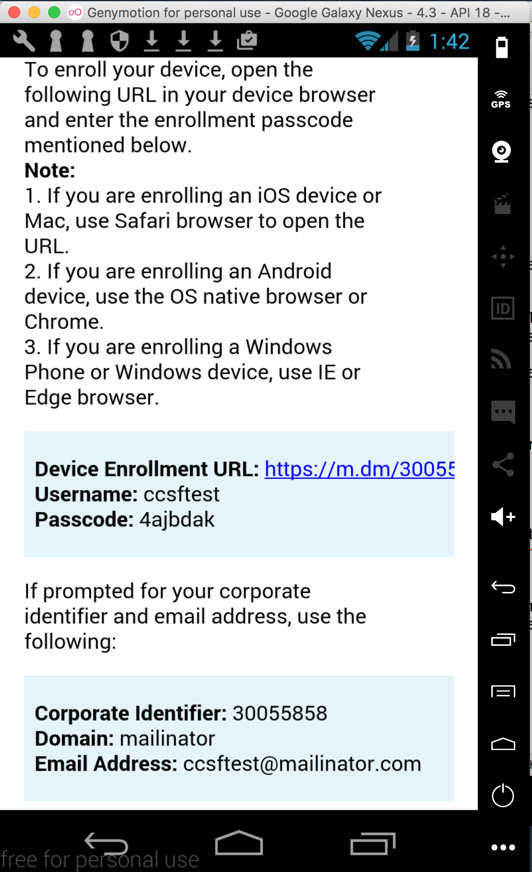
In this message, find these items and make a note of them, as shown below:
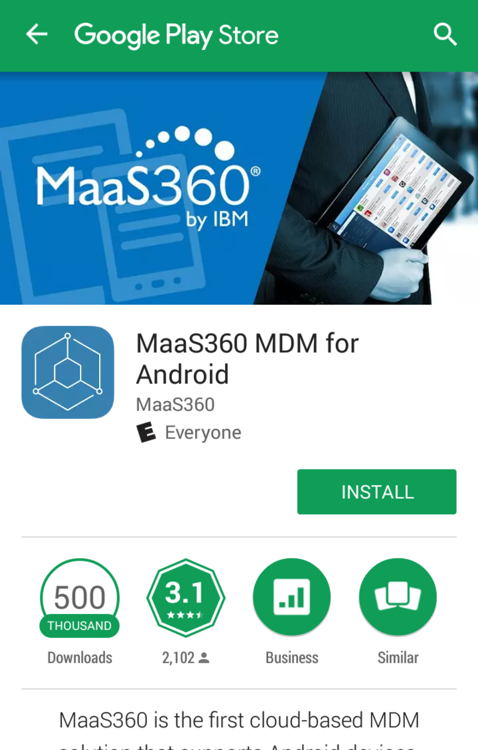
Click the link in the email. Click Start to be redirected to Google Play.
The app appears, as shown below. Click INSTALL. Click Accept.
Click OPEN.
The app opens.
Enter your email, as shown below. Click Continue.
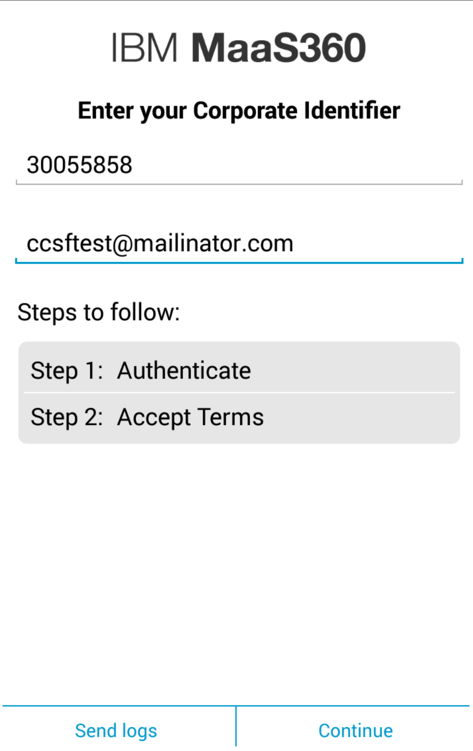
Enter your passcode, click Continue, and accept the terms.
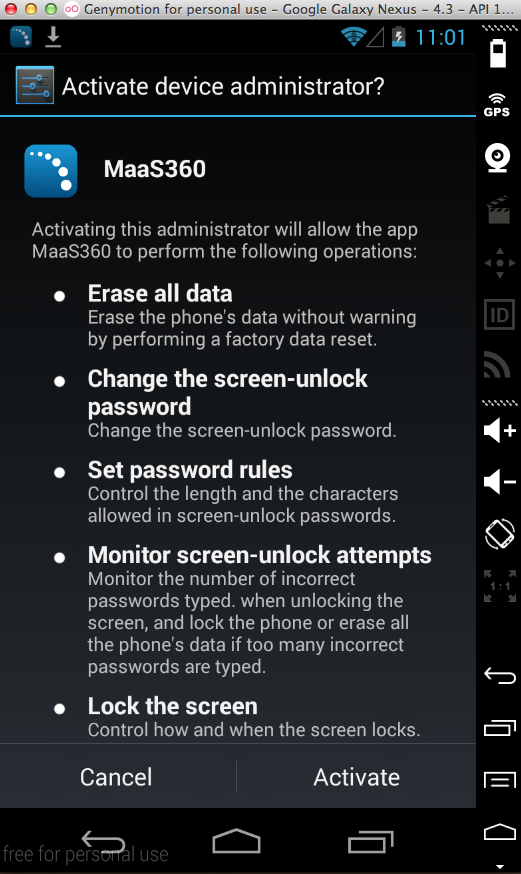
At the "Activate device administrator?" screen, click Activate.
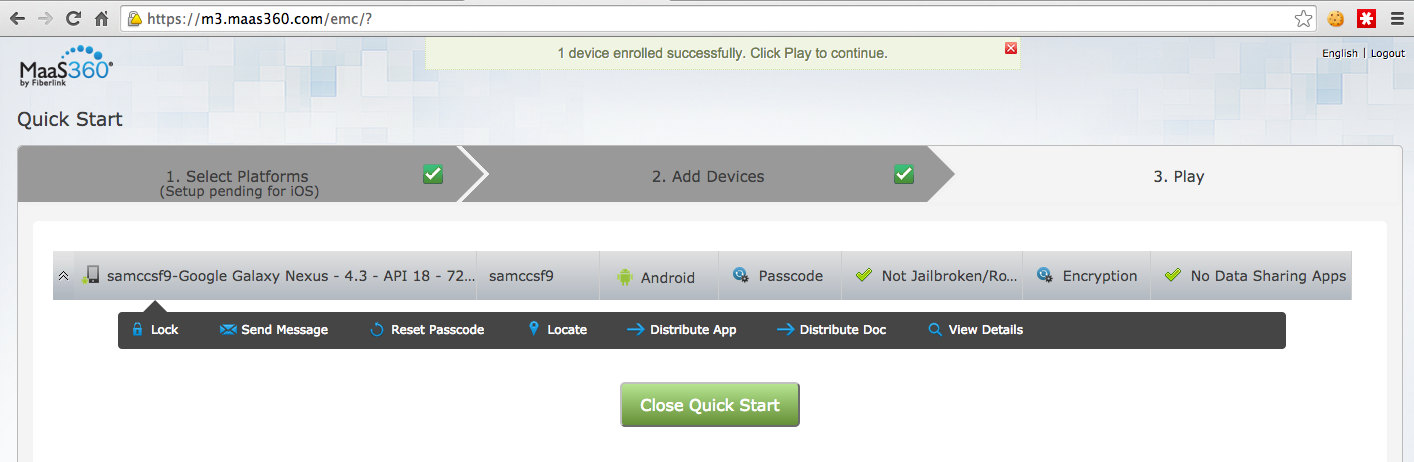
You see the MaaS360 home page, as shown below.
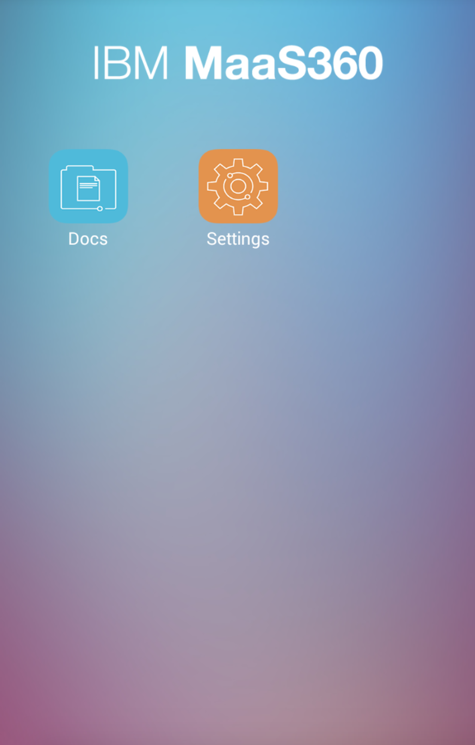
In the top bar, click Play.
Click "Close Quick Start"
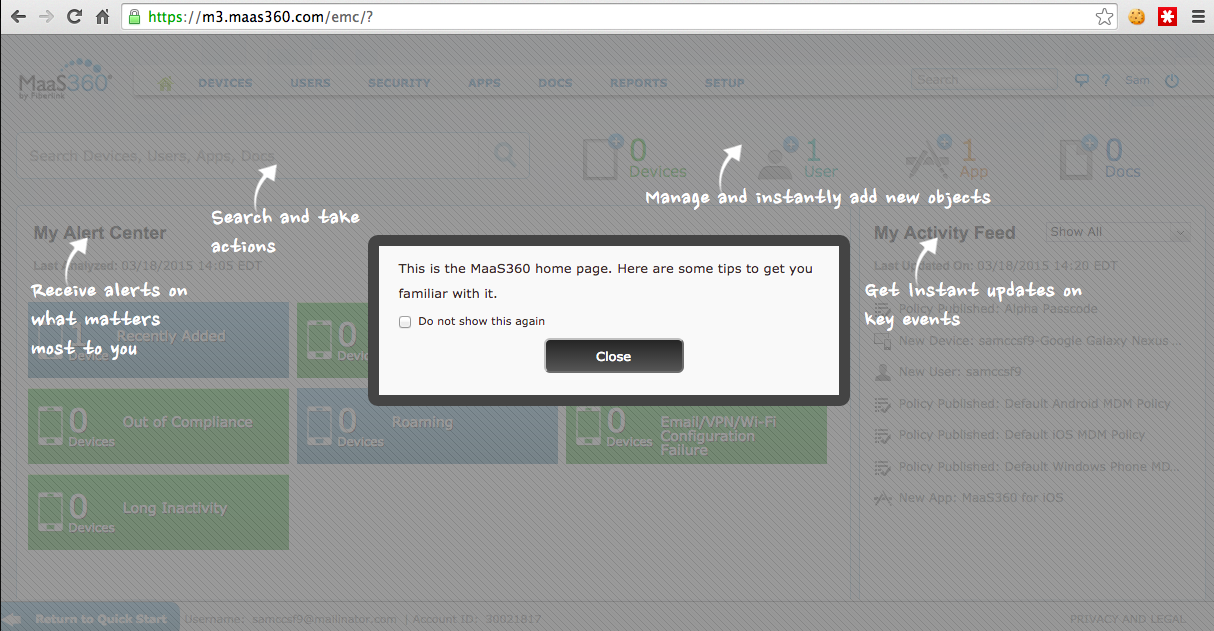
On the next page, click Close.
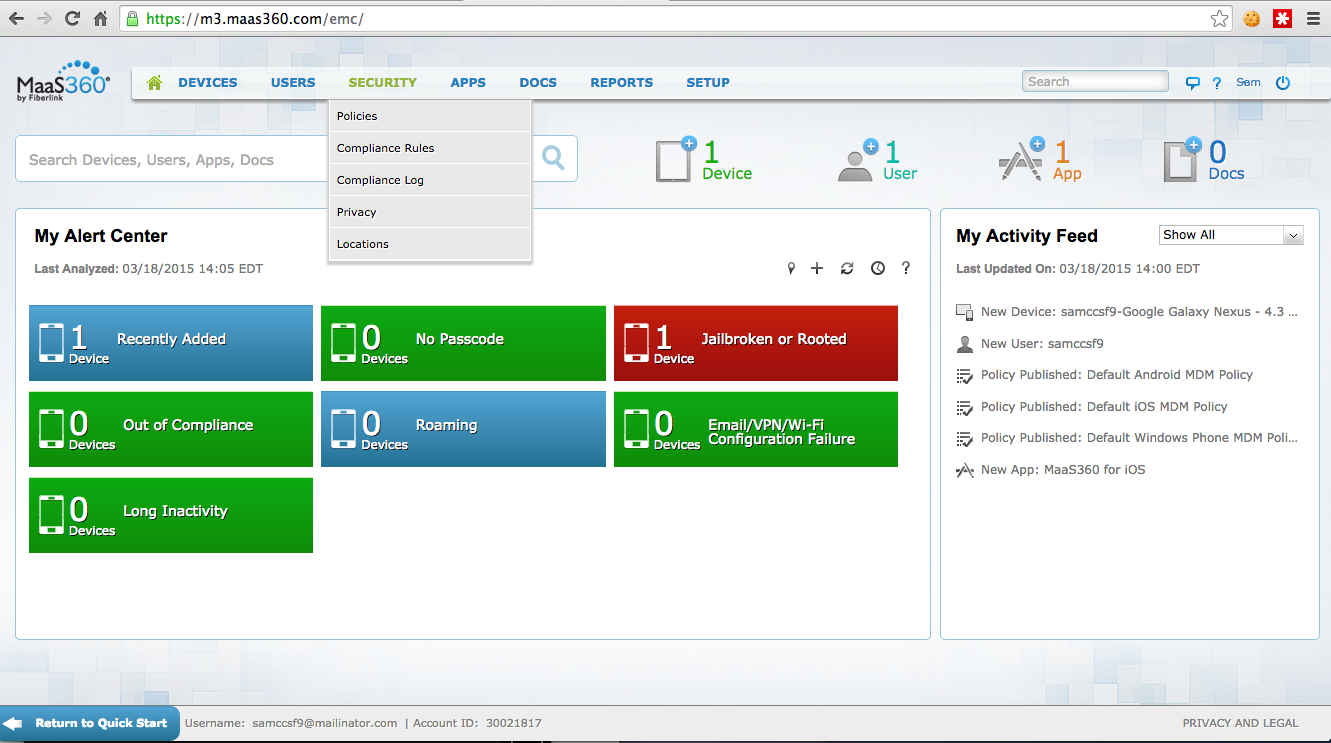
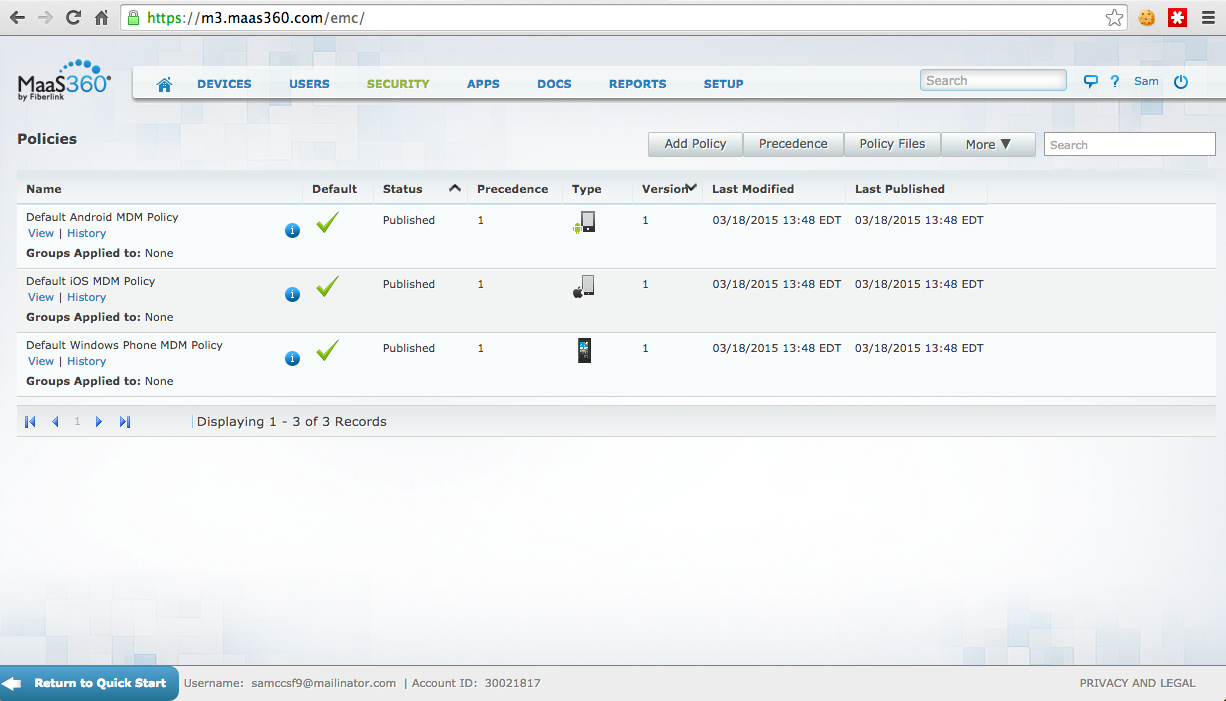
Point to Security, and click Policies.
In the top center, Click the "Add Policy" button.
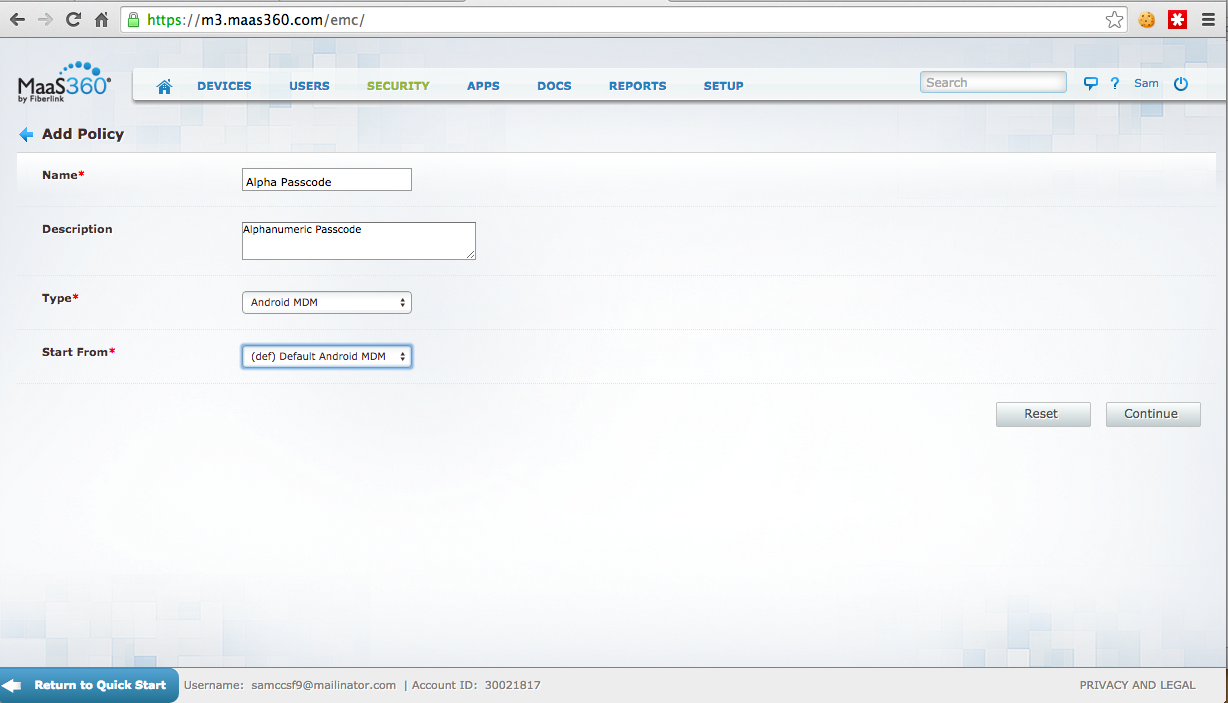
Fill out the form as shown below and click Continue.
Wait about 30 seconds. When the process is complete, you see the "Alpha Passcode" policy page, as shown below.
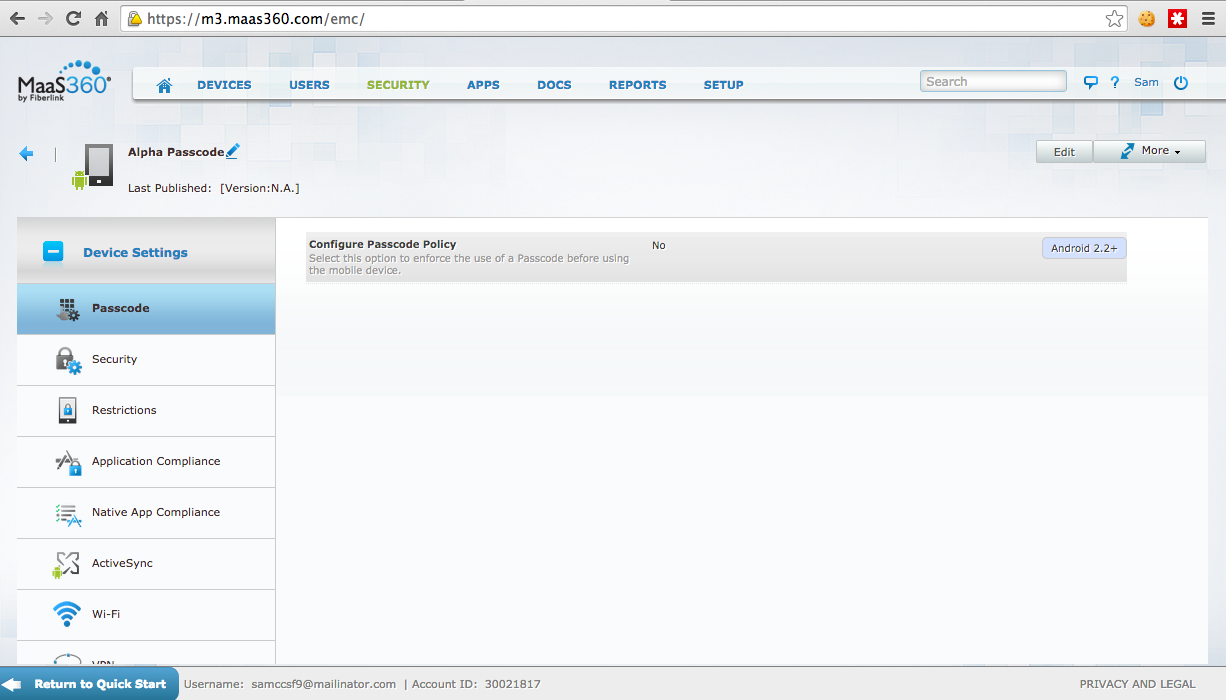
At the top right, click the Edit button.
In the center, click the empty square to check "Configure Passcode Policy".
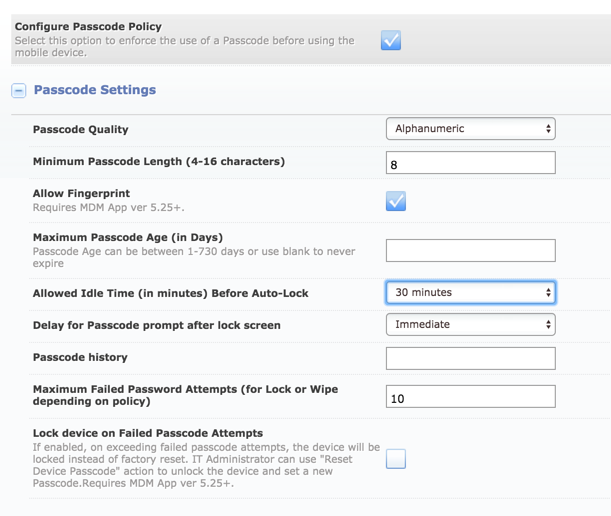
Fill in the form as shown below.
At the top right, click the "Save and Publish" button.
In the "Publish" box, enter a description containing your name, as shown below. Enter your password.
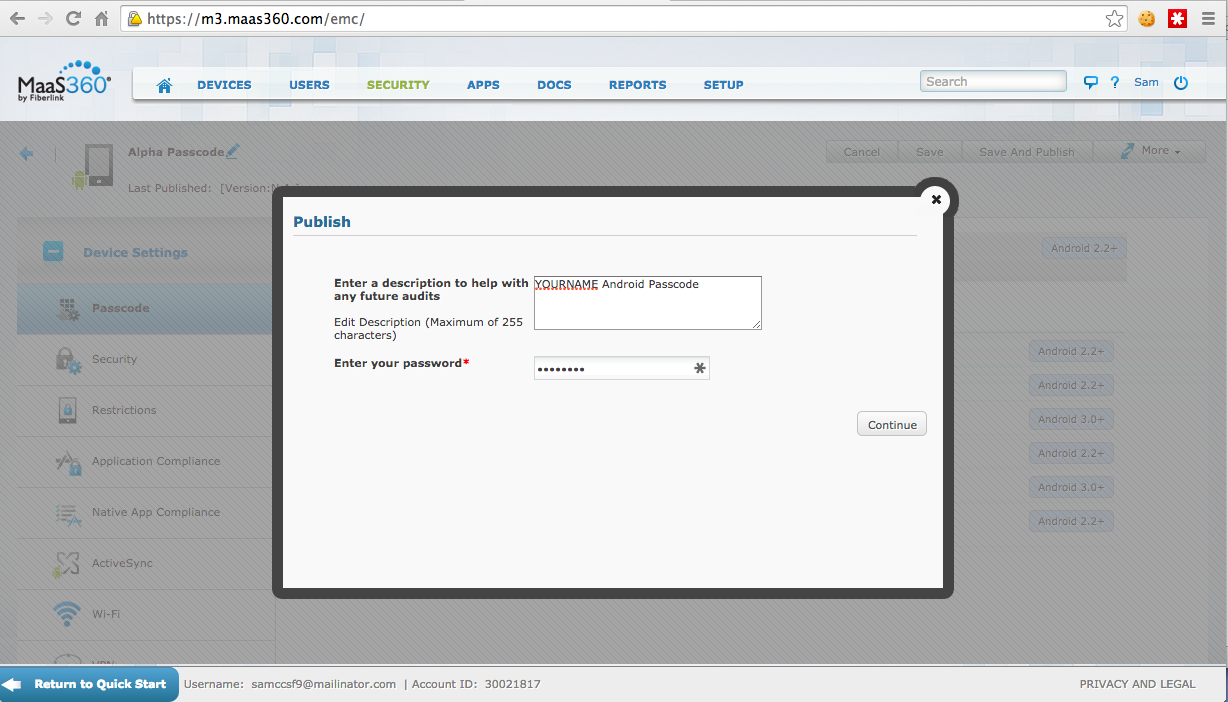
Click the Continue button.
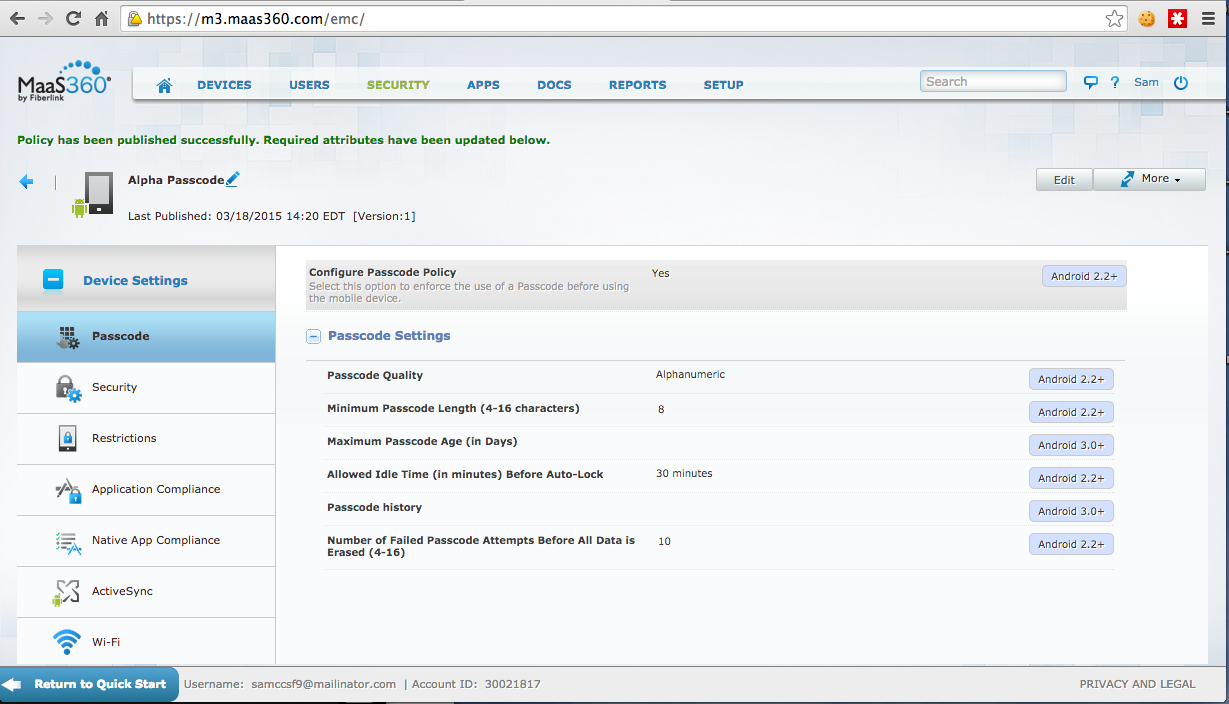
When the process completes, at the top left, you see the "Policy has been published successfully" message, as shown below.
Click Security, Policies.
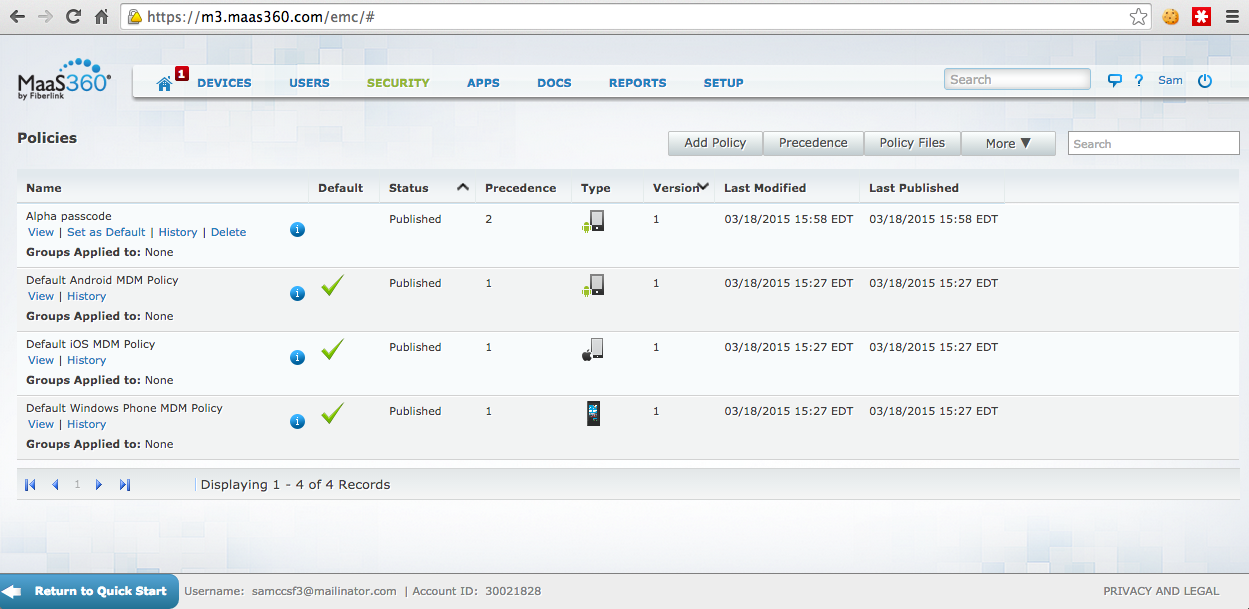
In the upper left, in the "Alpha passcode" section, click "Set as Default", as shown below.
A "Confirm as default policy" box pops up. Click Yes.
That's irritating, so we'll force a check from the client.
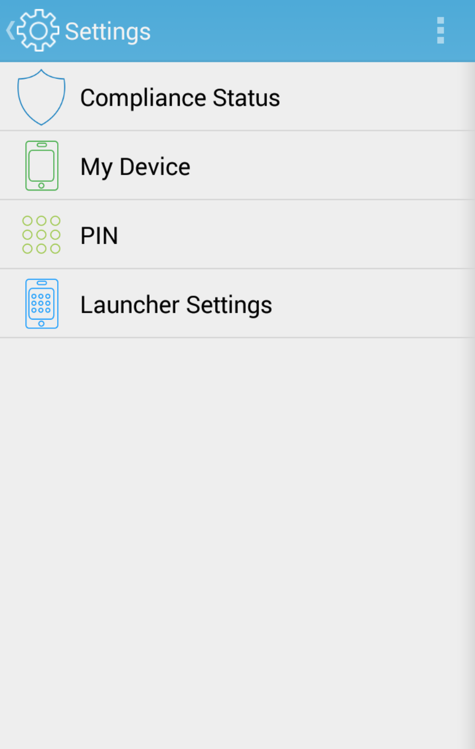
On your Android emulator, in the MaaS360 app, click Settings. You see the screen below.
Click "Compliance Status".
The app says "The device is compliant", as shown below.
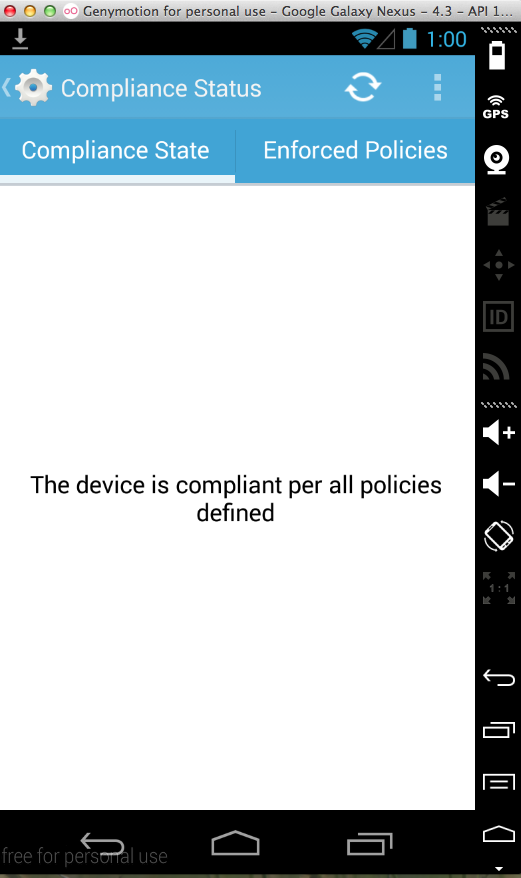
The device is wrong, because there's a new policy, but it hasn't updated yet.
Wait a few minutes, or click the double-curved-arrow Refresh button in the top right. You may have to wait a minute and try again.
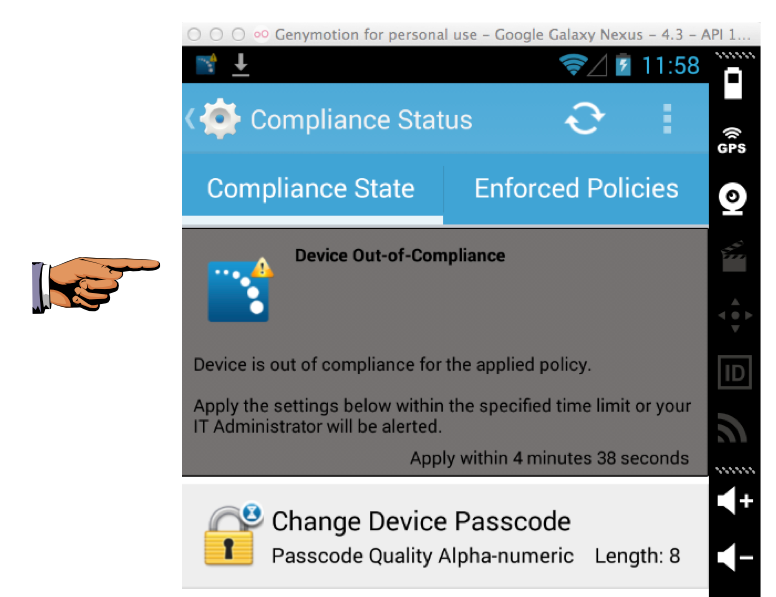
You see the message "Device Out-of-Compliance", as shown below.
Save a full-desktop image.
YOU MUST SUBMIT A FULL-SCREEN IMAGE FOR FULL CREDIT!
Save the image with the filename "YOUR NAME Proj 12a", replacing "YOUR NAME" with your real name.
To do that, go to the Home screen, click the circle, and open Settings.
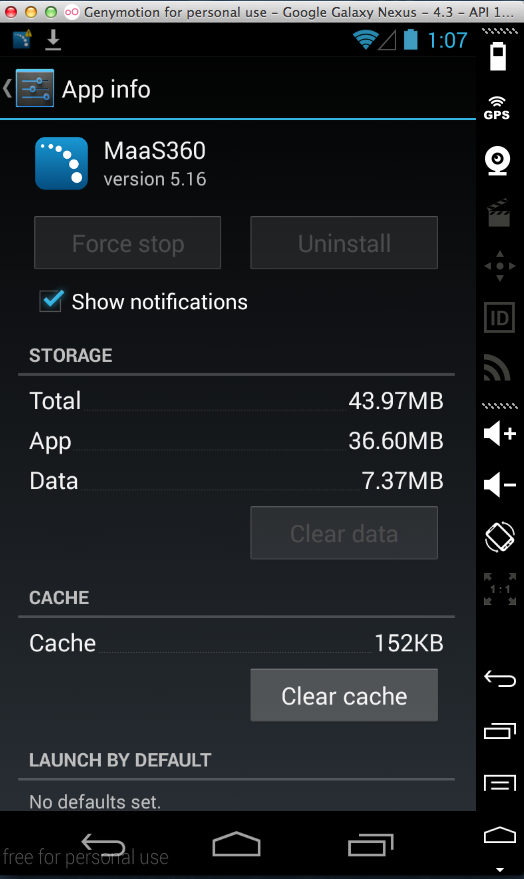
Click Apps. Click MaaS360.
The "Uninstall" button is grayed out, as shown below.
You can't just leave--the administrator must unenroll you.
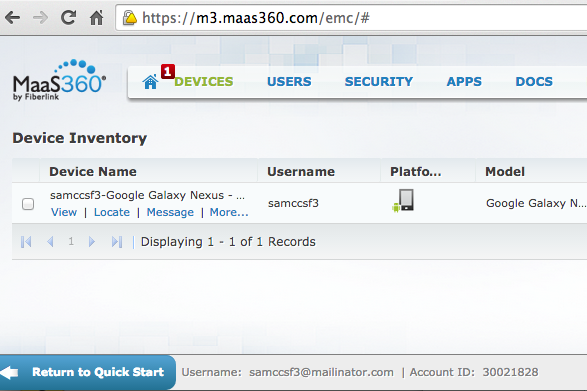
On the left side, in the line with your devicename, click the blue View. link, as shown below.
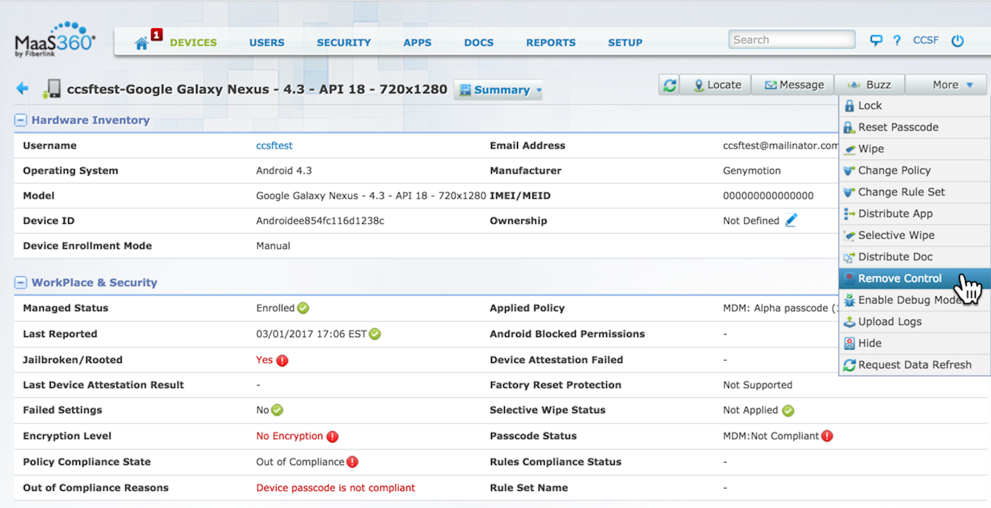
A page opens showing your device details, as shown below.
In the top right, point to More and click "Remove Control".
A "Remove Control" box appears, with a Comments box. Type in a comment including YOUR NAME, as shown below. Don't use the literal text "YOUR NAME"--replace that with your own name.
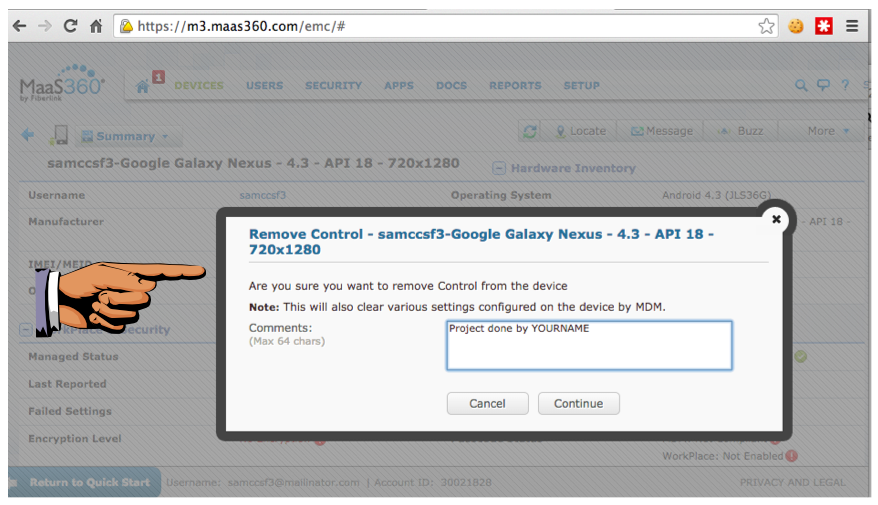
Save a full-desktop image.
YOU MUST SUBMIT A FULL-SCREEN IMAGE FOR FULL CREDIT!
Save the image with the filename "YOUR NAME Proj 12b", replacing "YOUR NAME" with your real name.
Enter your password and cick Continue.
Click the circle, and open Settings.
Click Apps. Click MaaS360.
The "Uninstall" button is now available.
Uninstall the app.