At the top left of your screen, from the menu, click "Keychain Access", "Certificate Assistant", "Create a Certificate...".
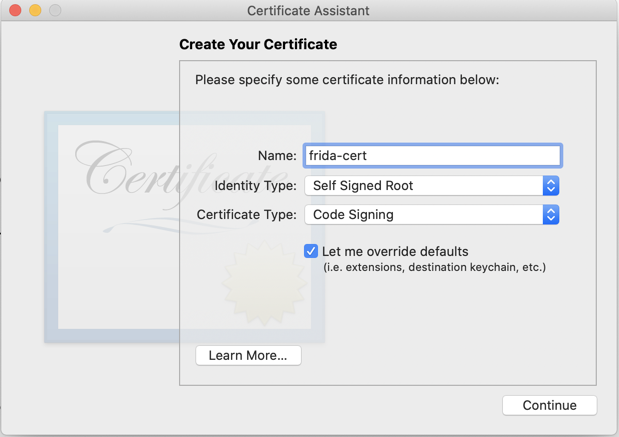
In the "Create Your Certificate" box, make these selections, as shown below.
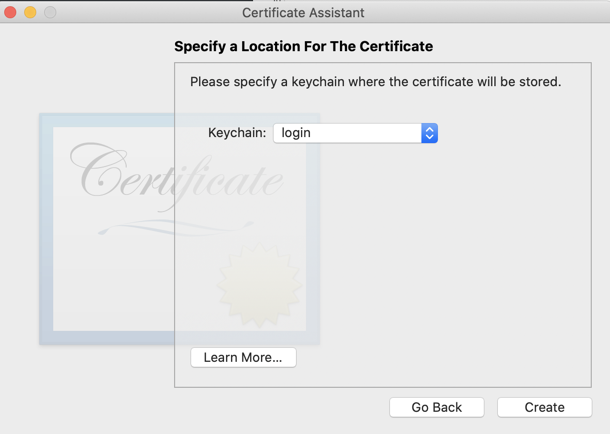
Click Continue nine times, until you get to the Specify a Location For The Certificate screen, then accept the default Keychain of login, as shown below.
Click Create.
In "Keychain Access", in the lower left pane, click "My Certificates".
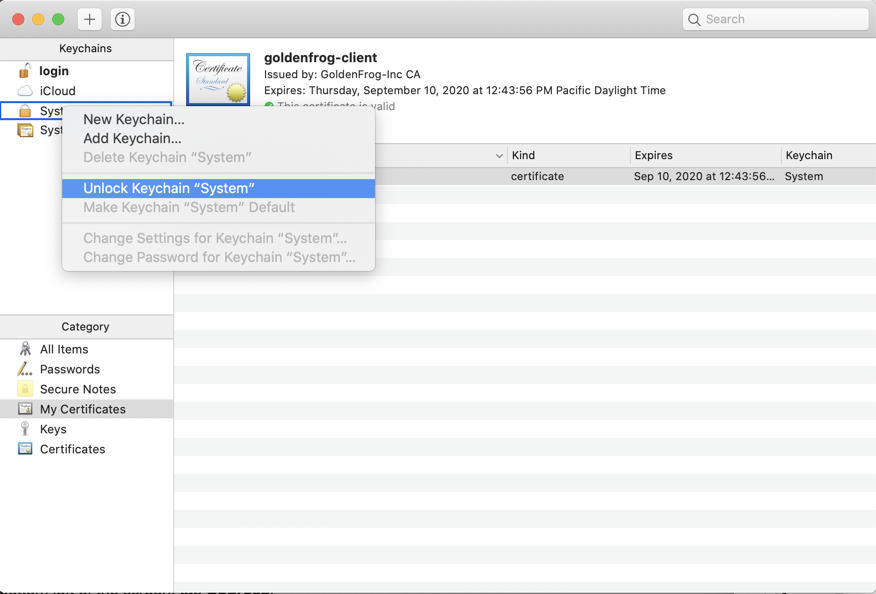
In the top left pane, right-click the System keychain and click 'Unlock Keychain "System"', as shown below.
Enter your password when you are prompted to.
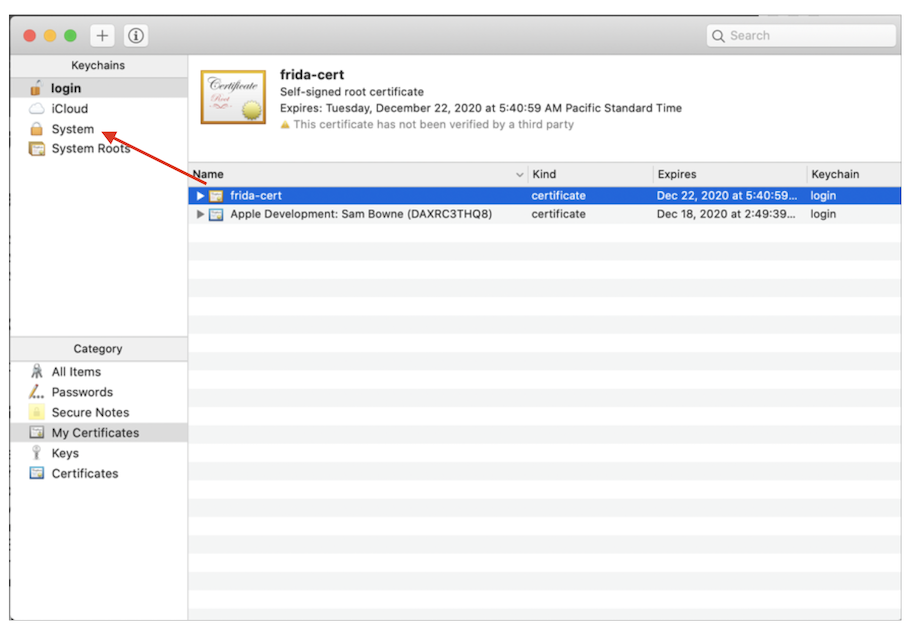
In the top left pane, click the login keychain. Drag the frida-cert and drop it onto the System keychain, as shown below.
Enter your password when you are prompted to, several times.
In the top left pane, click the System keychain. The frida-cert is visible in the right pane, as shown below.
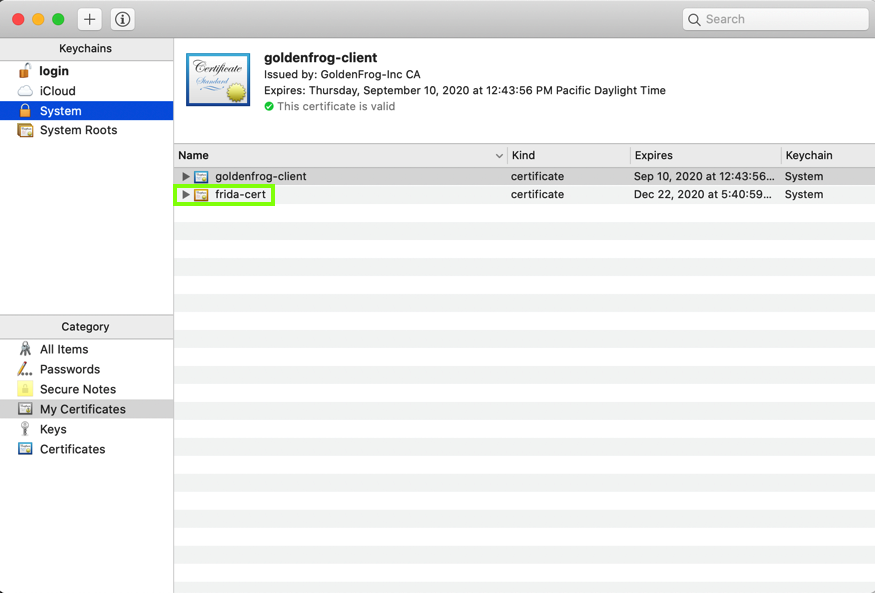
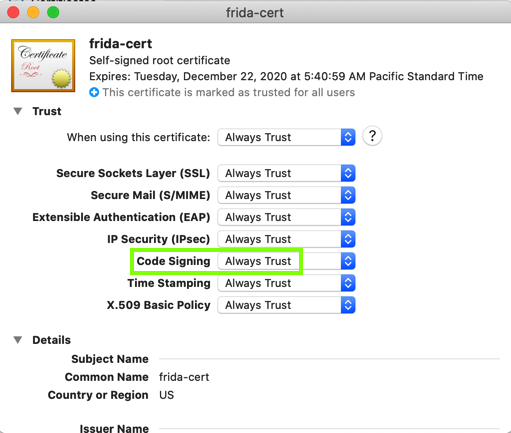
Right-click "frida-cert" and click "Get Info".
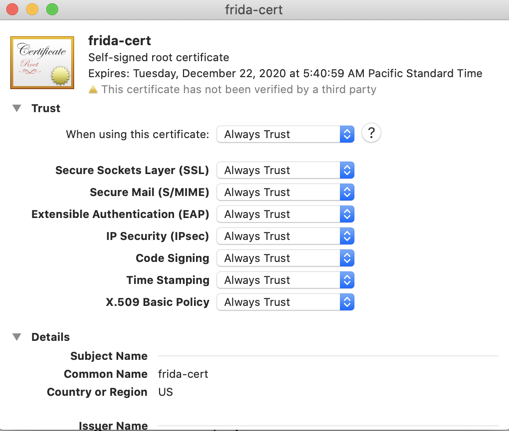
In the "When using this certificate" field, select "Always Trust", as shown below.
Close the "frida-cert" Info box. Enter your password when you are prompted to.
Quit Keychain Access.
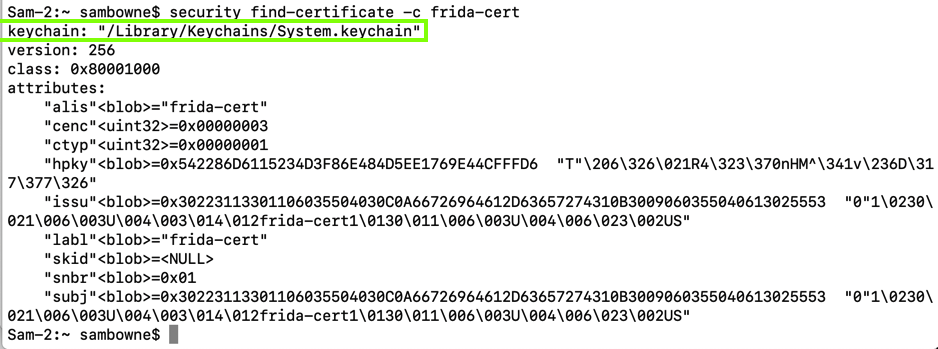
In a Terminal, execute this command:
security find-certificate -c frida-cert
In a Terminal, execute this command:
security find-certificate -p -c frida-cert | openssl x509 -checkend 0

Right-click "frida-cert" and click "Get Info".
Make sure the "Code Signing" line is set to"Always Trust, as shown below.
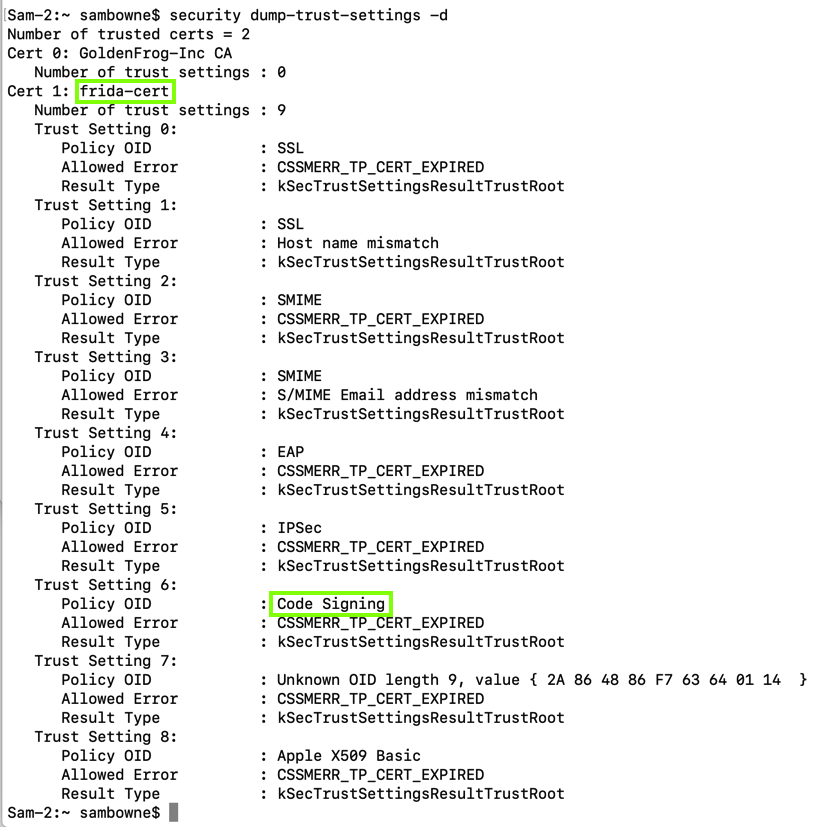
In a Terminal, execute this command:
security dump-trust-settings -d
git clone https://github.com/frida/frida.git
cd frida
export MAC_CERTID=frida-cert
export IOS_CERTID=frida-cert
make
/usr/bin/ruby -e "$(curl -fsSL https://raw.githubusercontent.com/Homebrew/install/master/install)"
brew unlink openssl
brew reinstall python@2
pip install paramiko
pip install scp
pip install tqdm
pip3 install frida-tools
pip3 install objection
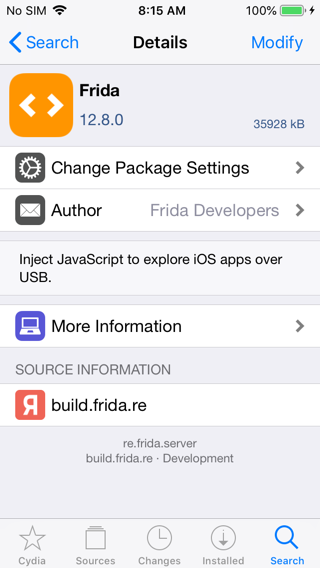
Enter https://build.frida.re, as shown below.

On your iPhone, in Cydia, Tap Search, enter Frida, and tap Install, as shown below.
On your Mac, open a new Terminal window and execute this command:
iproxy 2222 44
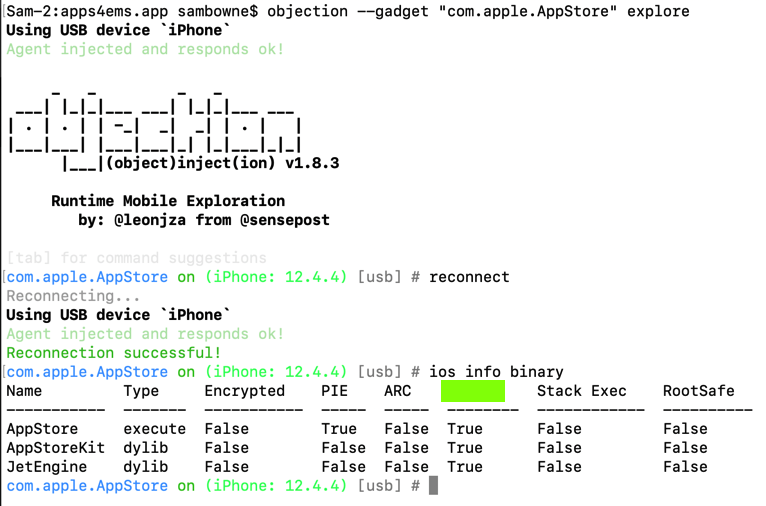
Flag M 702.1: Launching Objection (10 pts)
On your Mac, in a Terminal, execute these commands, to see information about your IOS system:The flag is covered by a green rectangle in the image below.
To exit from Objection, press Ctrl+C.
cd
cd frida
git clone https://github.com/AloneMonkey/frida-ios-dump.git
cd frida-ios-dump
sudo pip3 install -r requirements.txt --upgrade
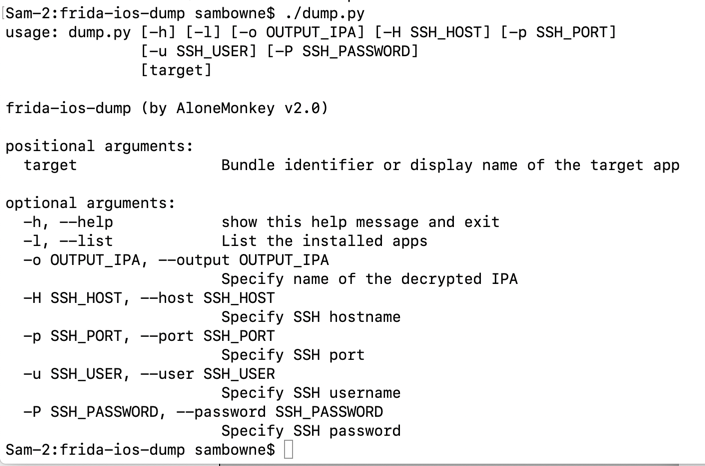
./dump.py
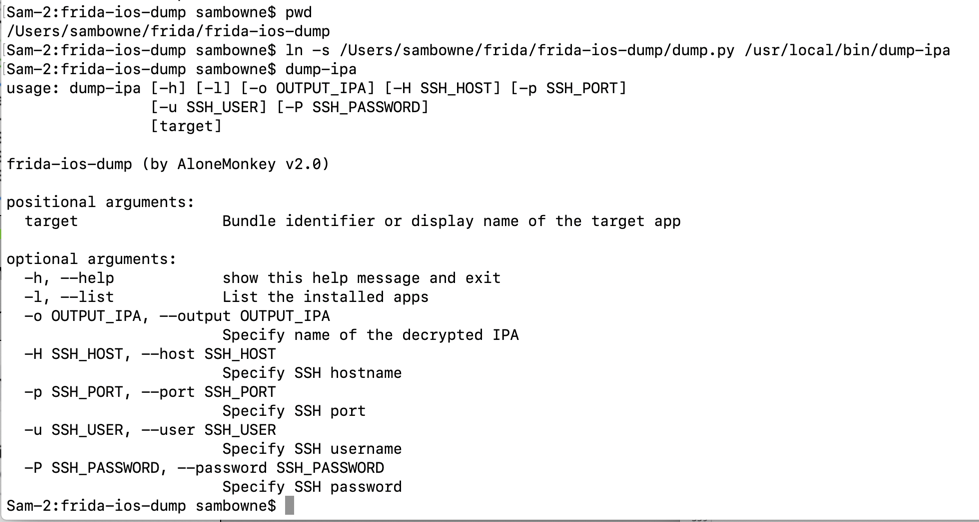
On your Mac, in the Terminal you used to run "dump.py", execute this command, to show where "dump.py" is:
pwd
ln -s /Users/sambowne/frida/frida-ios-dump/dump.py /usr/local/bin/dump-ipa
dump-ipa
Connect your iPhone to Wi-Fi. Open the App Store. Log in with an Apple account, creating a new one if necessary.
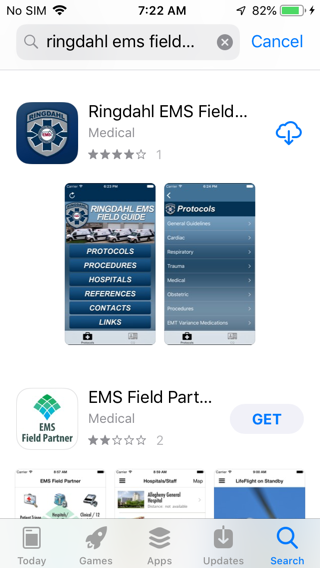
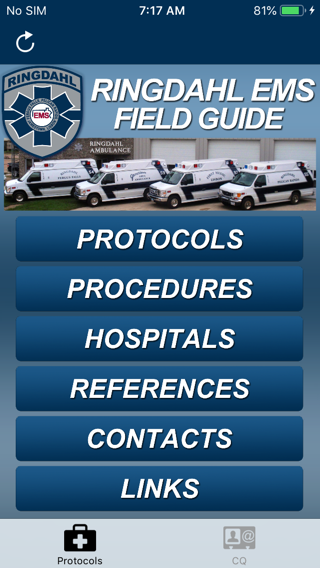
Search for the "Ringdahl EMS" App and install it, as shown below.
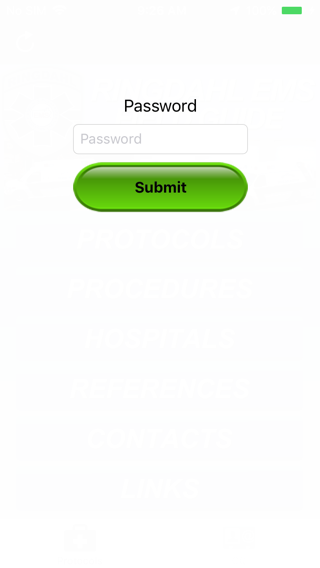
Launch the app. It asks for a password, as shown below.
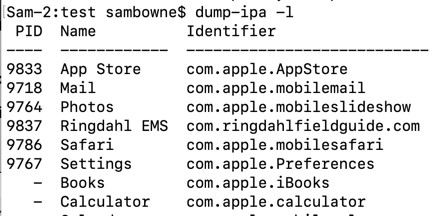
dump-ipa -l
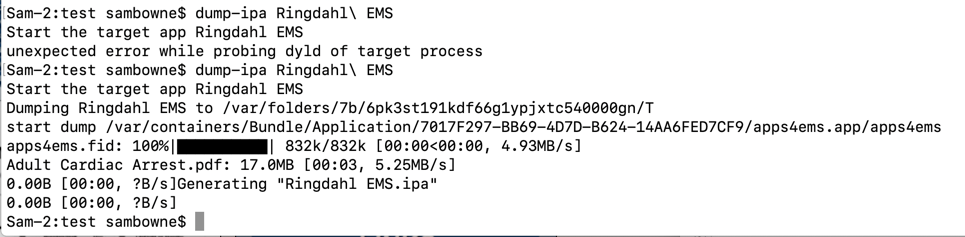
On your Mac, in a Terminal, execute this command to decrypt the apps and pull it onto your Mac from your phone.
You may have to relaunch the app a and try the command a second time.
dump-ipa Ringdahl\ EMS
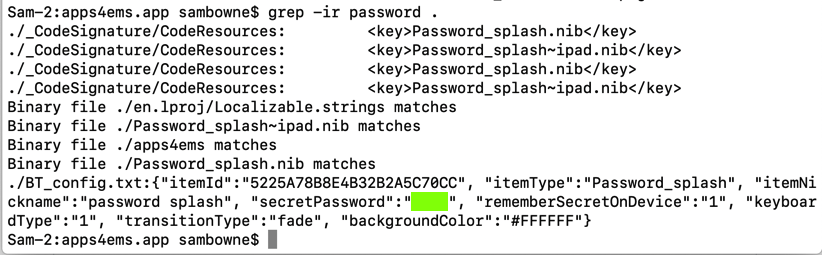
Flag M 702.2: App Password (10 pts)
On your Mac, in a Terminal, execute this command to unzip the app and search the code for the password:The password appears, covered by a green rectangle in the image below. That's the flag.
You see the "protected" portion of the app, as shown below.
From checkra1n to Frida: iOS App Pentesting Quickstart on iOS 13