Mac Users
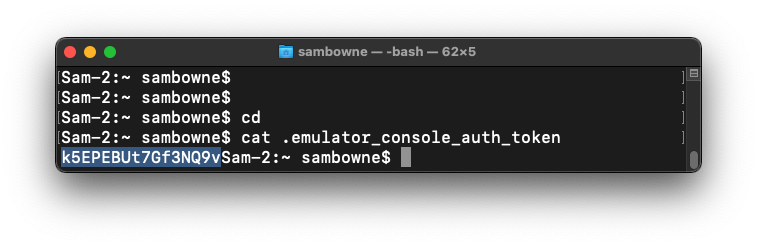
Open a new Terminal window and execute these commands:Carefully highlight and copy your auth_token, as shown below.
Execute these commands, inserting the correct auth token in the second one:
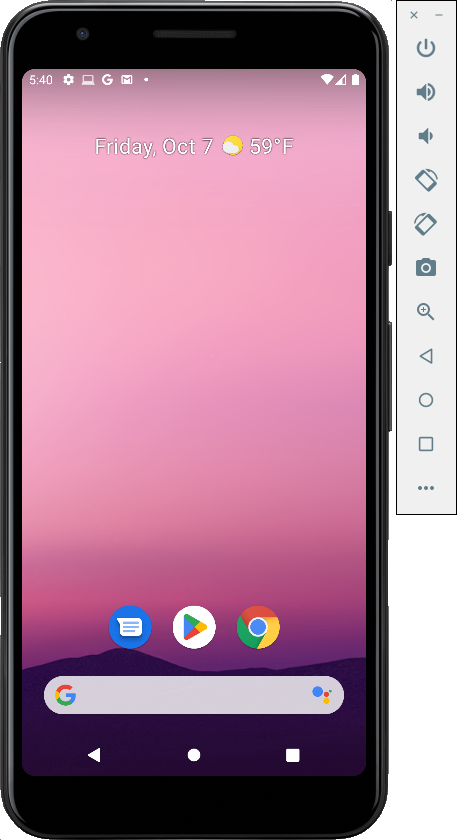
On your emulator, open Messages.
Windows Users In a Web browser, go to
Download Nmap and install it.Execute these commands. If it asks for an auth token, follow the instructions on your screen to find it.
Click Agree.
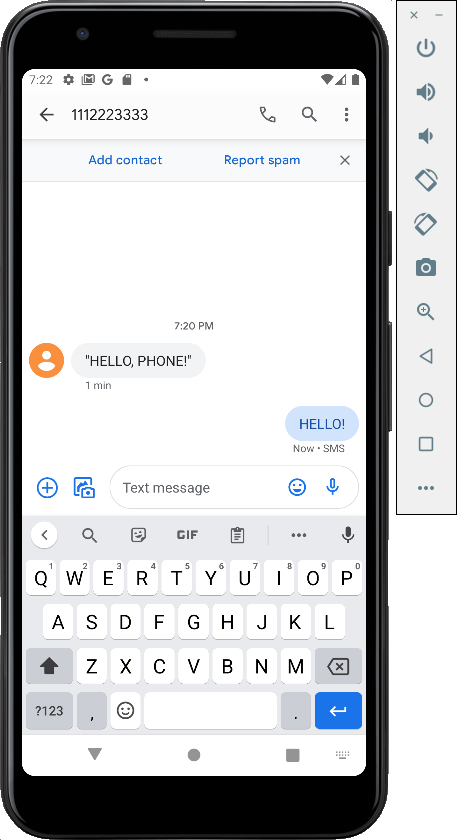
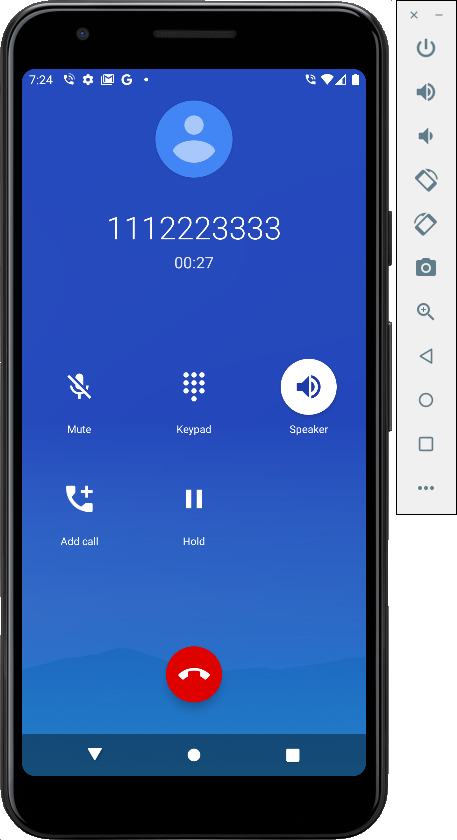
You received the SMS. Reply, as shown below.
In your Terminal or Command Prompt, execute this command:
gsm call 11122233333
After a few seconds, hang up.
In your Terminal or Command Prompt, press Ctrl+C to terminate the netcat connection.
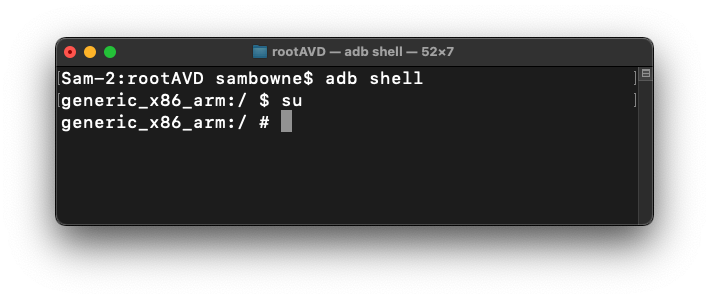
adb shell
su
In your root shell, execute this command:
tar --exclude=android_image.tar.gz \
 -cvzf /sdcard/Download/android_image.tar.gz /data
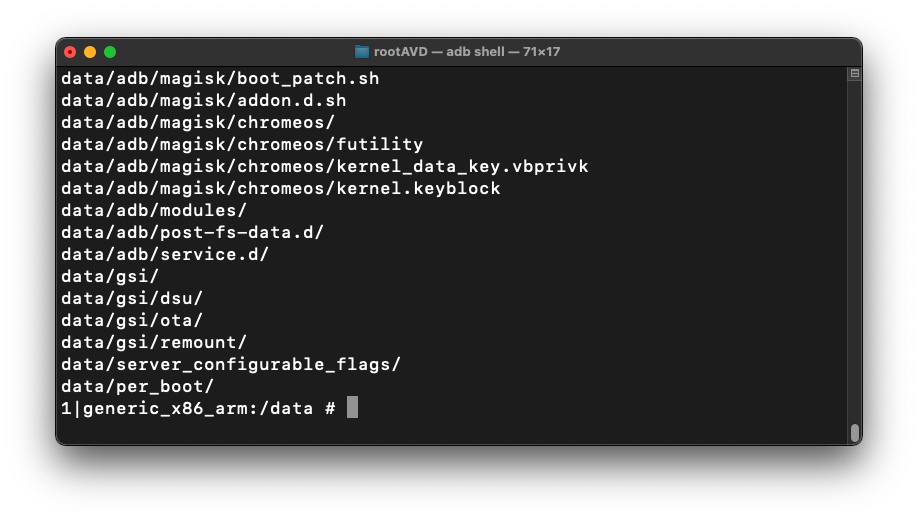
When it's done, you see a # prompt, as shown below.
Execute these commands to exit the shell and download the captured data, as shown below:
exit
exit
cd
cd Downloads
adb pull /sdcard/Download/android_image.tar.gz

If you don't have 7-Zip on your Windows machine, get it here: Right-click the android_image.tar.gz file and click 7-Zip, "Extract Here".
Mac M1 Users
You cannot copy and paste files from the host to the Windows guest, as of March 2023, because VMware 13 doesn't fully implement VMware Tools.You can use PowerShell's "scp" command, however, using the IP address of your Mac, and your Mac's username and password, with a command like this:
A android_image.tar file appears on your desktop.
Right-click the android_image.tar file and click 7-Zip, "Extract Here".
A data folder appears on your desktop.
If 7-Zip shows some messages saying "Can not create symbolic link", just ignore them and click Close.
Enter a Case Name of Android.
Click the Next button.
Click the Finish button.
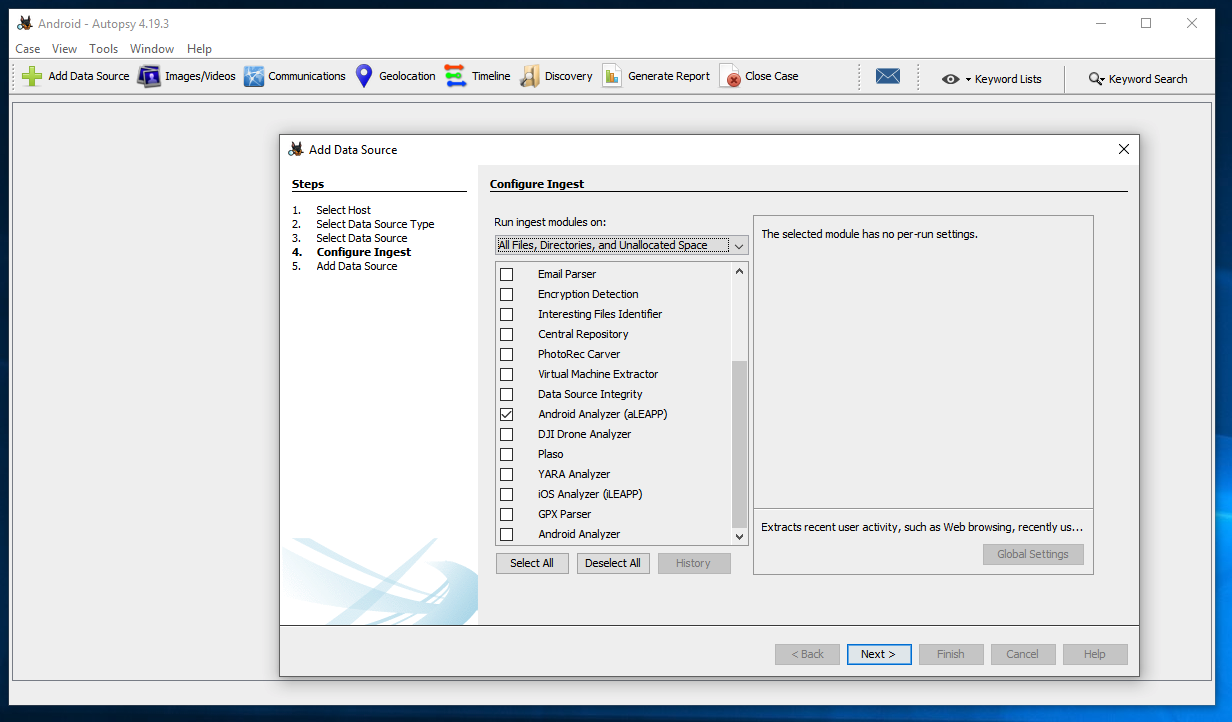
At step 5: "Add Data Source", click the Finish button.
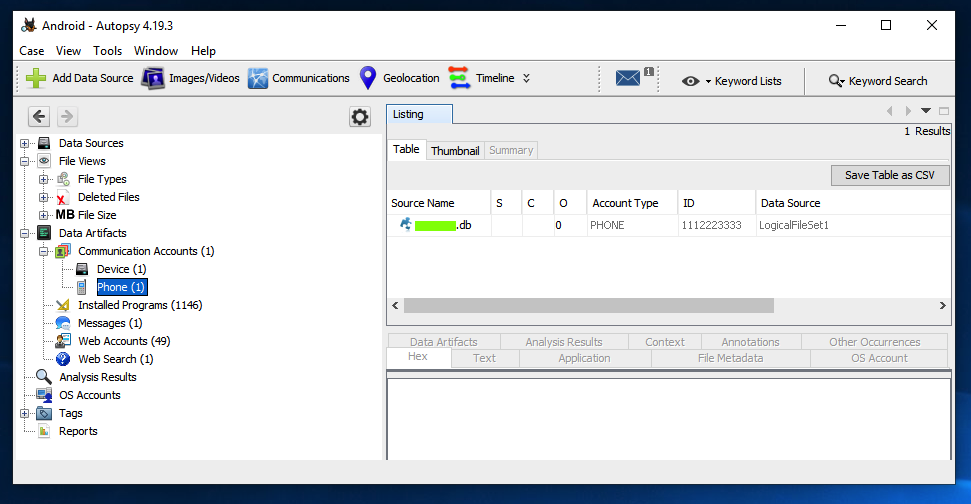
M 143.1: Phone Source (15 pts)
Find the text covered by a green box in the image below. That's the flag.
http://sleuthkit.org/autopsy/docs/user-docs/4.18.0/aleapp_page.html
Posted 10-7-22
Mac M1 file transfer tip added 3-13-23
Flag number corrected 7-1-23