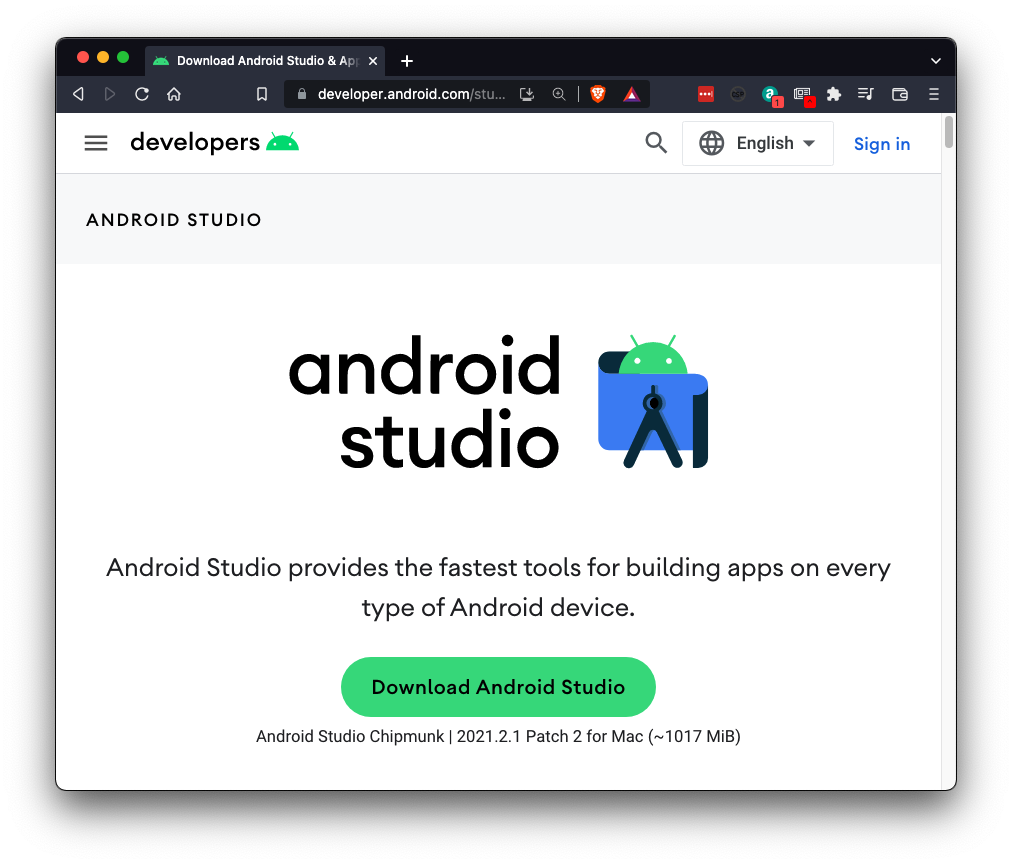
https://developer.android.com/studio
Download the software, as shown below.
(The name of the button is "Download Android Studio Meerkat Feature Drop" as of June, 2025.)
Run the installer with the default options.
Launch Android Studio. Don't import settings. Accept the default options. Accept any agreements you are asked to.
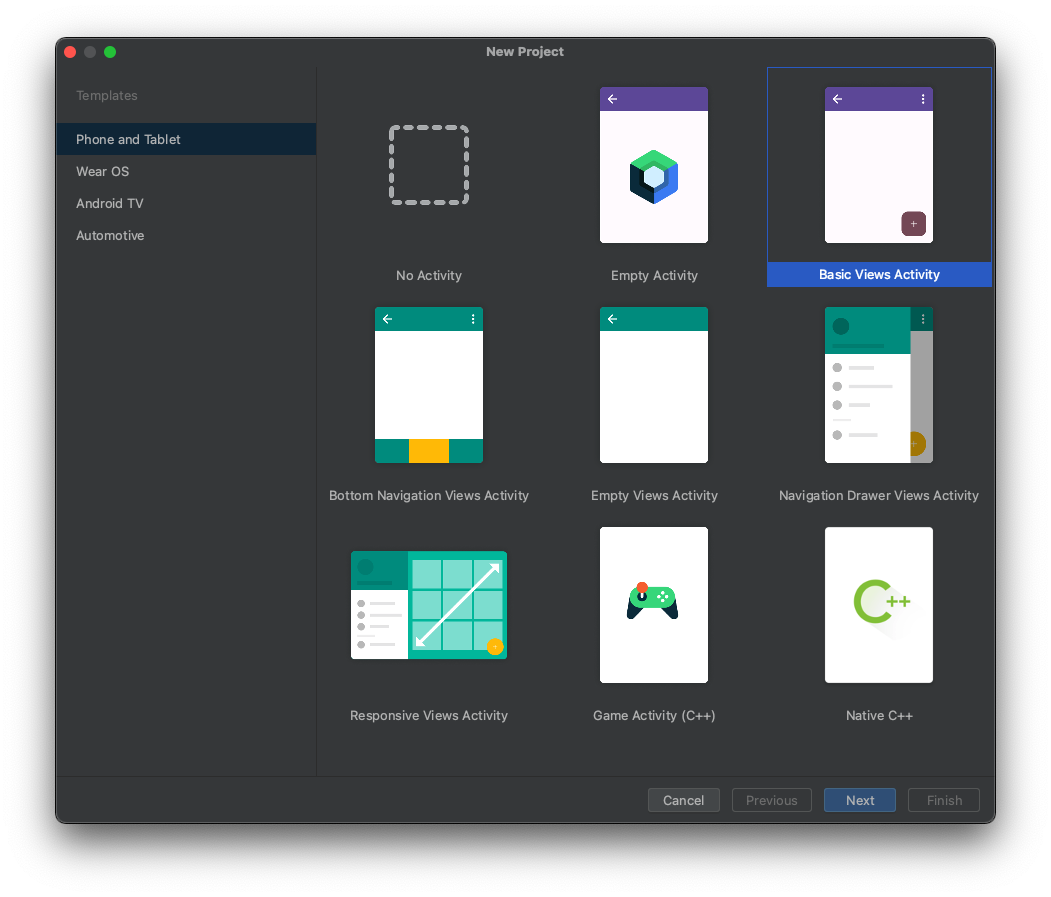
Create a New Project.
Select the "Basic Views" activity, as shown below.
Click Next. Click Finish.
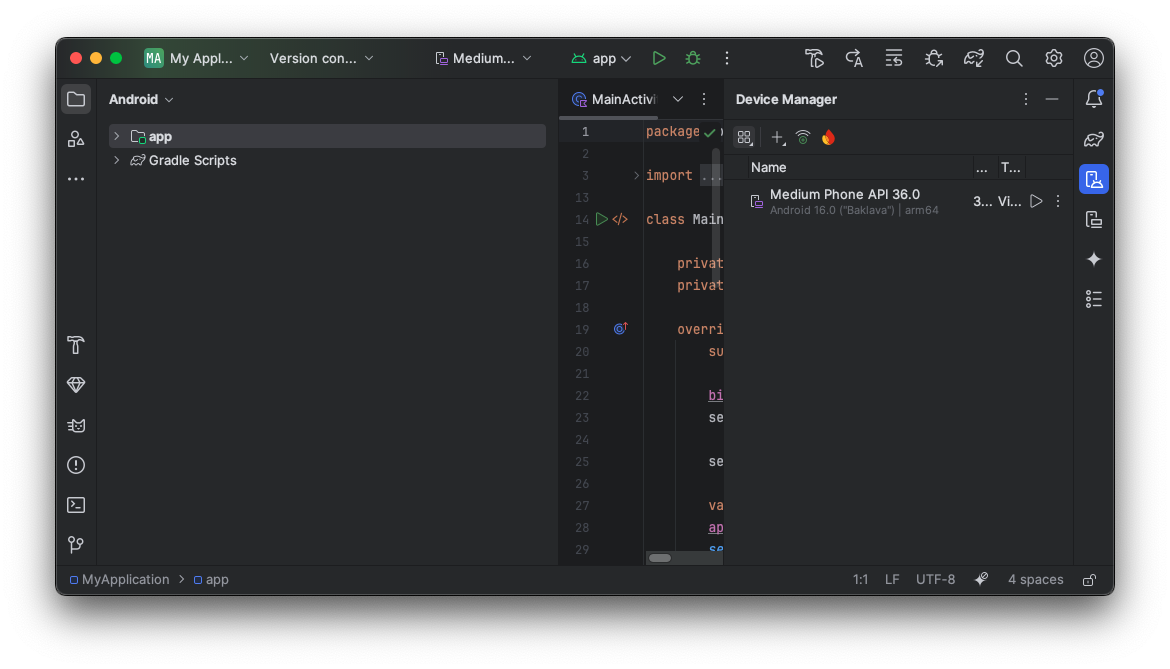
You should see a phone, like the "Medium Phone" shown below. Click the right-arrow on that phone's line to start it.
The emulator starts, as shown below.
If you are asked to, allow it to use the microphone.
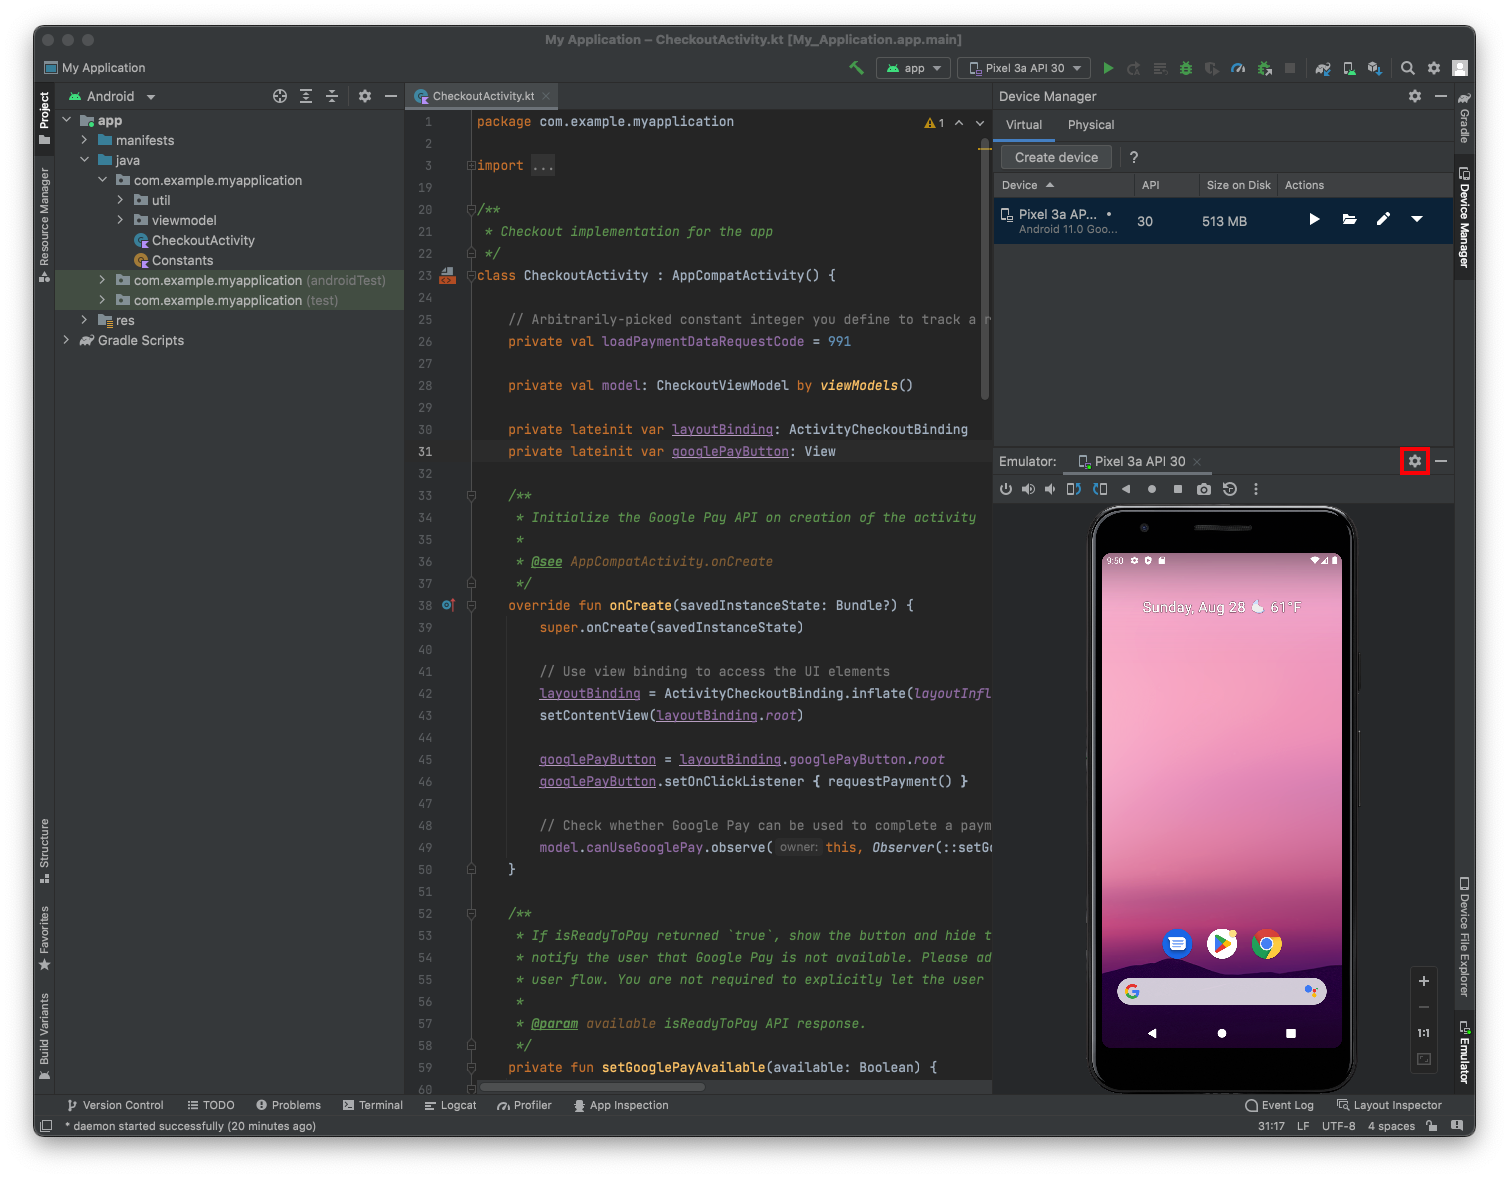
To make the emulator appear in its own window, at the top right of the Emulator pane, click the gear icon, outlined in red in the image above, point to "View Mode", and click Float.
Troubleshooting
If the emulator doesn't start, and shows a "Connecting to the emulator" message for a long time, try this:On a Mac, from the Android Studio menu bar, click "Android Studio", Preferences, Tools, Emulator. Uncheck "Launch in a tool window".
Close Android Studio and relaunch it.
If you are using a PC, the first two clicks are File, Settings.
Log in with a Google account. Don't enable backups.
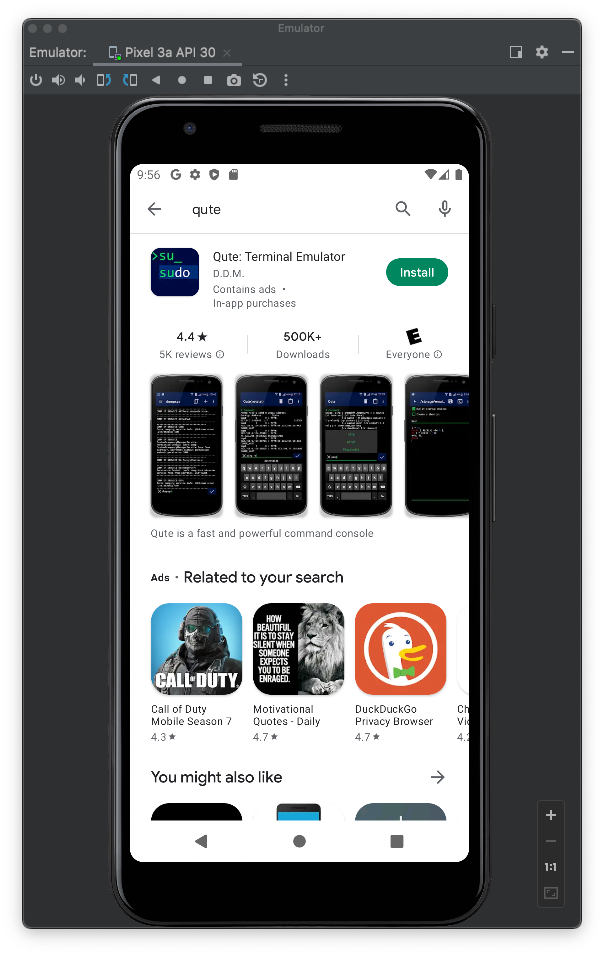
In Google Play, search for Qute, as shown below.
Install "Qute: Terminal Emulator".
M 140.1: Operating System (15 pts)
Launch Qute: Terminal Emulator.In the "EULA & PRIVACY POLICY" page, click "AGREE & CONTINUE".
In the "Help us get better" page, click CONTINUE.
In the "Please, grant permissions for app" page, click "GRANT PERMISSIONS".
Click the slider to allow access to all files.
At the top left, click the back-arrow.
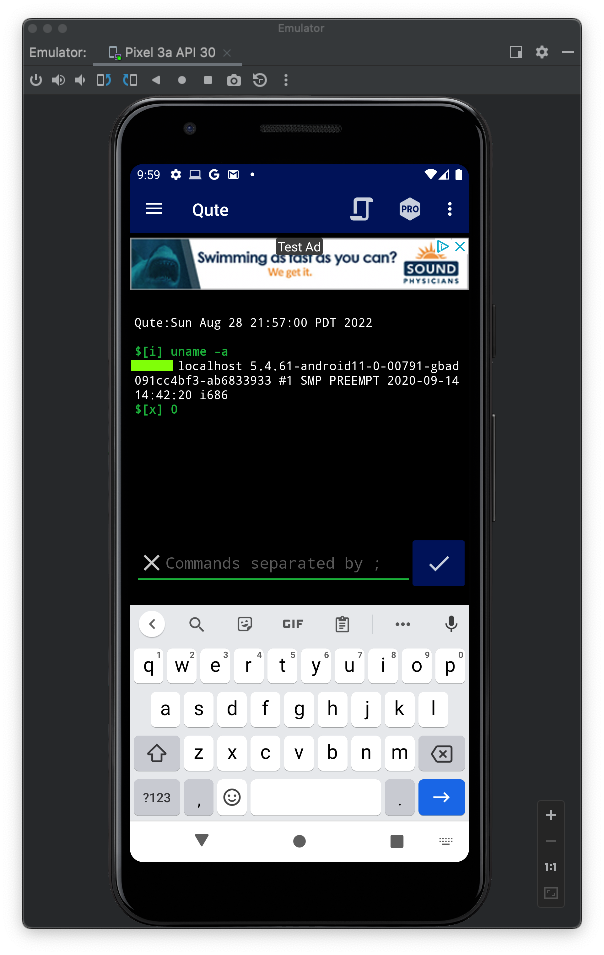
In Qute, execute this command:
Find the text in that box that is covered by the green box in the image above. That's the flag.
Click "Create Virtual Device".
In the "Form Factor" screen, click "Pixel 3a" and click Next.
In the "Configure virtual devide" screen, select an API of "API 30 :R:, Android 11.0", as shown below.
In the "System Image" pane, at the bottom of the screen, click the down-arrow icon to download the system image. This arrow is outlined in red in the image below.

When the download completed, click Finish.
In the "Configure virtual devide" screen, click Finish.