CNIT 121 Project 14: Acquiring a Forensic Image of an Android Phone (25 pts.)

What You Need for This Project

Purpose

To acquire a forensic image of the internal storage on an Android device.

1. Start your Android Device

You should see the home screen, as shown below:

2. Finding the SDK Path

We will use the SDK (Software Development Kit) for this project.

For Ubuntu Linux users, in a Terminal, execute these commands:

cd

cd Android/Sdk/platform-tools

./adb devices -l

If you are using a Mac, in a Terminal window, execute these commands:
cd

cd Library/Android/sdk/platform-tools

./adb devices -l

You should see your Android device, listed with its IP address, as shown below.

3: Creating Evidence on the Android Phone

Click in the Android Phone. Click the circle at the bottom of the home screen. Click Messaging. Click the icon at the lower left to compose a new message. Compose a message containing your name, as shown below.

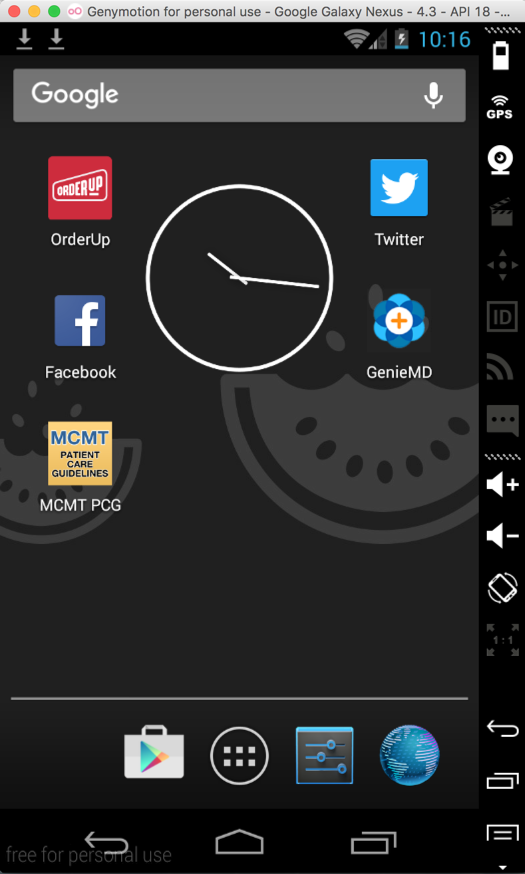
At the lower right, click the arrow icon to send your message.

In the bottom center, click the icon shaped like an open business envelope. This takes you back to the home screen.

At the bottom of the screen, click the blue Earth to open a Web browser. Go to samsclass.info and kittenwar.com

4. Examining the Filesystem of the Android Device

Execute these commands:
./adb shell

mount

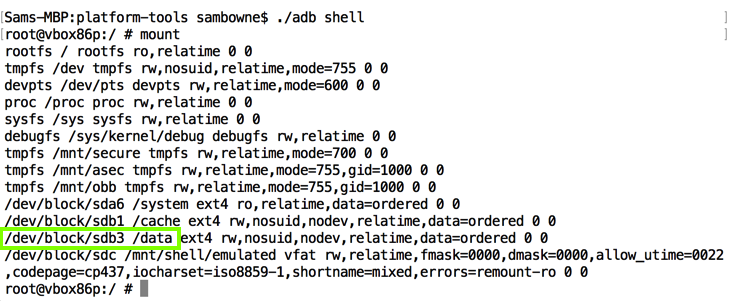
The /data partition is at /dev/block/sdb3, as highlighted in the image above.

Execute this command:

df
This shows that the /data partition is 5 GB in size, as shown below.

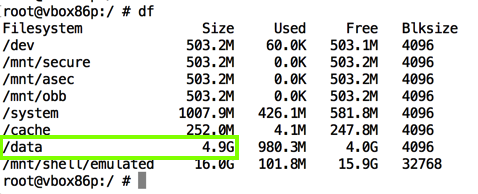
The /data partition is where apps store their data; the main place to find forensic artifacts.

5. Configuring Port Forwarding

Open a second Terminal window.

For Ubuntu Linux users, in a Terminal, execute these commands:

cd

cd Android/Sdk/platform-tools

./adb forward tcp:7000 tcp:7000

If you are using a Mac, in a Terminal window, execute these commands:
cd

cd Library/Android/sdk/platform-tools

./adb forward tcp:7000 tcp:7000

This command forwards network traffic on port 7000 on the host computer to the same port on the Android virtual device.

6. Performing a Network Acquisition

In the first Terminal window, At the "root@vbox86p:/ #" prompt, execute this command:
dd if=/dev/block/sdb3 | busybox nc -l -p 7000
The "su" commands switches to the superuser account (root), and the next command starts the Android device listening on port 7000, and tells it to send a live image of the "/dev/block/sda1" partition to that port once a connection is established.

Open a new Terminal window and execute this command:

nc 127.0.0.1 7000 > /tmp/p14-YOURNAME.dd
The process takes about ten minutes: to see its progress, open a new Terminal window and execute this command:
ls -lh /tmp/p*
You see the filesize as shown below. It will grow to 5 GB.

When the process completes, you'll see the number of bytes transferred, as shown below.

7. Examining the Evidence with Strings

In a Terminal window, execute this command to find YOURNAME in the image. Make sure to spell your name exactly the same way you did when creating the evidence.
strings /tmp/p14-YOURNAME.dd | grep YOURNAME
The results should appear within a few seconds, showing the text of your messages, containing YOURNAME, as shown below.

Execute this command to see evidence about kittenwar:

strings /tmp/p14-YOURNAME.dd | grep kittenwar | more
Many results are found--Web browsing leaves a large footprint.

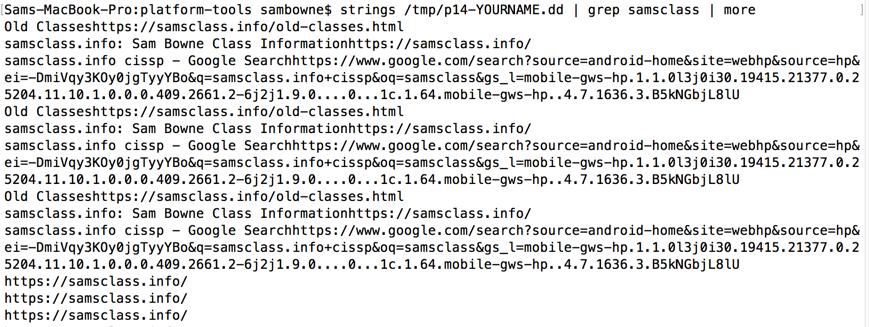
Execute this command to see evidence about samsclass:

strings /tmp/p14-YOURNAME.dd | grep samsclass | more
Many results are found, as expected.

Sources

Getting Started with Android Forensics

Review of Android Partition Layout

DD over Netcat for a Cheap Ghost Alternative

Android Forensics, Part 1: How we recovered (supposedly) erased data

Live imaging an Android device | Free Android Forensics (from 2014)

Importing a VDI in VirtualBox

http://virtualboxes.org/images/android-x86/

Factory reset Android x86


Last modified 3-29-16