http://sites.google.com/site/lupingreycorner/vulnserver.zip
If that link doesn't work, try this alterative download link.
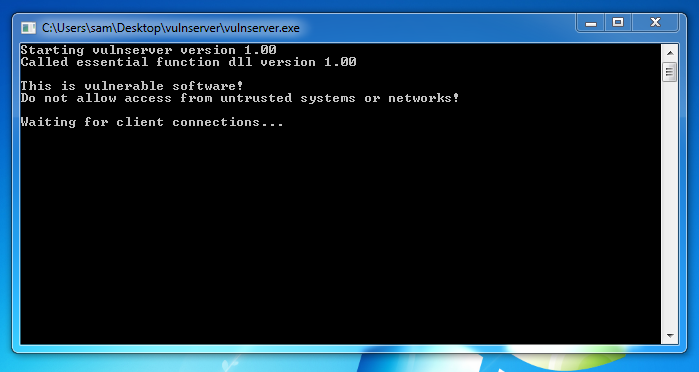
Extract the files and double-click vulnserver. The Vulnserver application opens, as shown below.
http://debugger.immunityinc.com/ID_register.py
ipconfig

ncat -vklp 9000
The ncat command starts a persistent listener on port 9000, which will print out all the data sent to it.
We'll fuzz it, just to show how Spike works.
On your Kali 2 machine, in a Terminal window, execute this commands:
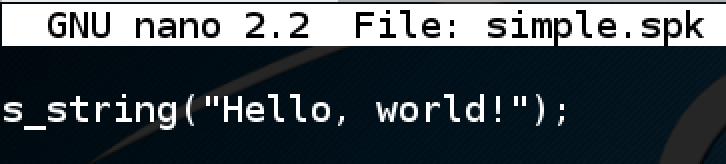
nano simple.spk
s_string("Hello, world!");
Save the file with Ctrl+X, Y, Enter. On your Kali 2 machine, in a Terminal window, execute this command, replacing the IP address with the IP address of your Windows machine.
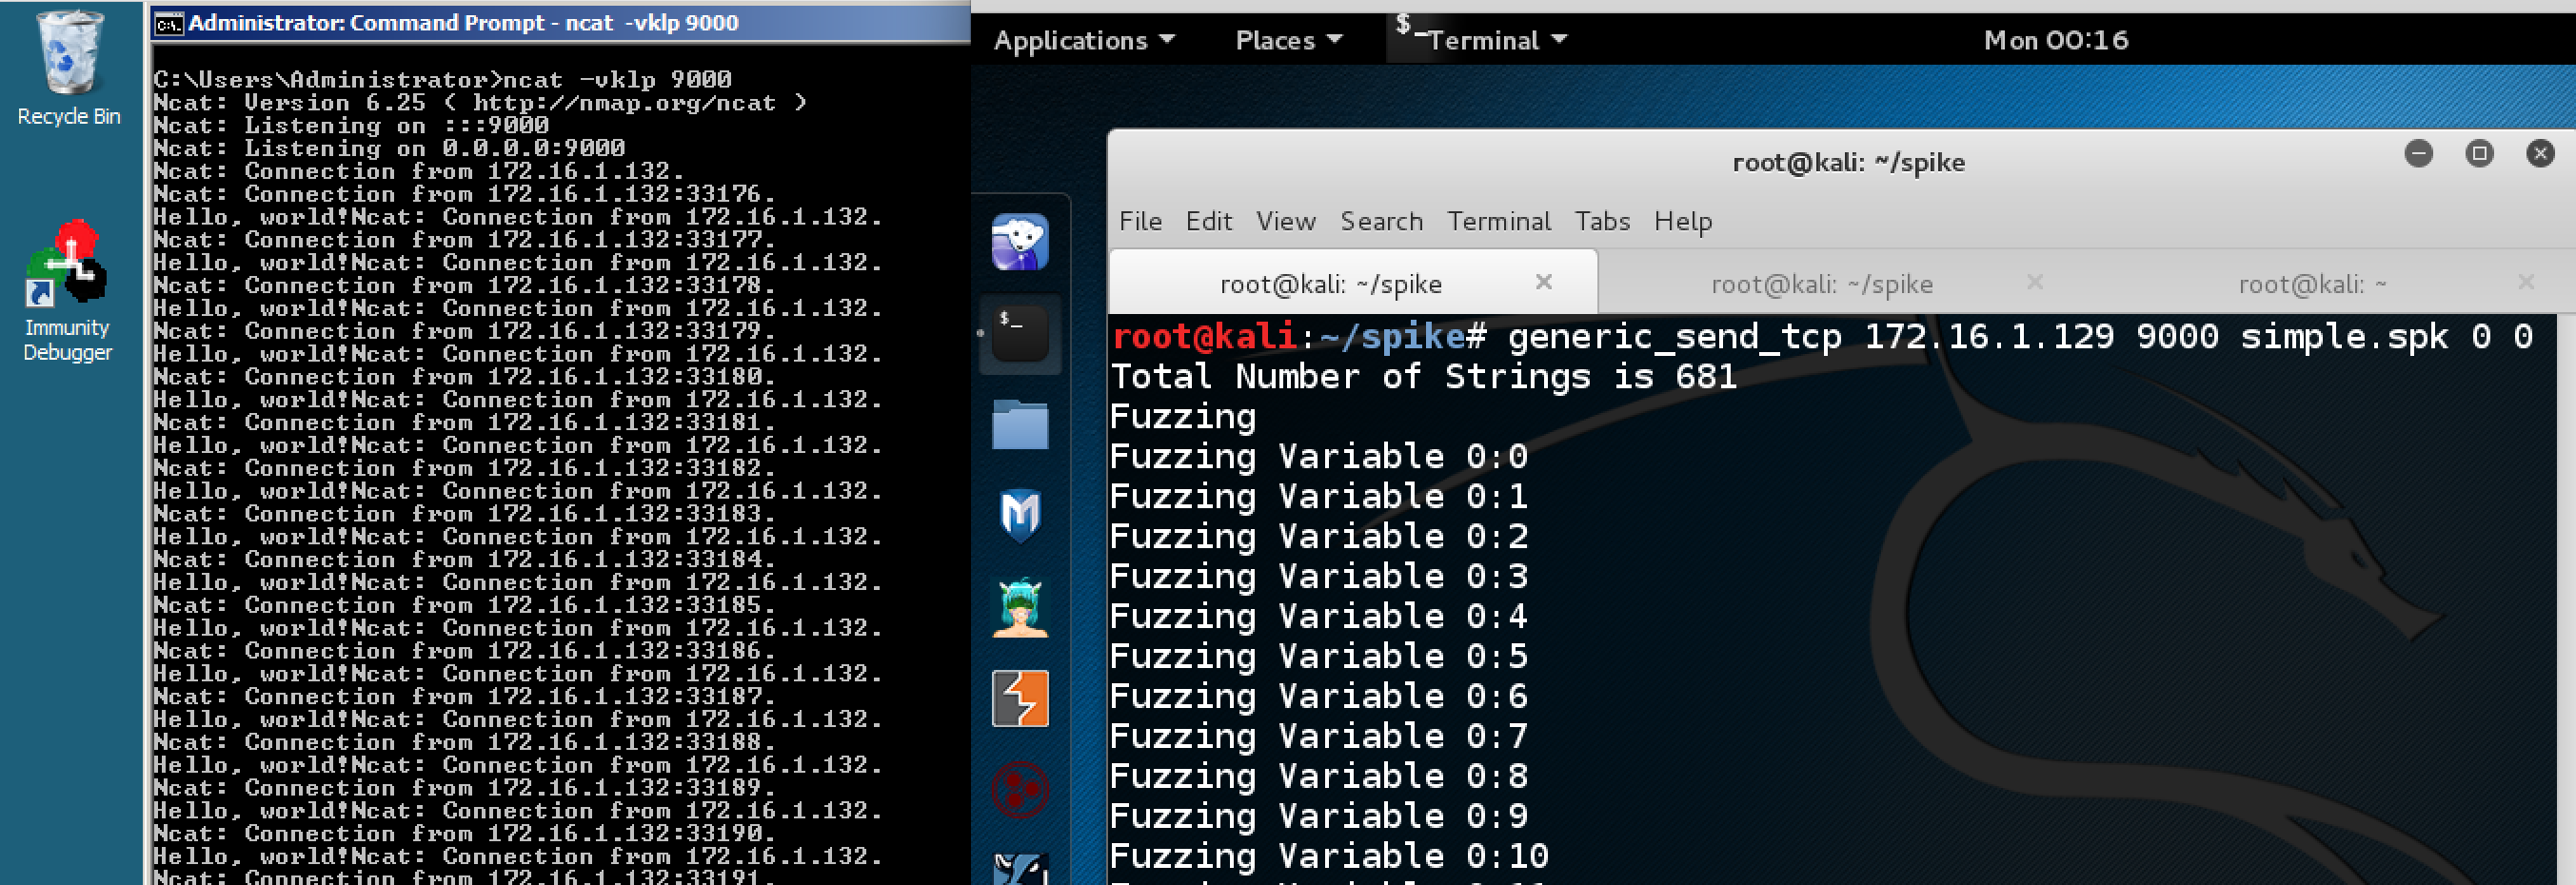
generic_send_tcp 172.16.1.129 9000 simple.spk 0 0
On your Windows machine, you see many lines with the same message, as shown below.
The s_string function sends a fixed string. The TCP parameters are being modified, not the layer 7 payload.
On your Kali 2 machine, in a Terminal window, execute this commands:
nano simple2.spk
s_string_variable("Hello, world!");

Save the file with Ctrl+X, Y, Enter. On your Kali 2 machine, in a Terminal window, execute this command, replacing the IP address with the IP address of your Windows machine.
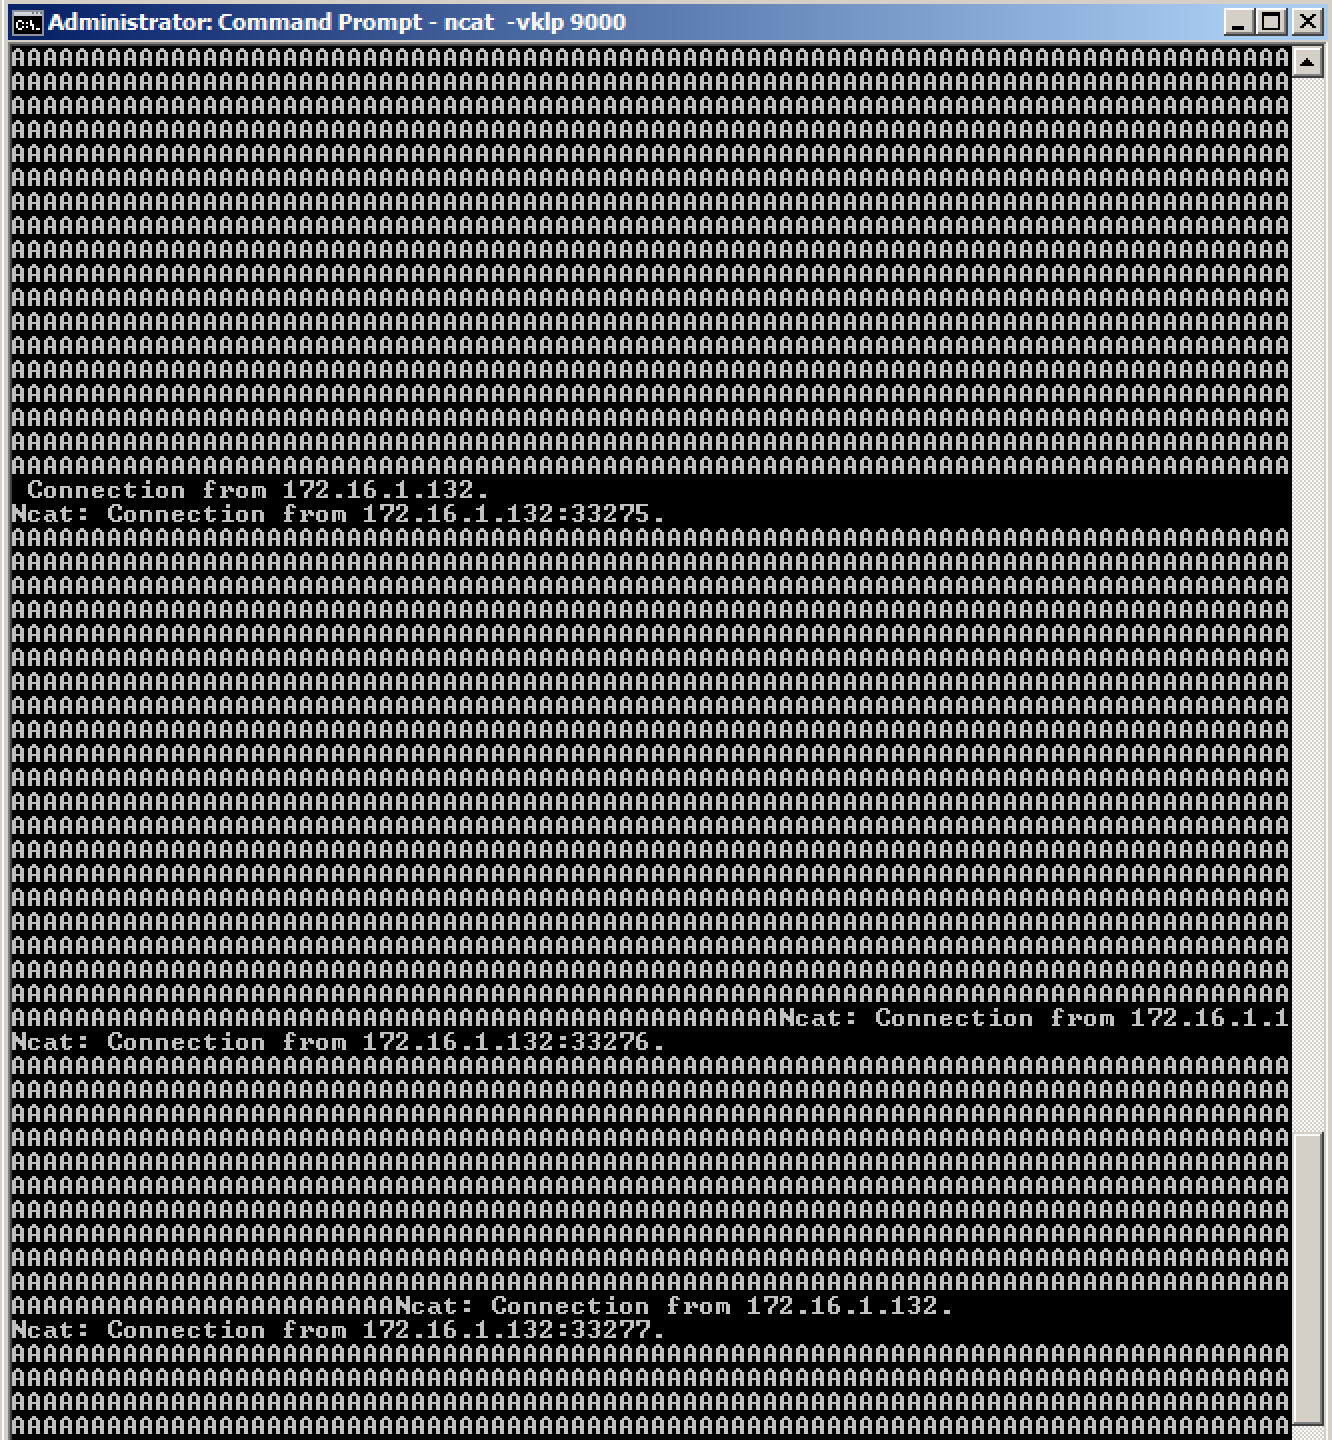
generic_send_tcp 172.16.1.129 9000 simple2.spk 0 0
On your Windows machine, only the first message was "Hello World!". All the later ones are sensible fuzzing patterns, such as hundreds of 'A' characters, punctuation marks, etc., as shown below.
We could let this run, trying to find a bug in Ncat, but that's not likely to work because Ncat is a modern, updated program, maintained by competent, security-aware programmers.
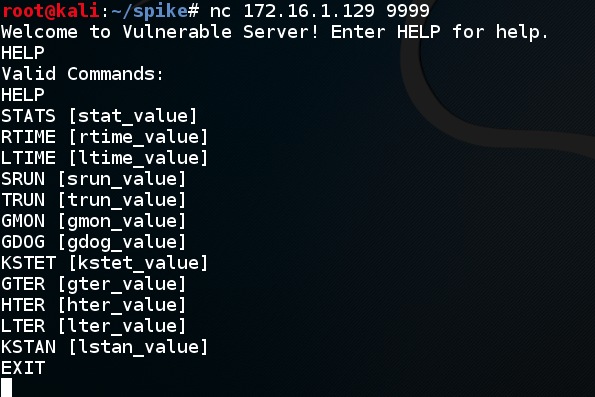
nc 172.16.1.129 9999

HELP
In Kali, execute this command to disconnect from Vulnerable Server:
EXIT
nano trun.spk
s_readline();
s_string("TRUN ");
s_string_variable("COMMAND");

The "readline" function reads the welcome message from the server.
The "s.string" function sends fixed text of "TRUN ".
The "s_string_variable" function sends varied text, intended to cause a crash.
Save the file with Ctrl+X, Y, Enter. On your Kali 2 machine, in a Terminal window, execute this command, replacing the IP address with the IP address of your Windows machine.
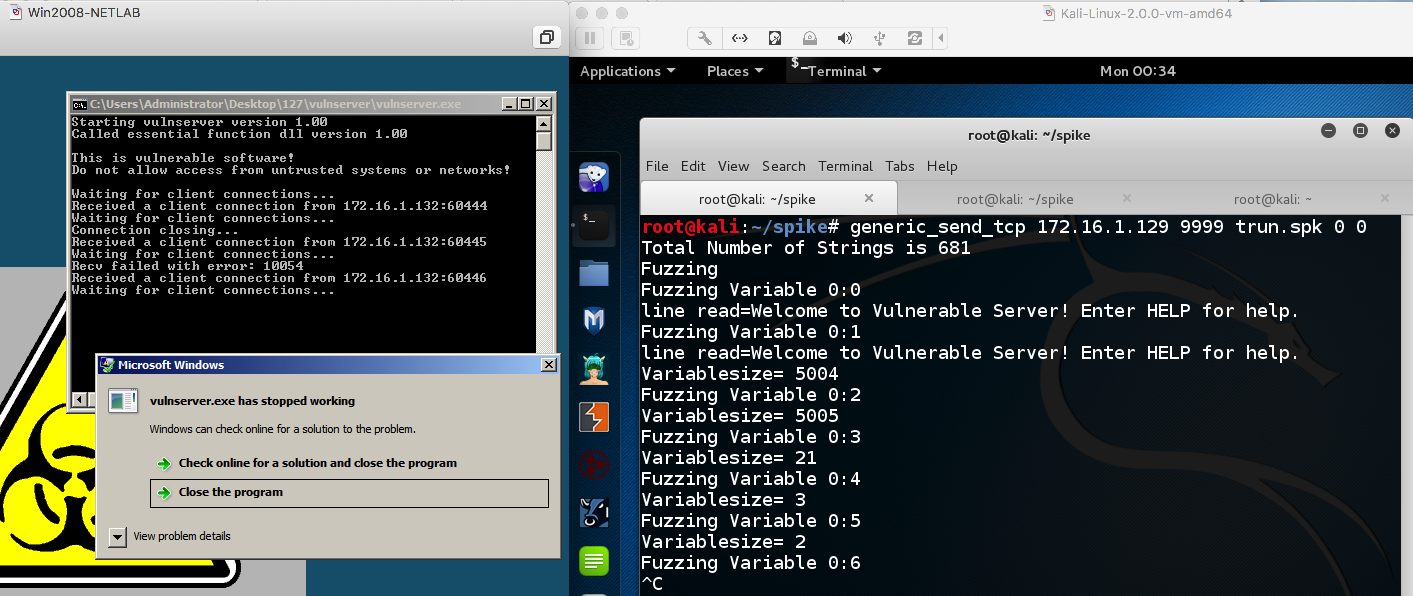
generic_send_tcp 172.16.1.129 9999 trun.spk 0 0
On your Windows machine, the server should crash within a second or two, as shown below.
From the Immunity menu bar, click File, Open. Navigate to vulnserver.exe and open it.
From the Immunity menu bar, click Debug, Run. The lower right of the window should show Running, as shown below.

On your Kali 2 machine, in a Terminal window, execute this command, replacing the IP address with the IP address of your Windows machine.
generic_send_tcp 172.16.1.129 9999 trun.spk 0 0
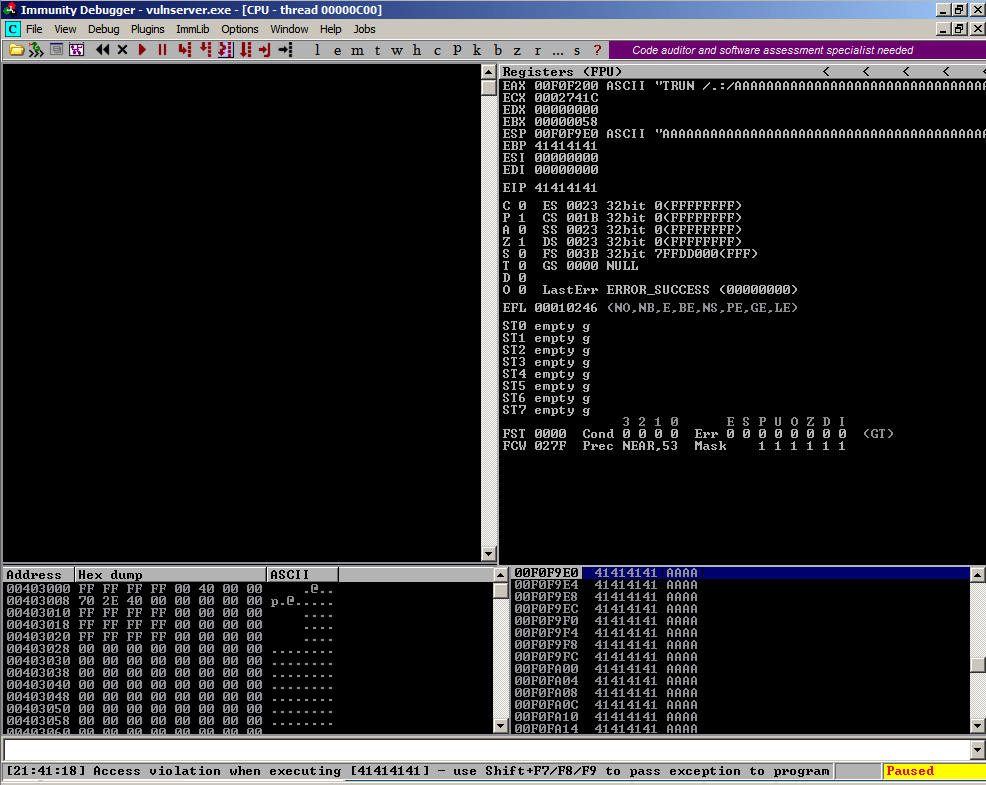
On your Windows machine, the server should crash within a second or two, showing "Access violation when executing [41414141]", as shown below.
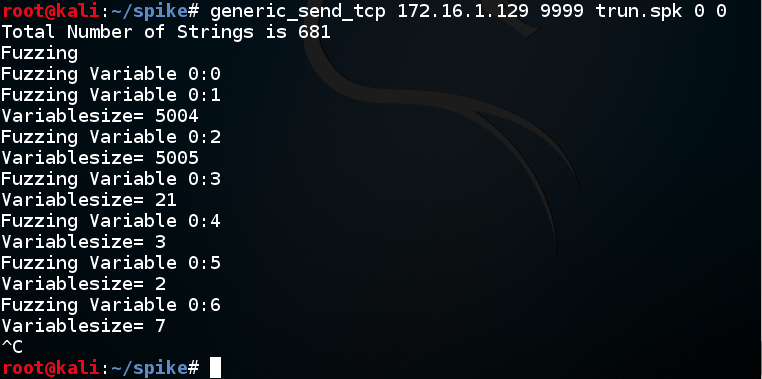
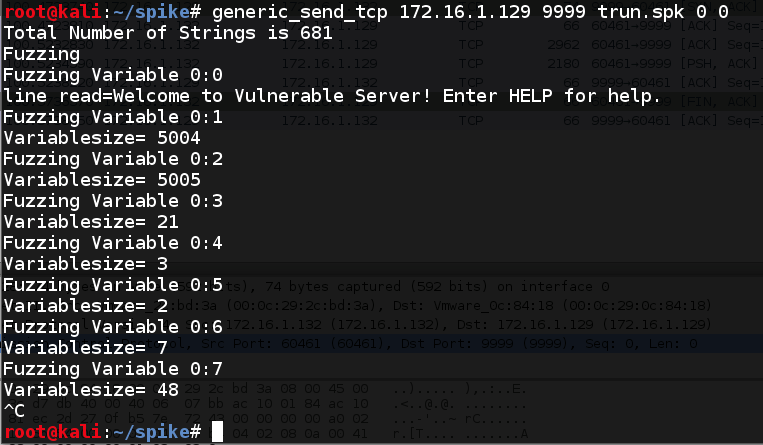
On your Kali machine, you can see that several messages were sent to Vulnserver, as shown below.
There is no immediate way to tell which message caused the crash.
wireshark
Another box pops up, warning us not to do what we are doing. Click OK.
In the interface list, click eth0. Click Start.
A box pops up warning that we are about to terminate the old, crashed, 'vulnserver' process. Click Yes.
From the Immunity menu bar, click Debug, Run.
generic_send_tcp 172.16.1.129 9999 trun.spk 0 0
On your Windows machine, the server should crash within a second or two, showing "Access violation when executing [41414141]", as shown below.
In your Kali linux machine, in Wireshark, click Capture, Stop.
In the Filter bar, type this text, and press Enter:
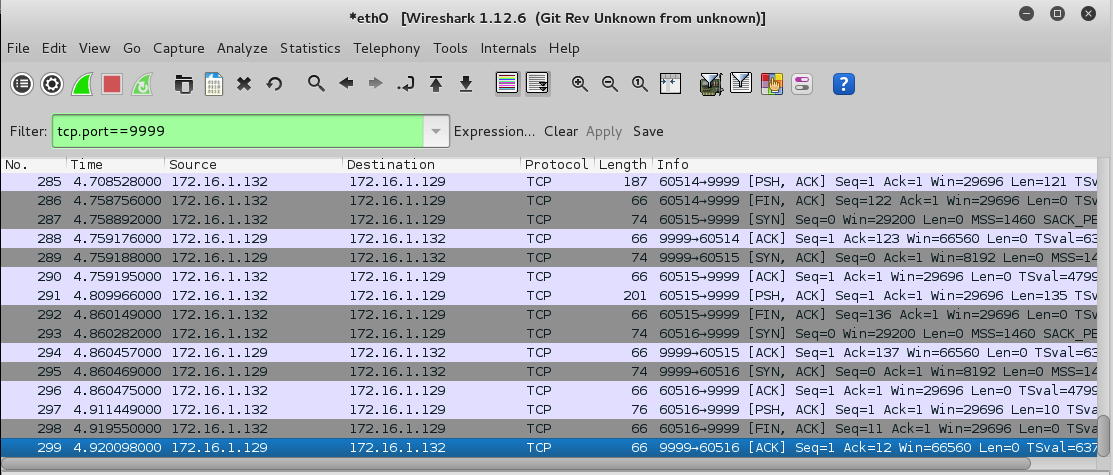
tcp.port==9999
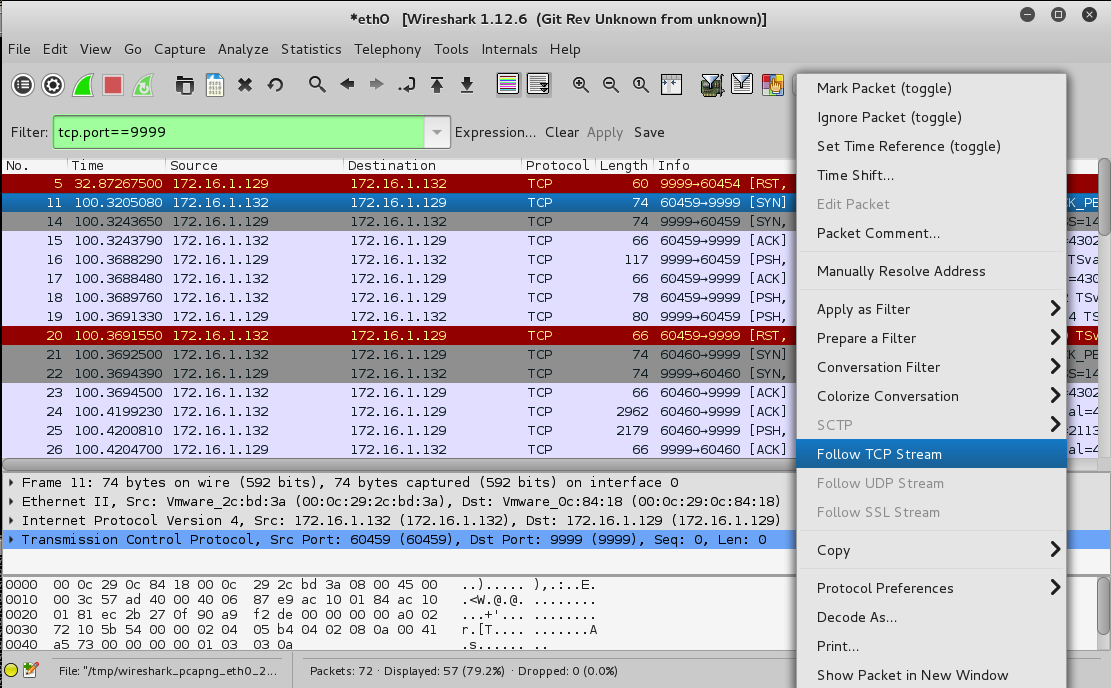
The layer 7 conversation appears, as shown below.
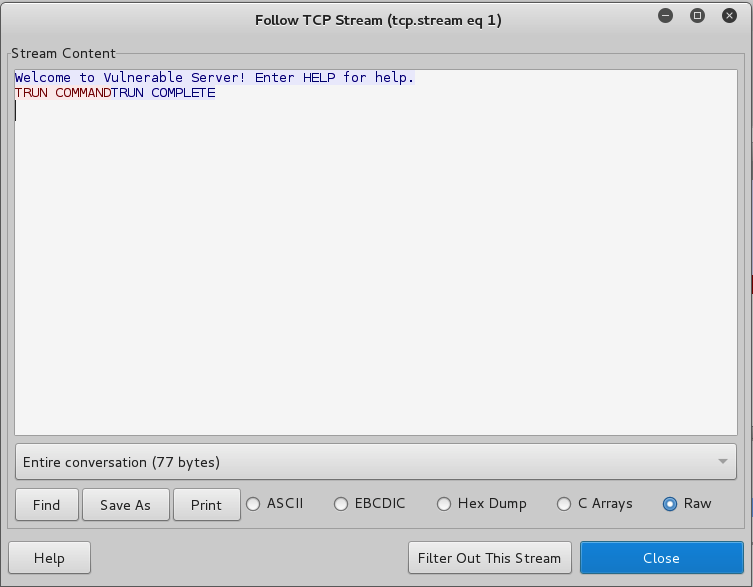
The blue text came from the Windows server, and the red text was sent from Kali client.
The first message was "TRUN COMMAND", and it didn't cause a crash, so the server replied "TRUN COMPLETE", as shown below.
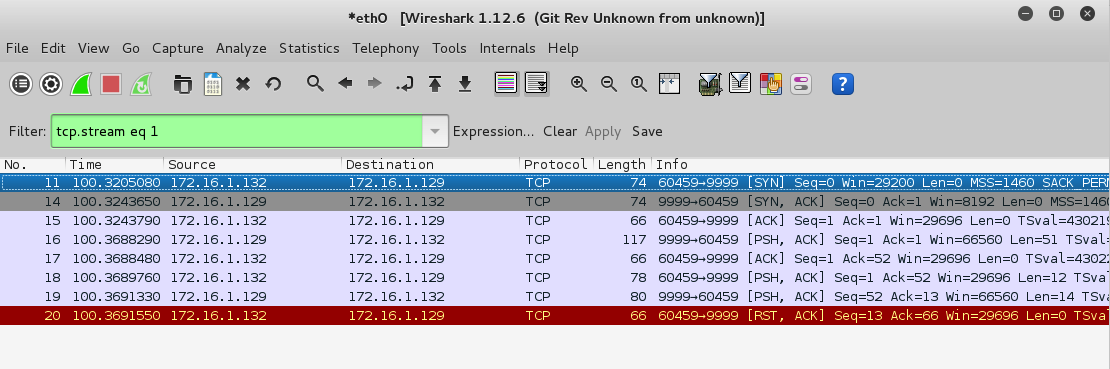
In the "Follow TCP Stream" box, click Close.
The Filter bar now shows this text, as shown below.
tcp.stream eq 1
Change the filter text to:
tcp.stream eq 2
Right-click the first SYN packet and click "Follow TCP Stream", as shown below.
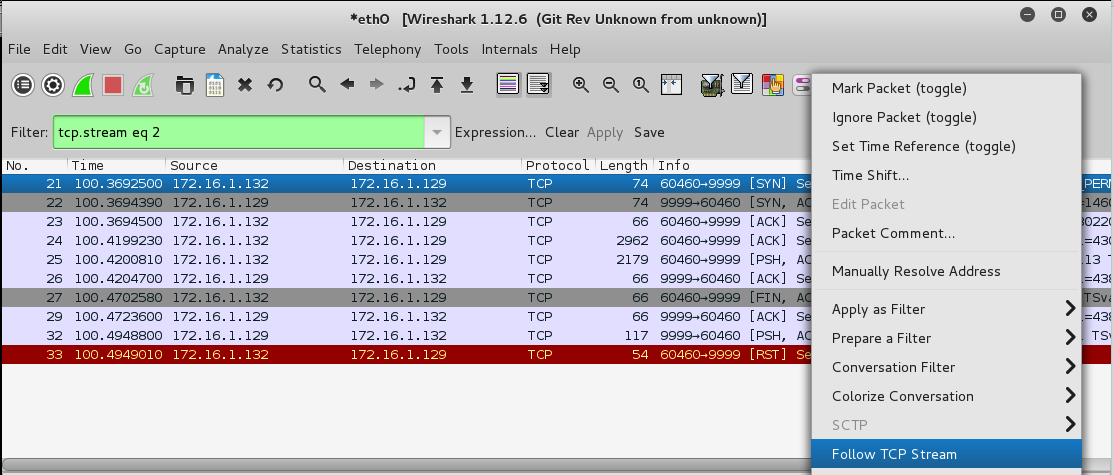
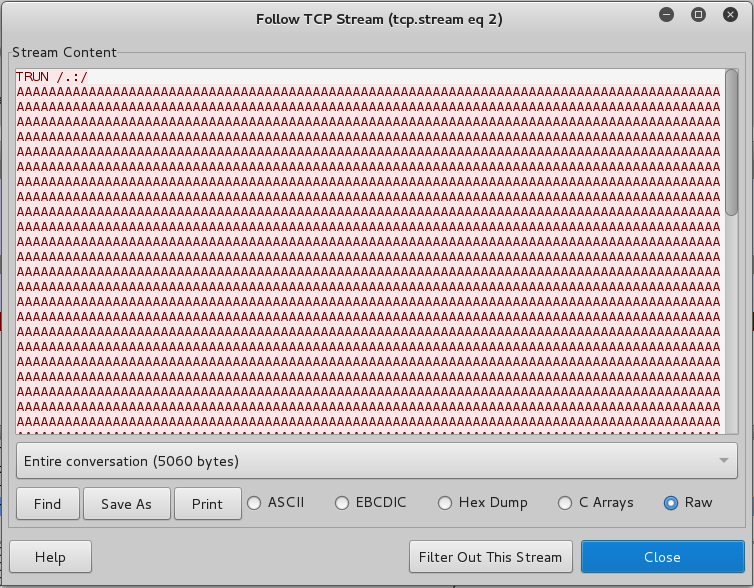
This was the second message sent by Spike, with a lot of 'A' characters, as shown below.
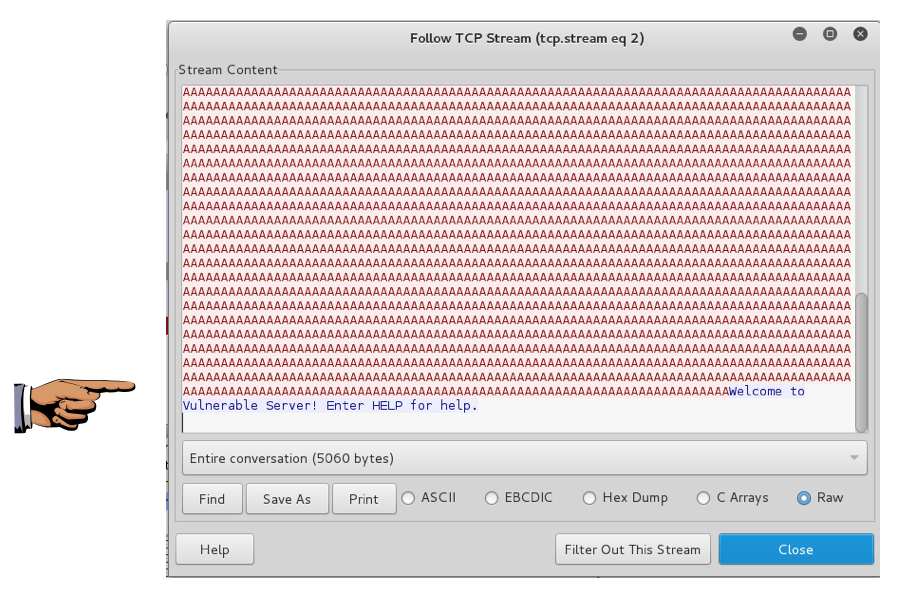
Scroll to the bottom to see the server's reply. The server crashed--it did not reply with a blue "TRUN COMPLETE" message, as shown below.
Save a whole-desktop screen capture with a filename of "Proj 18a from YOUR NAME".
In the "Follow TCP Stream" box, click Close.
Spike makes it easy to resume a fuzzing series partway through, The messags are always sent in the same order, and the two parameters at the end of the command are the variable to fuzz, and which message to start at.
As shown below, the crash occurred at item "0:1", the second message Spike sent. The third message is one byte longer, also full of 'A' characters, so let's skip that one, which will almost certainly cause the same crash as message "0:1".
To resume fuzzing after this message we need to start at 0:3.
A box pops up warning that we are about to terminate the old, crashed, 'vulnserver' process. Click Yes.
From the Immunity menu bar, click Debug, Run.
tcp.port==9999
Click "Continue Without Saving".
generic_send_tcp 172.16.1.129 9999 trun.spk 0 3
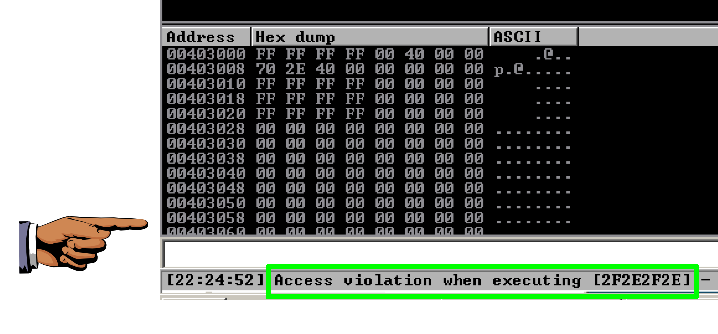
On your Windows machine, Immunity shows the message "Access violation when executing [2f2e2f2e]", as shown below.
This crash is similar to the first one--Spike sent a series of "/." characters and they ended up in EIP.
Save a whole-desktop screen capture with a filename of "Proj 18b from YOUR NAME".
In the top pane, scroll to the last packet and click it, as shown below.
In Wireshark, from the menu bar, click Edit, "Find Previous".
In the "By" line, click String.
In the Filter field, type COMPLETE.
In the "Direction" section, click Up, as shown below.
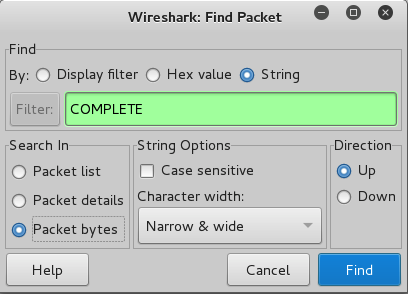
Click Find.
From the menu bar, click Analyze, "Follow TCP Stream".
Scroll to the bottom of the "Follow TCP Stream" box to see the "TRUN COMPLETE" message, as shown below.
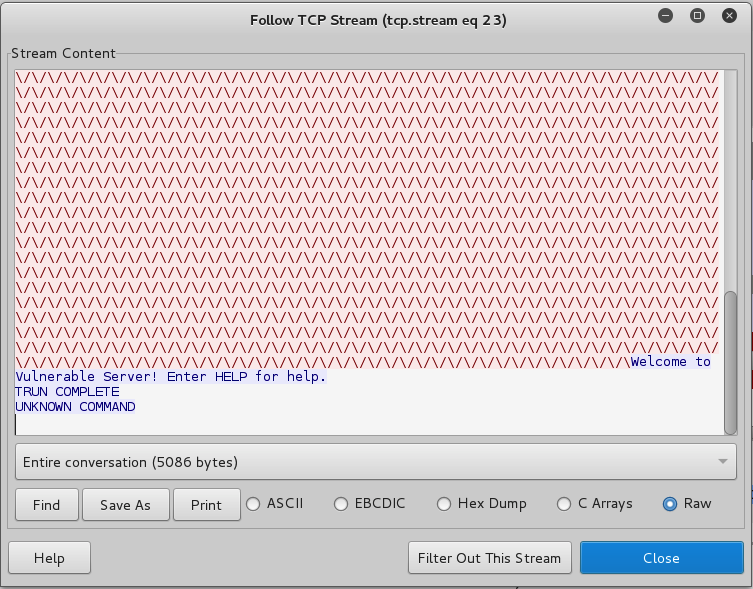
This was the last message that did not crash the server.
In the "Follow TCP Stream" box, click Close./
Look in the Filter bar. It should say:
tcp.stream eq 23
tcp.stream eq 24
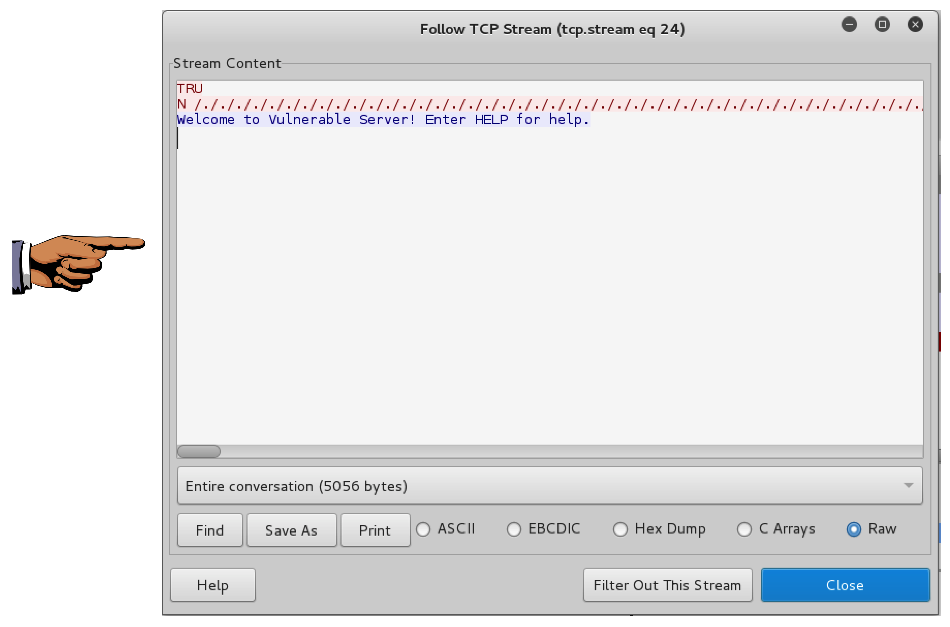
Right-click the first SYN packet and click "Follow TCP Stream".
As shown below, the red text shows a long series of "/." characters, and there's a blue "Welcome" message, but there is no blue "TRUN COMPLETE" message because the server crashed.
Save a whole-desktop screen capture with a filename of "Proj 18c from YOUR NAME".
Email the images to cnit.127sam@gmail.com with a subject of "Project 18 from YOUR NAME".
Fuzzing with Spike to Find Overflows
Bug Hunting Using Fuzzing and Static Analysis