This project just gets you started with Security Shepherd. After this, the real fun is doing the Challenges in project 17x.
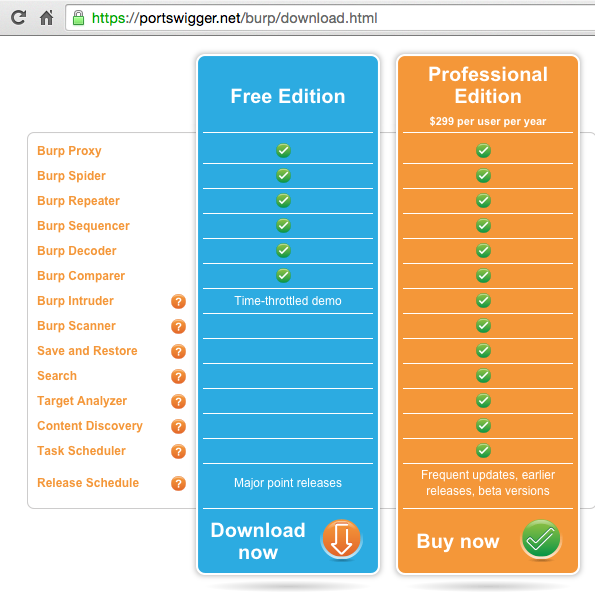
In a Web browser, go to http://portswigger.net/burp/download.html
At the bottom of the "Free Edition" column, click "Download now", as shown below.
A "burpsuite_free_v1.6.30.jar" file downloads. (Your version number may be higher.) Double-click it to launch it.
Burp opens, as shown below.
Click the Proxy tab. Click the Intercept sub-tab.
The Intercept button should read "Intercept is off", as shown below. If it doesn't, click it.

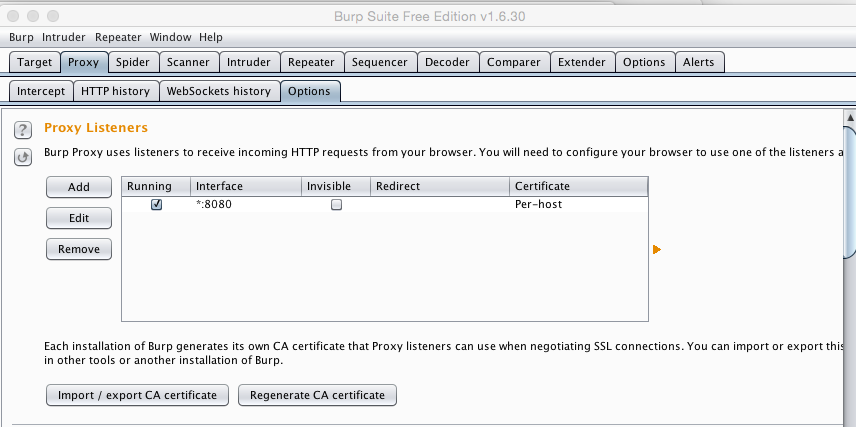
A listener should be visible in the box, with the Listening box checked, on port 8080, as shown below.
If you need to adjust the listeners, use the "Add", "Edit", or "Remove" buttons.
In Burp, on the Proxy tab, click the Target sub-tab.
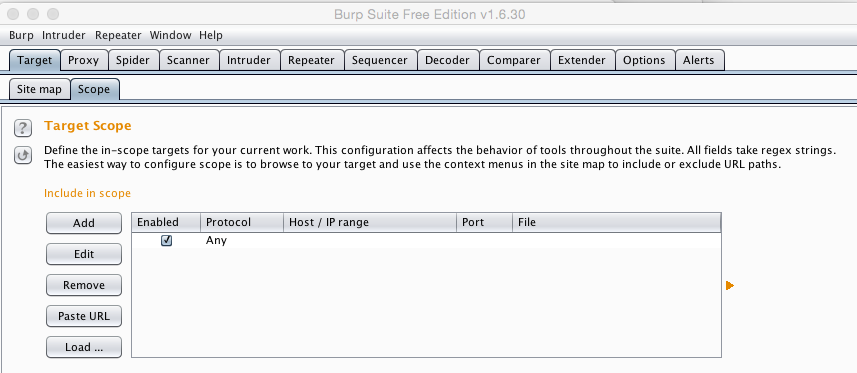
There should be only entry, named Any with the Enabled box checked, as shown below.
If you need to adjust the targets, use the "Add", "Edit", or "Remove" buttons.
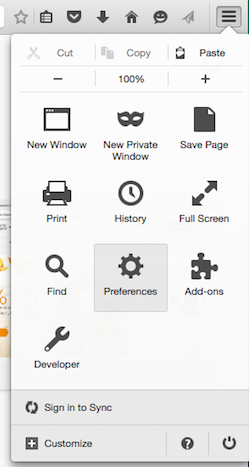
In Firefox, at the top right, click the icon with three lines on it. Click Preferences, as shown below.
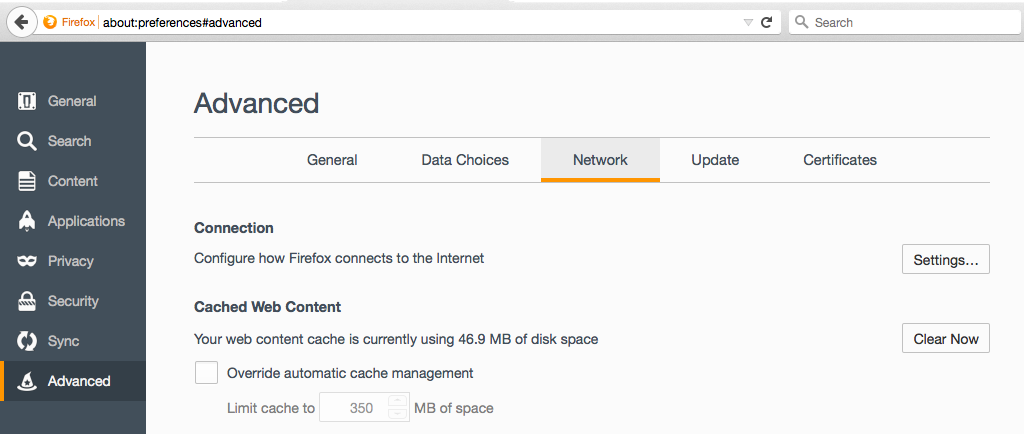
On the left side, click Advanced. In the top center, click Network. In the "Connection" section, click the Settings... button, as shown below.
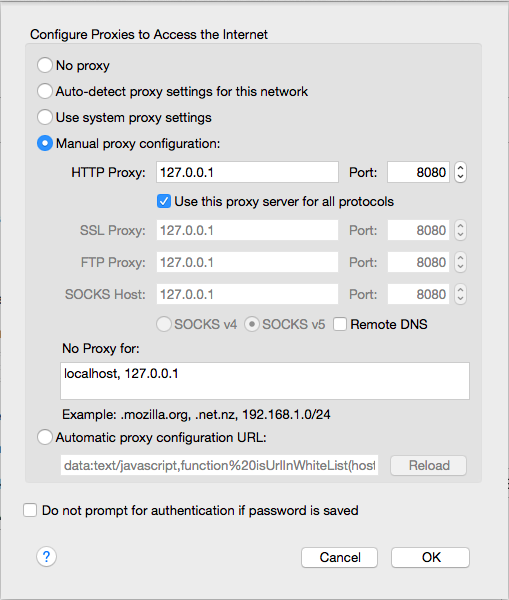
In the "Configure Proxies to Access the Internet" box, check the "Manual proxy configuration" box, and enter an HTTP Proxy address of 127.0.0.1 on port 8080, as shown below.
Click OK.
In Firefox, go to aol.com.
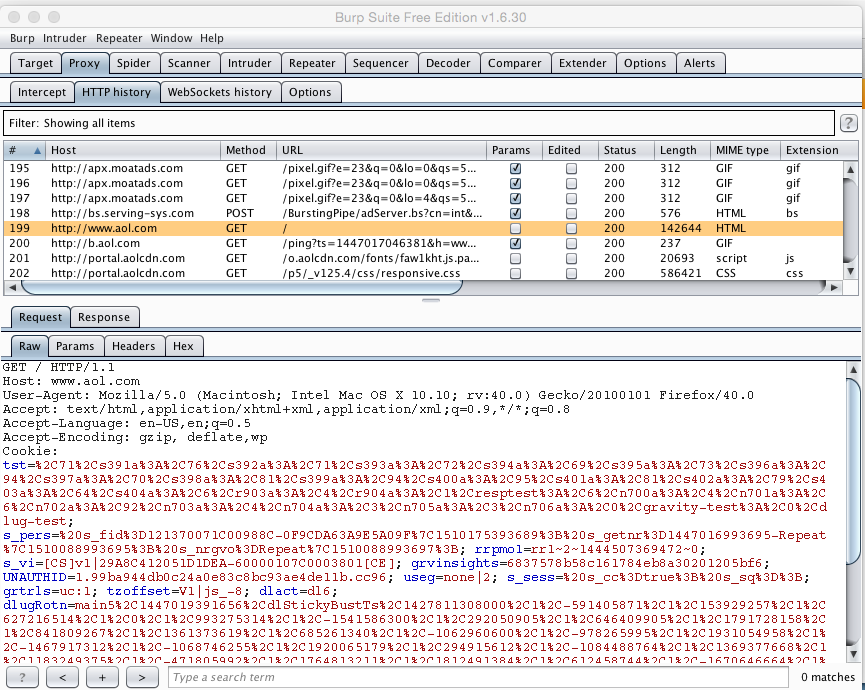
In Burp, click the Proxy tab. Click the "HTTP history" sub-tab.
Find a request to AOL, as shown below, and click it.
In the lower portion of this window, click all the tabs to see what they do. There are four different views of the Request and the Response.
https://shepherd.samsclass.info
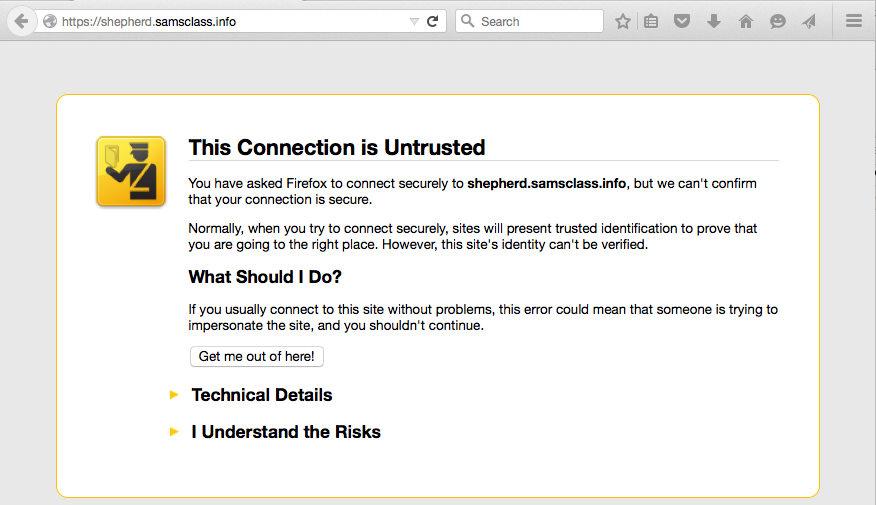
Firefox shows a "This Connection is Untrusted" warning page, as shown below.
This is happening because Burp is intercepting the requests, using an untrusted certificate. My Security Shepherd server also uses an untrusted self-signed certificate, but that's another issue.
Click "I Understand the Risks".
Click "Add Exception...".
Click "Confirm Security Exception".
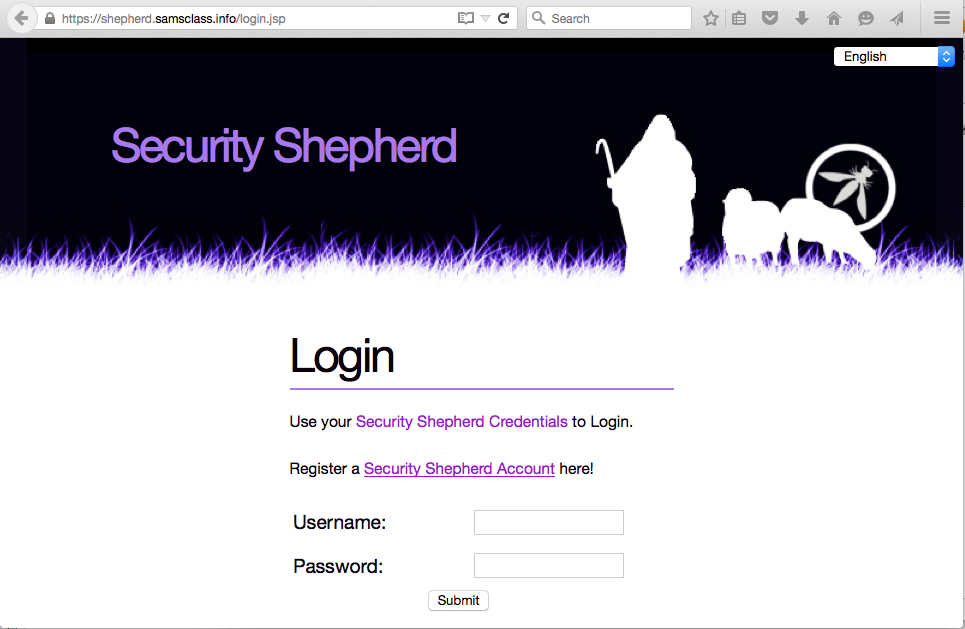
Security Shepherd opens, as shown below.
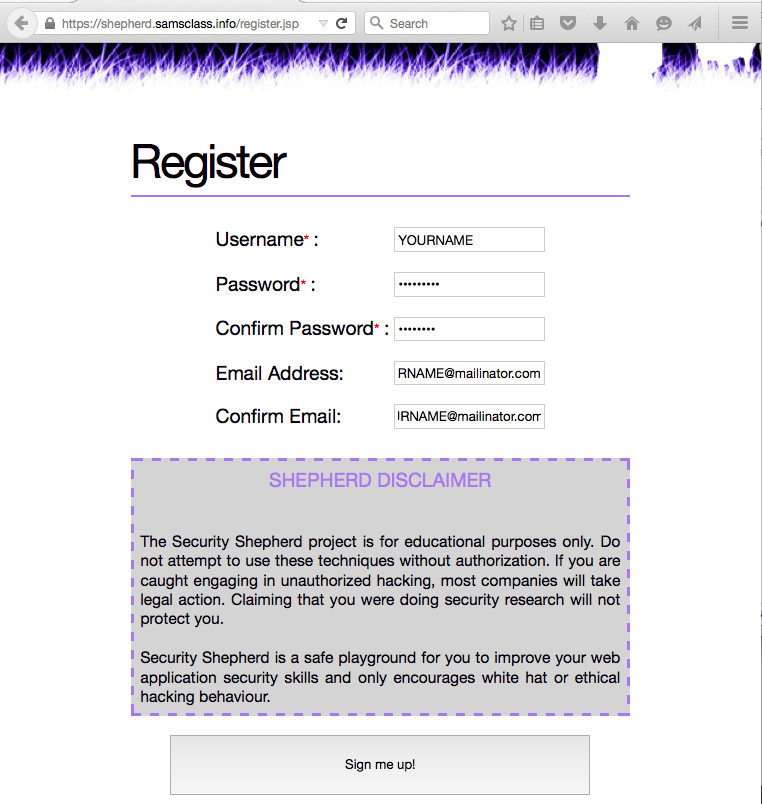
After the word "Register", click "Security Shepherd Account".
Fill in the form to create an account, as shown below.
xs Note that this is not a secure server, so don't use a password you rely on elsewhere. It asks you to fill in an email address, but my server is not configured to send any emails so it won't use it.
If you forget your password, you'll need to send an email to cnit.127sam@gmail.com to have it reset.
At the bottom of the form, click the "Sign me up!" button.
Log in with your username and password.
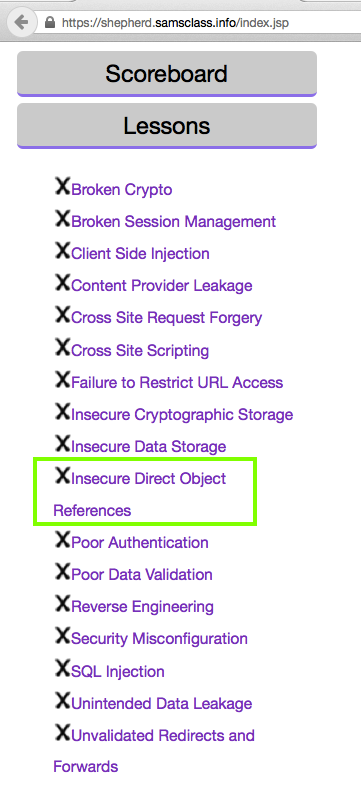
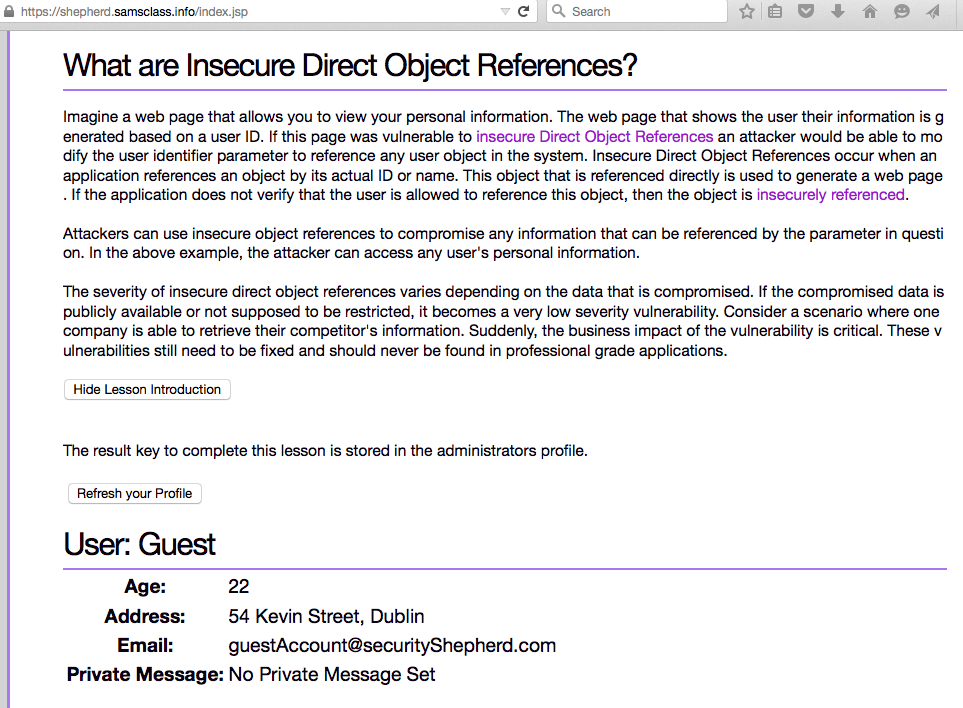
In the list, click "Insecure Direct Object References", as shown below.
The next page explains Insecure Direct Object References. Read the explanation.
Then click the "Refresh your Profile" button, as shown below.
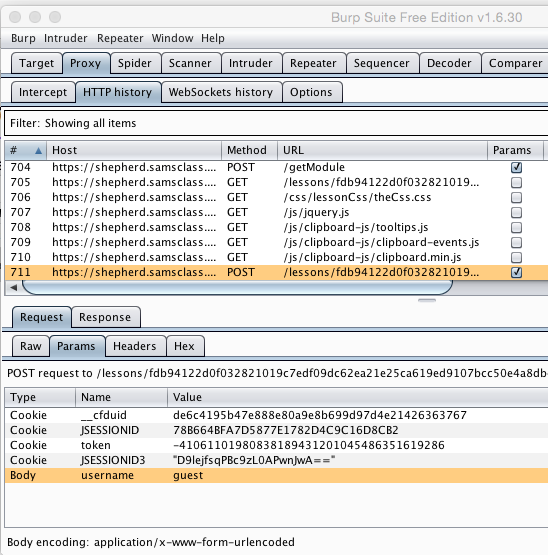
In Burp, on the Proxy tab, on the "HTTP history" sub-tab, find the last request in the list, and click it. It's a POST to https://shepherd.samsclass.info.
In the lower pane, click the Request tab and the Params sub-tab.
Adjust the column widths so you can see that the "username" parameter has a value of "guest", as shown below.
On the top left of the Firefox window, click the Cheat button.
A box appears, explaining that our goal is to change the "username" parameter to be equal to "admin", as shown below.

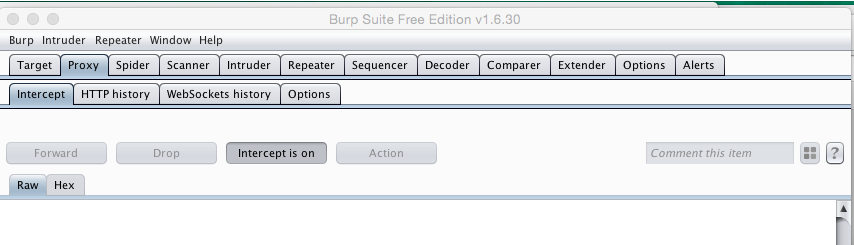
In Burp, on the Proxy tab, click the Intercept sub-tab.
Click the Intercept button so it shows "Intercept is on", as shown below.
In Firefox, click the "Refresh your Profile" button.
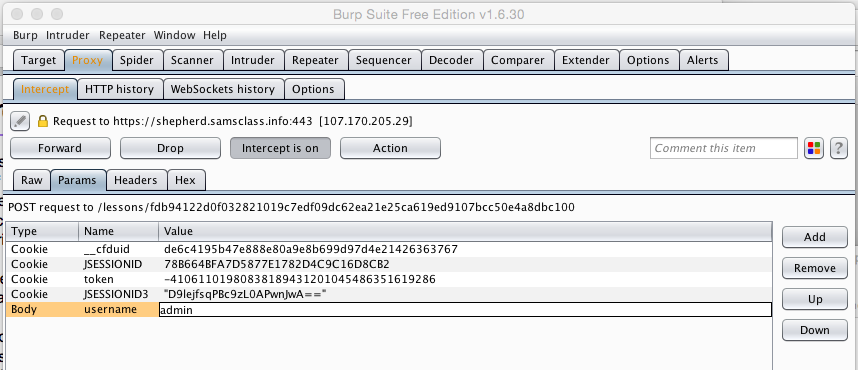
Burp intercepts the request. In Burp, in the center section, click the Params button.
Adjust the width of the columns so you can see the "username" line. Click the value of "guest", erase it with the Backspace key, and type in admin, as shown below.
In Burp, click the Forward button.
Now a "Result Key" appears in Firefox, as shown below.
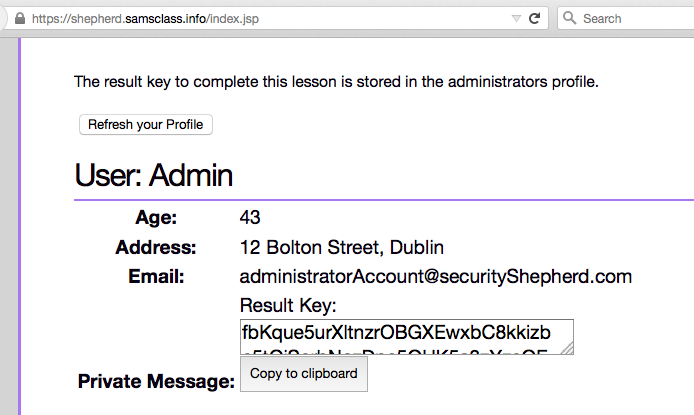
Copy the key and paste it into the field at the top of the Security Shepherd page, as shown below.
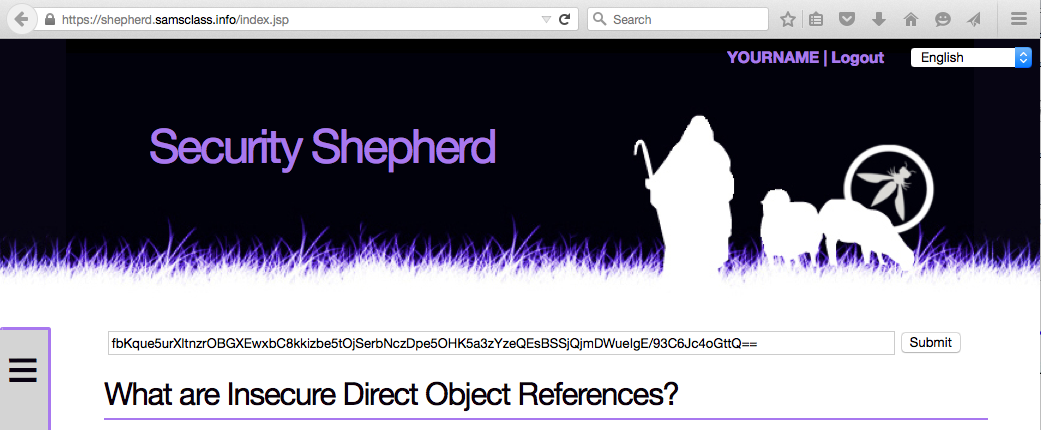
In Firefox, click the Submit button. Firefox freezes, because Burp is still intercepting requests.
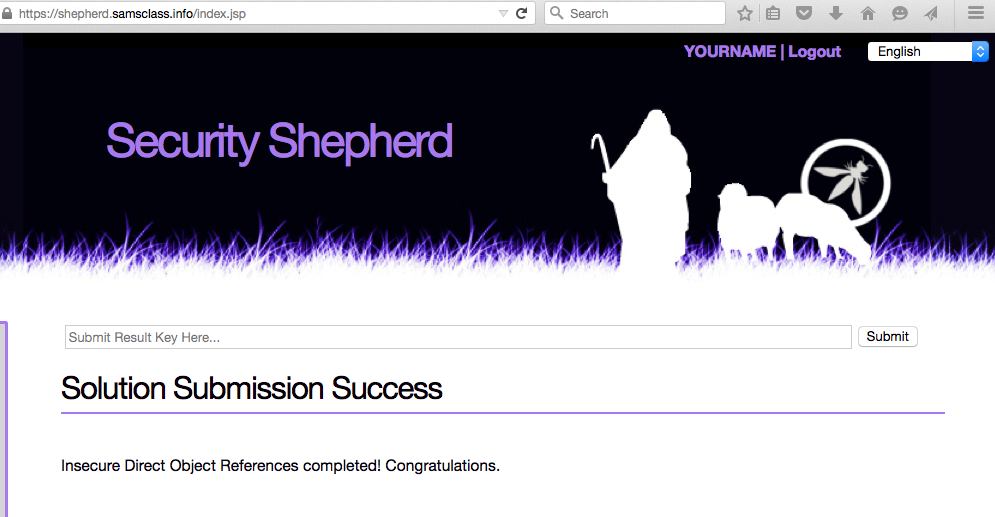
In Burp, click the Intercept button so it shows "Intercept is off".
Firefox shows "Solution Submission Success", as shown below.
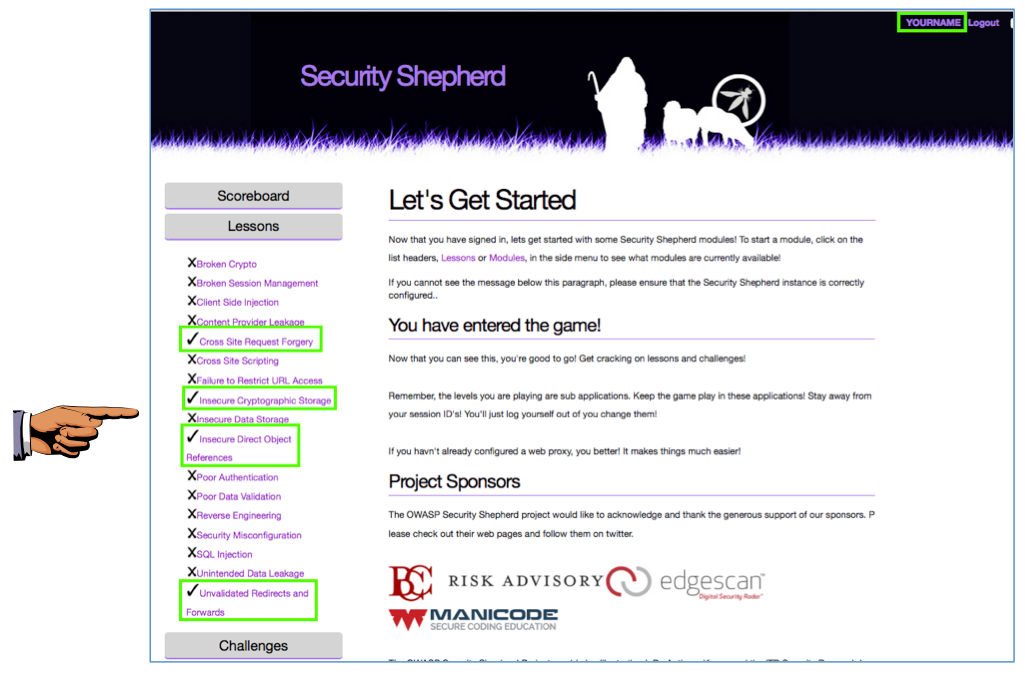
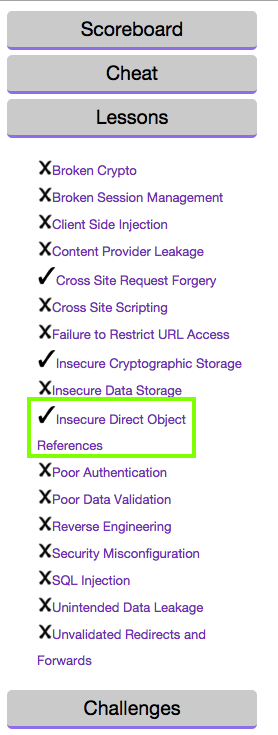
On the left side of the Security Shepherd page, you should see a checkmark next to "Insecure Direct Object References", as shown below.
In the list, click "Unvalidated Redirects and Forwards".
Complete the lesson. You don't need to intercept anything with Burp.
As an example, my correct submission is shown below.

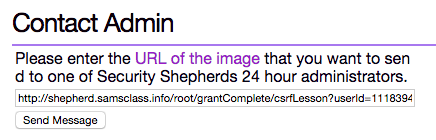
In the list, click "Cross Site Request Forgery".
Complete the lesson. You don't need to intercept anything with Burp.
As an example, my correct submission is shown below.
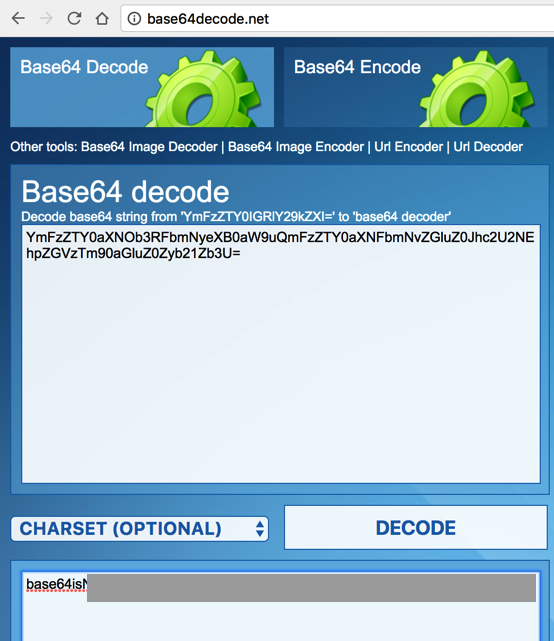
In the list, click "Insecure Cryptographic Storage".
Complete the lesson. You don't need to intercept anything with Burp, but you need to decode data in Base64 encoding.
I used this online service:
http://www.motobit.com/util/base64-decoder-encoder.asp
To use this form, enter the Base64-encoded data in the lower box, and then click the "Convert the source data" button. The result appears in the top box, as shown below:
If you have a small screen, you may need to capture two images.