https://msdn.microsoft.com/en-us/library/windows/hardware/ff551063(v=vs.85).aspx
In the "As a standalone tool set" section, click "install the Windows SDK", as shown below:
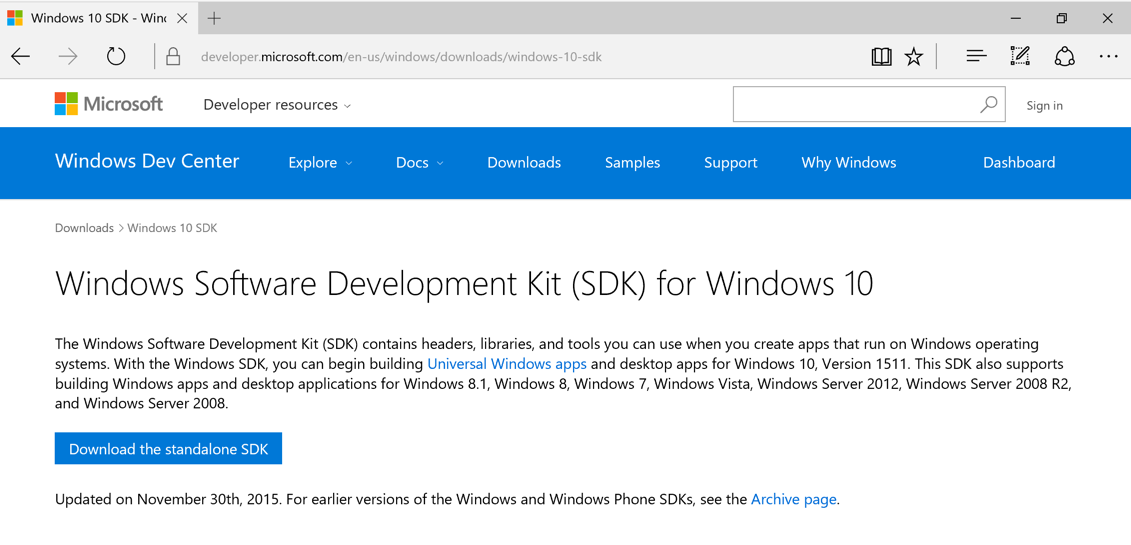
On the next page, click the "Download the standalone SDK" button, as shown below:
When you see a message saying "sdksetup.exe has finished downloading", click the Run button.
At the "Specify Location" screen, accept the default options and click Next, as shown below:

At the "Windows Kits Privacy" screen, accept the default options and click Next.
At the "License Agreement" screen, click Accept.
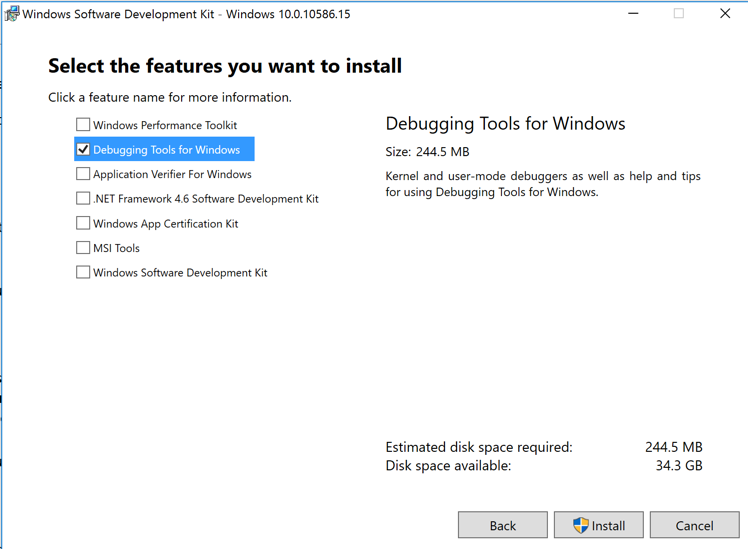
At the "Select the features you want to install" screen, check the "Debugging Tools for Windows" box and clear all the other boxes, as shown below:
When you see the "Welcome to the Windows Software Development Kit" message, click Close.
When "Command Prompt" appears, right-click it, and click "Run as Administrator".
If a User Account Control box pops up, click Yes.
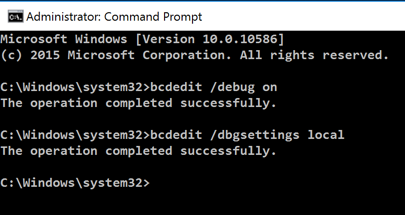
In the Administrator Command Prompt window, execute these commands:
bcdedit /debug on
bcdedit /dbgsettings local
Click Start, Power, Restart.
https://technet.microsoft.com/en-us/sysinternals/bb897415.aspx
Click the "Download LiveKd" link.
Click "Open Folder".
Right-click LiveKD.zip and click
"Extract All...",
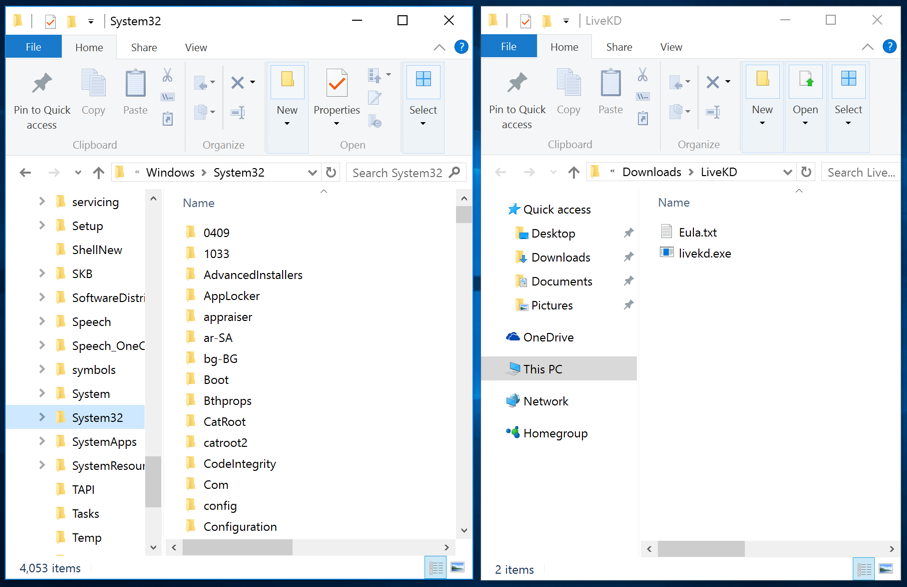
A LiveKd window opens, showing two files, as shown below.
Click Start. Click "File Explorer".
In the left pane, double-click
"This PC".
In the left pane, expand "Local Disk (C:)".
In the left pane, expand Windows.
In the left pane, scroll down to find
System32 and click it.
Resize both File Exporer windows so you can see them
both at once, as shown below.
Drag livekd.exe onto the System32 folder in the left pane of the other File Explorer window
and drop it there.
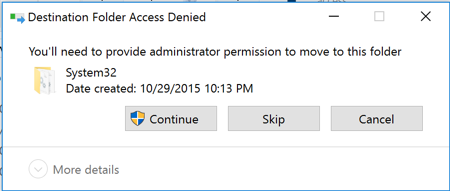
A "Destination Folder Access Denied" box should pop up,
as shown below. Check to make sure the destination folder
is Sytem32. Then click Continue.
When "Command Prompt" appears, right-click it, and click
"Run as Administrator".
If a User Account Control box pops up, click Yes.
In the Administrator Command Prompt window, execute this command:
If you see "Error finding windbg.exe",
as shown below, fix that with the
Troublehooting advice in the box below.
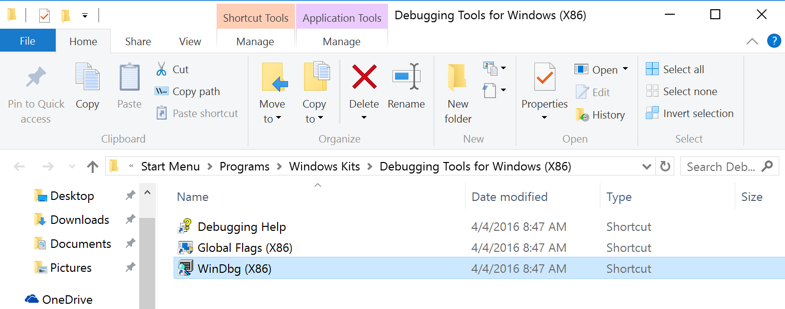
To find the correct path,
at the bottom left of the sceen, click twice in the Cortana search bar and type windbg.
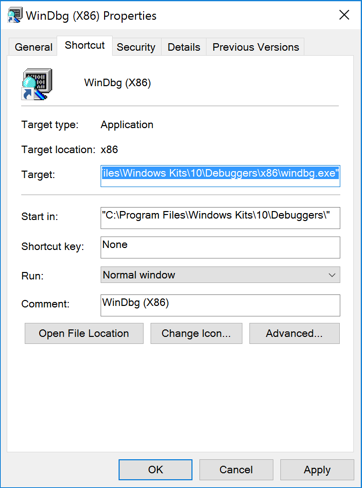
When WinDbg appears, right-click it, and click
"Open file location". A window opens showing
a shortcut to WinDbg, as shown below.
Right-click WinDbg and click
Properties.
Click in the Target box, then right-click and
click "Select All", as shown below.
Right-click the highlighted path and click
Copy.
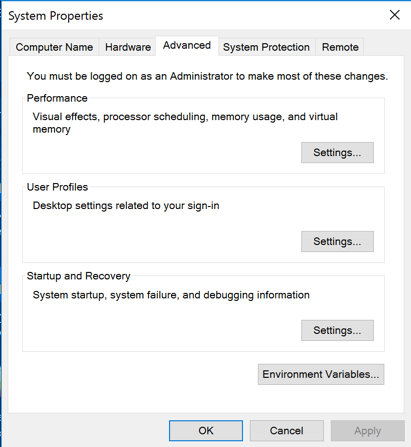
In a File Explorer window, right-click
"This PC" and click Properties.
A System box opens. In the left pane, click
"Advanced system settings".
A "System Properties" box opens, as shown below.
On the Advanced tab,
click the "Environment Variables"
button.
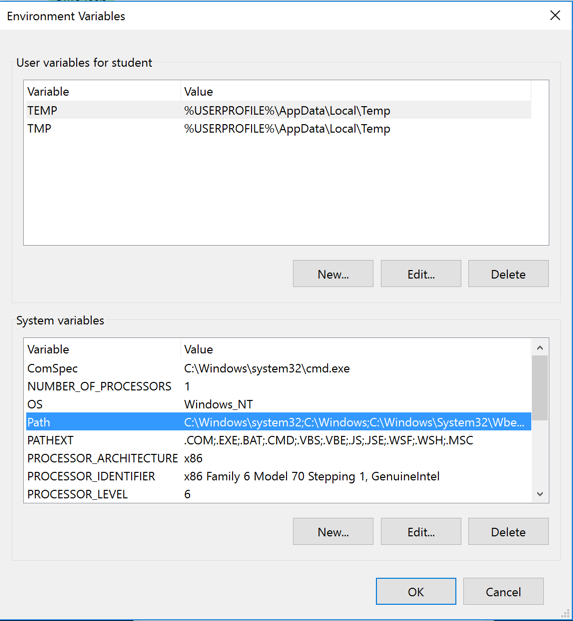
An "Environment Variables" box opens.
In the lower portion of this box, click
Path, as shown below.
In the lower right of this window, click
the Edit... button.
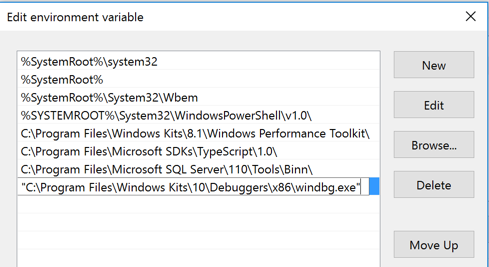
An "Edit environment variable" box opens.
Click the New button to open a new entry
at the bottom of the list.
Right-click in the new entry's box and click
Paste. The path to windbg appears,
as shown below.
Click in the new entry and use the keyboard to
carefully remove the quotes and the /windbg.exe,
as shown below.
When the path is correct, click the OK button.
In the "Environment Variables" box, click the
OK button.
In the "System Properties" box, click the
OK button.
Click Start, Power, Restart.
In the Administrator Command Prompt window, execute this command:
Type y and press Enter.
Livekd asks "Enter the folder to which symbols download". Press Enter to accept the default option.
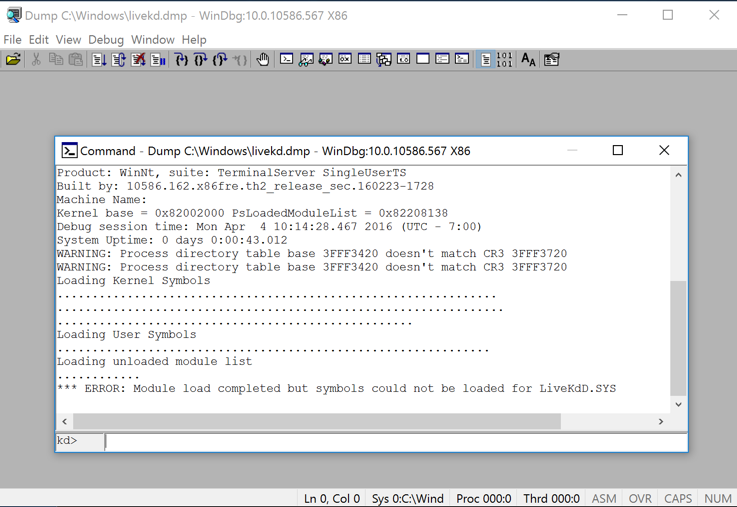
Windbg launches, as shown below.
There's an error loading the symbols, which may
be related to the constantly-changing nature of
Windows 10.
If you wish to change the font, click View,
Font.
Make the "Command" window larger, as shown below.
This is a strange combination of a GUI and
command-line, like the other debuggers we've used.
Commands are typed into the box at the bottom and the results
appear in the large top pane.
At the bottom of the Command window,
in the command bar, execute this command:
On your keyboard, press the PrntScrn key.
Open Paint and paste in the image.
YOU MUST SUBMIT WHOLE-DESKTOP IMAGES TO GET FULL CREDIT.
Save the image
with a filename of "Proj 12 from YOUR NAME".
Getting Started with WinDbg (Kernel-Mode)
Windows 7 x64 Local and Live Kernel Debugging

Using LiveKd
At the bottom left of the sceen, click twice in the Cortana search bar and type CMD.
A "SYSINTERNALS SOFTWARE LICENSE TERMS" box pops up.
Click the Agree button.
livekd -w
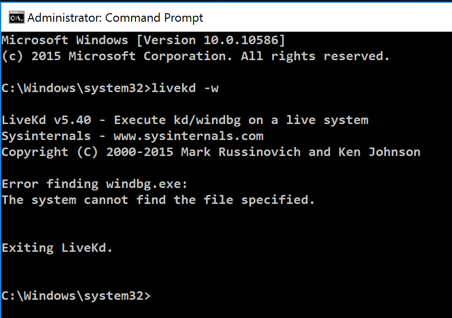
Troubleshooting
The "Error finding windbg.exe" occurs because the
Windows installer fails to add the correct directory
to the PATH environment variable.

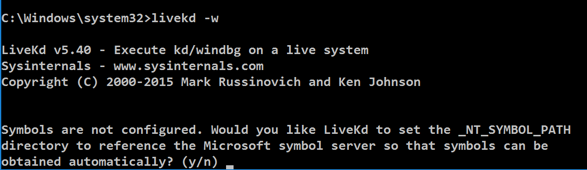
livekd -w
Using Livekd
When Livekd starts, it asks you
whether to set the _NT_SYMBOL_PATH
automatically, as shown below.
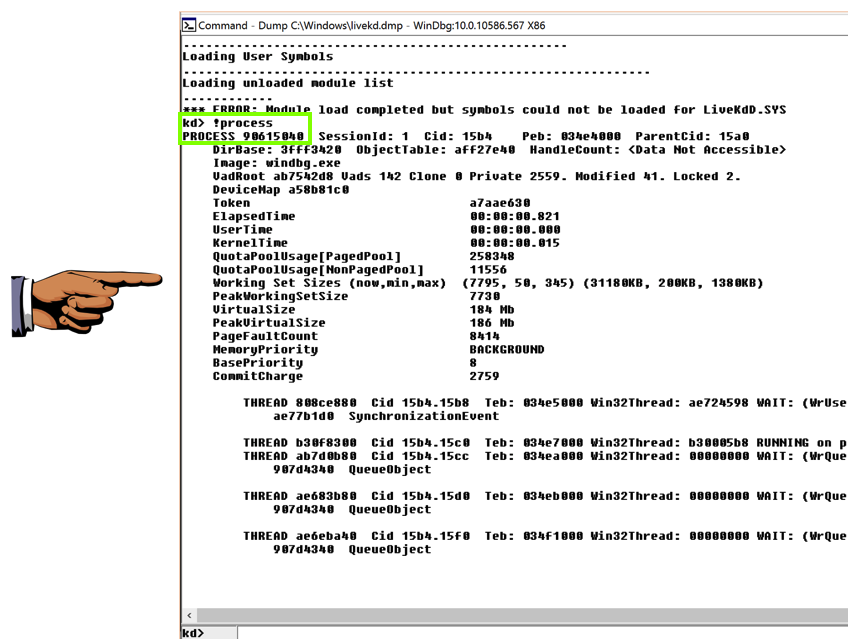
You should see the "kd> !process" command,
and its output, showing a PROCESS number,
as shown below.
!process
Saving the Screen Image
Make sure you can see the
"kd> !process" command
and a PROCESS number.
Turning in Your Project
Email the images to: cnit.126sam@gmail.com
with a subject line of Proj 12 From Your Name,
replacing Your Name with your own first and last name.
Send a Cc to yourself.
Sources
Setting Up Local Kernel Debugging of a Single Computer Manually
Posted: 4-4-16 by Sam Bowne
Win Server 2008 information added 12:22 pm 4-4-16
Win Server 2008 information moved to a separate project 4-12-16