sudo apt update
sudo dpkg --add-architecture i386
sudo apt update
sudo apt install gcc gcc-multilib make zlib1g zlib1g-dev zlib1g:i386
sudo apt install python build-essential unzip
export "CC=gcc -std=gnu89"
sudo ln -s /usr/lib/x86_64-linux-gnu/libmpfr.so.6 /usr/lib/x86_64-linux-gnu/libmpfr.so.4
cd
wget https://github.com/upx/upx/archive/master.zip
unzip master.zip
cd
wget http://www.oberhumer.com/opensource/ucl/download/ucl-1.03.tar.gz
mkdir -p local/src
cd local/src
tar xzfv ../../ucl-1.03.tar.gz
cd ucl-1.03
./configure "CC=gcc -std=gnu89"
make all
cd
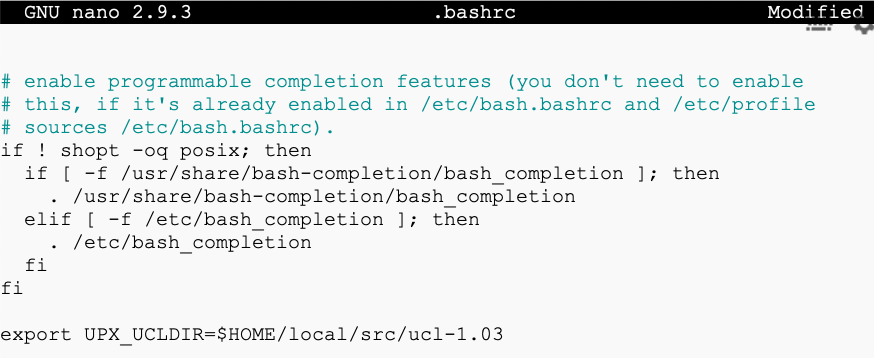
nano .bashrc
export UPX_UCLDIR=$HOME/local/src/ucl-1.03
Press Ctrl+X, Y, Enter to save the file.
In the Terminal, execute these commands:
source .bashrc
cd
mkdir lzma
cd lzma
wget https://github.com/upx/upx-lzma-sdk/archive/master.zip
unzip master.zip
cd
cd upx-master/src
mv ../../lzma/upx-lzma-sdk-master/* lzma-sdk/
cd
wget https://github.com/upx/upx-stubtools/releases/download/v20160918/bin-upx-20160918.tar.xz
cd local
mkdir bin
cd bin
tar xvf ../../bin-upx-20160918.tar.xz
mv bin-upx-20160918 bin-upx
cd
cd upx-master
cd src/stub/src
nano i386-win32.pe.S
Indent the lines with spaces, not Tab characters!
mov ah,0x4c
int 21
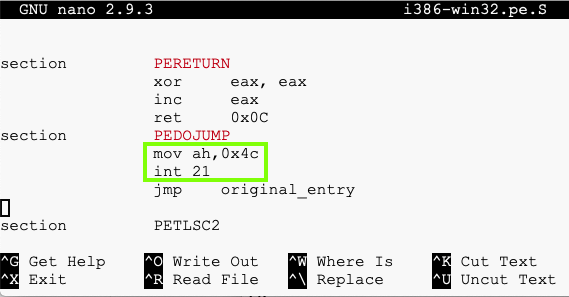
Press Ctrl+X, Y, Enter to save the file.
In the Terminal, execute these commands:
cd ..
make all
cd ../..
make all
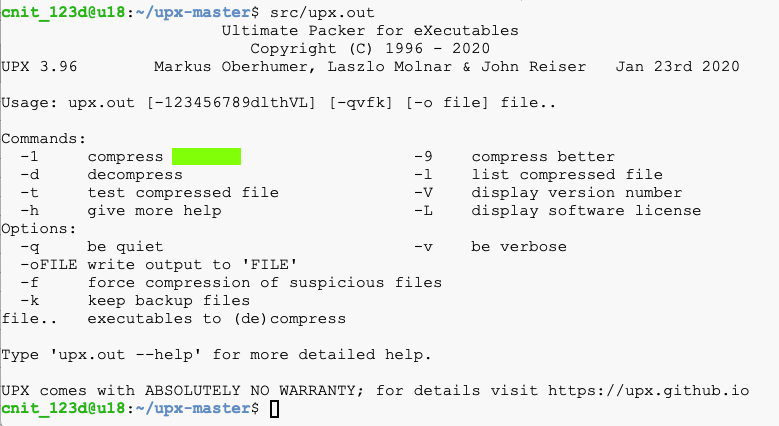
src/upx.out
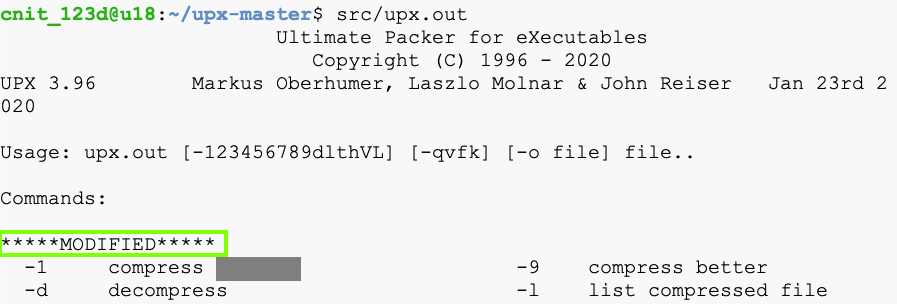
PMA 131.1: Option 1 (10 pts)
Find the word covered by a green box in the image below.That's the flag.
cd
cd upx-master
wget https://samsclass.info/127/proj/putty.exe
shasum -a 256 putty.exe

Execute this command to compress putty:
src/upx.out -o puttycomp.exe putty.exe
nano src/help.cpp
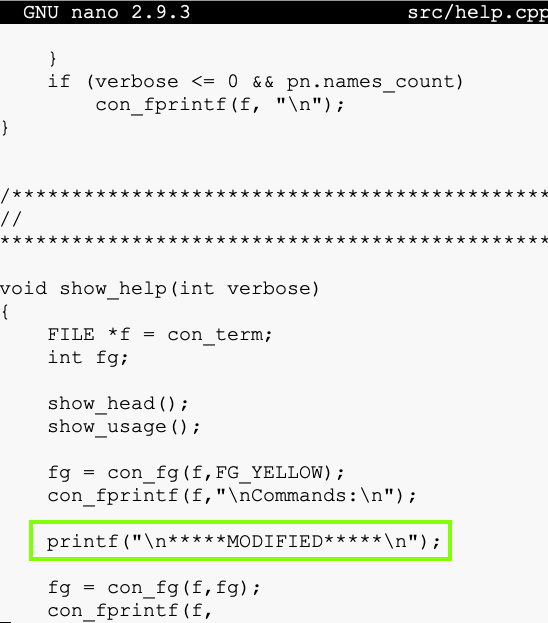
Press Ctrl+X, Y, Enter to save the file.
In the Terminal, execute these commands:
make all
src/upx.out
In the Terminal, execute these commands:
sudo apt install hexedit -y
cp puttycomp.exe puttycmod.exe
hexedit puttycmod.exe
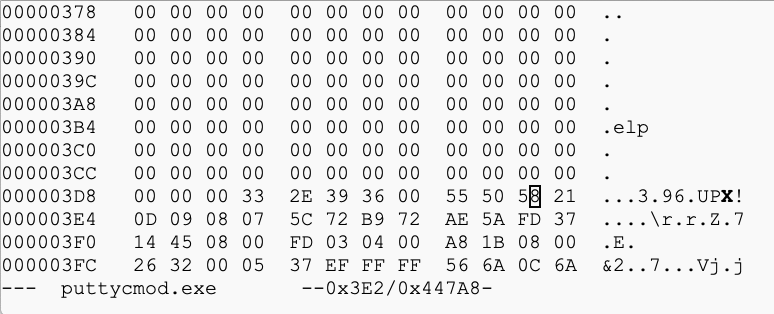
Add one to that number, so the X changes to Y, as shown below.
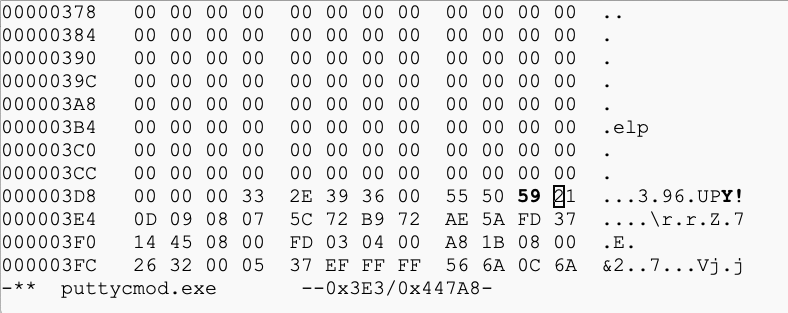
Press Ctrl+X, Y to save the file.
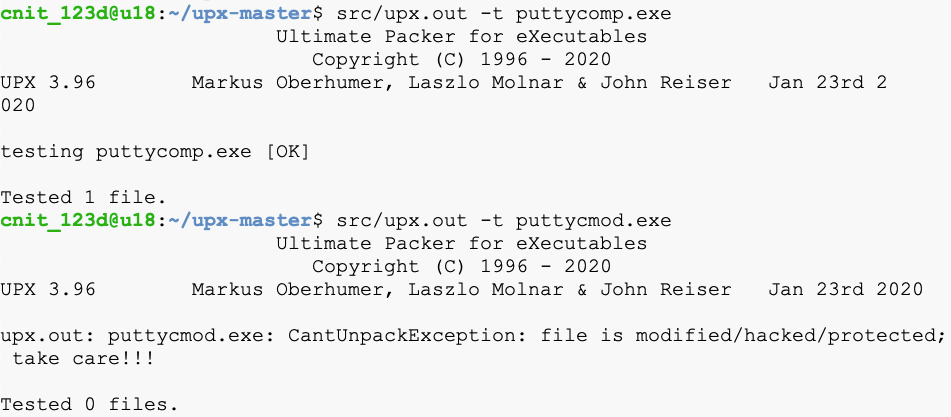
In the Terminal, execute these commands, to test the files:
src/upx.out -t puttycomp.exe
src/upx.out -t puttycmod.exe
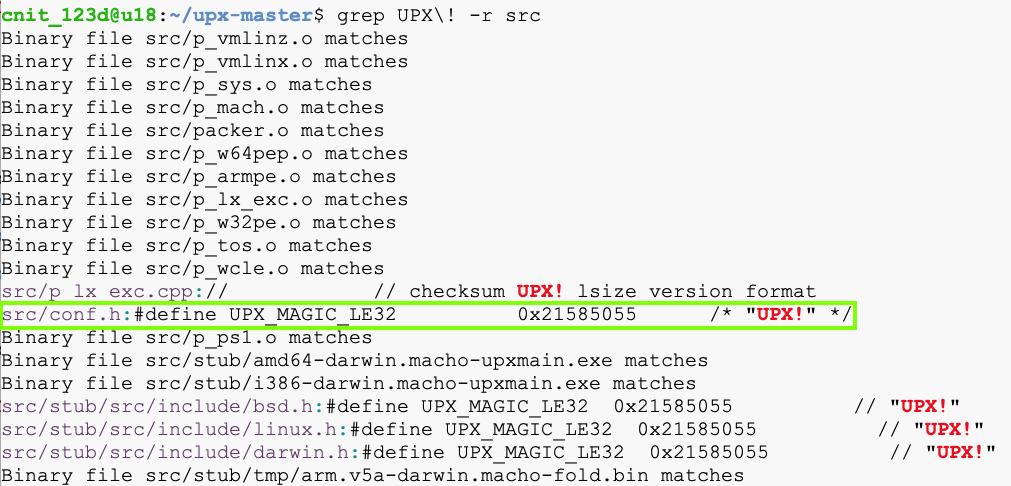
grep UPX\! -r src
From the file names, it seems like the last three are only used for non-Windows software, so we can probably get away with modifying only the first one.
In the Terminal, execute this command:
nano src/conf.h
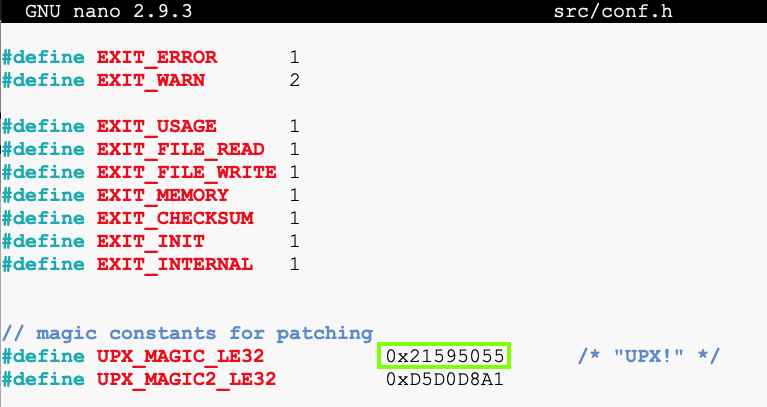
Press Ctrl+X, Y, Enter to save the file.
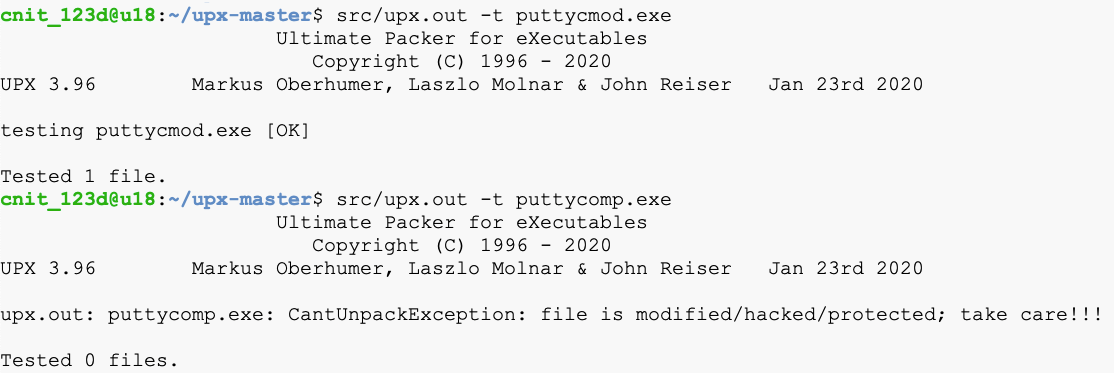
In the Terminal, execute these commands to compile the modified file and test it:
make all
src/upx.out -t puttycmod.exe
src/upx.out -t puttycomp.exe
PMA 131.2: Flag (15 pts)
Execute this command to download a compressed file:Verify the hash, as shown below.
Unpack that file and find the flag inside it.
Hints
- First examine it with a hex editor to find the new magic word
- Then make a custom UPX unpacker with that word
- Then use "strings" to find the strings inside
Posted 9-17-2020