D 12: SSH Tunnel (10 pts extra)

What You Need for This Project

Purpose

To make an SSH tunnel to bypass network filtering. This is necessary to connect to Azure cloud machines via the CCSF network, which blocks RDP.
If you already have an Azure account, skip this section/

Creating an Microsoft Live Account

In a Web browser, go to: https://signup.live.com/ Create a new email address. Don't use a CCSF student email account.

If that page is not working, use this process to make a new outlook.com email address:

http://windows.microsoft.com/en-us/windows-live/sign-up-create-account-how

Creating an Azure for Students Account

In a Web browser, go to:

Azure for Students FAQ

Click the blue "Apply now" button.

Follow the on-screen instructions to make your account. You'll need your .edu email address and a phone, but no credit card.

You're not eligible for an Azure free account

If you see this message, here's how a student fixed it:
Ny issue got fixed by Microsoft support team. Send a ticket to support@mail.support.microsoft.com and include your situation and the student email address that you use to sign up during the registration. They will re-enable your subscription. The product keys associated with your subscription will become available for use during the next standard business day.

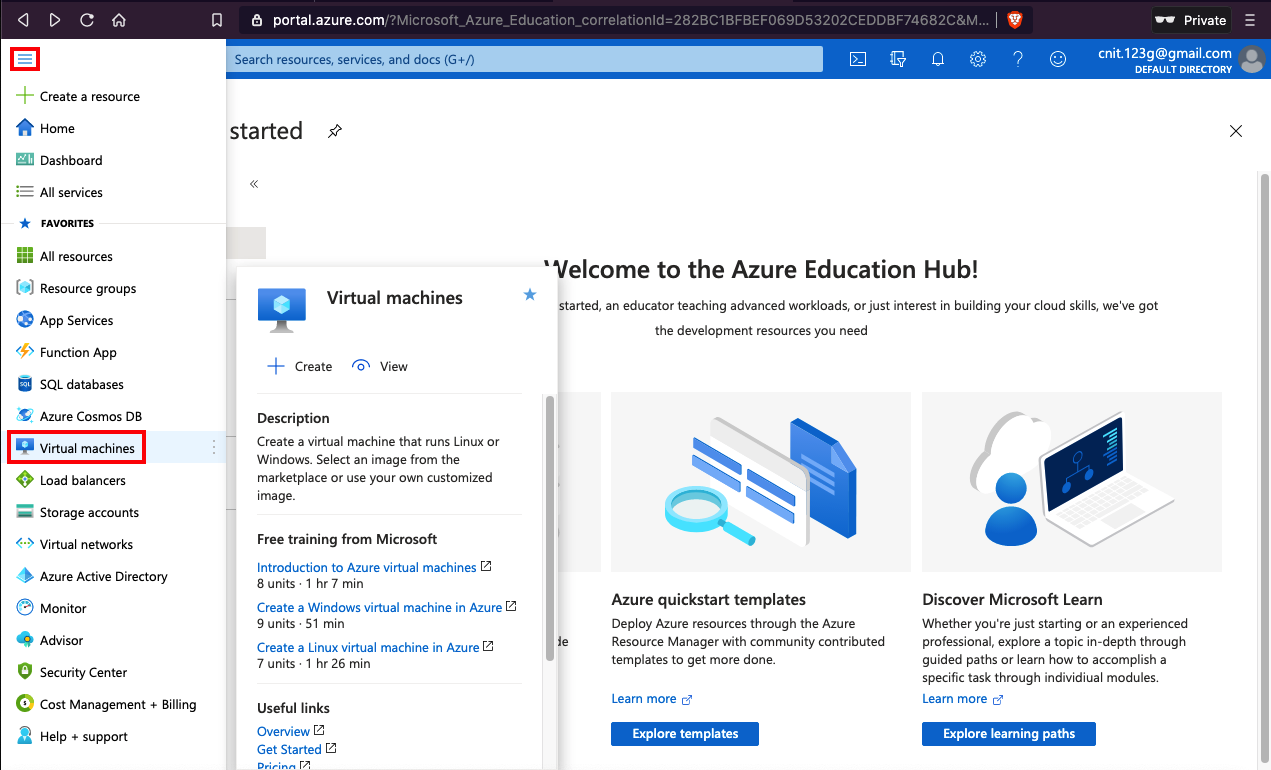
You'll end up at the Azure Education Hub, as shown below.

Creating a Debian Linux Virtual Machine

At the top left, click the three-bar "hamburger" icon.

Click "Virtual Machines", as shown below.

On the "Virtual machines" page, at the top left, click Create, "Azure virtual machine".

In the "Create a virtual machine" page, on the Basics tab, enter these values, as shown below.

At the bottom, click the blue "Review + create" button.

A warning appears, saying "You have SSH port(s) open to the internet."

At the bottom, click the blue Create button.

After a few minutes, the deployment completes. Click the blue "Go to resource" button.

You can see your Public IP address, outined in red in the image below. xx

Starting the Tunnel

The process is different for Windows and Unix systems. Follow the instructions in the appropriate box below.

MacOS or Linux Machines

Open a Terminal and execute this command. Replace "username" with the username you chose for your Debian server, and replace the IP address with the IP address of your Debian server.
ssh -D 8080 -N username@20.55.31.137
A question about fingerprints appears. Answer yes

Enter the password you chose for your Debian server.

Leave this window open, as shown below.

Using the Proxy

On a Mac, open Network Preferences. Select your network adapter and click the Advanced button.

On the Proxies tab, check the "SOCKS Proxy" box. On the right side, enter an address of 127.0.0.1 and a port number of 8080, as shown below.

Click the OK button. Click the Apply button.

Windows Machines

Creating the Tunnel with PuTTY

Download and install PuTTY from:

https://putty.org/

Start PuTTY.

At the top right, in the Host Name field, enter your Linux cloud server's IP address, as shown below.

On the left side, in the Category pane, expand SSH and click Tunnels.

On the rigth side, in the "Add new forwarded port" section, enter a "Source Port" of 8080.

Click the Dynamic button.

Your screen should resemble the image below.

Click the Add button to the right of the "Source port" field.

Click the Open button in the lower right.

A "PuTTY Security Alert" box pops up. Click the Accept button.

A window shows a "login as" prompt.

Log in with the username and password you chose for your Linux cloud server.

You see a normal SSH session open, as shown below.

Adjusting Proxy Settings

Click Start. Type Internet. Launch "Internet Options".

Click the Connections tab.

At the lower right, click the "LAN settings" button, as shown below.

In the "Proxy server" section, check the "Use a proxy server" box, as shown below.

Click the Advanced button.

Clear the "Use the same server for all protocols" box.

In the Socks line, enter an Address of 127.0.0.1 and a Port of 8080.

Clear all the entries in the HTTP, Secure, and FTP rows, as shown below.

Click OK. Click OK. Click OK.

Testing the Proxy

In a browser, go to https://whatismyipaddress.com/

You should see the IP address of your Azure Debian machine, as shown below.

Flag D 12: Service Name (10 pts)

MacOS or Linux

Open a Terminal window. Execute this command:
netstat -an | grep 22
The flag is the status of the connection to your Proxy server, covered by a green rectangle in the image below.

Windows

Open a Command prompt window. Execute this command:
netstat -an | findstr 22
The flag is the status of the connection to your Proxy server, covered by a green rectangle in the image below.

Posted 6-11-23