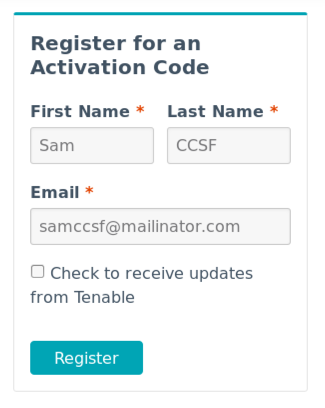
http://www.tenable.com/products/nessus-homeFill in the form with a name and email address, as shown below, and click Next.
Click the Download button.
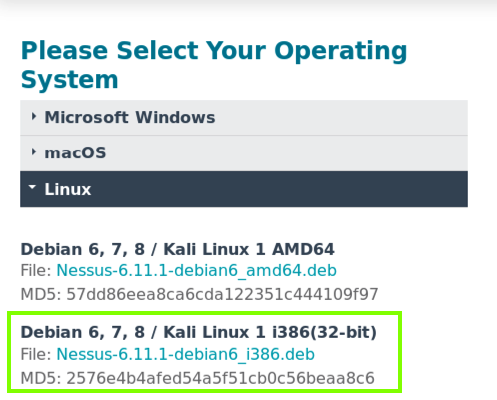
On the next page, download the 32-bit version for Kali, as outlined in green in the image below.
Notice that it refers to "Kali 1," which has beel obsolete since Aug., 2015, and that it also provides only an md5 hash for download verification, which is certainly not a best practice.
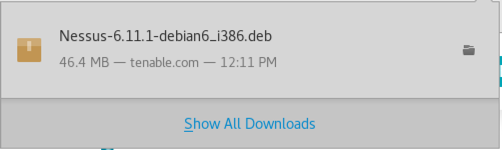
Download the file. When you see the message below, close it and close Firefox.
In a Terminal window, execute these commands:
cd
cd Downloads
md5sum Nessus-6.11.1-debian6_i386.deb

In a Terminal window, execute this command:
dpkg -i Nessus-6.11.1-debian6_i386.deb
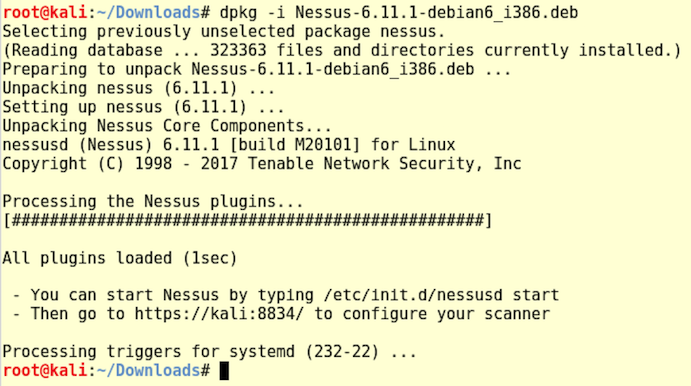
In a Terminal window, execute this command:
/etc/init.d/nessusd start
https://kali:8834A warning says the connection is not secure. Click Advanced. Click "Add Exception...". Click "Confirm Security Exception".
A "Welcome to Nessus" page appears. Click Continue.
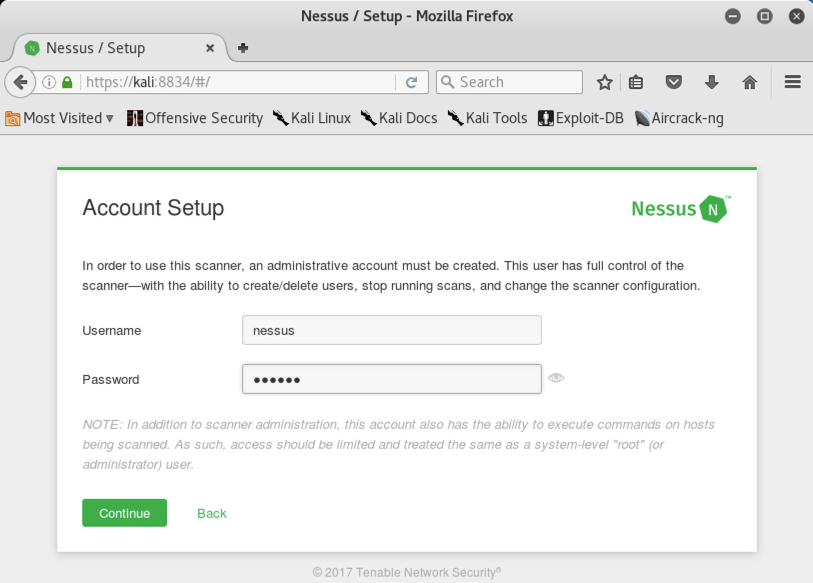
In the "Account Setup" screen, choose a username and password, as shown below. Note the message at the bottom "..this account also has the ability to execute commands on hosts being scanned." Very strange.
Troubleshooting
If you forgot your password, you can reset it with this command:/opt/nessus/sbin/nessuscli chpasswd username
Click Continue.
The Registration page asks for an Activation Code. Read your email to get it. Enter the code and click Continue.
Wait while Nessus updates.
Find your Windows machine's IP address and ping it from the Kali machine. Make sure you can see replies.
If you don't see replies, make sure both VMs are using NAT networking mode.
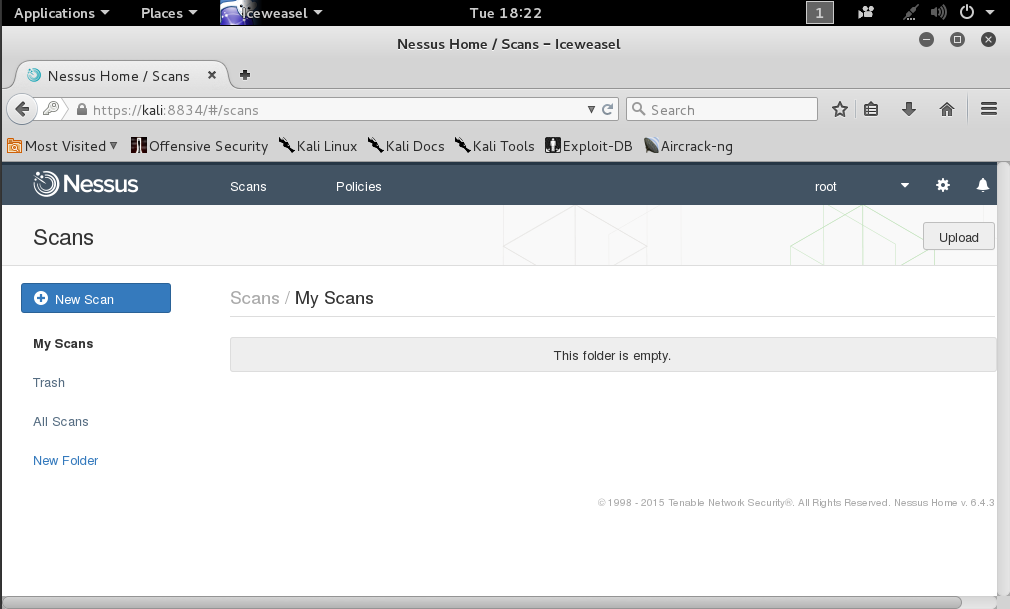
At the top right of the "My Scans" page, click "Create a new scan".
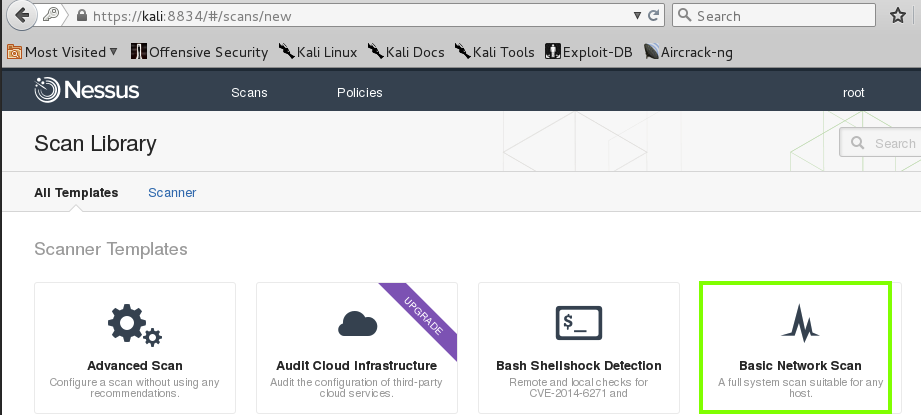
On the next page, click "Basic Network Scan", as shown below.
Fill in these values, as shown below.

At the bottom of the page, click the Save button.
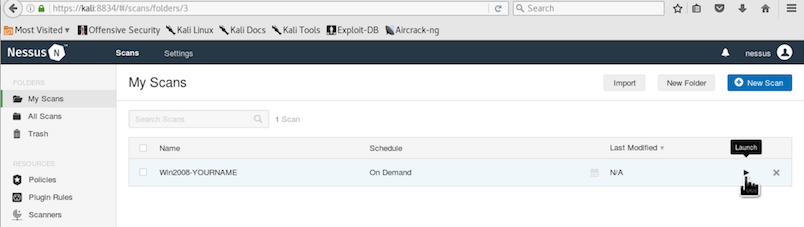
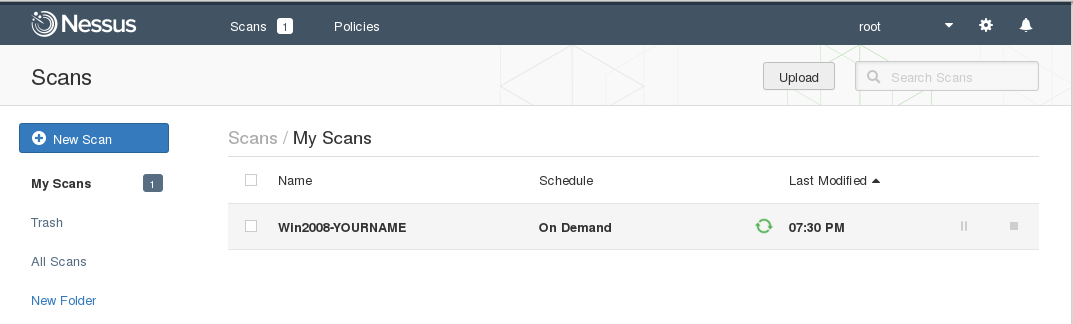
Your scan appears in the middle of the page. On the right side, click the arrow icon to start the scan, as shown below.
The "Scans" page shows your scan running, with a little green icon turning, as shown below.
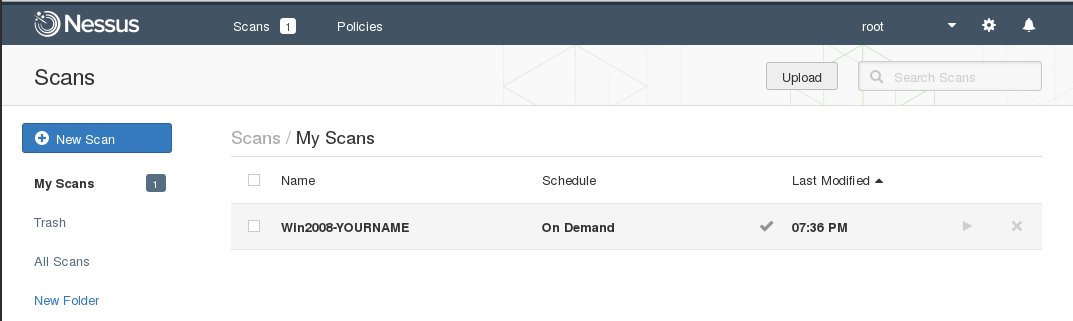
The scan should take 5-6 minutes. When it completes, the green rotating icon changes to a green checkmark. as shown below.
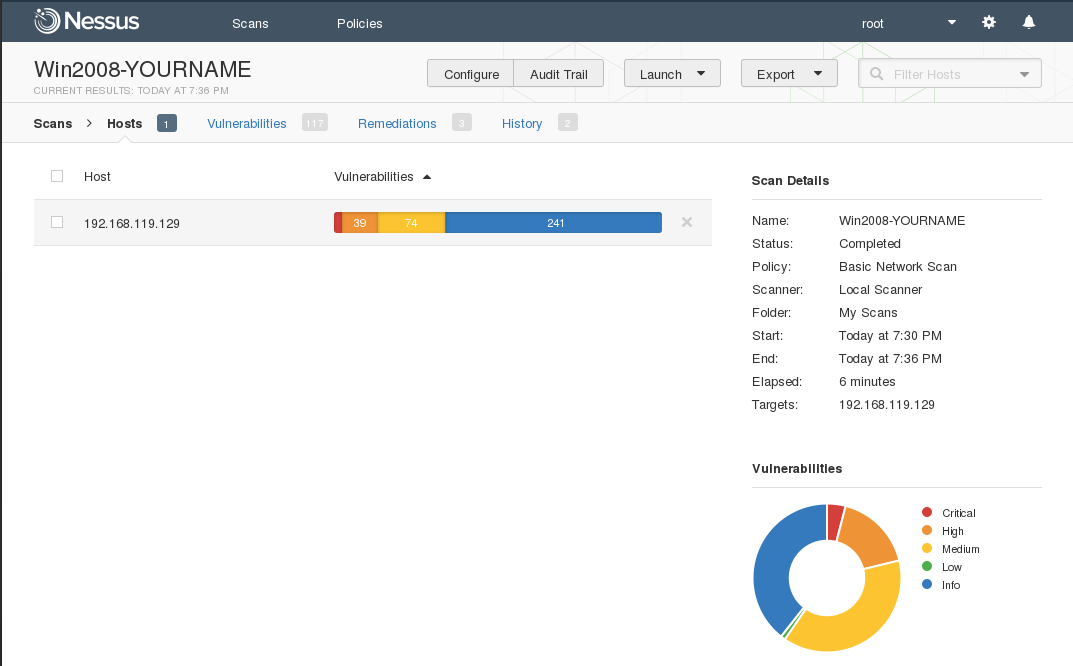
Click the red portion of either chart to see a detailed list of vulnerabilities, as shown below.
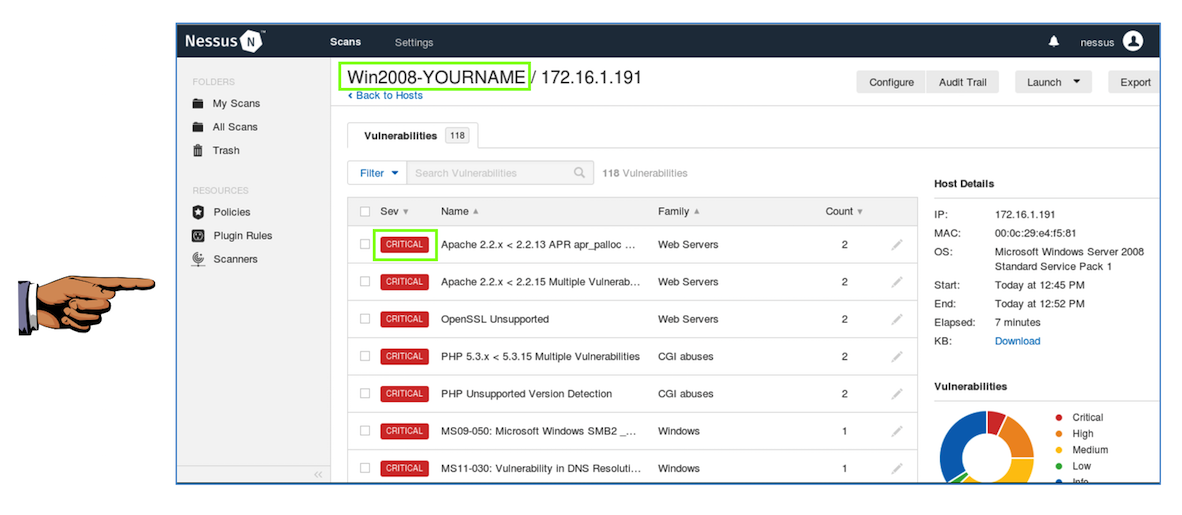
YOU MUST SEND IN A WHOLE-DESKTOP IMAGE FOR FULL CREDIT
However, the MS09-050 vulnerability is indeed CRITICAL--it can lead to complete compromise of the box with Metasploit, as demonstrated here:
Simple Take Over of Windows Server 2008 (using MS09-050)
This is an essential part of any vulnerability analysis--an intelligent human must evaluate the results to decide how important they really are to the company.
Scanners almost always flag a lot of problems as CRITICAL when they aren't really so important.
On the top right, click the "New Scan" button.
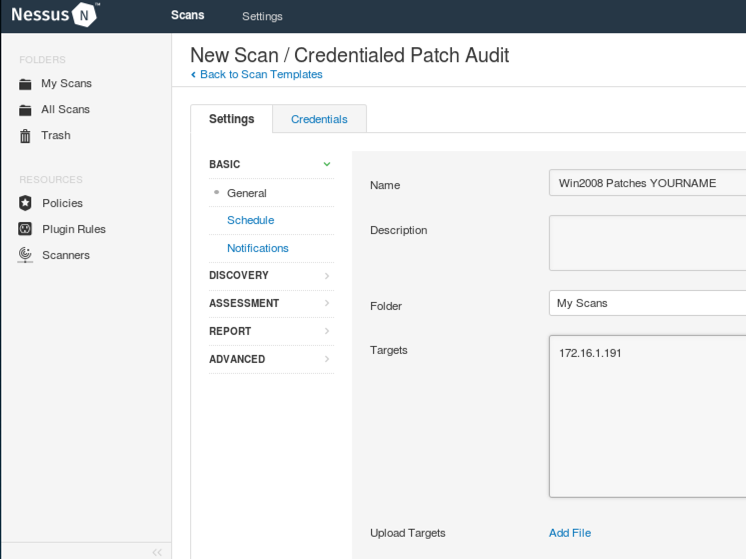
On the next page, click "Credentialed Patch Audit". Fill in these values, as shown below.
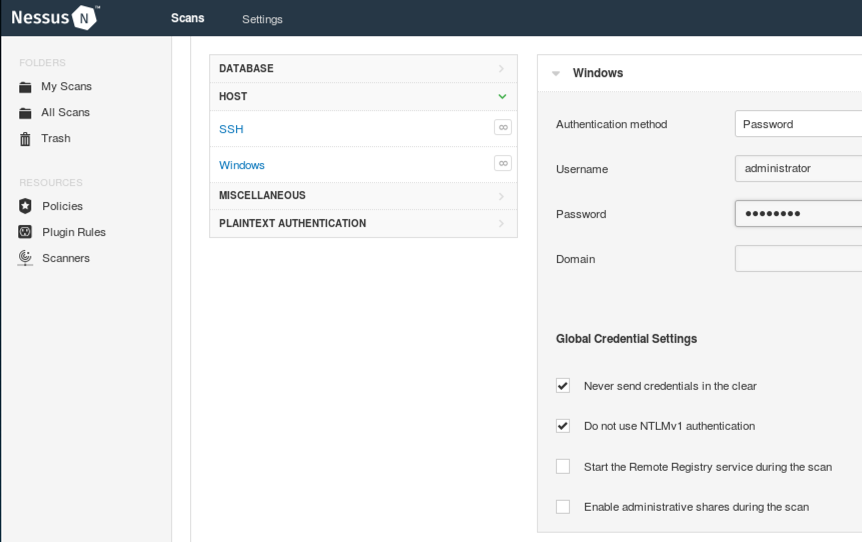
At the top of the page, click the Credentials tab.
On the next page, on the left side, click Windows. On the right side enter the credentials for your Windows 2008 machine. If you are using the machine provided for this course, the credentials are administrator and P@ssw0rd
At the bottom of the page, click the Save button.
In the "Win2008 Patches YOURNAME" row, click the right-pointing arrow to start the scan.
The scan took 10 minutes when I did it. When the scan completes, click the green check mark. Click the red portion of either chart to see a detailed list of vulnerabilities, as shown below.
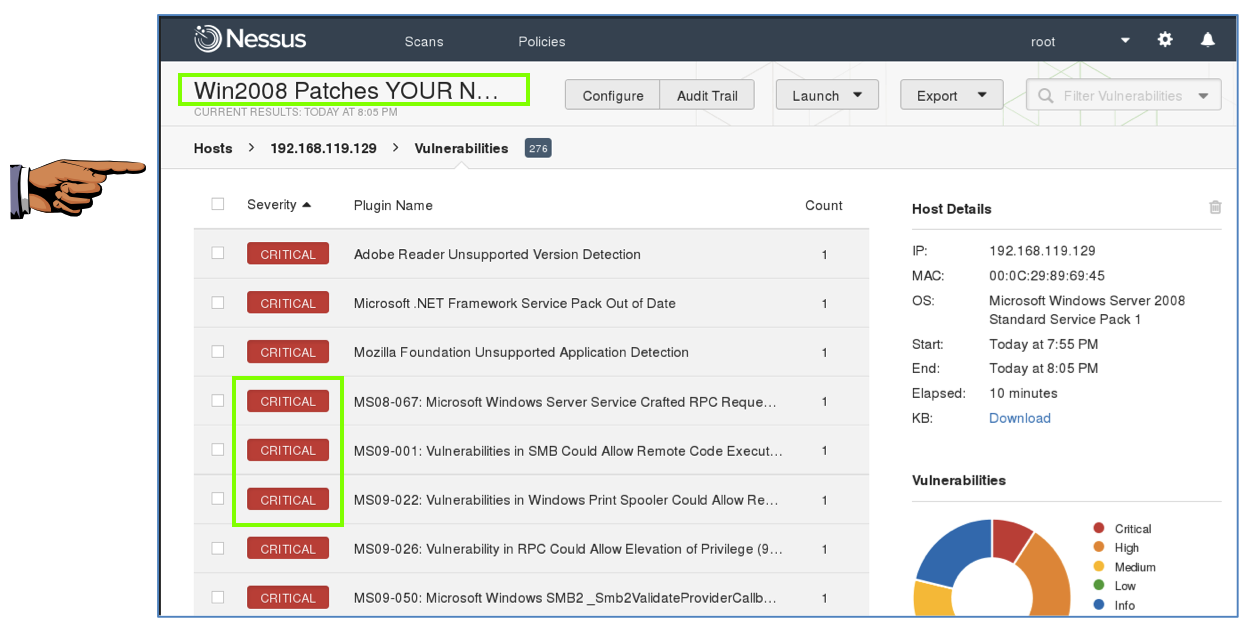
YOU MUST SEND IN A WHOLE-DESKTOP IMAGE FOR FULL CREDIT
MS08-067 is an interesting case. The Microsoft vulnerability report says it affects Windows Server 2008, but, as we found previously, its Metasploit module doesn't work on Windows 2008.
Send a Cc to yourself.
Last Modified: 9-28-17