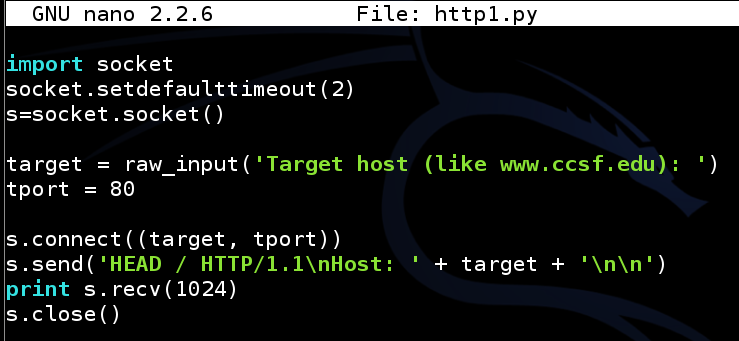
nano http1.py
Save the file with Ctrl+X, Y, Enter.
Explanation
This code connects on TCP port 80 just like the scanner you made in a previous project, but once it connects, it sends an HTTP request like this:The HEAD method grabs only the banner, without getting any pages from the server.
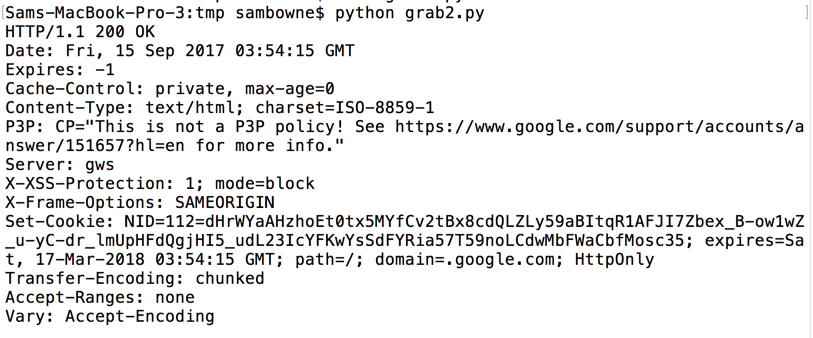
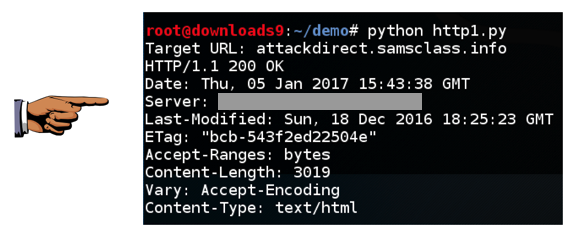
python http1.py
You should see the banner, as shown below:
Click on the host system's taskbar, at the bottom of the screen.
Press the PrntScrn key to capture the whole desktop. Open Paint and paste in the image.
Save the image as "Proj 2a from YOUR NAME".
YOU MUST SEND IN A WHOLE-DESKTOP IMAGE FOR FULL CREDIT
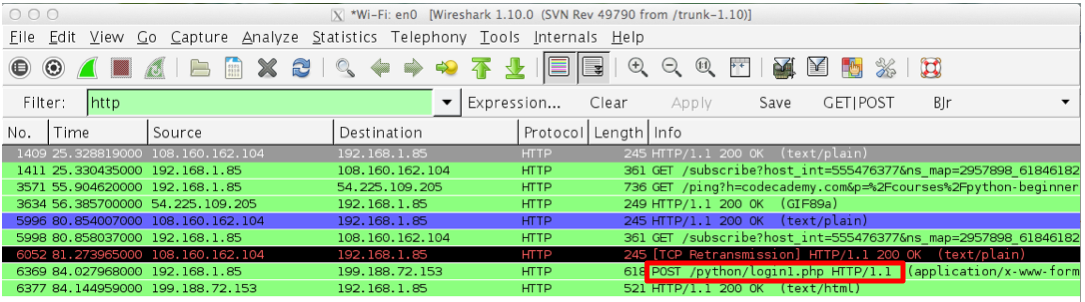
Now run Wireshark, and start it sniffing traffic. At the top left of the Wireshark window, in the Filter box, type http and press Enter.
Try to log in with a username of a and a password of b
In Wireshark, stop the capture.
Find the packet in Wireshark with an "Info" column of "POST /python/login1.php HTTP/1.1", as shown below:
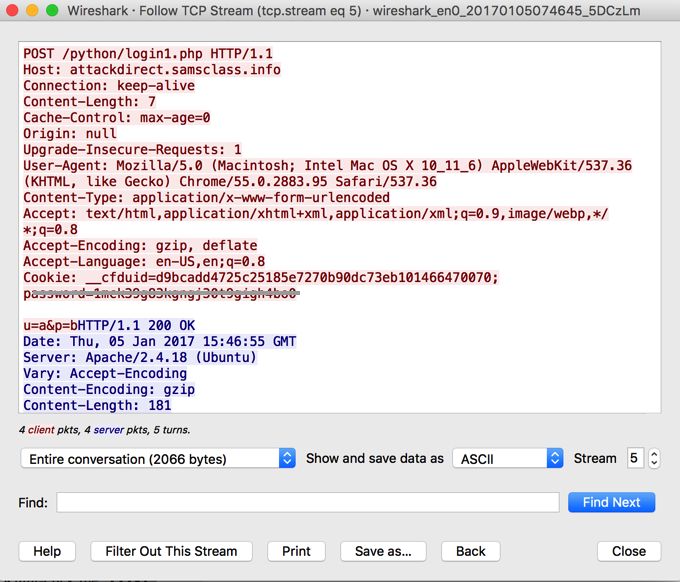
Right-click the "POST /python/login1.php HTTP/1.1" line and click "Follow TCP Stream".
The POST request appears, as shown below. The red text shows the HTTP request your browser sent to the server, and the blue text shows the server's reply.
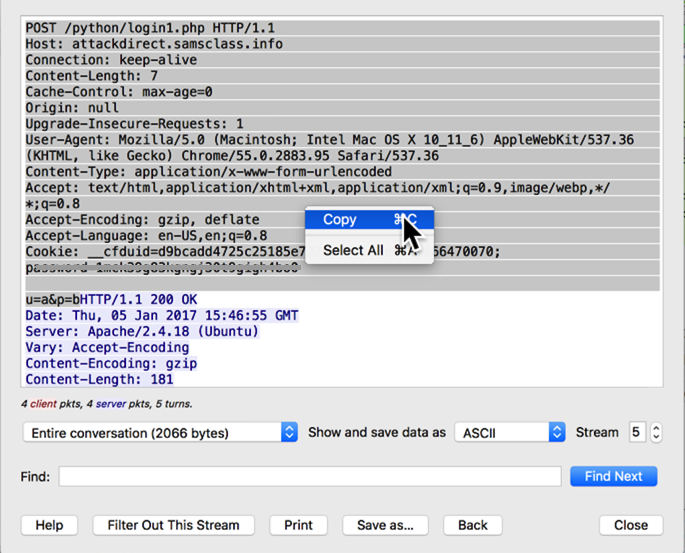
With the mouse, highlight the entire red request, right-click it, and click Copy, as shown below.
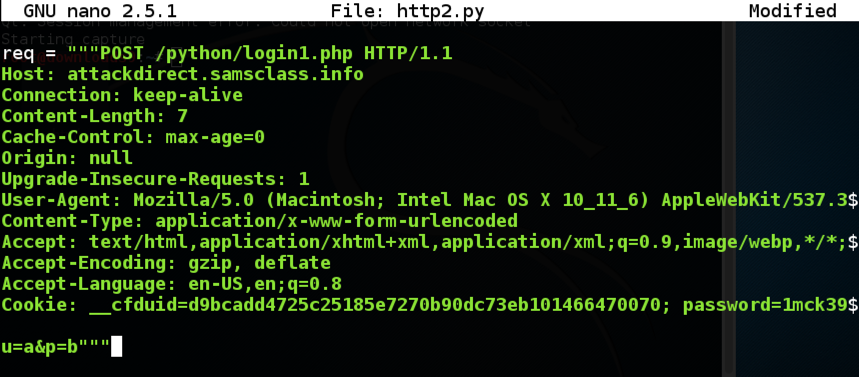
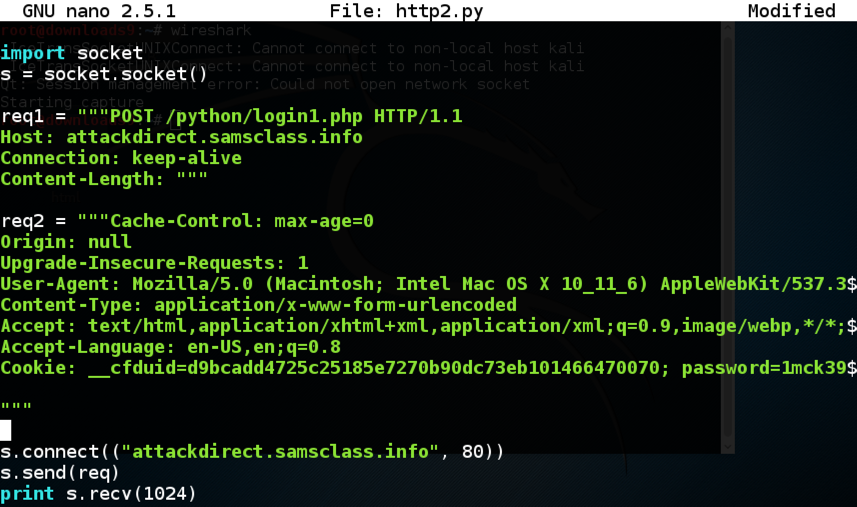
nano http2.py
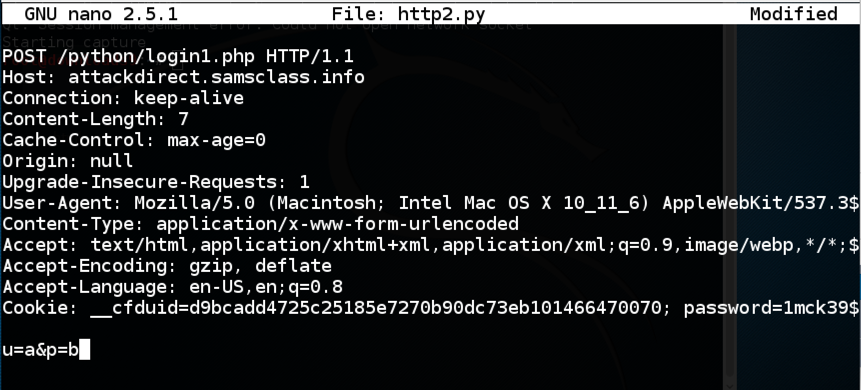
Enclose the entire request in triple quotation marks, and add "req = " to the start of it, as shown below.
The text turns green--it is a multi-line text string, a handy Python feature.
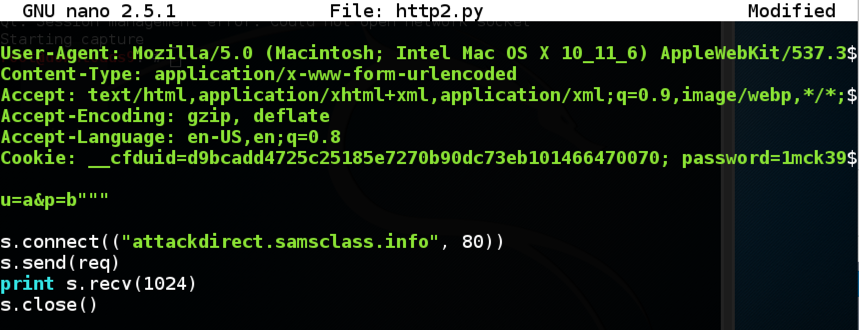
Add two lines above the "req" variable, as shown below.

Add four lines below the "req" variable, as shown below.
Save the file with Ctrl+X, Y, Enter.
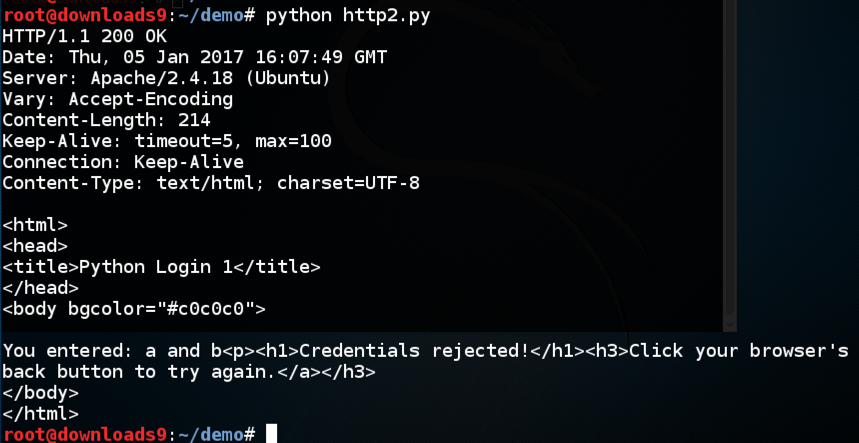
python http2.py
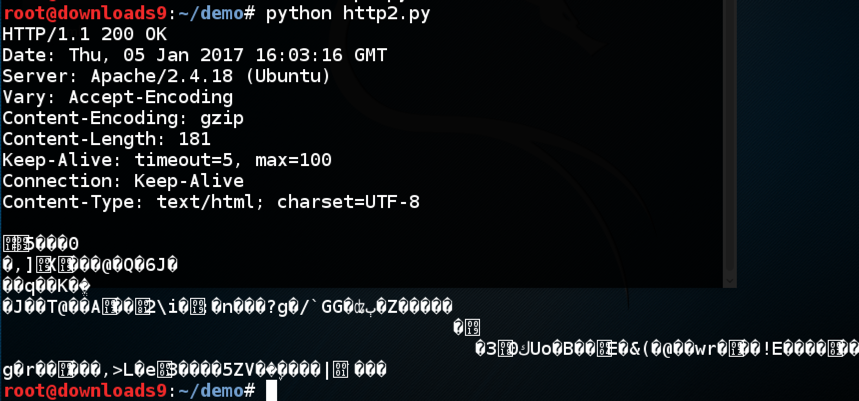
The unreadable stuff is binary zipped content, which the request permits because of the "Content-Encoding: gzip" header in the request.
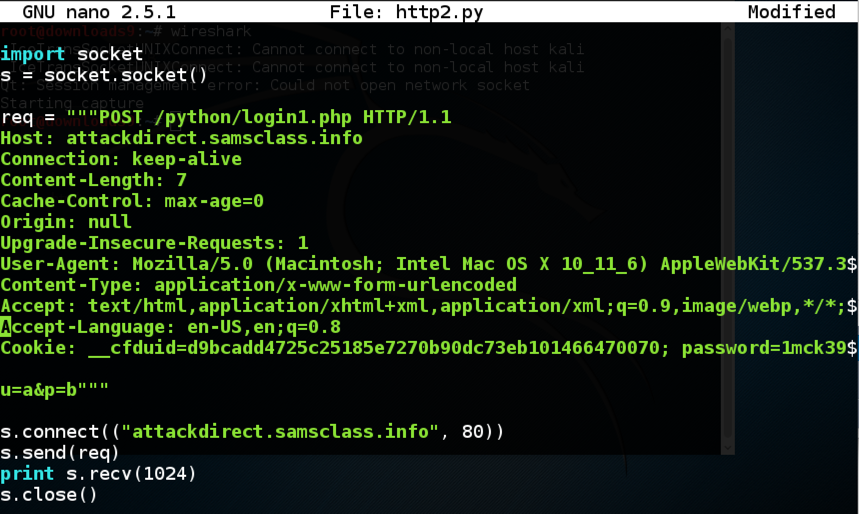
Edit the program and carefully remove that header, as shown below.
python http2.py
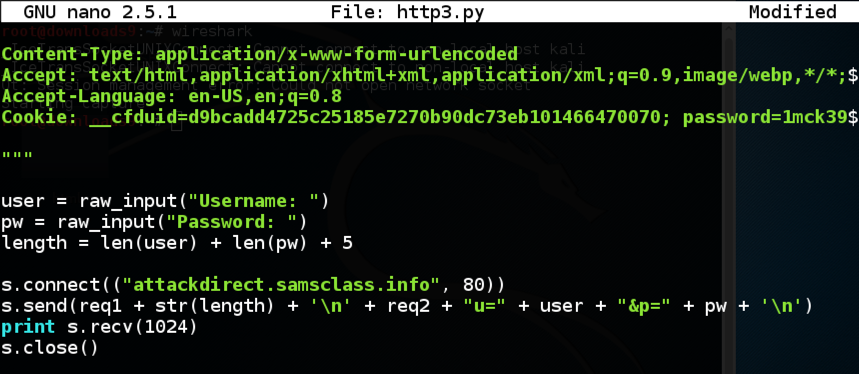
cp http2.py http3.py
Change the rest of the code to take user input for the username and password, as shown below.
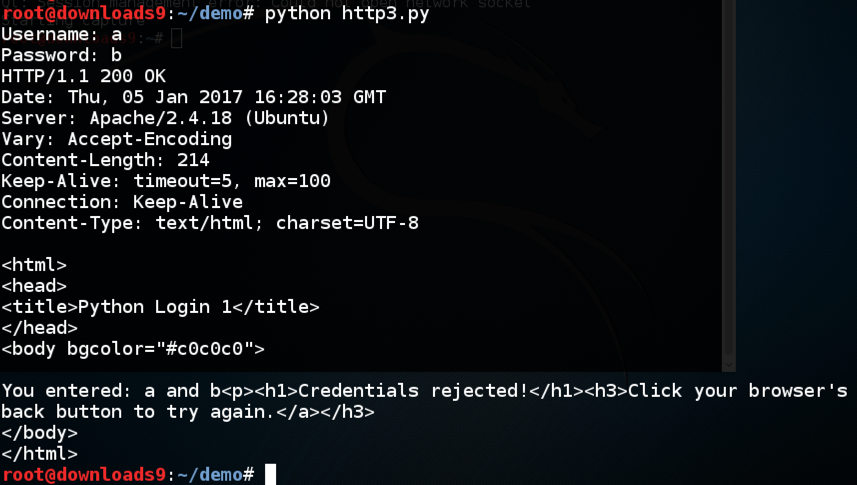
Enter a Username of a and a Password of b
You should see the message "Credentials rejected!", as shown below:
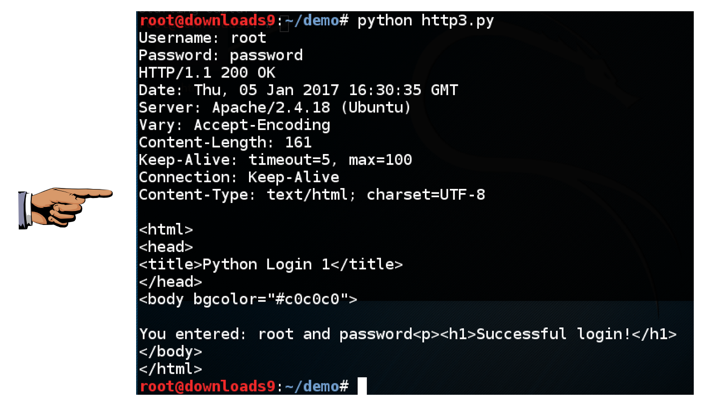
Now run the login script again, with the correct username of root and a password of password
Troubleshooting
If your script doesn't work, use Wireshark to capture the request so you can see mistakes in it.
You should see the message "Successful login!", as shown below:
Save a whole-desktop image as "Proj 2b from YOUR NAME".
YOU MUST SEND IN A WHOLE-DESKTOP IMAGE FOR FULL CREDIT
nano loop1.py
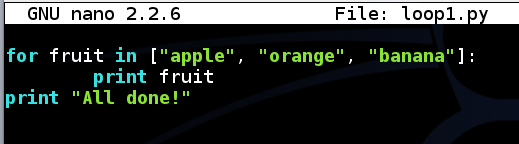
Save the file with Ctrl+X, Y, Enter.
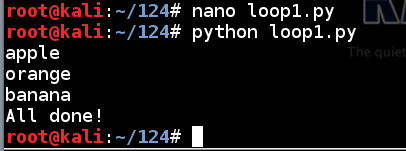
Execute this command to run the script:
python loop1.py
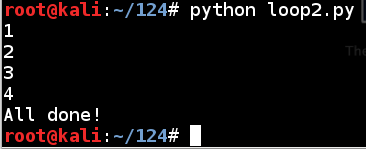
nano loop2.py
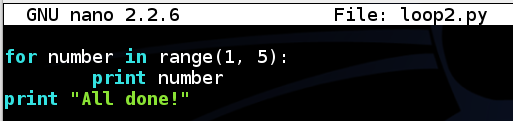
Save the file with Ctrl+X, Y, Enter.
Execute this command to run the script:
python loop2.py