Win2012R264.7z
Size: 3,116,105,892 bytes
Sha-256: 1a1593e24c09d625af04cb69407b27277fcae8f310477f3f67659f2c7e03bcf2
Log in as
In the "Before you begin" page, click Next.
In the "Select installation type" page, accept the default selection of "Role-Based or feature-based installation" and click Next.
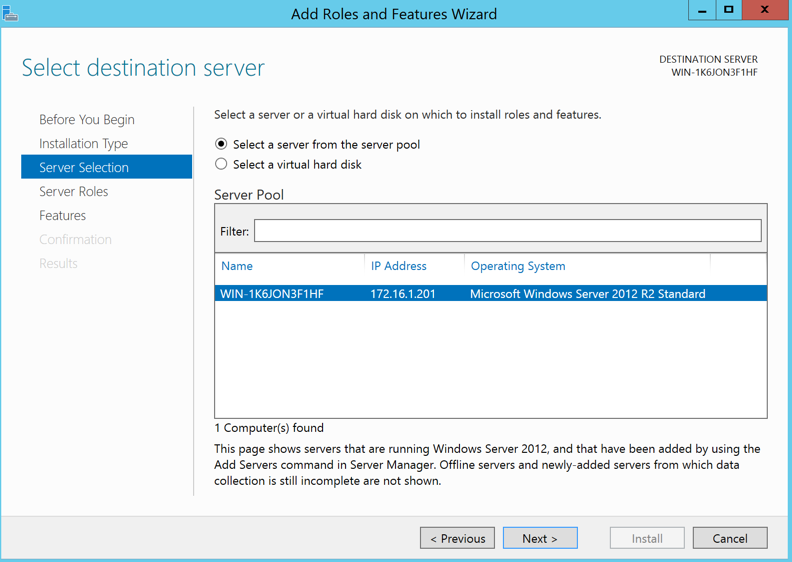
In the "Select destination server" page, accept the default selection, as shown below, and click Next.
In the "Select server roles" page, click the box next to "Active Directory Domain Services", as shown below.
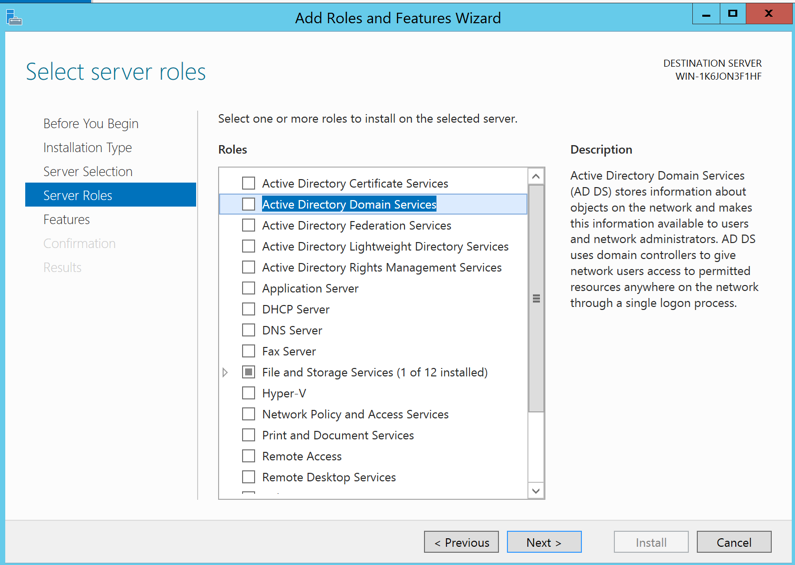
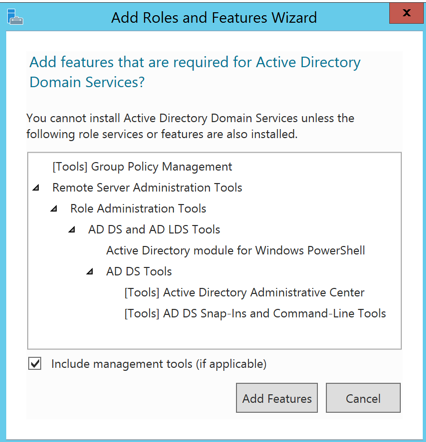
An "Add Roles and Features Wizard" box pops up, as shown below. Click the "Add Features" button.
In the "Select server roles" page, click Next.
In the "Select features" page, click Next.
In the "Active Directory Domain Services" page, click Next.
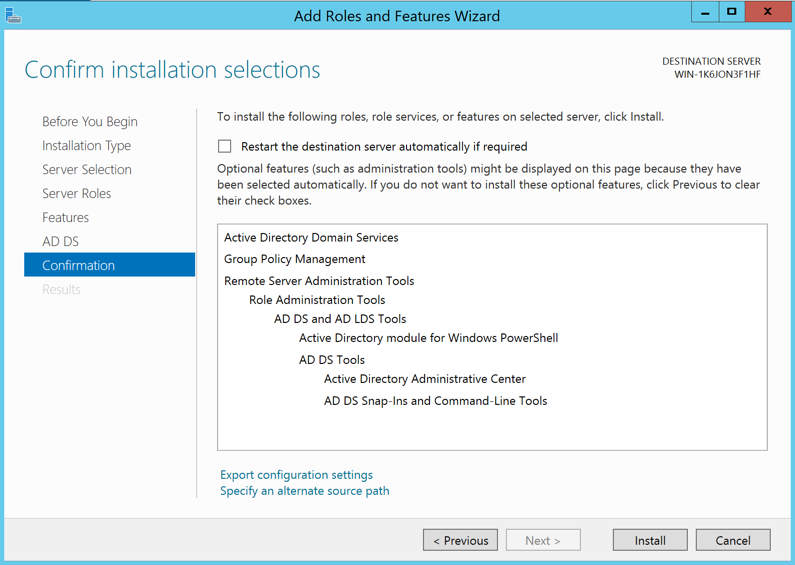
In the "Confirm installation selections" page, click Install, as shown below.
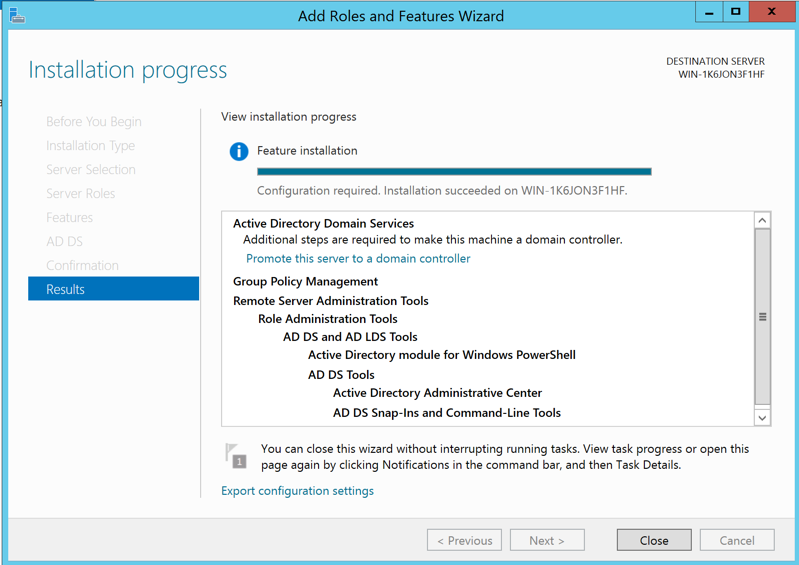
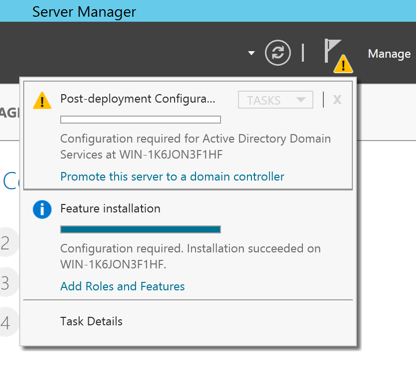
A progress bar move across the window, and it ends with a screen saying "Configuration required", as shown below. Click Close
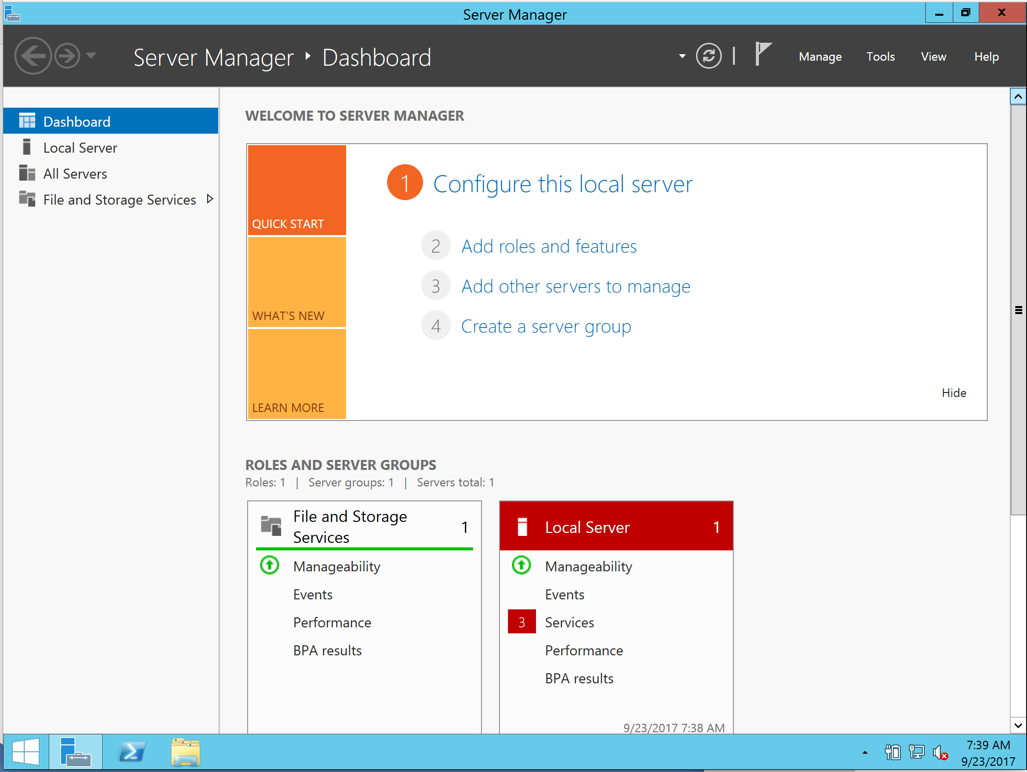
At the top of Server Manager, click the yellow flag, as shown below.
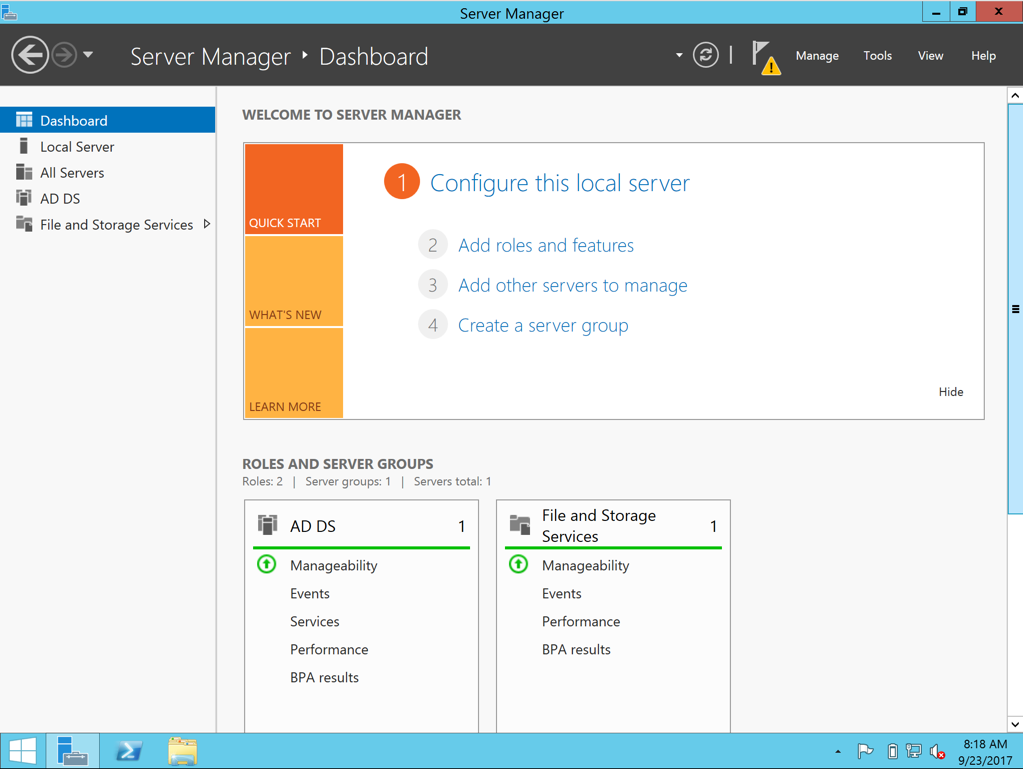
Click "Promote this server to a domain controller" as shown below.
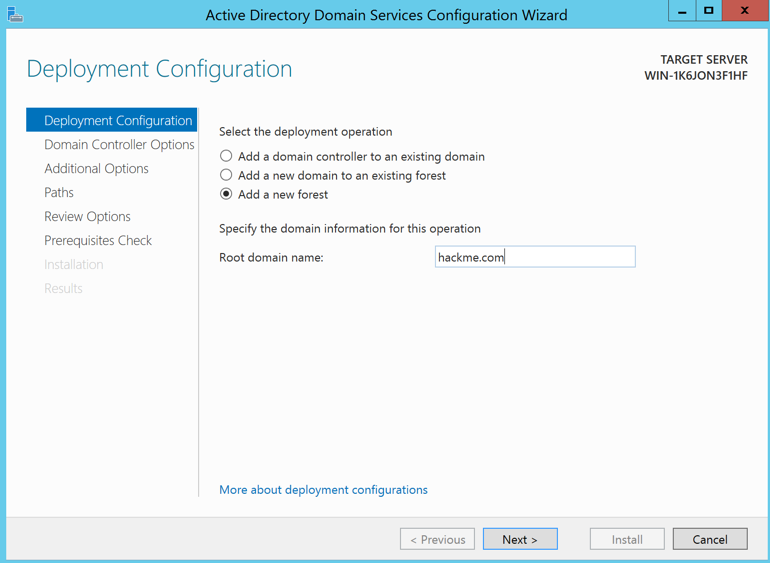
In the "Deployment configuration" page, click the "Add a new forest" button. Enter a Root domain name of hackme.com, as shown below.
Click Next
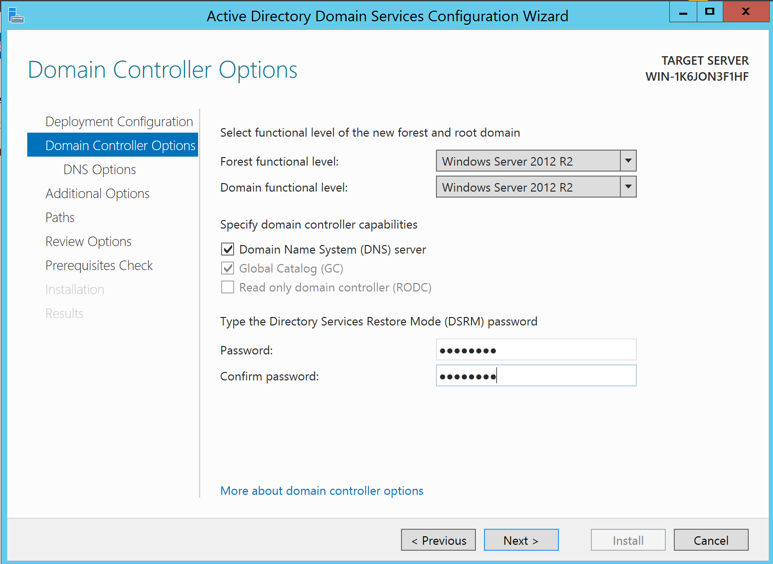
In the "Domain controller options" page, accept the default selections, as shown below. Enter P@ssw0rd in both password boxes and click Next
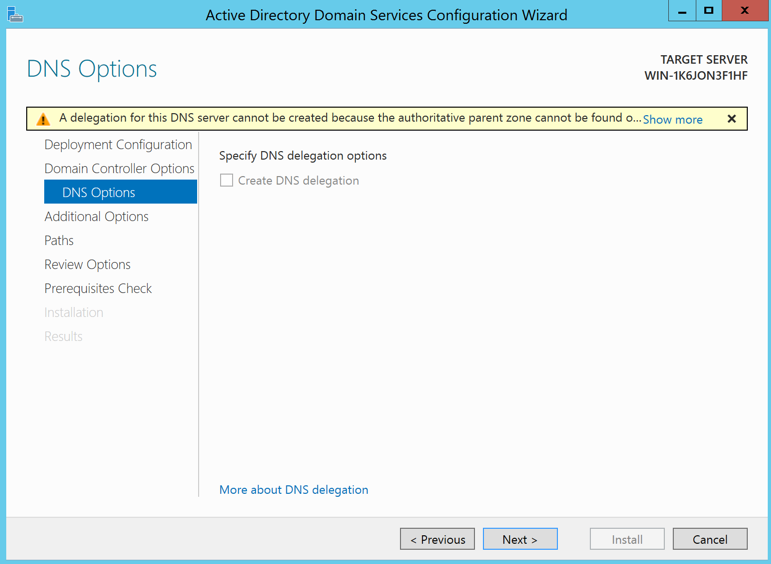
In the "DNS options" page, as shown below, click Next
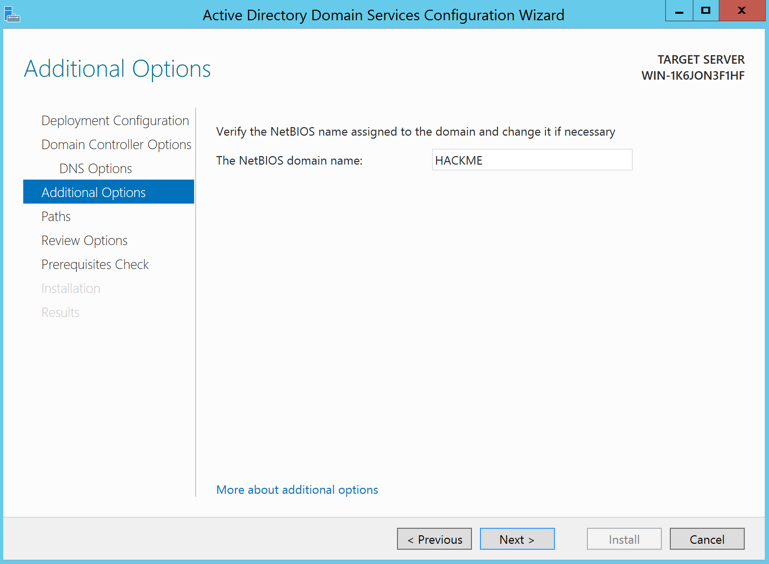
In the "Additional options" page, accept the default NetBIOS domain name, as shown below, click Next
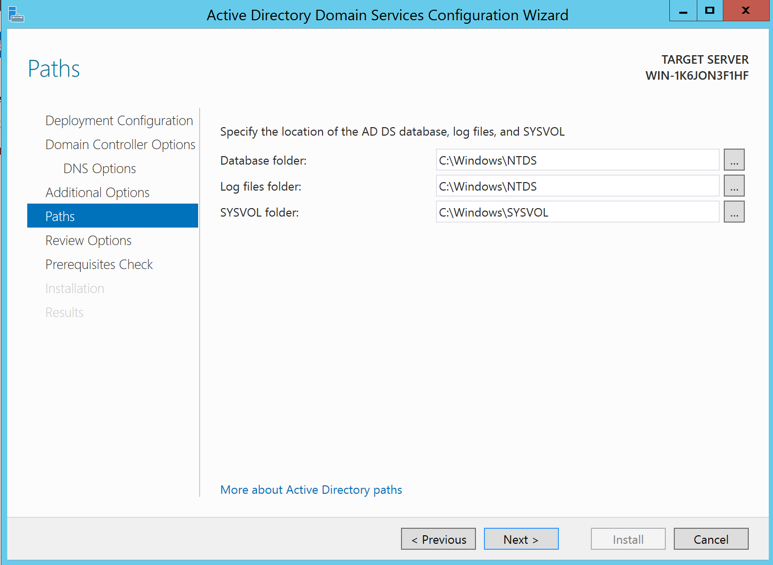
In the "Paths" page, as shown below, click Next
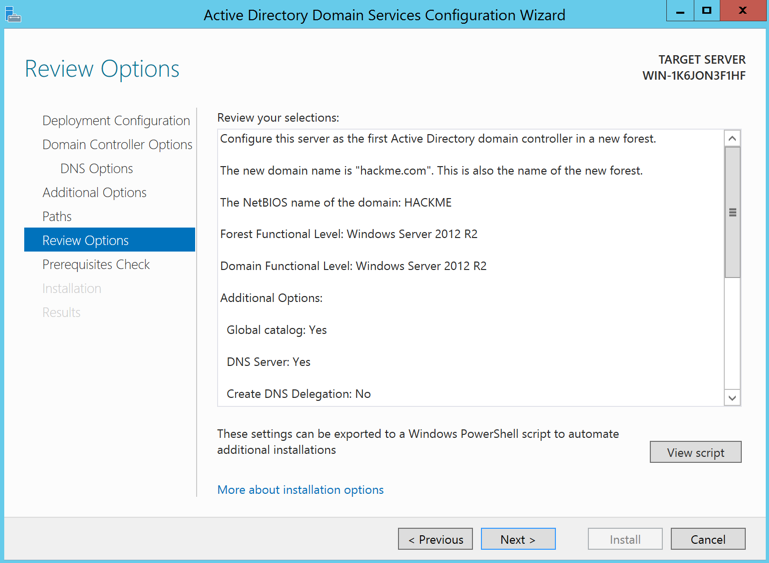
In the "Review Options" page, as shown below, click Next
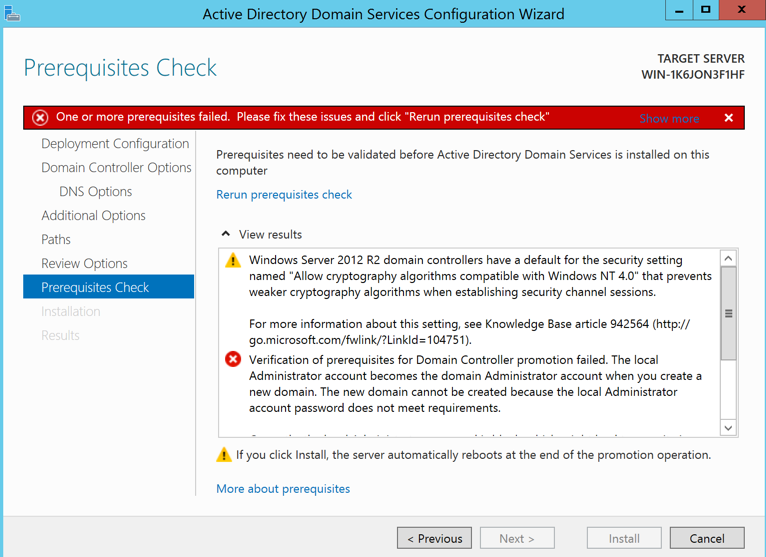
In the "Prerequisites Check" page, there's a problem with the password, as shown below.
At the lower left of the desktop, right-click the third icon. Click "Run as Administrator", as shown below.
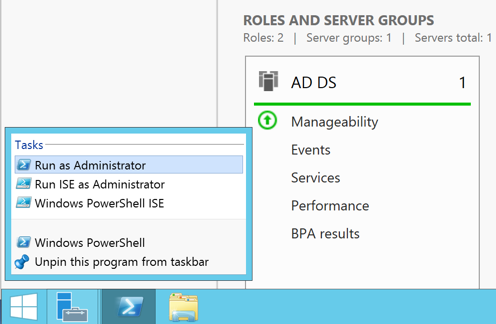
In the Powershell window, execute this command:
net user administrator P@ssw0rd123
In the "Prerequisites Check" page, click "Rerun prerequisites check".
Now the check passes, as shown below.
Click Install.

The server installs software and restarts.
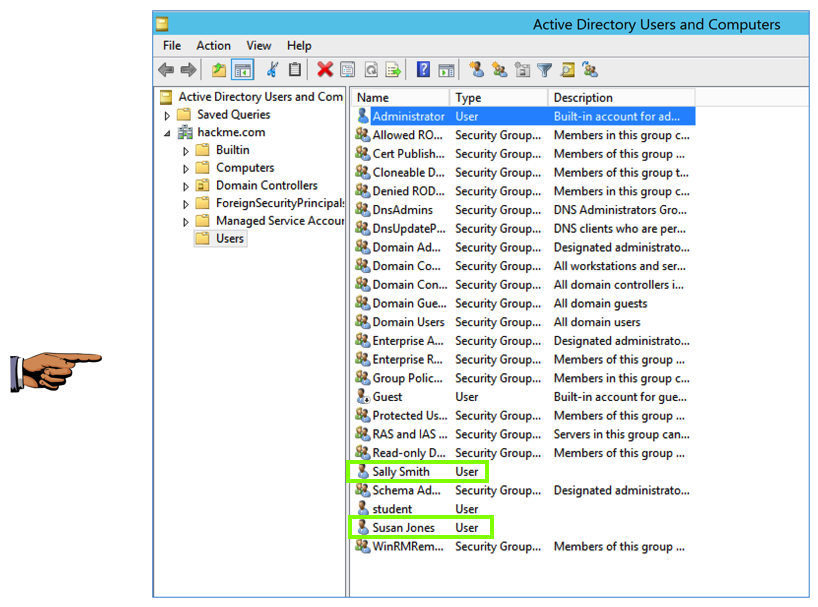
We'll make two Domain User accounts: Sally Smith and Susan Jones.
At the top right of Server Manager, click Tools, "Active Directory Users and Computers"
In the left pane, expand hackme.com and click on Users.
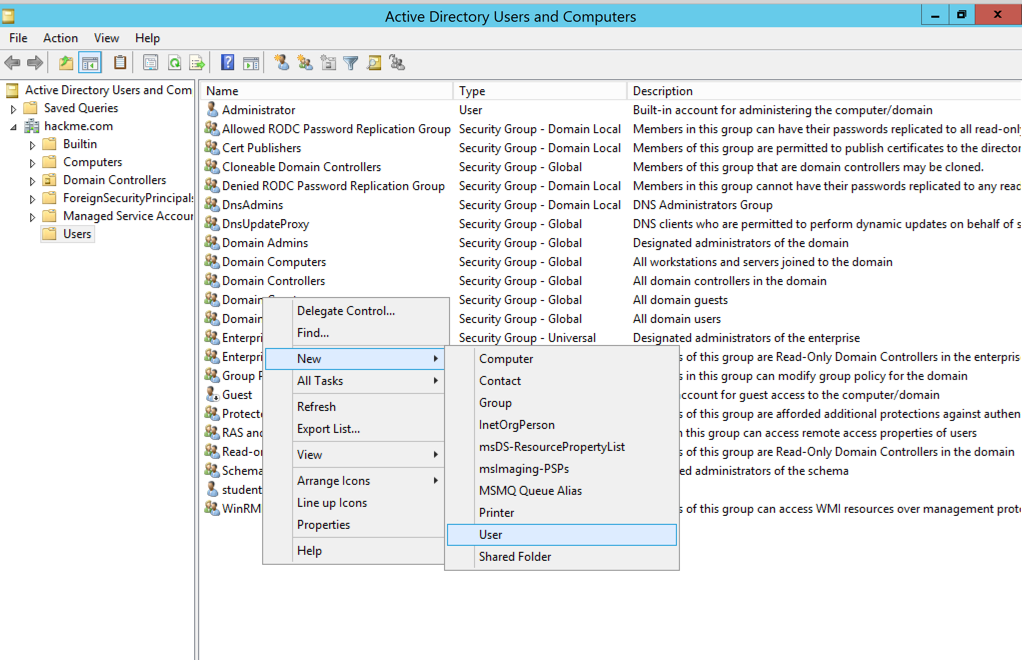
In an empty portion of the right pane, right-click, point to Users, point to New, and then click User.
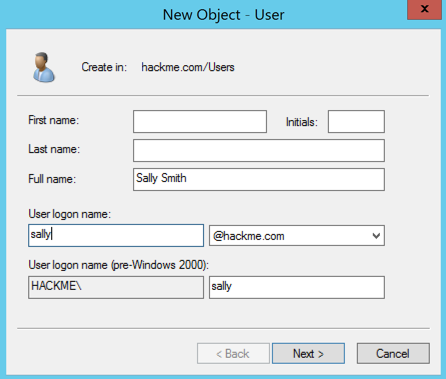
In the "New Object – User" dialog box, type Sally Smith in the Full name box and sally in the User logon name box, as shown below, and then click Next.
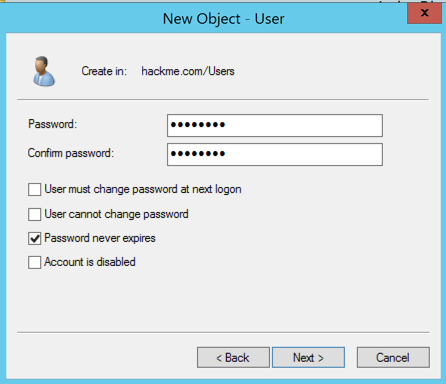
In the New Object – User dialog box, enter this password in both fields:
S@lly123
Clear the "User must change password at next logon" check box, and click the "Password never expires" check box, as shown below. Click Next, and then click Finish.
Susan Jones
With a login name of
susan
and a password of
Sus@n123
On the right side, you should see the two new users, as shown below.
Save a FULL DESKTOP image with the filename Proj 11xa from Your Name.
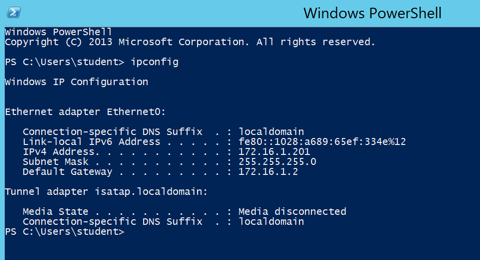
Execute the ipconfig command.
Find your IP address, as shown below. Make a note of it--you will need it later. When I did it, my IP address was 172.16.1.201.