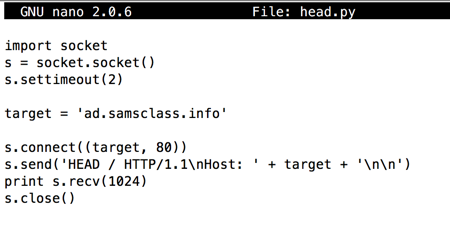
nano head.py
import socket
s = socket.socket()
s.settimeout(2)

target = 'ad.samsclass.info'

s.connect((target, 80))
s.send('HEAD / HTTP/1.1\nHost: ' + target + '\n\n')
print s.recv(1024)
s.close()
Press Ctrl+X, Y, Enter to save the file.
python head.py
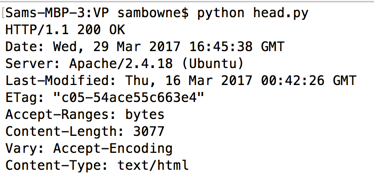
Explanation
This code connects on TCP port 80 just like the scanner you made in a previous project, but once it connects, it sends an HTTP request like this:The HEAD method grabs only the banner, without getting any pages from the server.
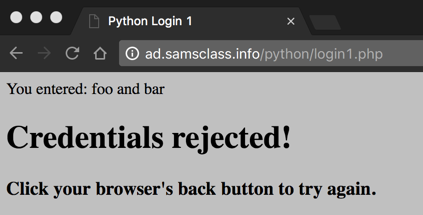
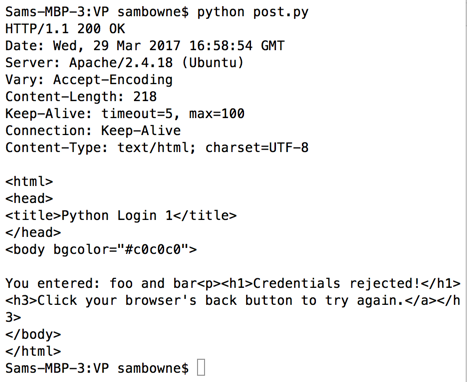
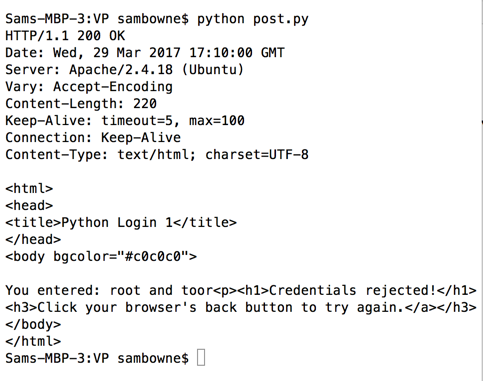
Your credentials are rejected, as shown below.
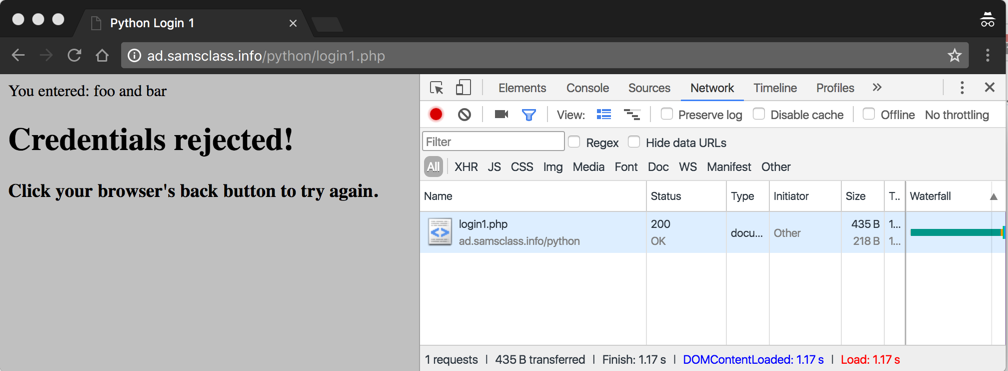
You should be viewing this page in Chrome.
From the Chrome menu bar, click View, Developer, "Developer Tools".
In the Developer Tools pane, at the top, click Network.
Log in again with a username of foo and a password of bar.
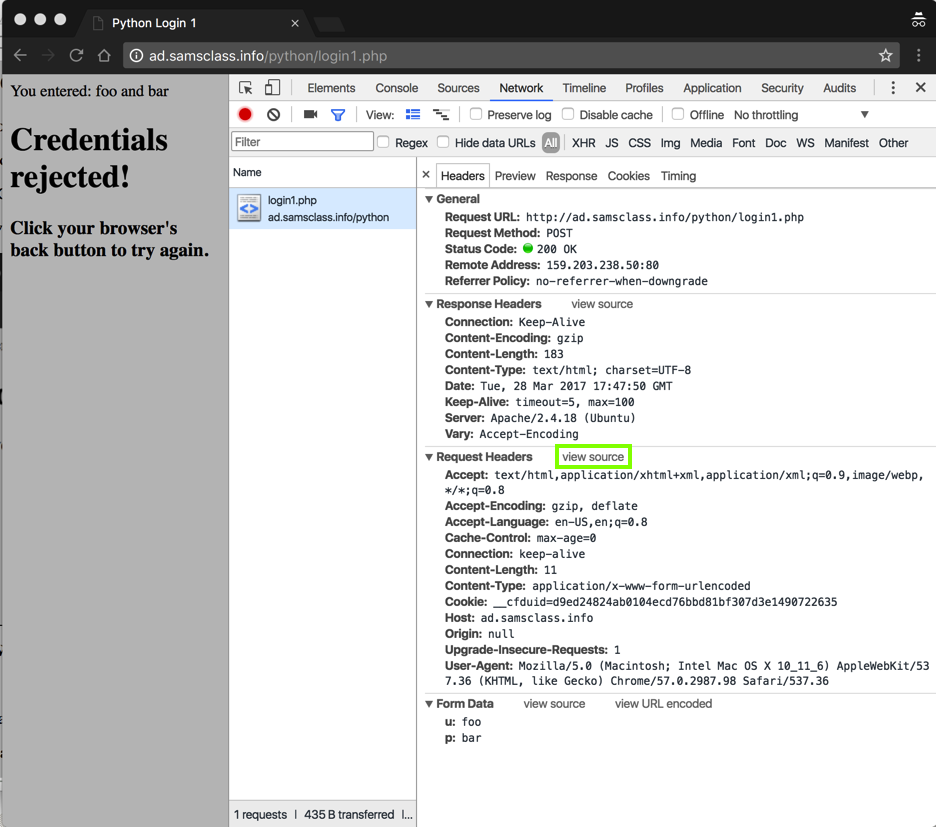
The Developer Tools shows a network request to "login1.php", as shown below.
In the "Developer Tools" pane, click login1.php. Details of the network request appear.
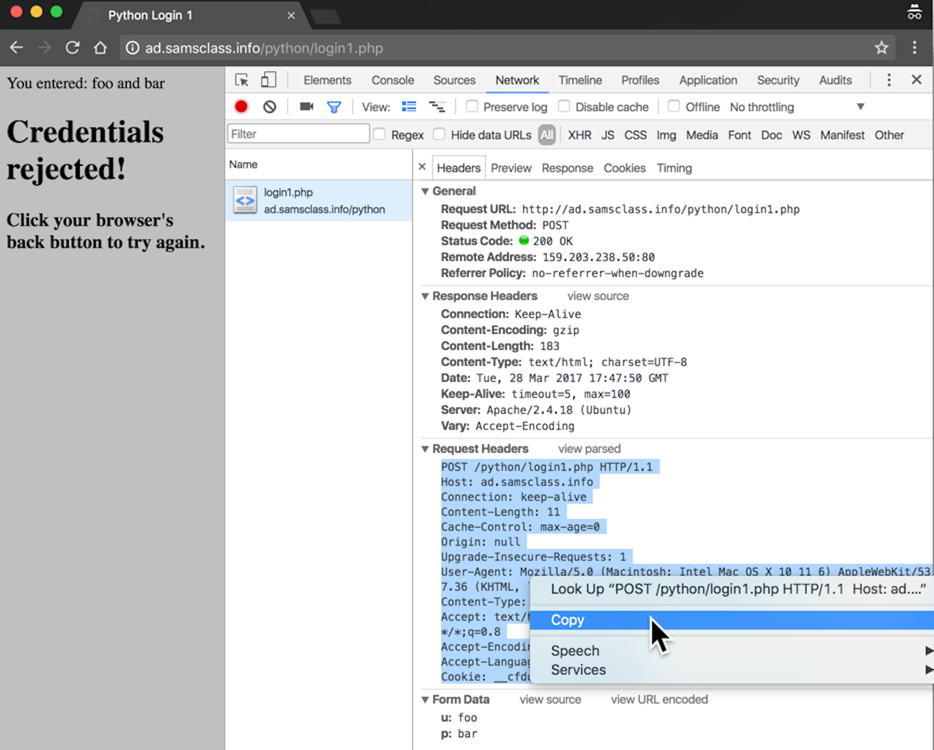
In the "Request Headers" section, click "view source", as shown below.
A block of text appears, beginning with "POST". Highlight all this text with your mouse, right-click, and click Copy, as shown below.
cp head.py post.py
nano post.py
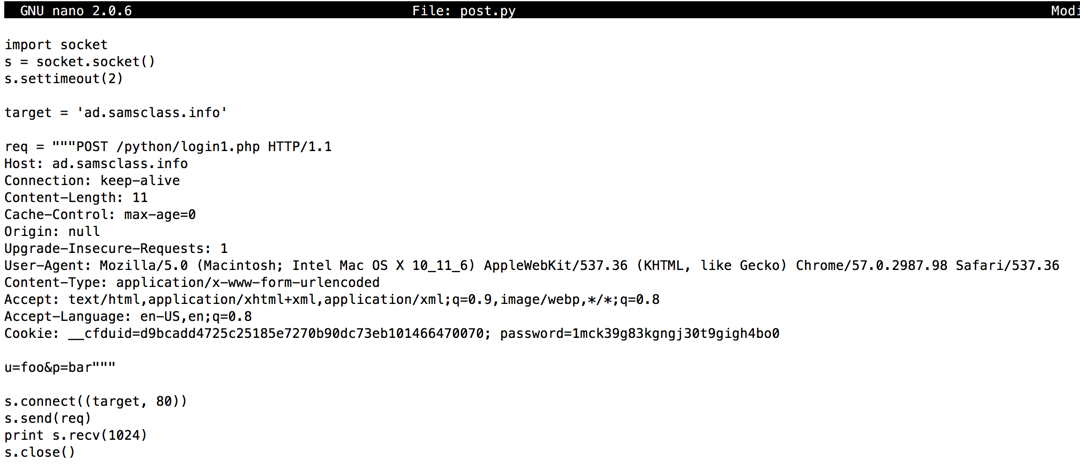
req = """
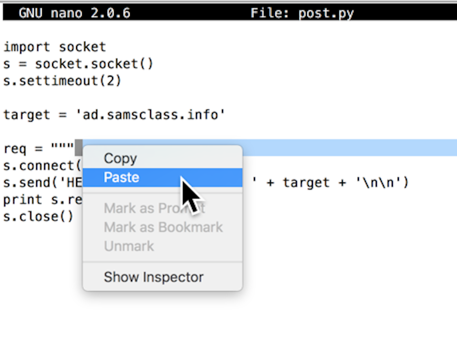
The request lines appear, as shown below.
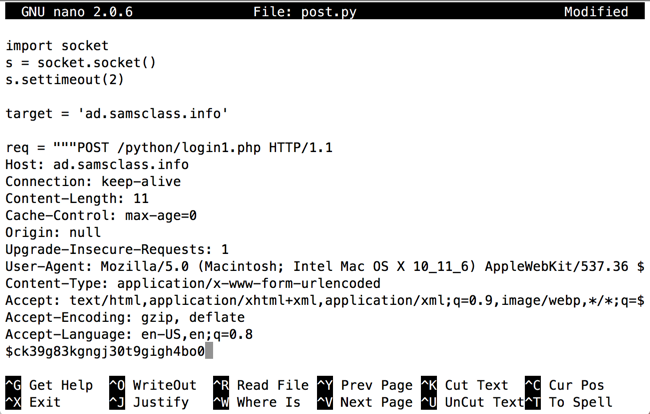
After the request lines, press Enter twice, and add this text:
u=foo&p=bar"""
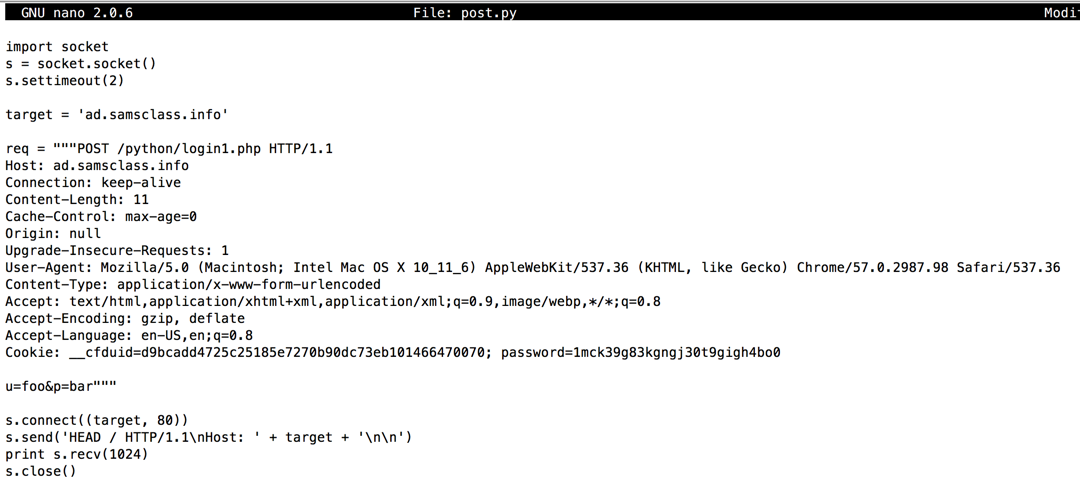
In the "s.send" line, remove all the text between the parentheses and replace it with req, as shown below.
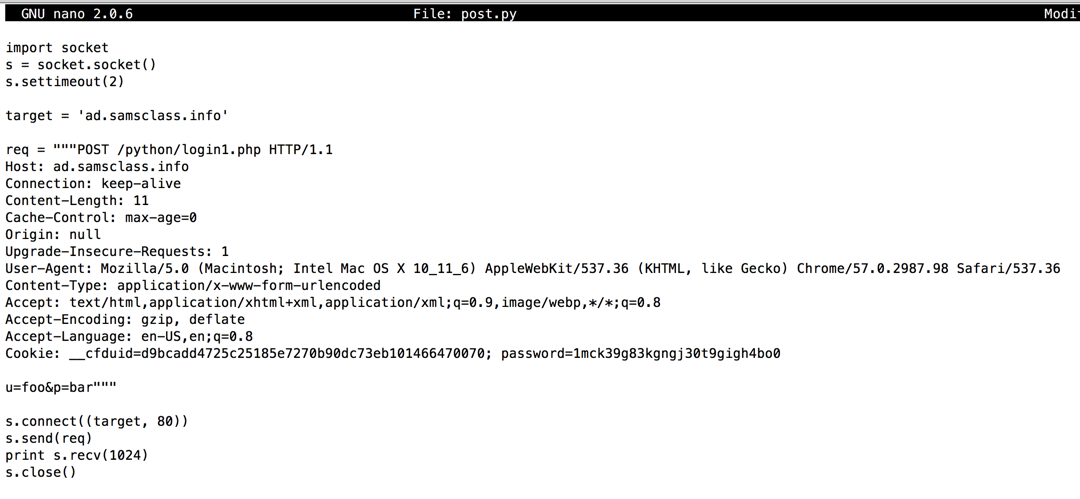
Press Ctrl+X, Y, Enter to save the file.
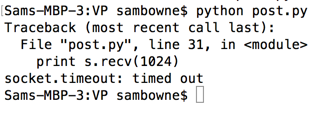
python post.py
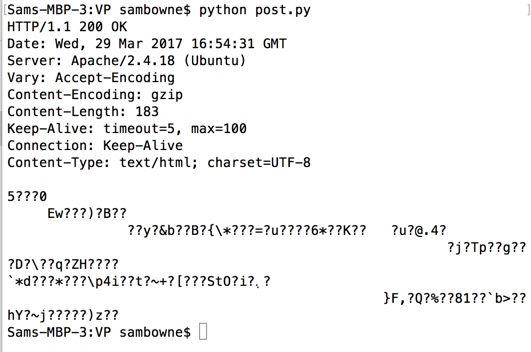
To get that, we need to remove the "Accpt-Encoding" tag.
In a Terminal window, execute this command to edit the post.py script:
nano post.py
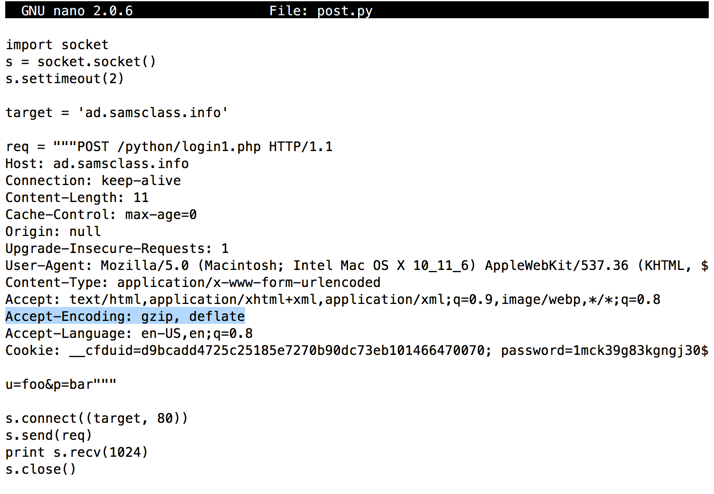
Delete that line entirely, as shown below.
In nano, save the "post.py" file.
In the Terminal window, execute this command to run the post.py program.
python post.py
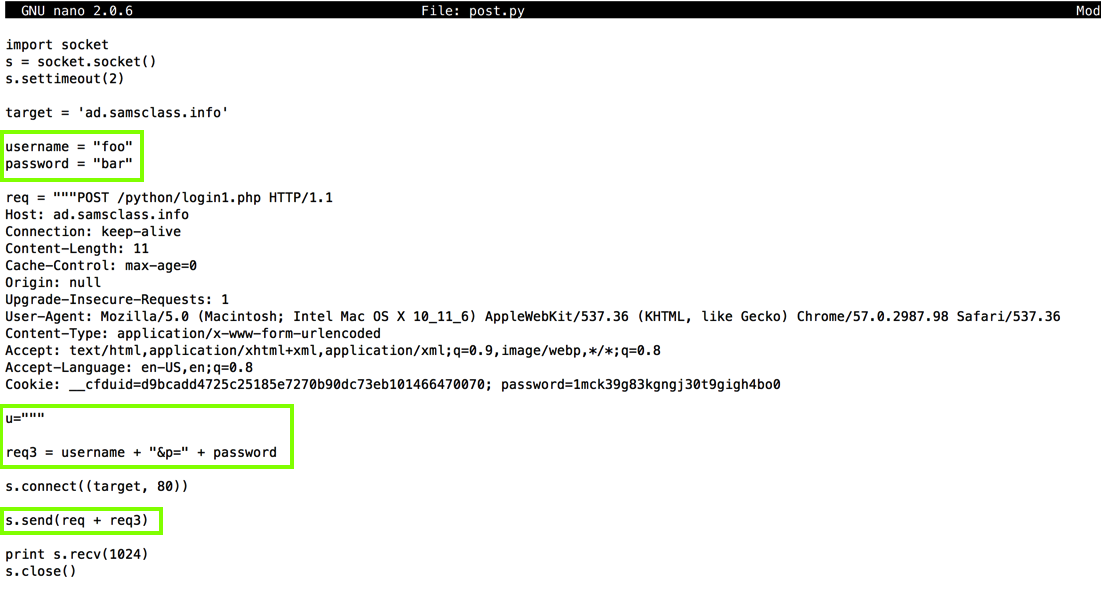
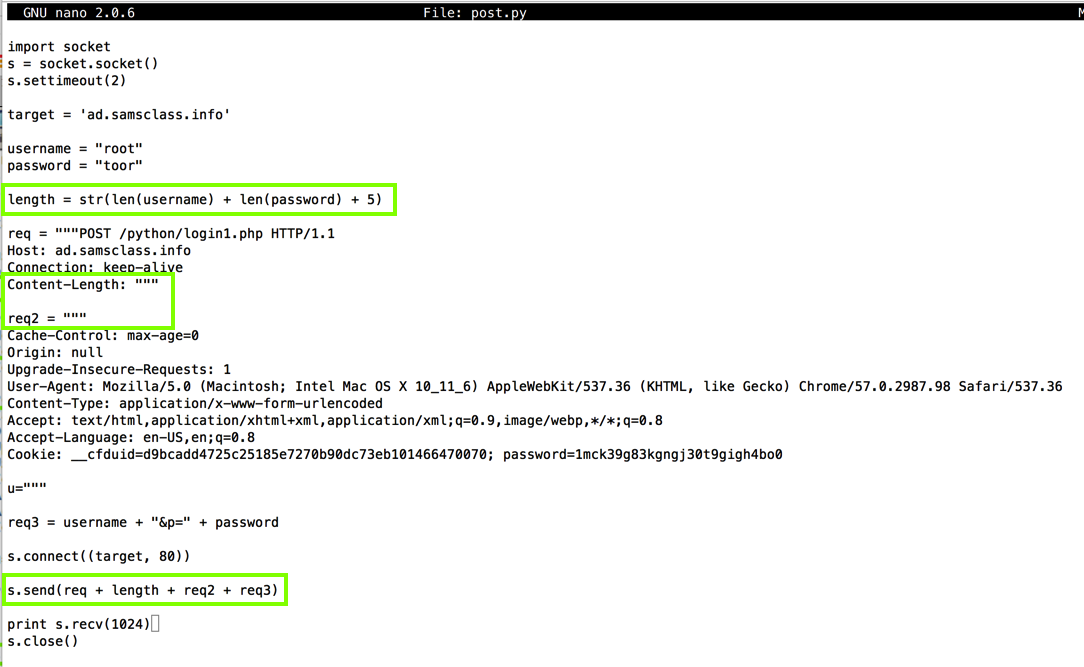
The changed lines are outlined in green.
In nano, save the modified program.
In the Terminal window, execute this command to run the post.py program.
python post.py
In nano, save the modified program.
In the Terminal window, execute this command to run the post.py program.
python post.py
In nano, modify your script as shown below, to calculate the correct Content-Length and insert it into the request.
In nano, save the modified program.
In the Terminal window, execute this command to run the post.py program.
python post.py
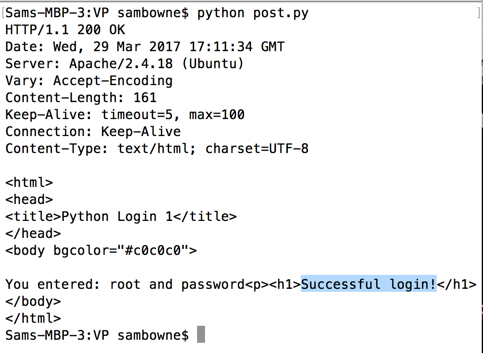
password
Run that script to get a "Successful Login" message, as shown below.
nano loop1.py
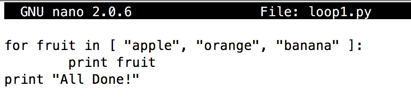
In the Terminal window, run the loop1.py program.
You should see four lines of output, as shown below.

nano loop2.py
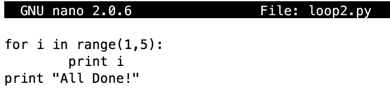
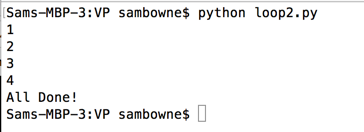
In the Terminal window, run the loop2.py program.
You should see five lines of output, as shown below.
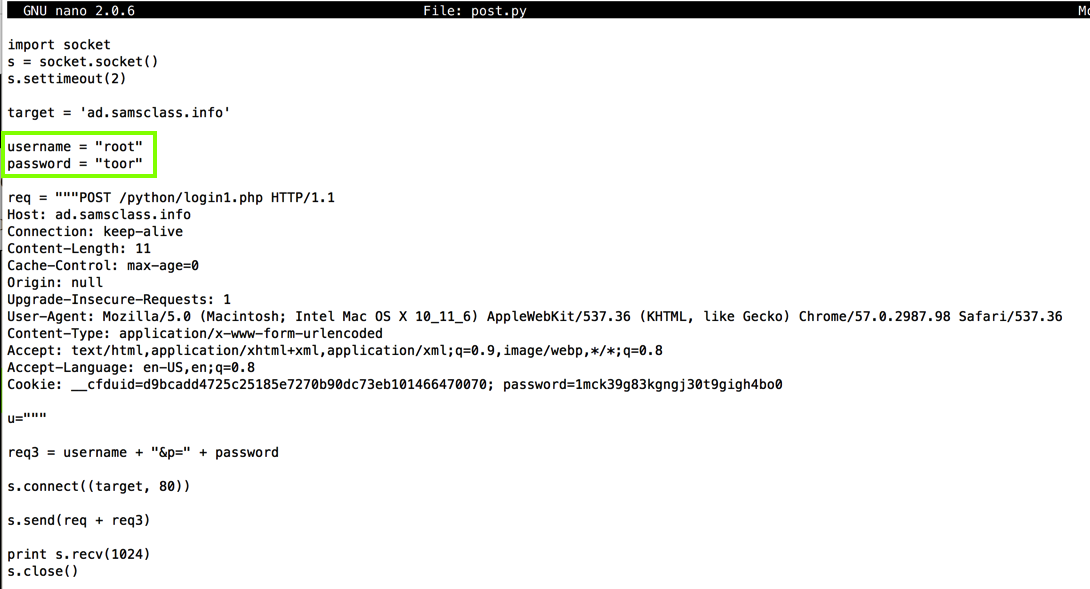
The user name is one of these:
Write a script that finds the correct credentials and logs in.
When you find it, you'll be able to get your name onto the WINNERS PAGE as shown below:

Hints
1. Don't just use the same script you created earlier. Examine a login with Chrome Developer Tools to see how this login differs from the previous one.2. Apache only allows you to make 100 HTTP requests before you need to close the connection and re-open it.
You'll be able to get your name onto these pages:
Credits
CEO: Sarah Bellum
Staff: Pete Moss, Sandy Beach
(Stolen from A Prairie Home Companion)
Hints
1. First try logging in by hand. Examine the error messages you get to find out what names and password types are used.2. You need to find four accounts, but only three employee names are shown. Think about what other account is needed, why it would not appear in the list of employees, and why it might not have the same security policies.