WARNING ABOUT AZURE
If you are using an Azure or other cloud Windows server, this project may cause you to lose access to it. I don't recommend doing it. You may be able to do it by first configuring Google Remote Desktop on the cloud Windows server, but that might not work.
Click the "Start connecting devices" button.
Click "Sign up with Google" and log in to your Google account.
Fill in the form and click the "Next:Add your first device" button.
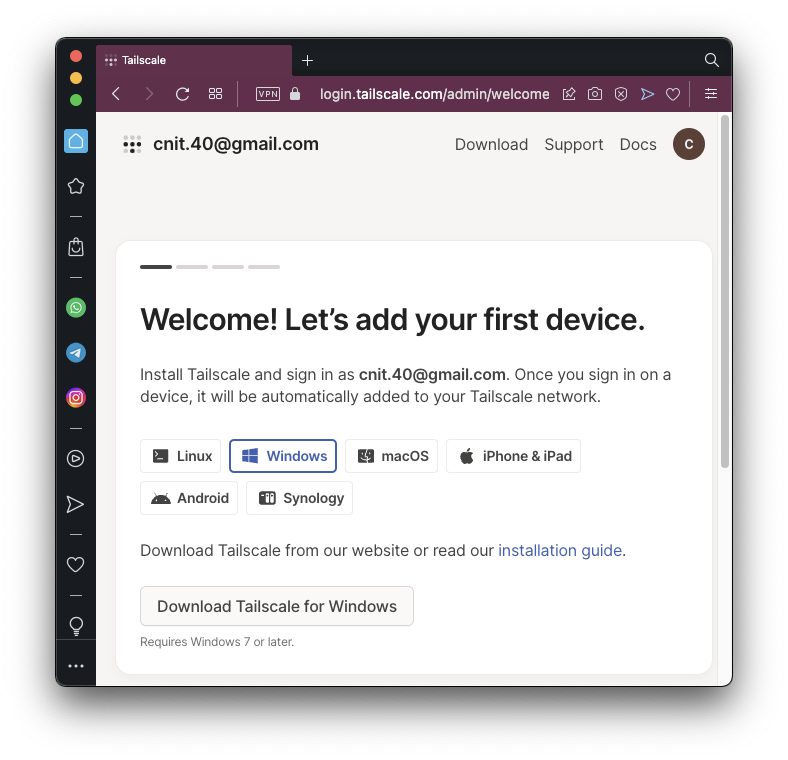
You see the Welcome page shown below.
Click the "Download Tailscale for Windows" button.
On the next page, click the "Download Tailscale for Windows" button.
Run the installer you downloaded. When you see the "Installation Succesfully Completed" message, click Close.
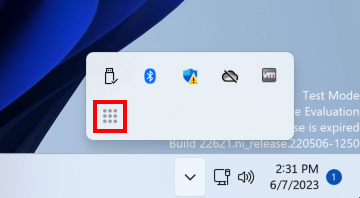
In the lower right corner of your desktop, click the up-arrow. Click the Tailscale icon, which is nine dots in a square, outlined in red in the image below.
A Web page opens. Log in with your Google account. Click Connect.
sudo mkdir -p --mode=0755 /usr/share/keyrings
curl -fsSL https://pkgs.tailscale.com/stable/debian/bookworm.noarmor.gpg | \
sudo tee /usr/share/keyrings/tailscale-archive-keyring.gpg >/dev/null
curl -fsSL https://pkgs.tailscale.com/stable/debian/bookworm.tailscale-keyring.list | \
sudo tee /etc/apt/sources.list.d/tailscale.list
sudo apt-get update
sudo apt-get install tailscale
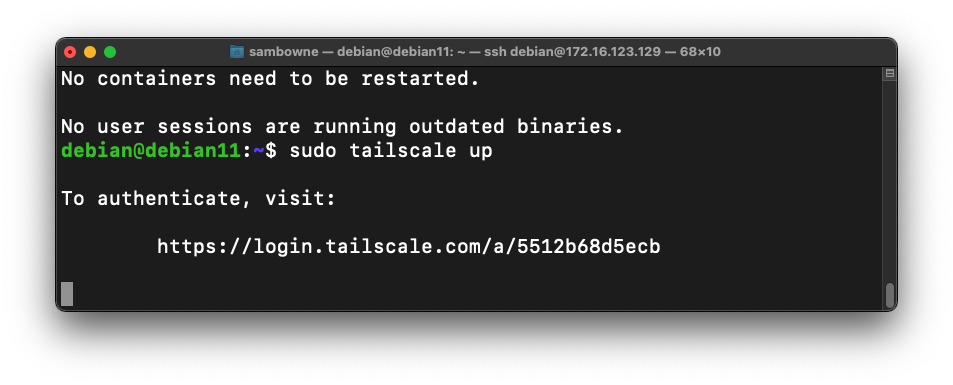
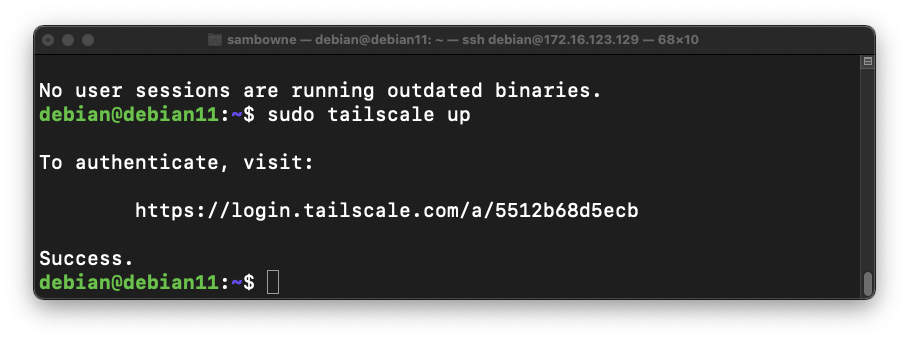
sudo tailscale up
Open that URL in a browser on any machine. Log in to the same Google account you used on Windows.
Click Connect.
The "tailscale up" command finishes, returning a "$" prompt, as shown below.
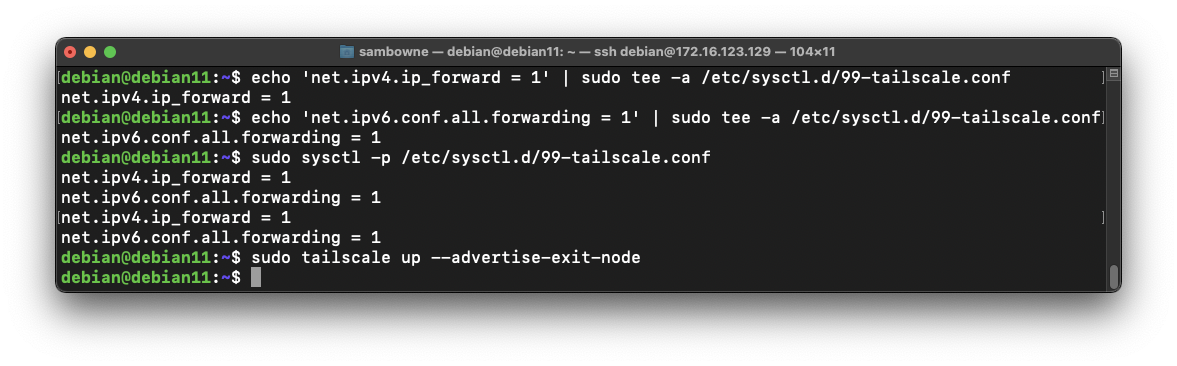
Now we need to enable IP forwarding and make the Linux machine an exit node.
On your Debian Linux server, in a Terminal session, execute these commands:
echo 'net.ipv4.ip_forward = 1' | sudo tee -a /etc/sysctl.d/99-tailscale.conf
echo 'net.ipv6.conf.all.forwarding = 1' | sudo tee -a /etc/sysctl.d/99-tailscale.conf
sudo sysctl -p /etc/sysctl.d/99-tailscale.conf
sudo tailscale up --advertise-exit-node
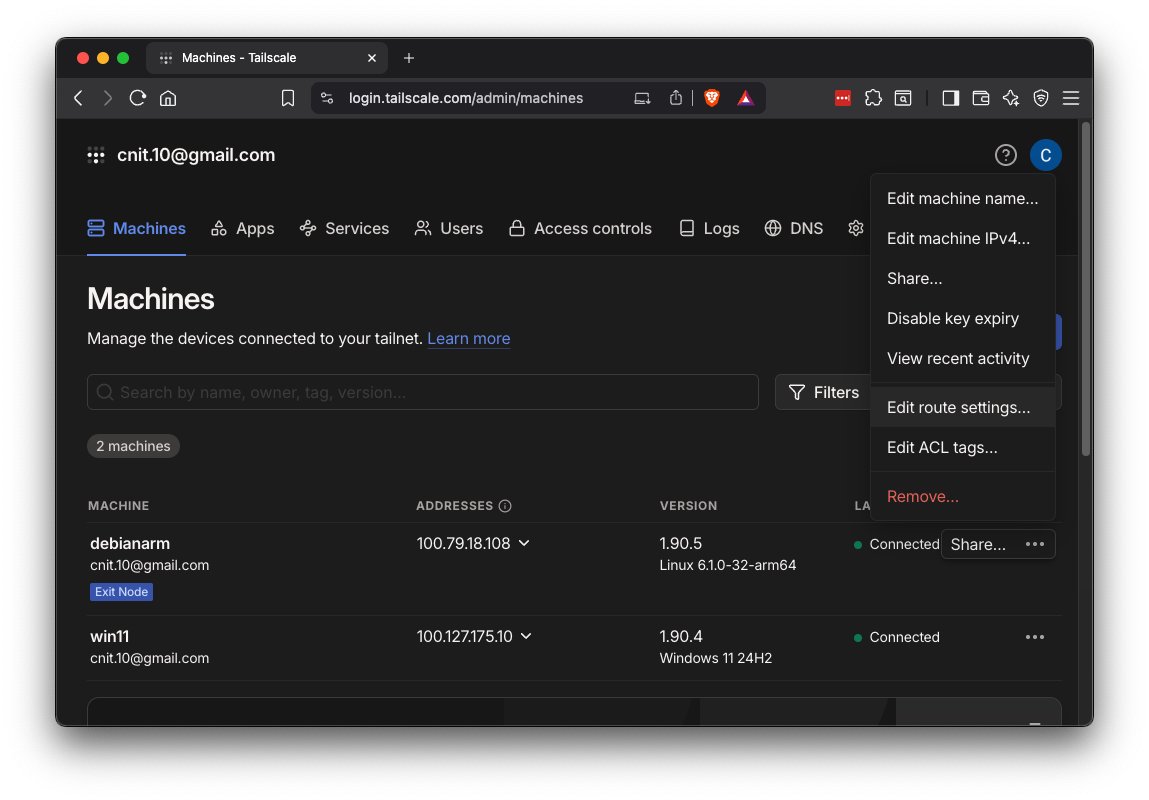
https://login.tailscale.com/admin/machines
You see two machines, as shown below.
On the "debian" line, on the right side, click the three-dot icon. Click "Edit route settings...".
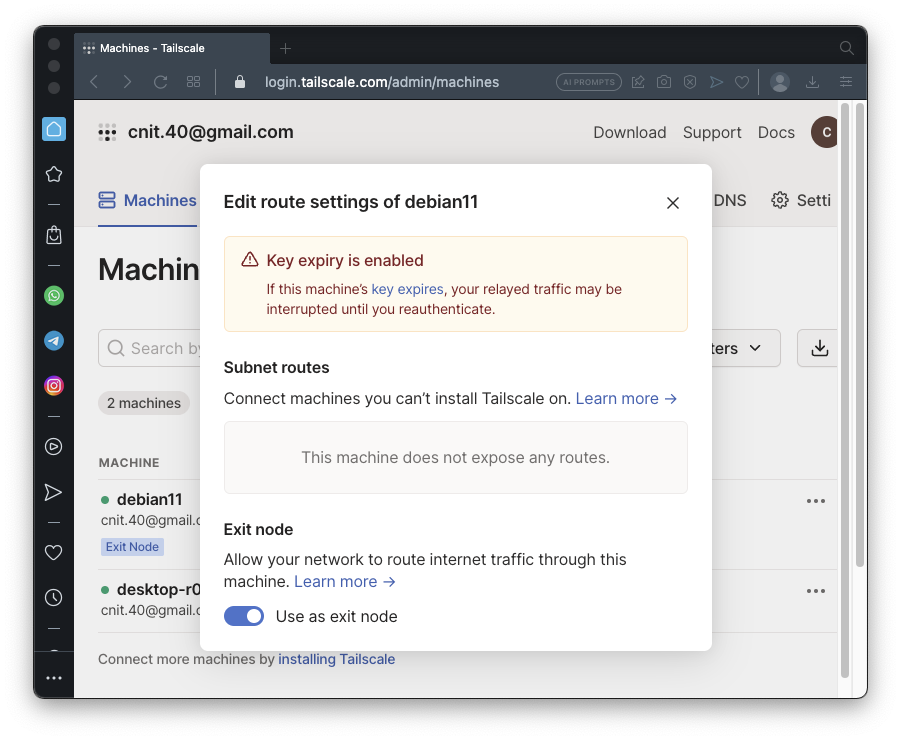
Click the "Use as exit node" slider, as shown below.
Point to "Exit nodes".
Enable "Allow local network access", as shown below.

Point to "Exit nodes".
Click your debian server's name.
tracert 8.8.8.8

Traffic is being routed through the VPN!
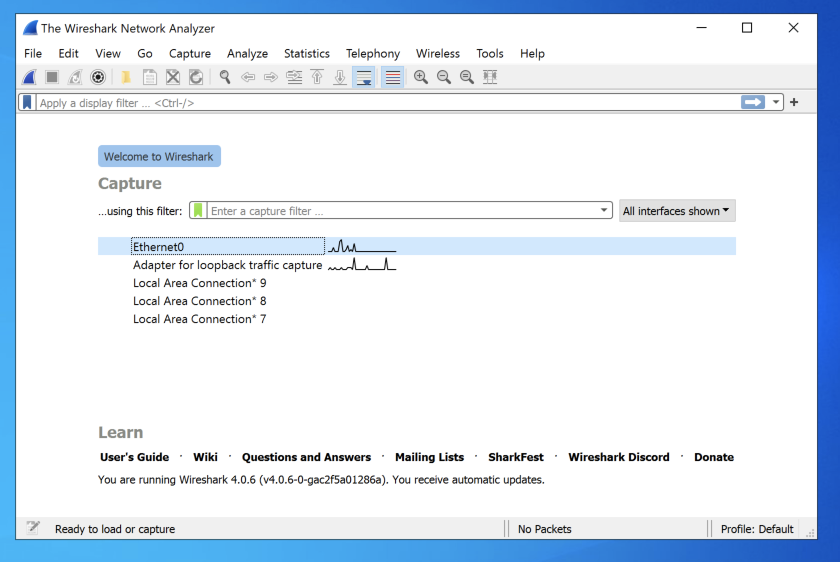
In the main Wireshark window, double-click Ethernet0, or whatever adapter connects to the Internet on your system, as shown below.
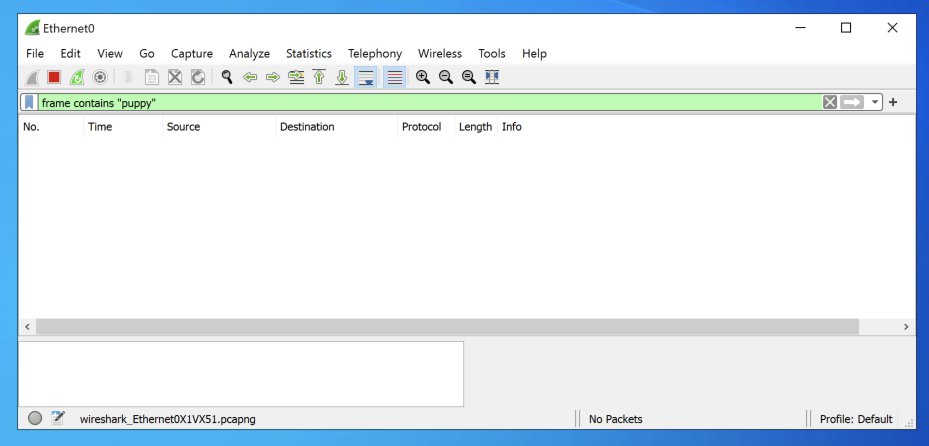
In the the "Capturing from Ethernet0" window, at the top left, in the "Apply a display filter" bar, type this:
frame contains "puppy"
The filter bar turns green, as shown below.
Wireshark is now listening for any packets containing the word "puppy".
In Settings, search for
secure dns
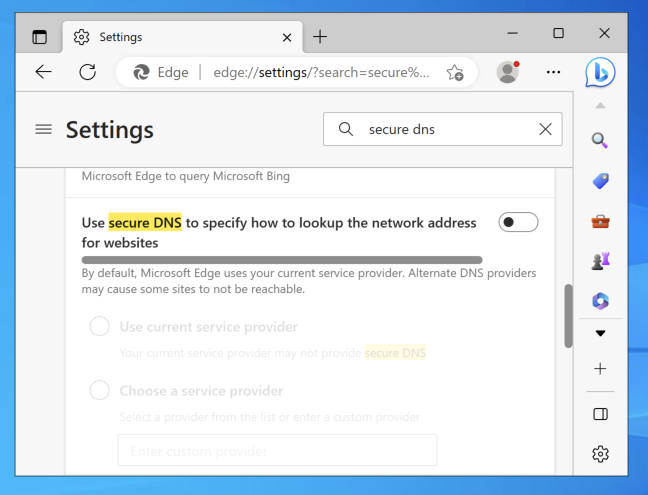
as shown below.
The page loads, and Wireshark doesn't detect any traffic containing "puppy". DNS traffic is encrypted.
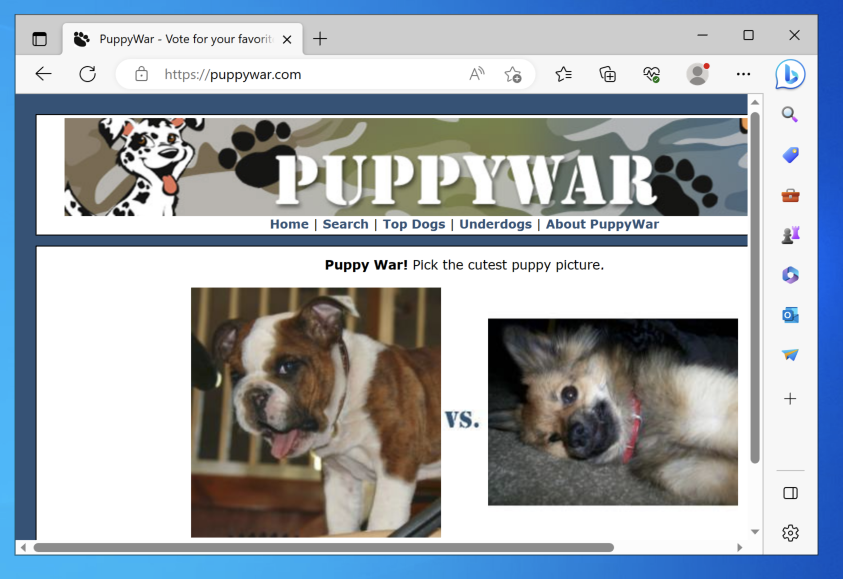
http://ad/samsclass.info/cookielogin
Log in with a username and password that contain "puppy", as shown below.
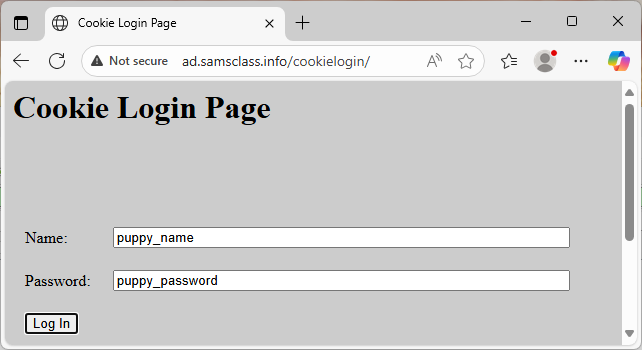
The login is rejected. The browser sent the username and password to the server, and Wireshark didn't detect any traffic containing "puppy". HTTP traffic is encrypted.
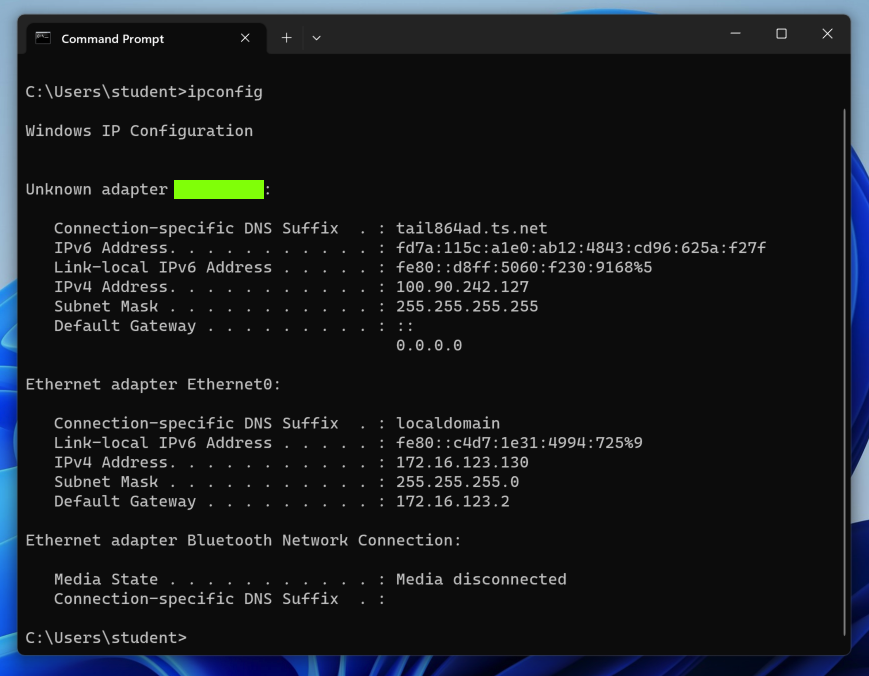
Flag H 241: Adapter Name (15 pts)
On your Windows machine, click Start and type CMD. Open a Command Prompt and execute this command:The flag is covered by a green rectangle in the image below.
Posted 6-7-23
Updated 10-31-25