I am following this tutorial: Kubernetes Bootcamp (CKAD) .
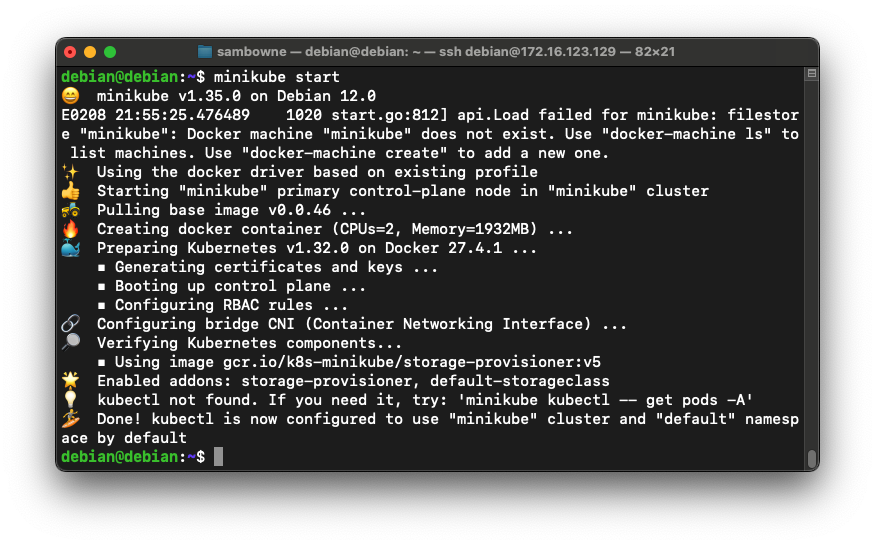
Your cluster starts, showing several messages, ending with "Done! kubectl is now configured...", as shown below.minikube start
Troubleshooting
If minkube just hangs and won't start, press Ctrl+C and execute these commands:minikube delete minikube start
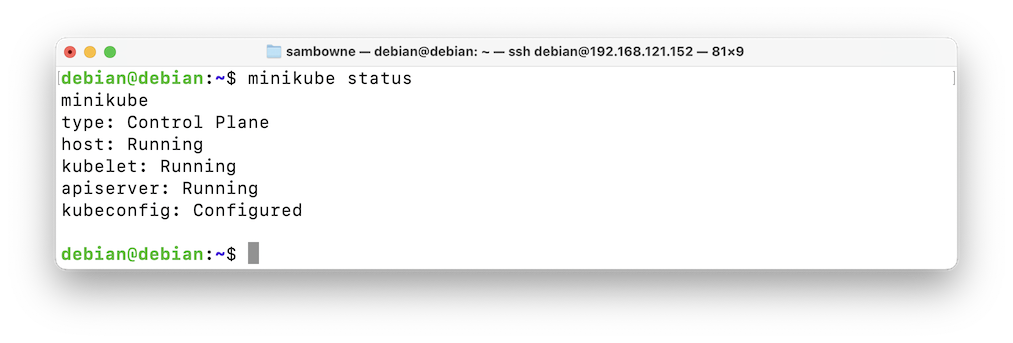
You should see several "Running" items, as shown below.minikube status
The new pod appears, as shown below:kubectl get all kubectl run mypod --image=nginx:alpine kubectl get all

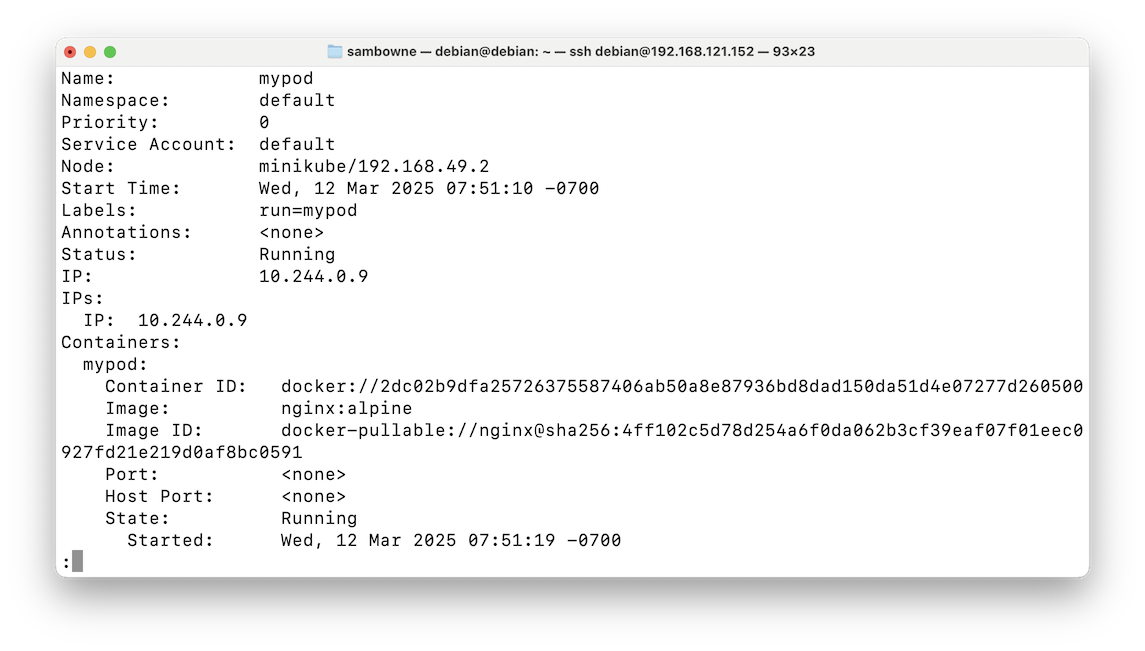
The first page of output has basic information about your pod, in a human-readable format, as shown below:kubectl describe pods mypod | less
Press the SPACEBAR a few times to move to the end of the output.
You see a list of events affecting this pod, as shown below:
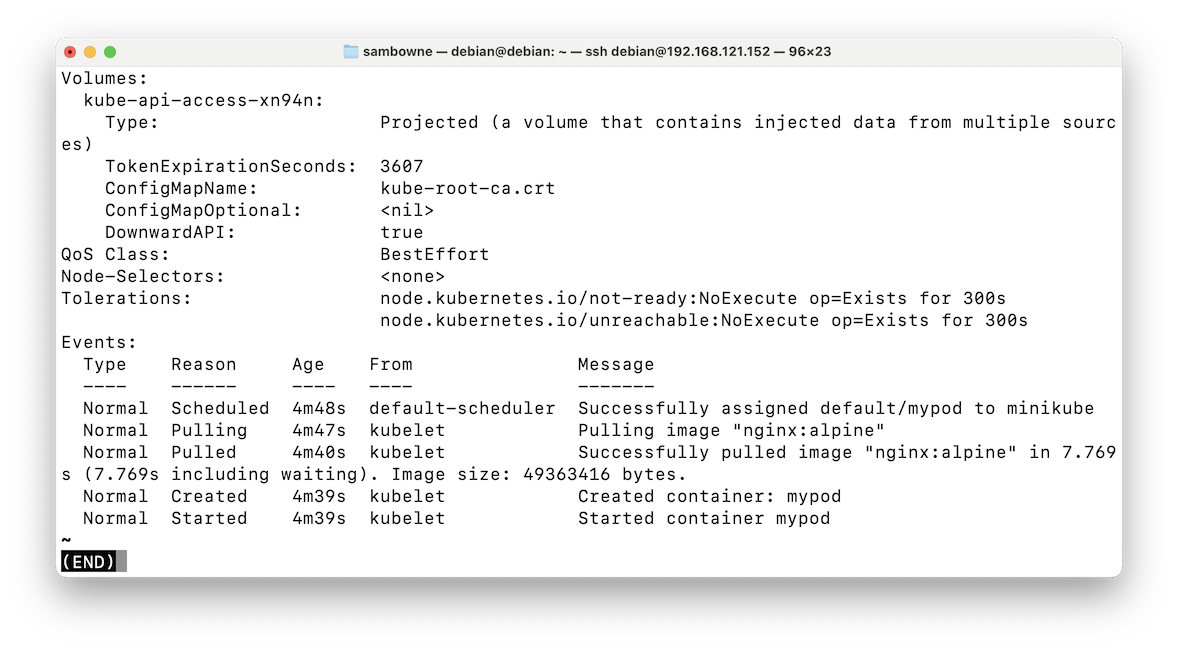
Press q to exit from "less."
Execute this command:
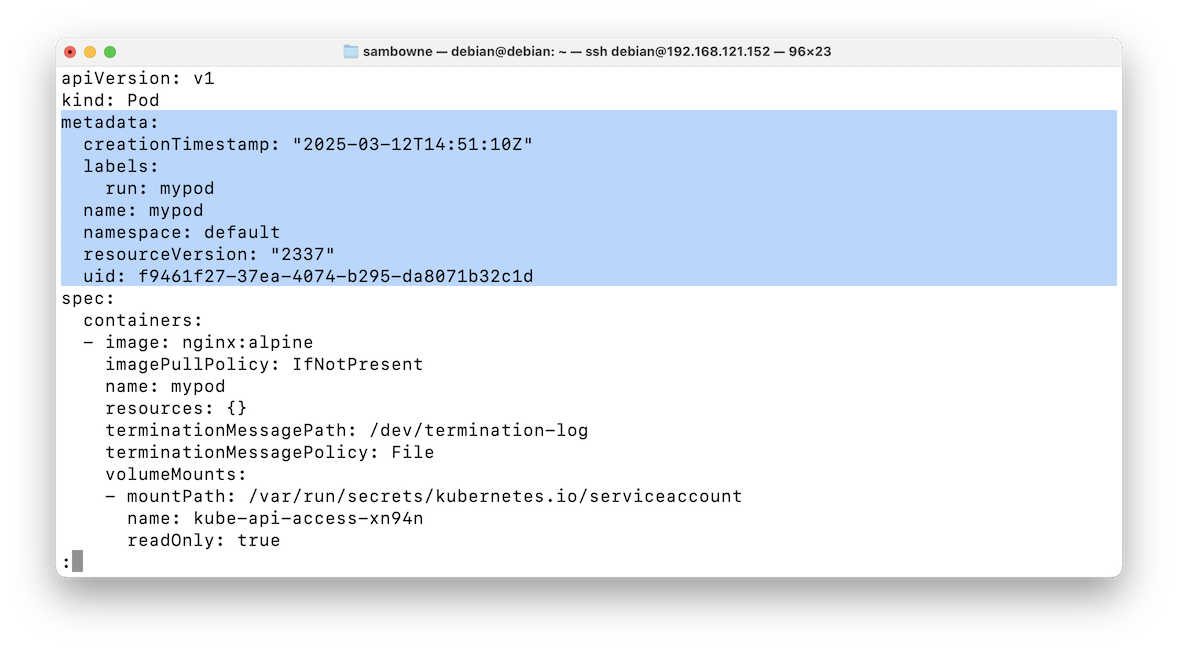
You see information about your pod in YAML format, which is machine-readable.kubectl get pod mypod -o yaml | less
Like Python, whitespace matters in the YAML format. Items are indented to indicate what sections they belong to.
The "metadata" section is highlighted in the image below:
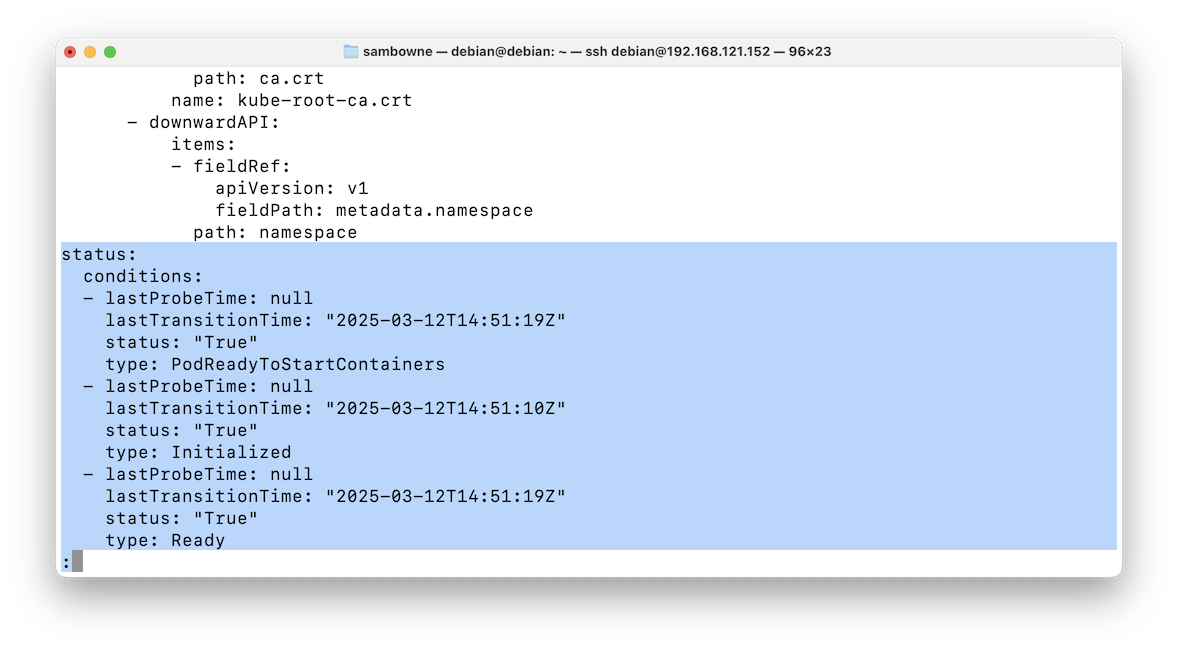
After the "metadata" section comes the "status" section, visible in the image above.
Press the SPACEBAR a few times to move to the "status" section, as shown below:
There are three main sections in a Manifest file:
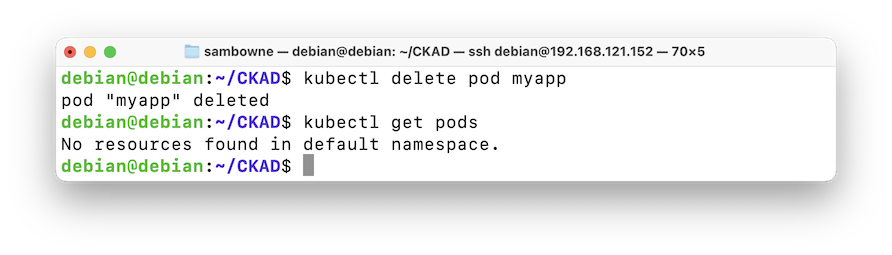
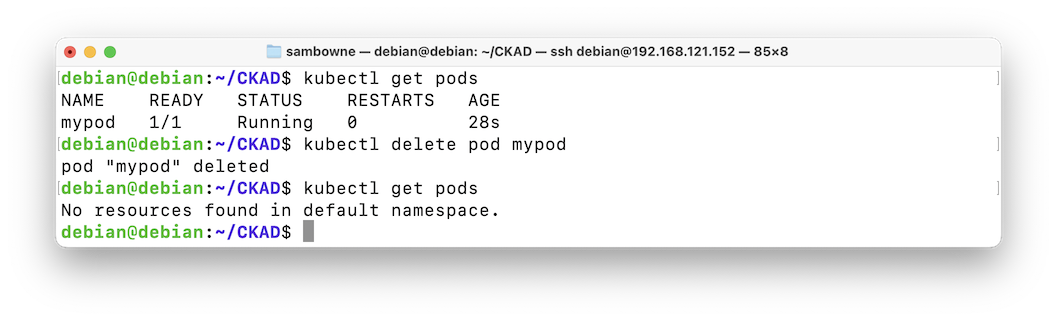
The pod is gone, as shown below:kubectl get pods kubectl delete pod mypod kubectl get pods
We'll create a manifest file named "sleeper.yaml", based on the Busybox image, that sleeps for 10 seconds and then stops.
Execute these commands:
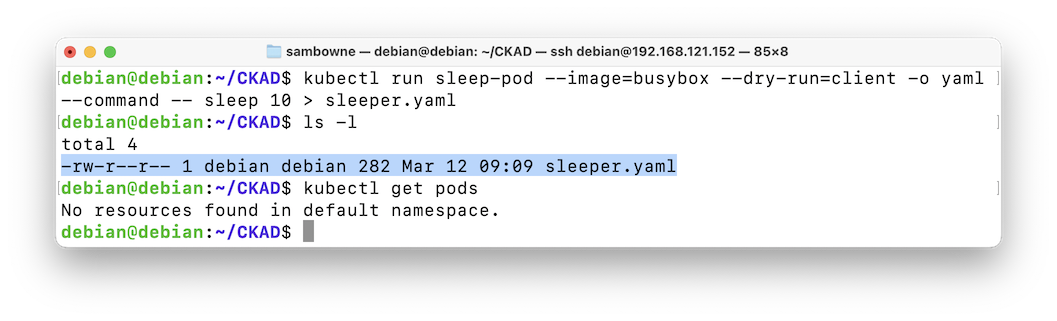
A file named sleeper.yaml appears, but no pod is created, as shown below:kubectl run sleep-pod --image=busybox --dry-run=client -o yaml --command -- sleep 10 > sleeper.yaml ls -l kubectl get pods
Execute this command:
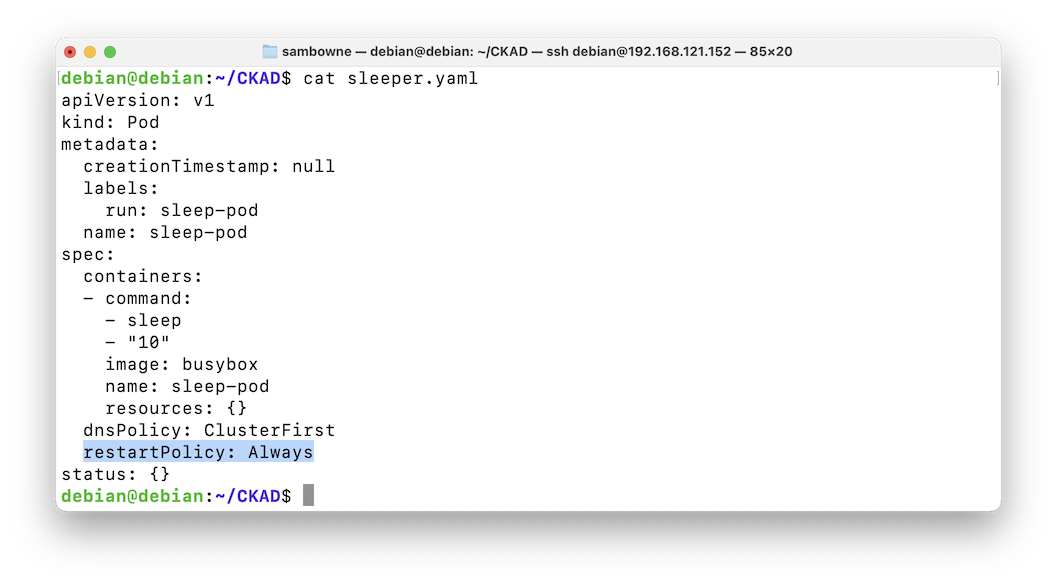
The file is quite simple, as shown below. It specifies that the pod will use the "busybox" image, and run the "sleep" command with the argument "10".cat sleeper.yaml
Notice the restartPolicy of "Always."
The pod is created, as shown below.kubectl apply --filename=sleeper.yaml kubectl get pods
Wait about ten seconds, and then repeat the "kubectl get pods" command.
Then wait 30 seconds, and repeat it again.
Then wait 60 seconds and repeat it again.
You'll see a STATUS of "CrashLoopBackOff", as shown below.
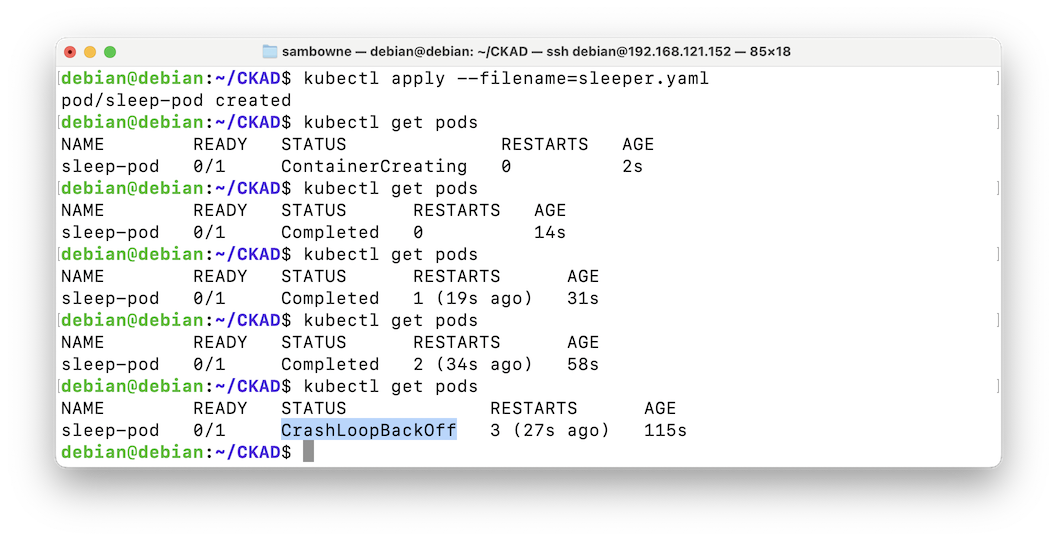
This pod starts, waits ten seconds, and then stops.
But since the manifest file says to always restart, it automatically starts again.
Kubernetes notices this behavior and labels it a "crash loop", so it delays the restarts in an increasing pattern of time intervals, to reduce the resources consumed by this pod.
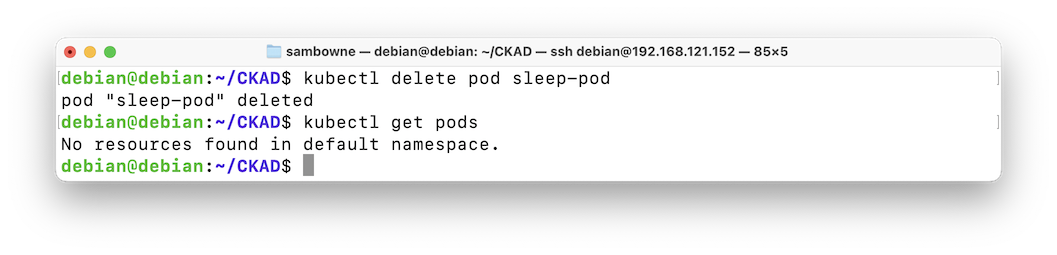
The pod is gone, as shown below.kubectl delete pod sleep-pod kubectl get pods
Change the restartPolicy to Never, as shown below.nano sleeper.yaml
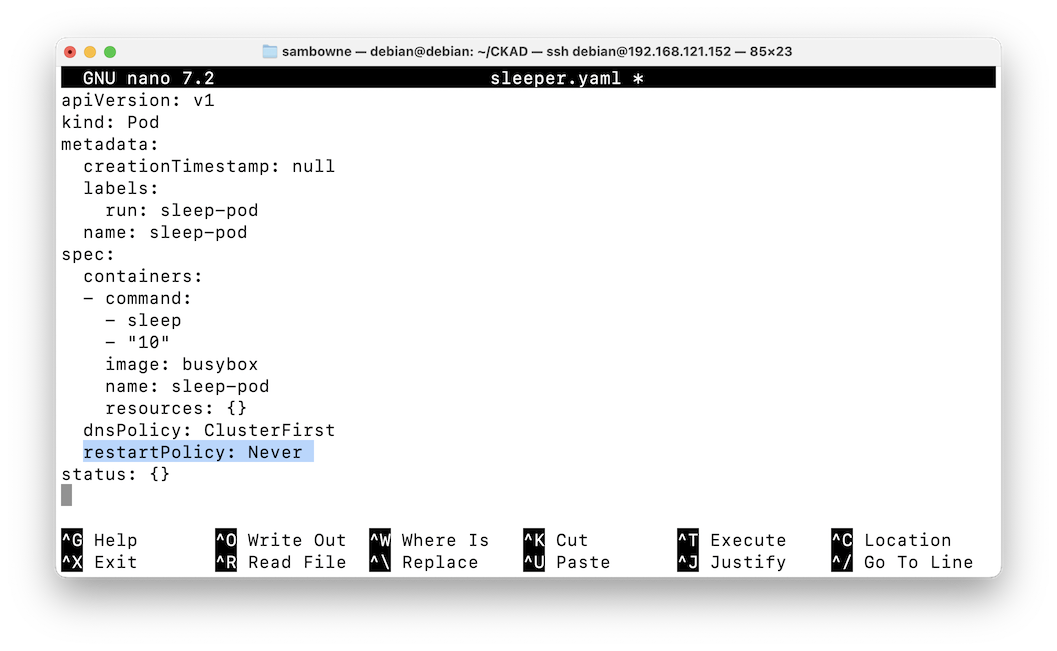
Save the file with Ctrl+x, y, Enter.
The pod is created, as shown below.kubectl apply --filename=sleeper.yaml kubectl get pods
Wait about ten seconds, and then repeat the "kubectl get pods" command.
Then wait 20 seconds, and repeat it again.
The pod has a STATUS of "Completed", and zero RESTARTS, as shown below.
This pod doesn't have the "crash loop" problem.
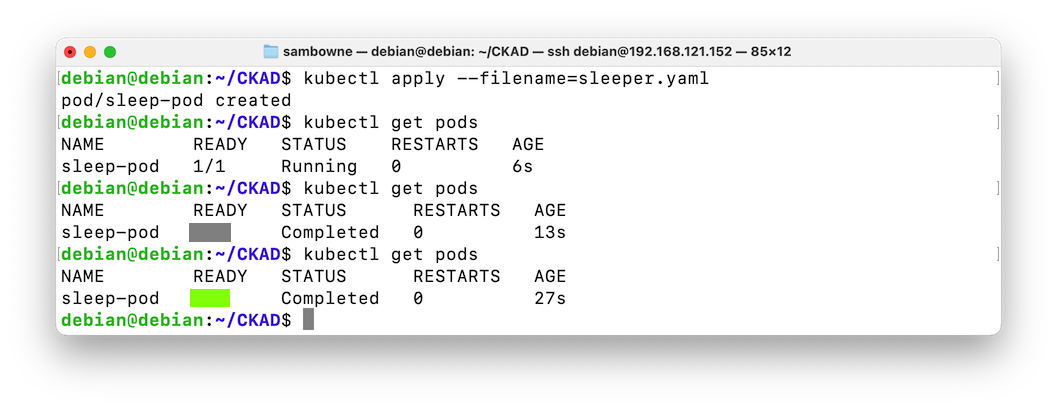
Flag H 142.1: READY (10 pts)
The flag is covered by a green rectangle in the image above.
The pod is gone, as shown below.kubectl delete pod sleep-pod kubectl get pods

Init containers are exactly like regular containers, except:
Execute these commands:
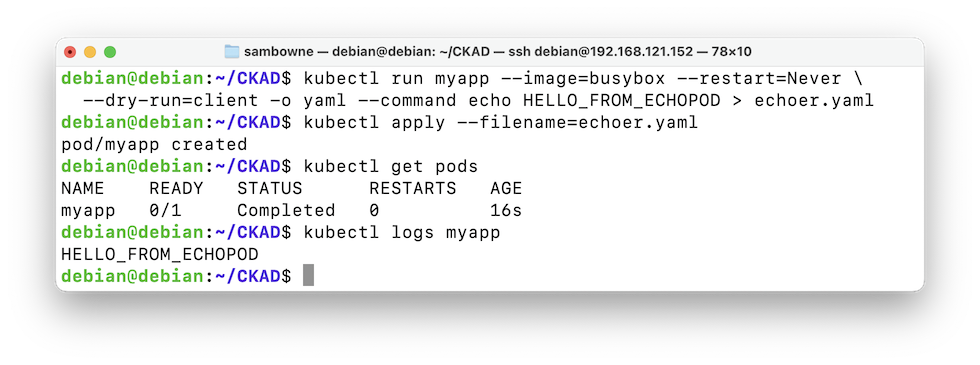
The pod runs, and stops immediately, with status "Completed". The message appears in the log, as shown below.kubectl run myapp --image=busybox --restart=Never \ --dry-run=client -o yaml --command echo HELLO_FROM_ECHOPOD > echoer.yaml kubectl apply --filename=echoer.yaml kubectl get pods kubectl logs myapp
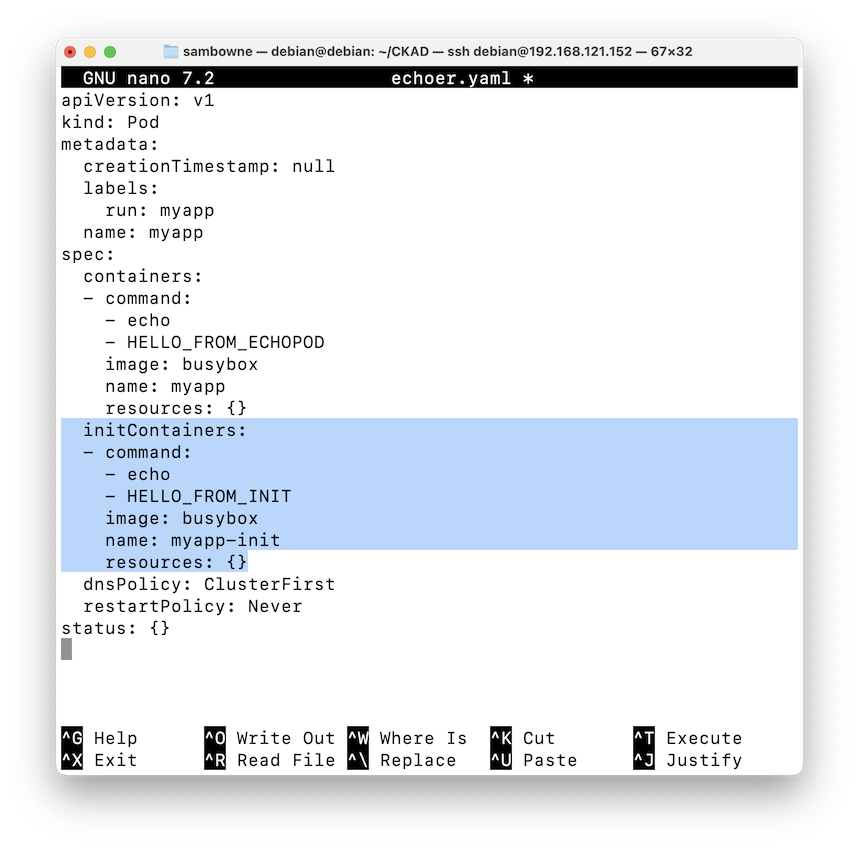
Add these lines, as shown below.nano echoer.yaml
  initContainers:
  - command:
    - echo
    - HELLO_FROM_INIT
    image: busybox
    name: myapp-init
    resources: {}
Save the file with Ctrl+x, y, Enter.
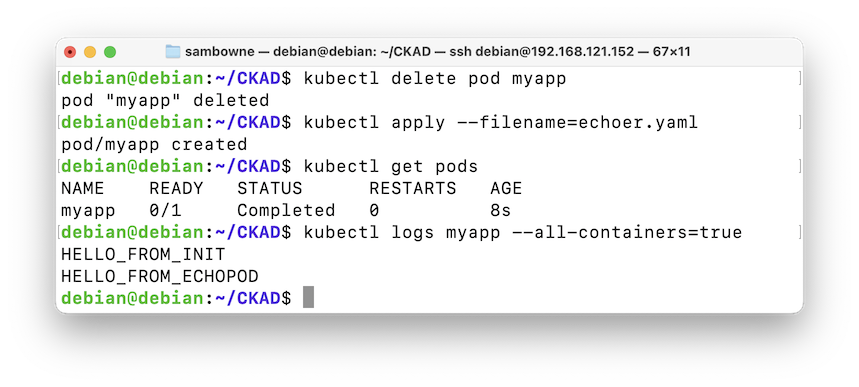
To delete the old pod and recreate it with the Init container, execute these commands:
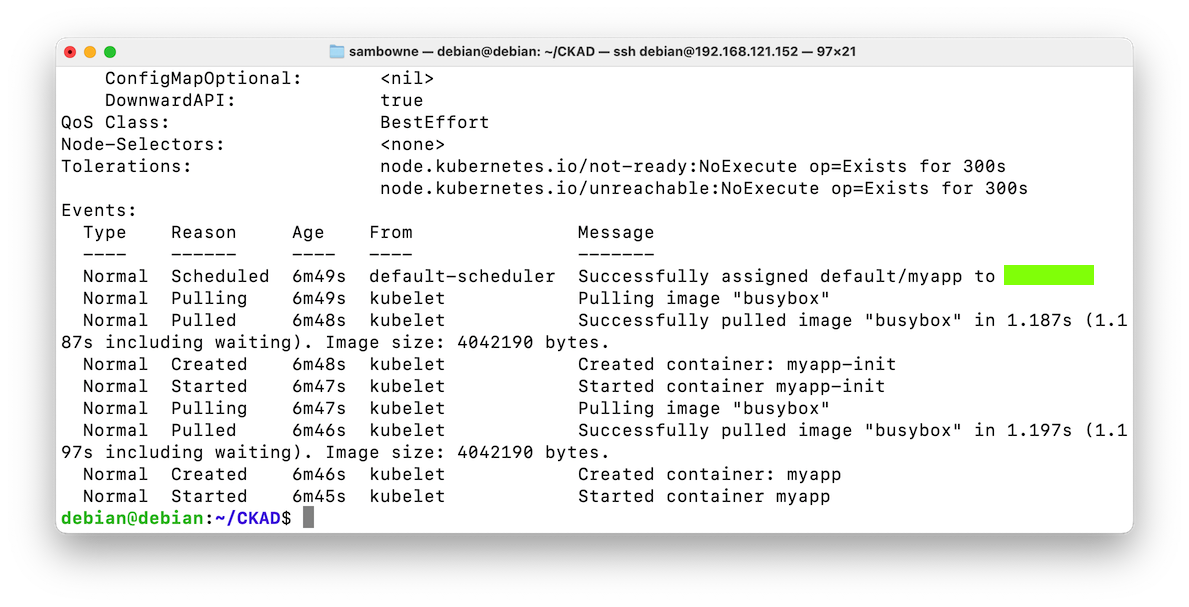
Both log messages appear, showing that the Init container worked, as shown below.kubectl delete pod myapp kubectl apply --filename=echoer.yaml kubectl get pods kubectl logs myapp --all-containers=true
Flag H 142.2: Events (5 pts)
Execute this command:The flag is covered by a green rectangle in the image below.kubectl describe pods myapp
The pod is gone, as shown below.kubectl delete pod myapp kubectl get pods