I am following this tutorial: Kubernetes Bootcamp (CKAD) .
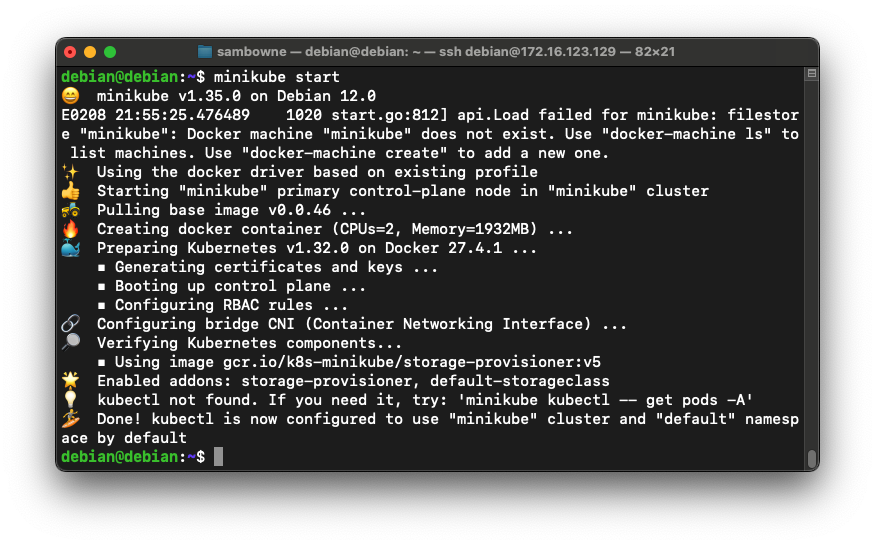
Your cluster starts, showing several messages, ending with "Done! kubectl is now configured...", as shown below.minikube start
Troubleshooting
If minkube just hangs and won't start, press Ctrl+C and execute these commands:minikube delete minikube start
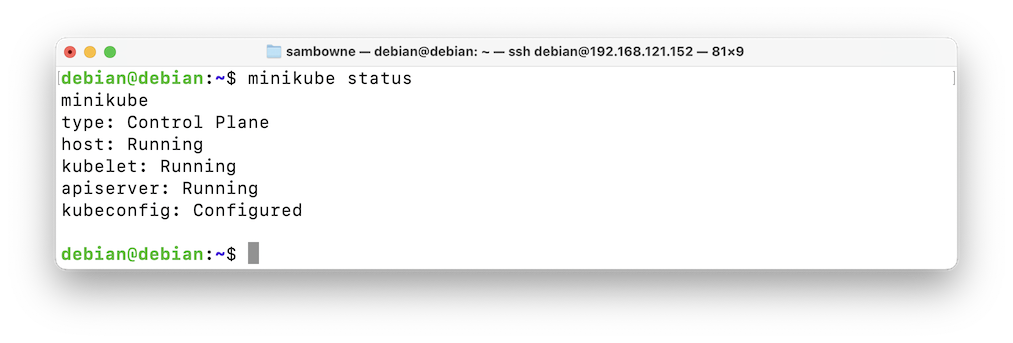
You should see several "Running" items, as shown below.minikube status
It will also enable autocompletion, so you can use the Tab key to fill in commands.
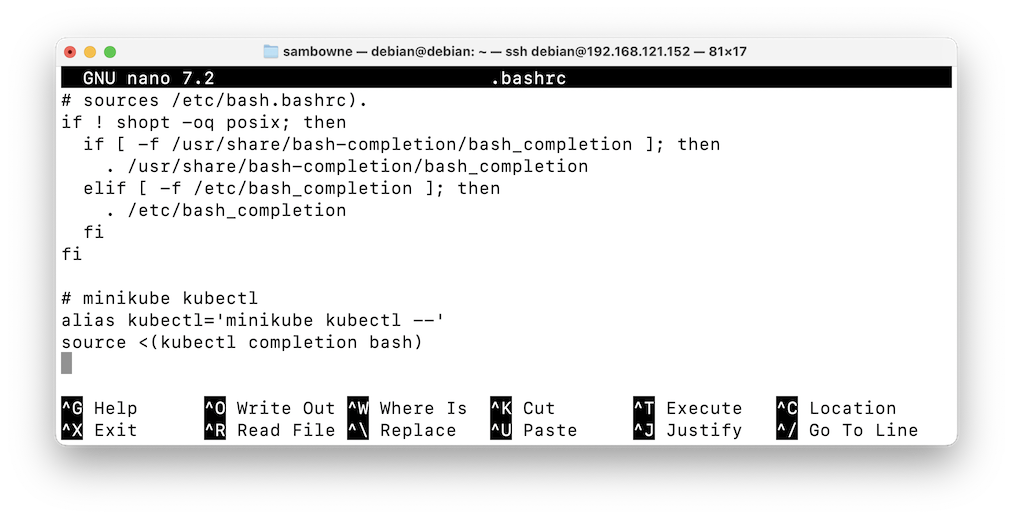
Execute these commands:
Scroll to the bottom of the file and add these lines, as shown below:cd nano .bashrc
# minikube kubectl
alias kubectl='minikube kubectl --'
source <(kubectl completion bash)
Save the file with Ctrl+c, y, Enter.
Execute this command to make the new alias effective:
source .bashrc
You see version numbers, and a single service running, as shown below.kubectl version kubectl get all

Read through the list. There aren't very many commands.kubectl help

export KUBE_EDITOR="nano"
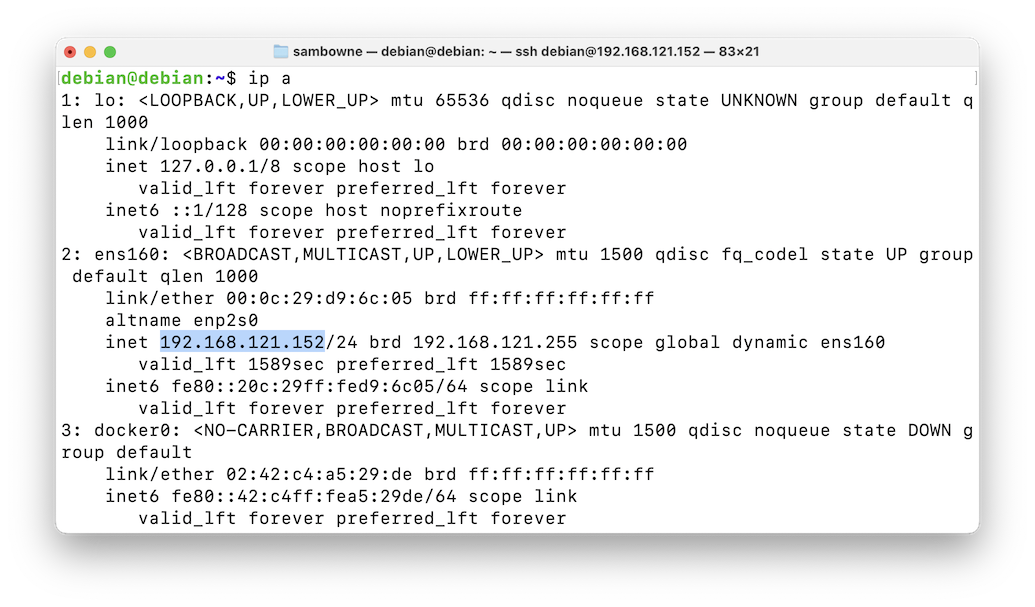
Note the IP address that goes to the host system, highlighted in the image below:ip a
Press Enter again to get a new $ prompt.minikube dashboard --url=false &
Then execute this command:
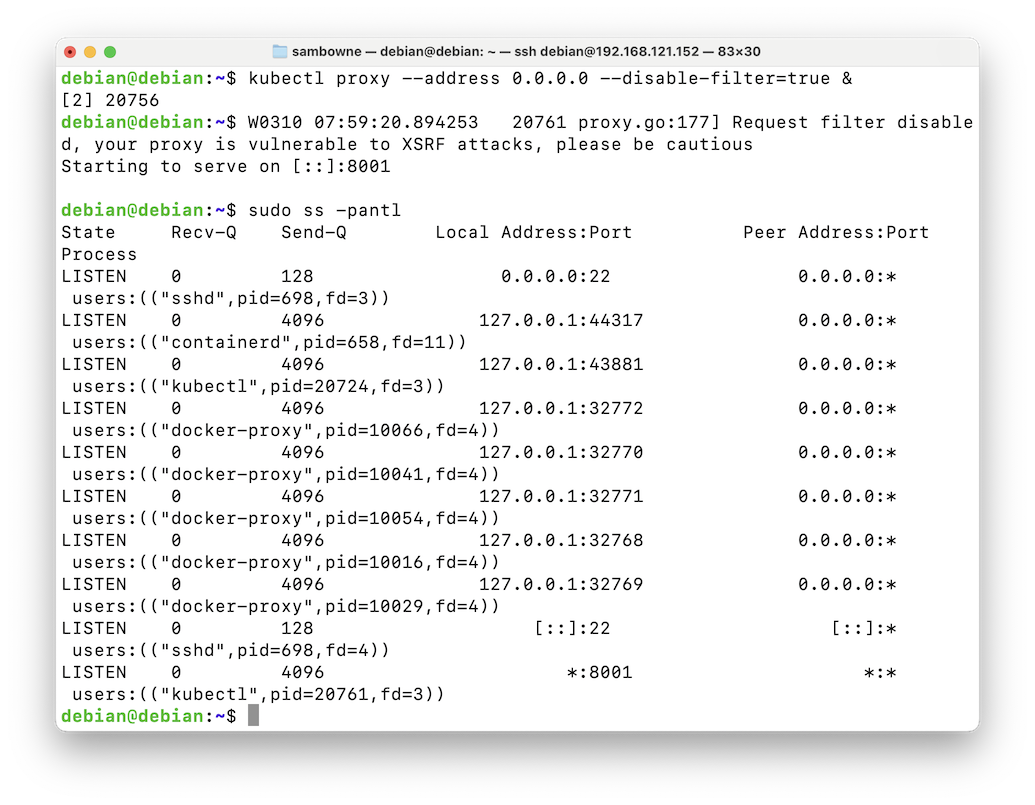
Press Enter again to get a new $ prompt.kubectl proxy --address 0.0.0.0 --disable-filter=true &
Then execute this command:
The "kubectl" process is listening on all interfaces on port 8001, as shown at the bottom of the image below.sudo ss -pantl
Note: this is an unsafe way to expose the dashboard.
On your host system, in a Web browser, open this URL, replacing the IP address with the IP address of your server:
http://192.168.121.152:8001/api/v1/namespaces/kubernetes-dashboard/services/http:kubernetes-dashboard:/proxy/You see the Dashboard, as shown below.
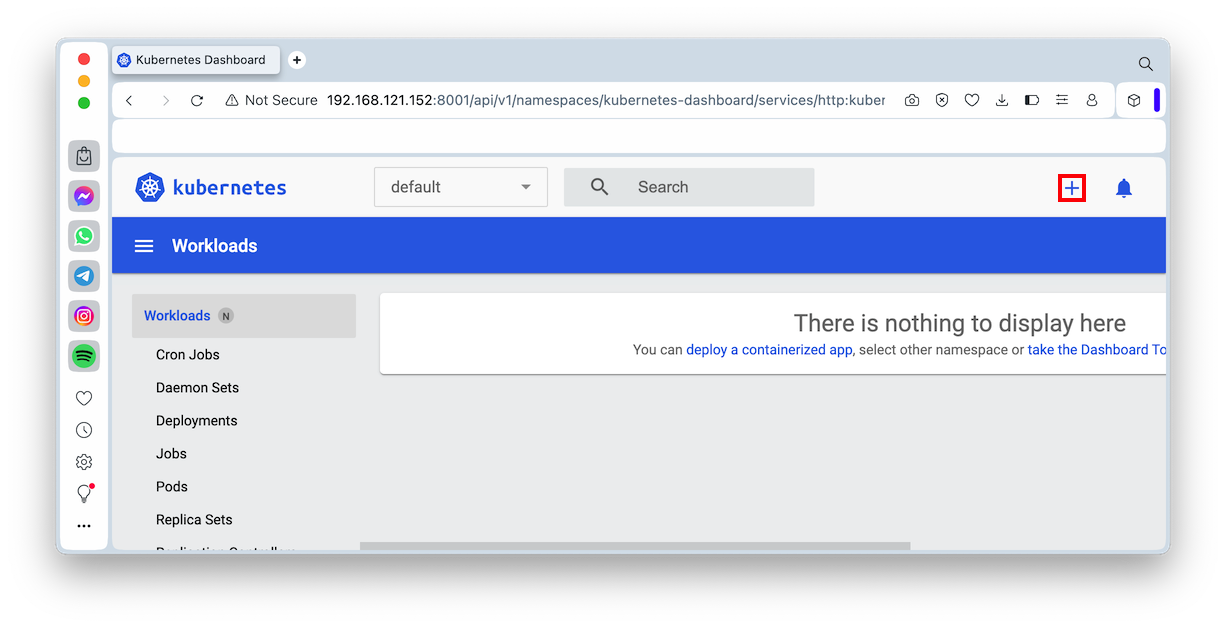
Click the "Create from form" tab.
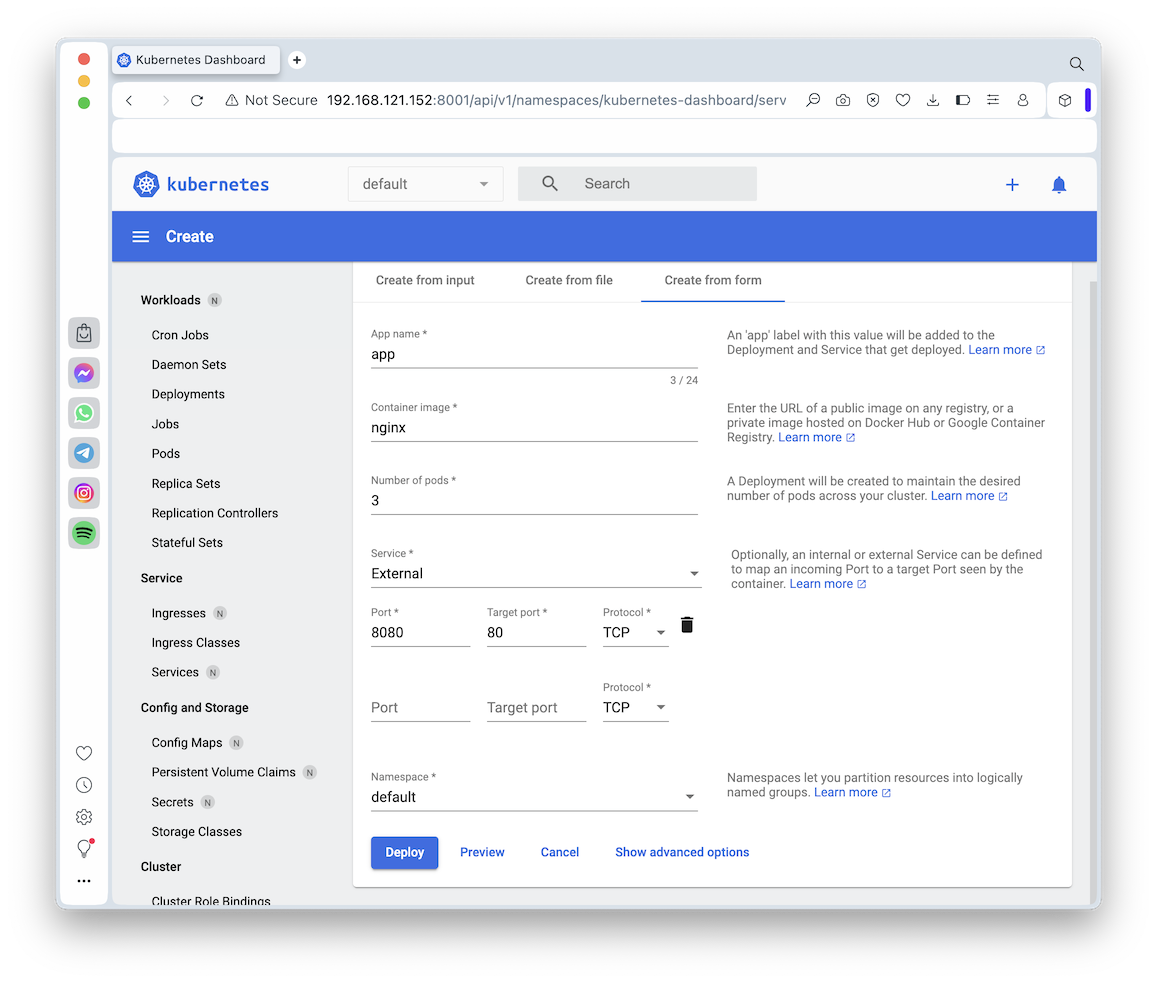
In the form, enter these values:
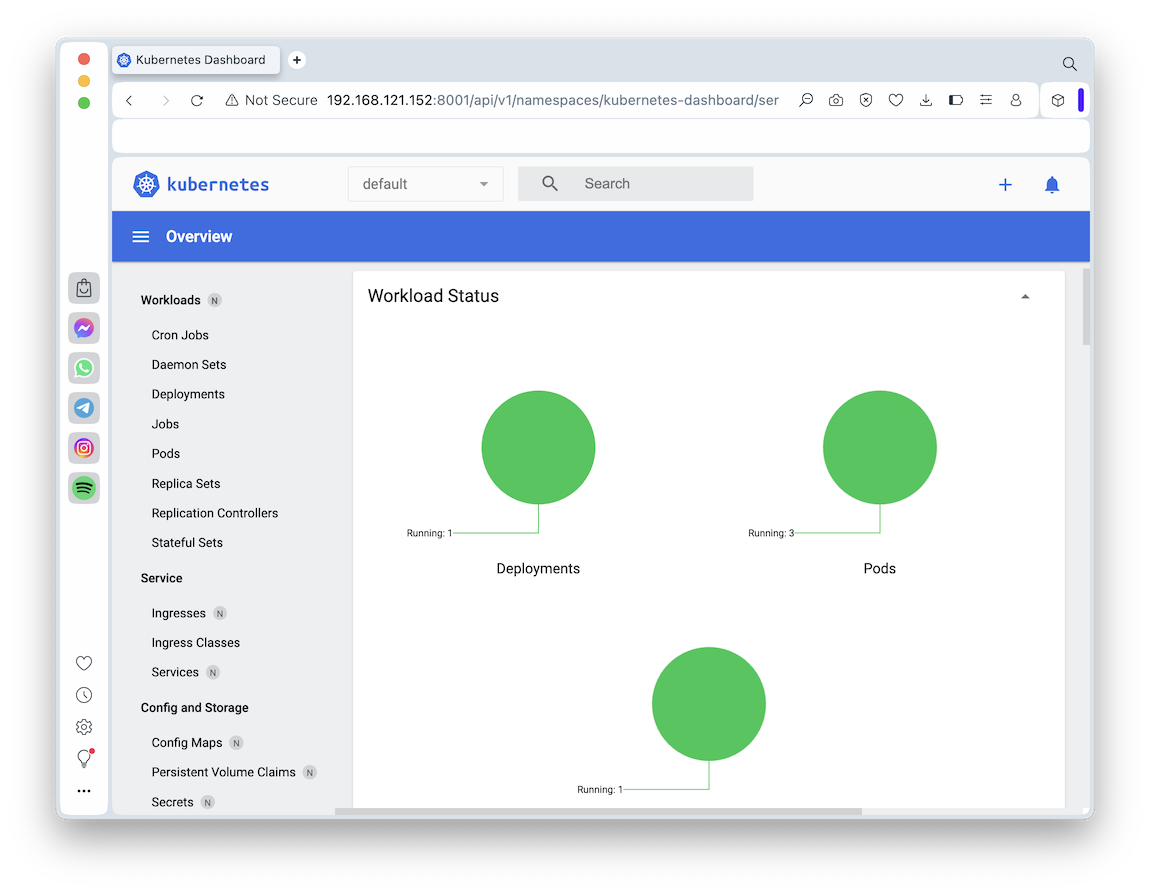
You see a "Workload Status" page. After a few seconds, the circles turn green, as shown below.
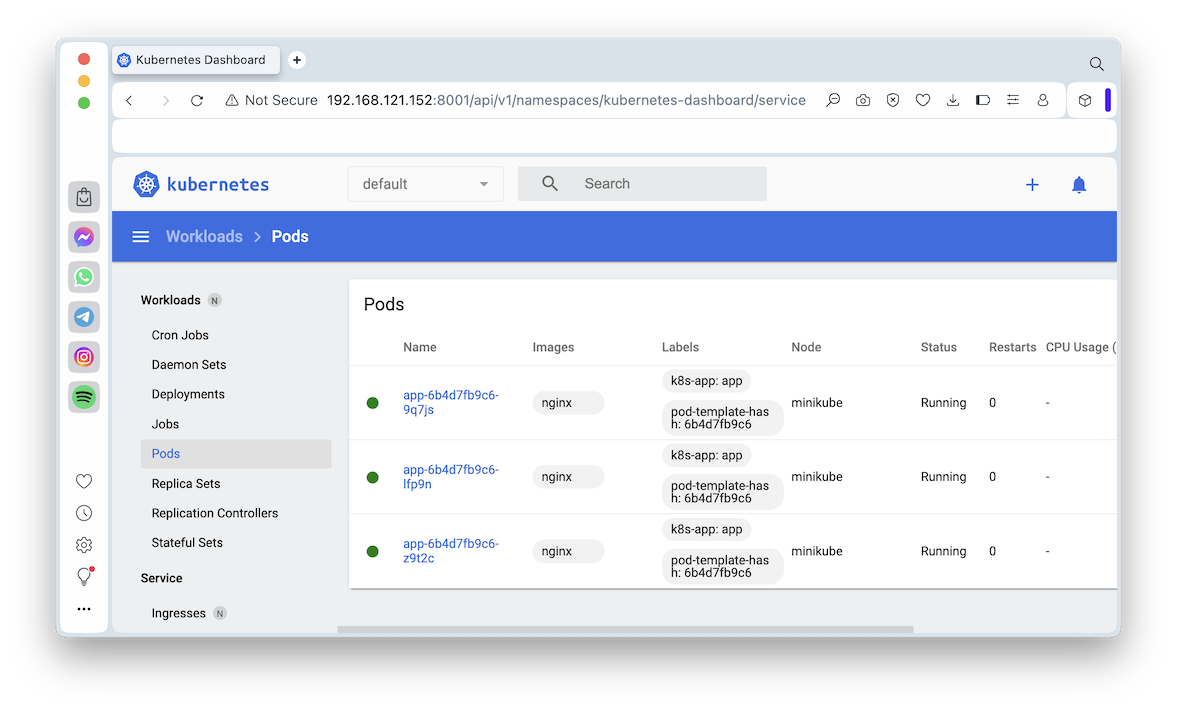
In the Kubernetes dashboard, in the left pane, in the Workloads section, click Pods.
You have three containers running, as shown below.
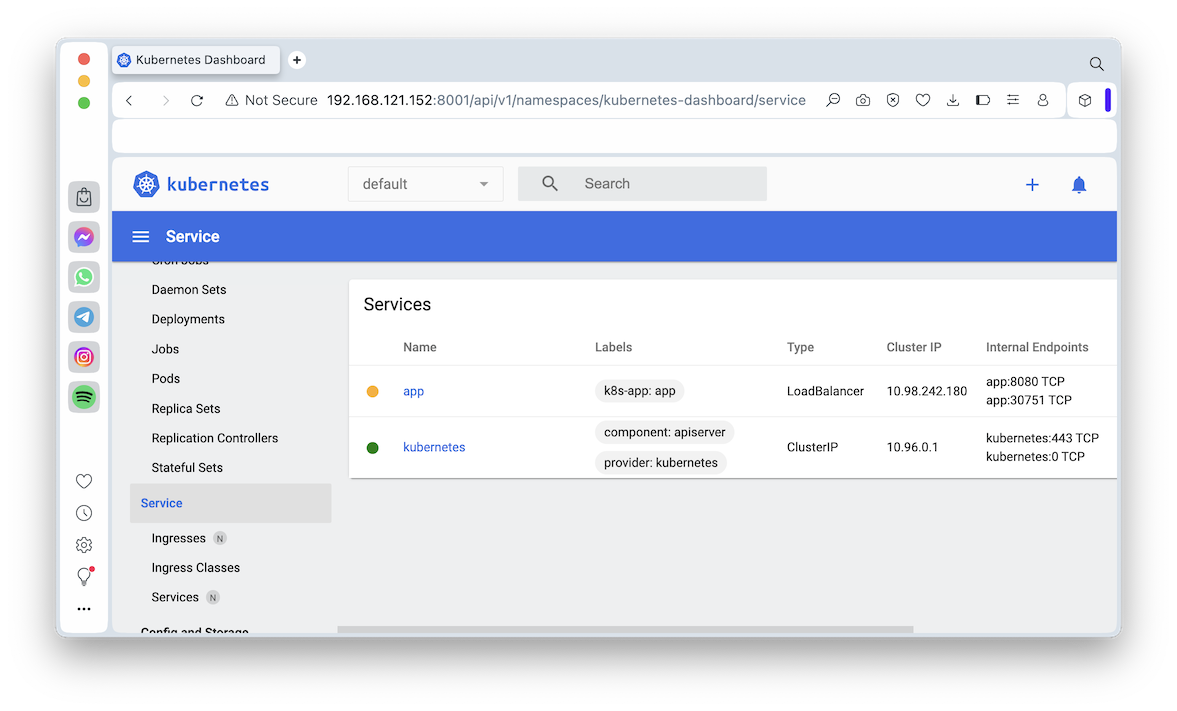
In the Kubernetes dashboard, click Service.
The "app" service is running, with a Type of "LoadBalancer", as shown below.
You see pods, services, deployments, and a replicaset, as shown below.kubectl get all

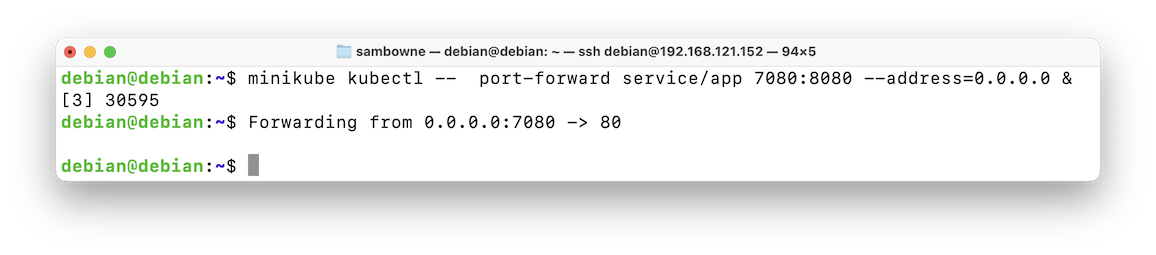
To make "service/app" accessible from outside the Kubernetes virtual network, you have to start a port forwarder.
Execute this command:
Press Enter to get a fresh $ prompt, as shown below.minikube kubectl -- port-forward service/app 7080:8080 --address=0.0.0.0 &
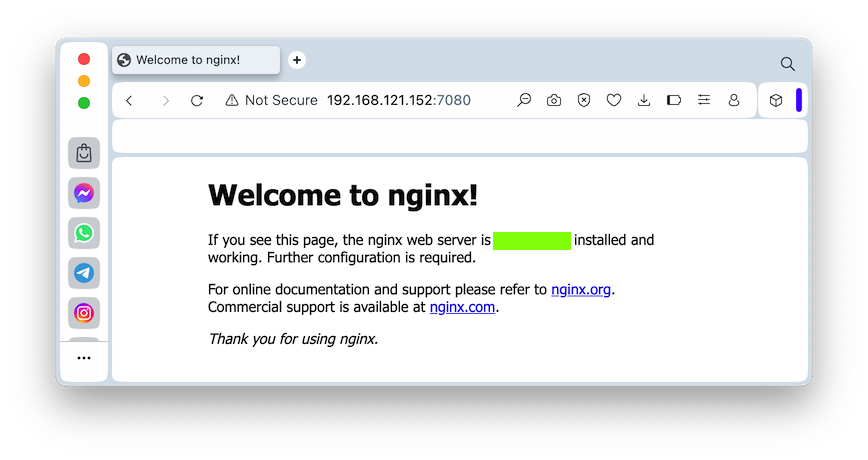
Flag H 141.1: Viewing the App (10 pts)
On your host system, in a Web browser, open this URL, replacing the IP address with the IP address of your server:http://192.168.121.152:7080The flag is covered by a green rectangle in the image below.
Execute this command:
Copy the name of the first pod, highlighted in the image below.kubectl get all
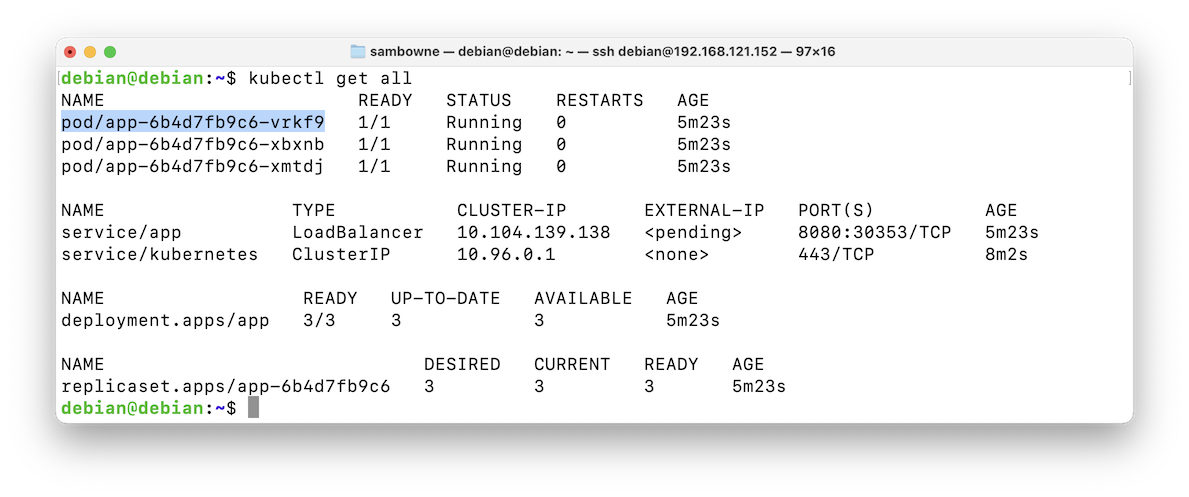
Execute these commands to delete that pod, and view resources again. Replace the name in the first command with the correct name of your pod.
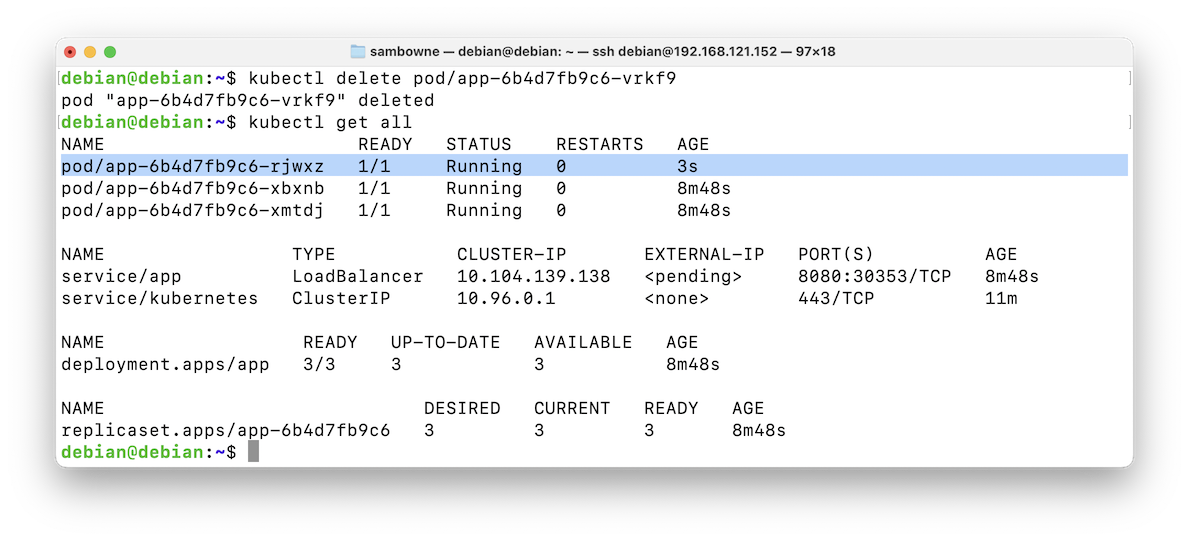
A new pod appears, only a few seconds old, to replace the deleted one, as shown below.kubectl delete pod pod/app-6b4d7fb9c6-vrkf9 kubectl get all
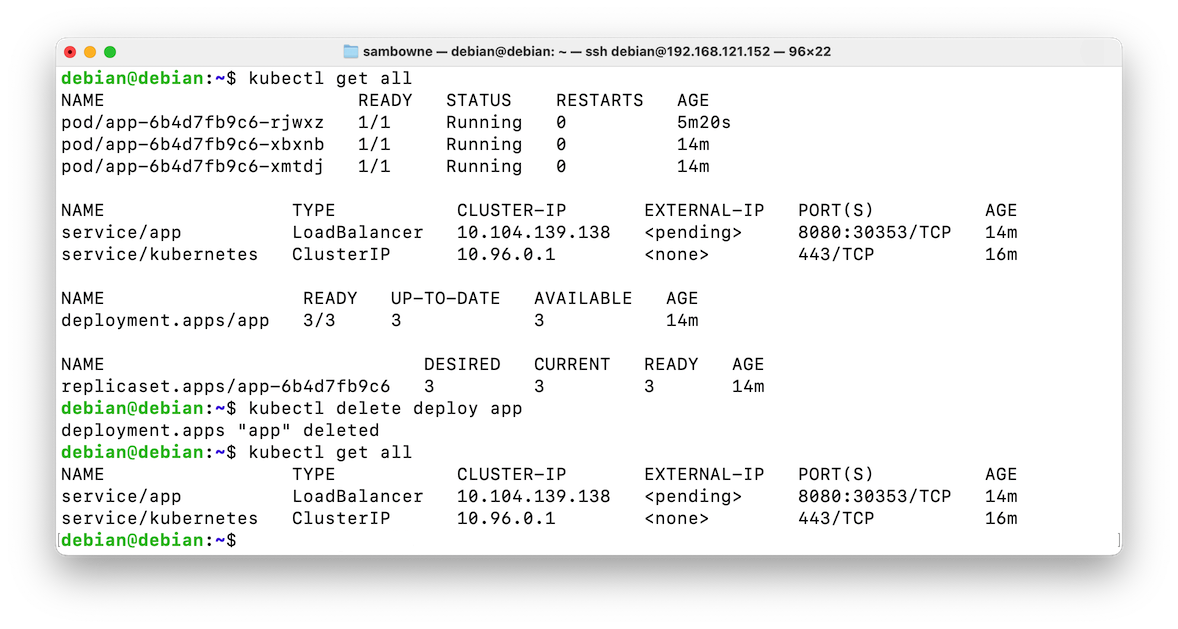
The pods, deployments, and replicaset vanish, as shown below.kubectl get all kubectl delete deploy app kubectl get all
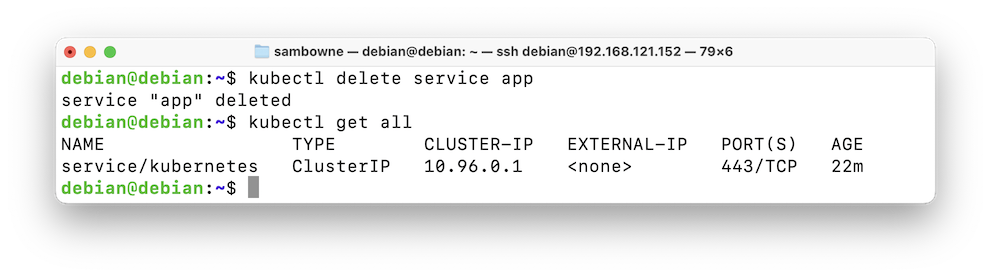
The service is gone, as shown below.kubectl delete service app kubectl get all
If you see nothing, wait a few seconds and execute the "kubectl get all" command again.kubectl delete service kubernetes kubectl get all
The kubernetes service is automatically recreated, replicaset, as shown below.