In the "VM instances" page, on your Debian instance's line, on the right side, click the three-dot icon and click "View network details".
On the left side, click Firewall.
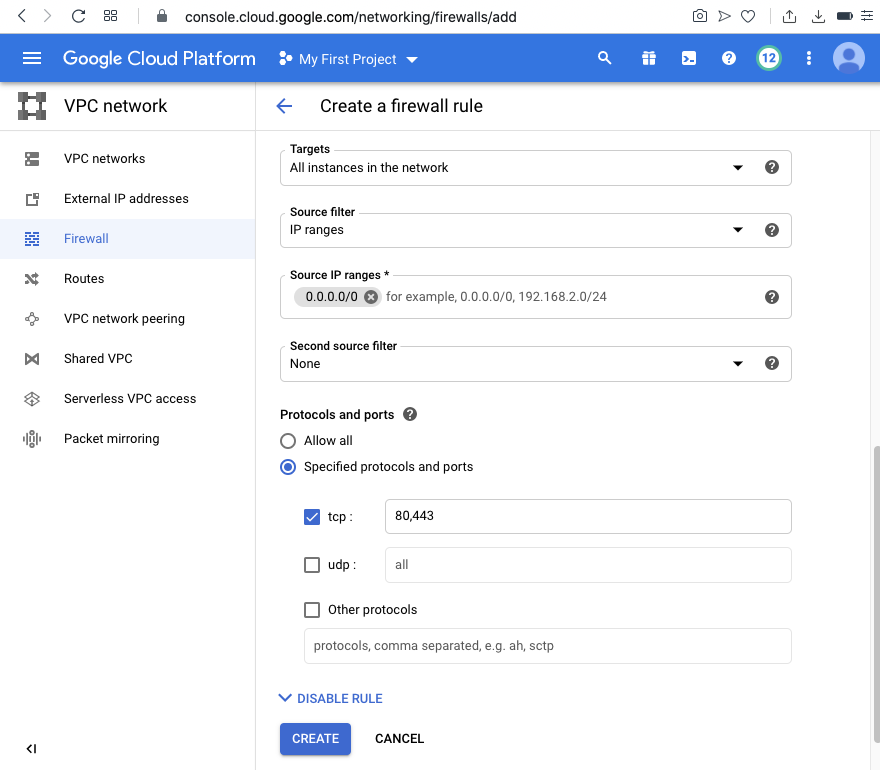
At the top center, click "CREATE FIREWALL RULE".
Enter these values, as shown below.
Apache is listening on port 80, and SSH is listening on port 22, as shown below.sudo apt update sudo apt install apache2 -y sudo ss -nltp

http://35.188.199.249
An Apache page opens, as shown below.
sudo apt install build-essential git  -y
sudo apt install libconfig-dev libwrap0-dev -y
sudo apt install libsystemd-dev libpcre3-dev -y
sudo apt install libcap-dev libbsd0 libbsd-dev -y

git clone https://github.com/yrutschle/sslh.git
cd sslh

make

sudo cp sslh-fork /usr/local/sbin/sslh
sudo cp basic.cfg /etc/sslh.cfg
sudo cp scripts/etc.init.d.sslh /etc/init.d/sslh
sudo ln -s /usr/local/sbin/sslh /sbin/sslh

sudo nano /etc/sslh.cfg

Press Ctrl+X, Y, Enter to save the file.
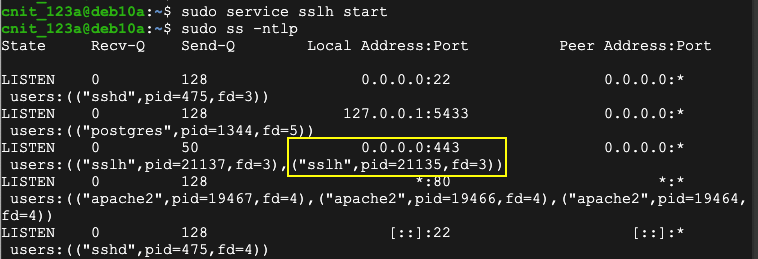
sudo /etc/init.d/sslh start
sudo ss -ntlp
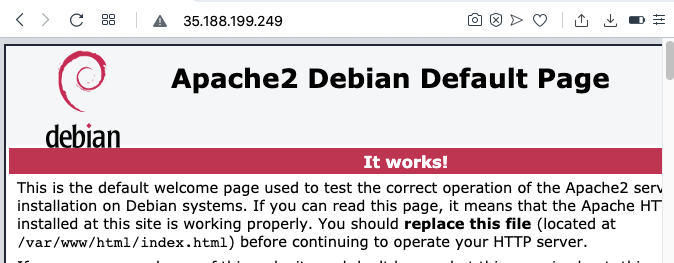
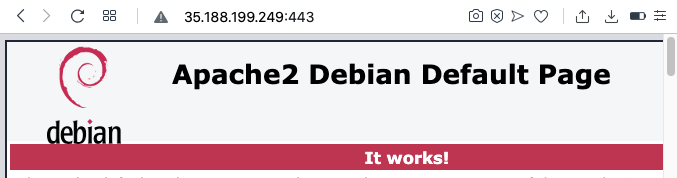
http://35.188.199.249:443
An Apache page opens, as shown below.
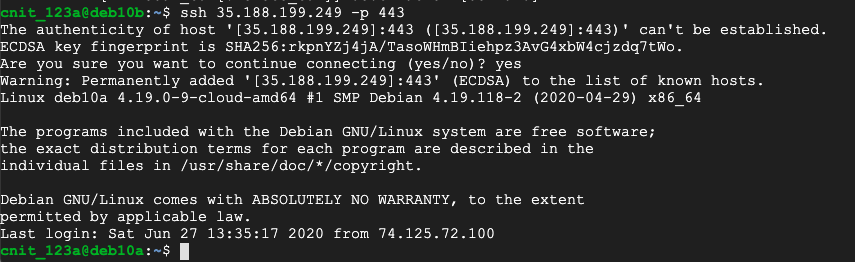
Execute this command, replacing the IP address with the public address of your server running sslh:
ssh 35.188.199.249 -p 443
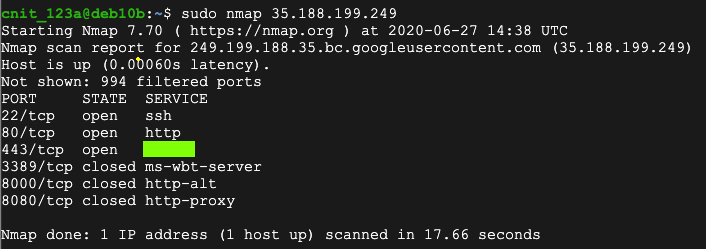
Flag H 130.1: Nmap Scan (10 pts)
Use another Linux system, such as a second Debian cloud server.Execute these commands, replacing the IP address with the public address of your server running sslh:
The flag is the service Nmap detects, covered by a green rectangle in the image below.