I am following this tutorial: Lab Setup for Proxmox VE 8.1.
If you are using a Mac M1 or later, on an ARM processor, download the latest version of the arm64 ISO from this page:
When I did it, I used the proxmox-ve_8.2-4_arm64.iso file.
You will need to connect your physical machine to the Internet using an Ethernet cable, not Wi-Fi, during installation.
It is normal for the Proxmox installation to appear to hang at 3% "Create LVs" for 5-10 minutes or even over an hour. Give it more time, it's not a bug.
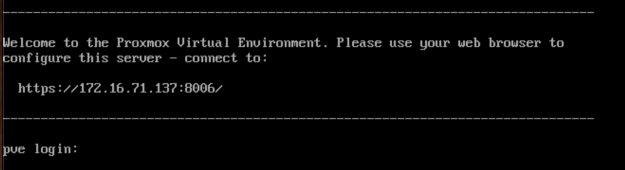
When the installation is done, the machine reboots. A console appears, showing a URL to connect to, as shown below.
Wireless Drivers for Dell Inspirion 15 5000
This is specific to that hardware.Adding non-free to sources
In an SSH window, as root:Add non-free AND non-free-firmware to the respective URLs you wish to use, i.e.:Identifying the wireless card
It wasauto wlp0s20f3 iface wlp0s20f3 inet static address 192.168.0.5/24 gateway 192.168.0.1 dns-nameserver 192.168.0.1Now wi-fi NIC wlp0s20f3 is UPInstalling wpa_supplicant
This reference was helpful:https://forum.proxmox.com/threads/howto-proxmox-ve-8-1-2-wifi-w-snat.142831/
Execute these commands, using the correct name and password for your Wi-Fi network in the last one:Find wireless device name
On my system, it was wlp0s20f3
Insert these contents, adjusting the device name as needed at the end of the longest line:Creating a Private Network for the VMs
Log into proxmox web interface: https://:8006 Create SDN config (Datacenter --> SDN):
Apply config: SDN --> Apply
- Zones: Add, Simple, ID = Zone1
- Vnet: Create, Name = vnet1 , Zone = Zone1 (must match Zone ID)
- In the VNets section, click vnet1.
- In the Subnets section, click Create, Subnet = 192.168.3.0/24, Gateway = 192.168.3.1, SNAT (check)
Edit /etc/network/intefaces and add these lines:
Reboot. I had to force power off with the power button and restart.iface vnet1 inet static address 192.168.3.1/24 bridge-ports none bridge-stp off bridge-fd 0 post-up echo 1 > /proc/sys/net/ipv4/ip_forward post-up iptables -t nat -A POSTROUTING -s '192.168.3.0/24' -o wlp0s20f3 -j MASQUERADE post-up iptables -t raw -I PREROUTING -i fwbr+ -j CT --zone zone1 post-down iptables -t nat -D POSTROUTING -s '192.168.3.0/24' -o wlp0s20f3 -j MASQUERADE post-down iptables -t raw -D PREROUTING -i fwbr+ -j CT --zone zone1I then had to boot to "Advanced Options", remove the the "quiet" parameter, and press Ctrl+x.
Networking the VMs
In the Proxmox console, on the left side, expand Datacenter and Proxmox. Click the VM you are configuring.In the next column, click Hardware.
Double-click "Network Device (net0)".
Set Bridge to vnet1 and click OK.Configure each VM with these IP settings, putting the VM's ID number in as the last octet in the IP address.
- IP: 192.168.3.108
- Subnet mask: 255.255.255.0
- Gateway: 192.168.3.1
- DNS: 192.168.0.1
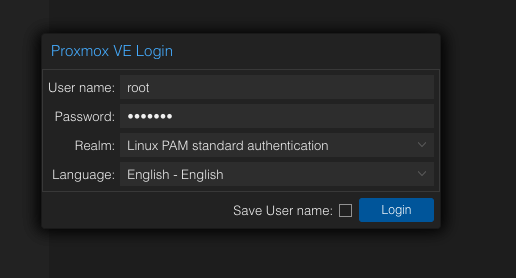
Log in, as shown below.
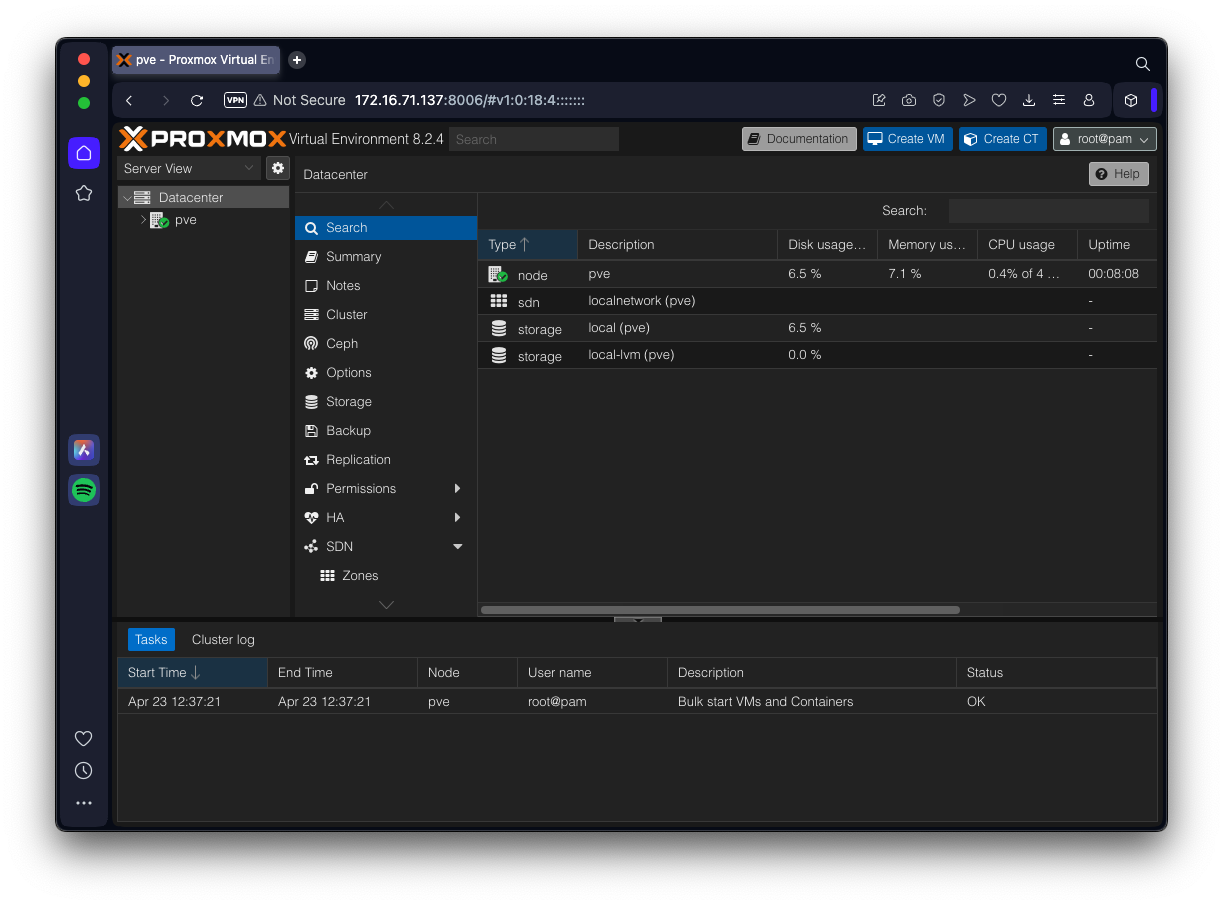
A box says you don't have a valid subscription. That's normal. Close it.
You see the main Proxmox console, as shown below.
Installing Debian via the Internet
In the "Small CDs or USB sticks" section, click your processor type, which is either amd64 or arm64.
On my ARM system, I used the debian-12.10.0-arm64-netinst.iso file.
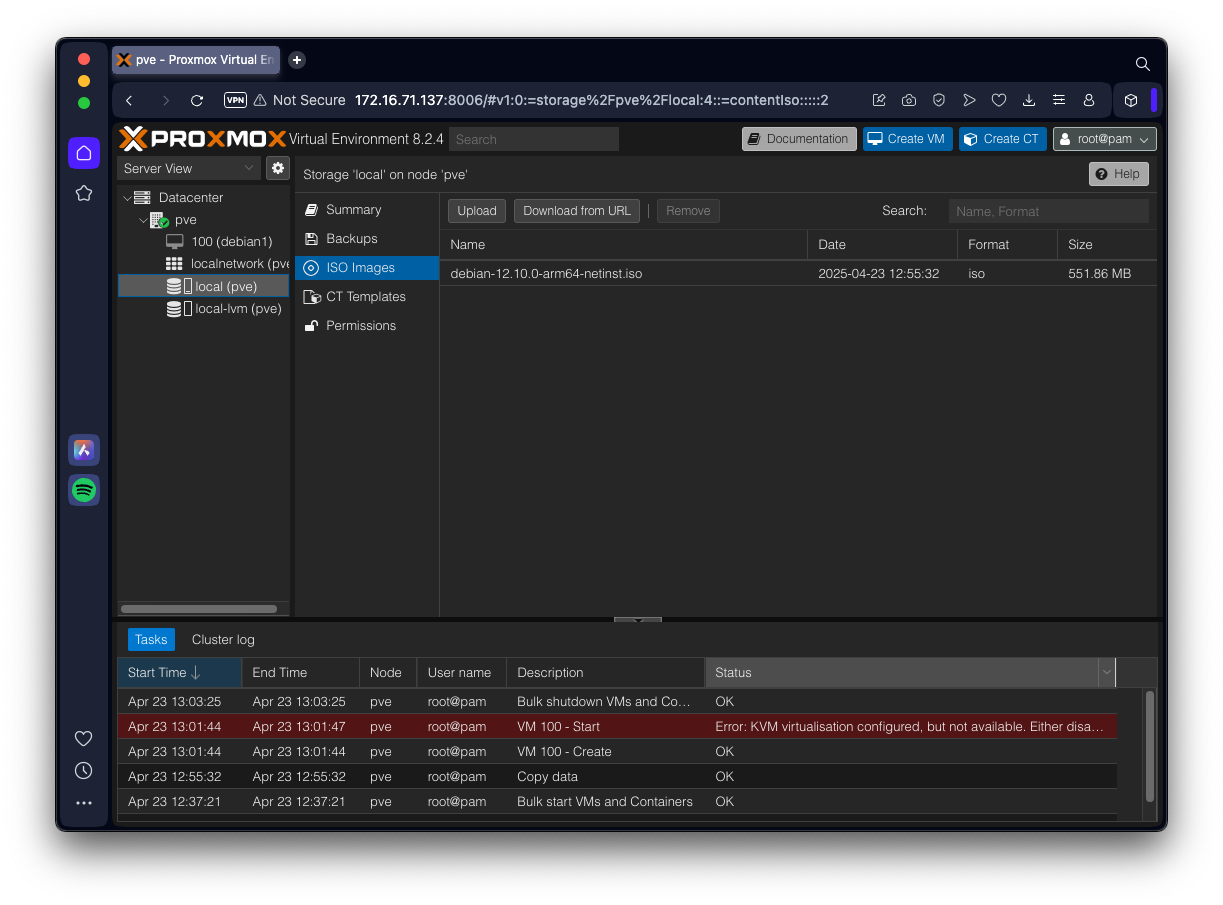
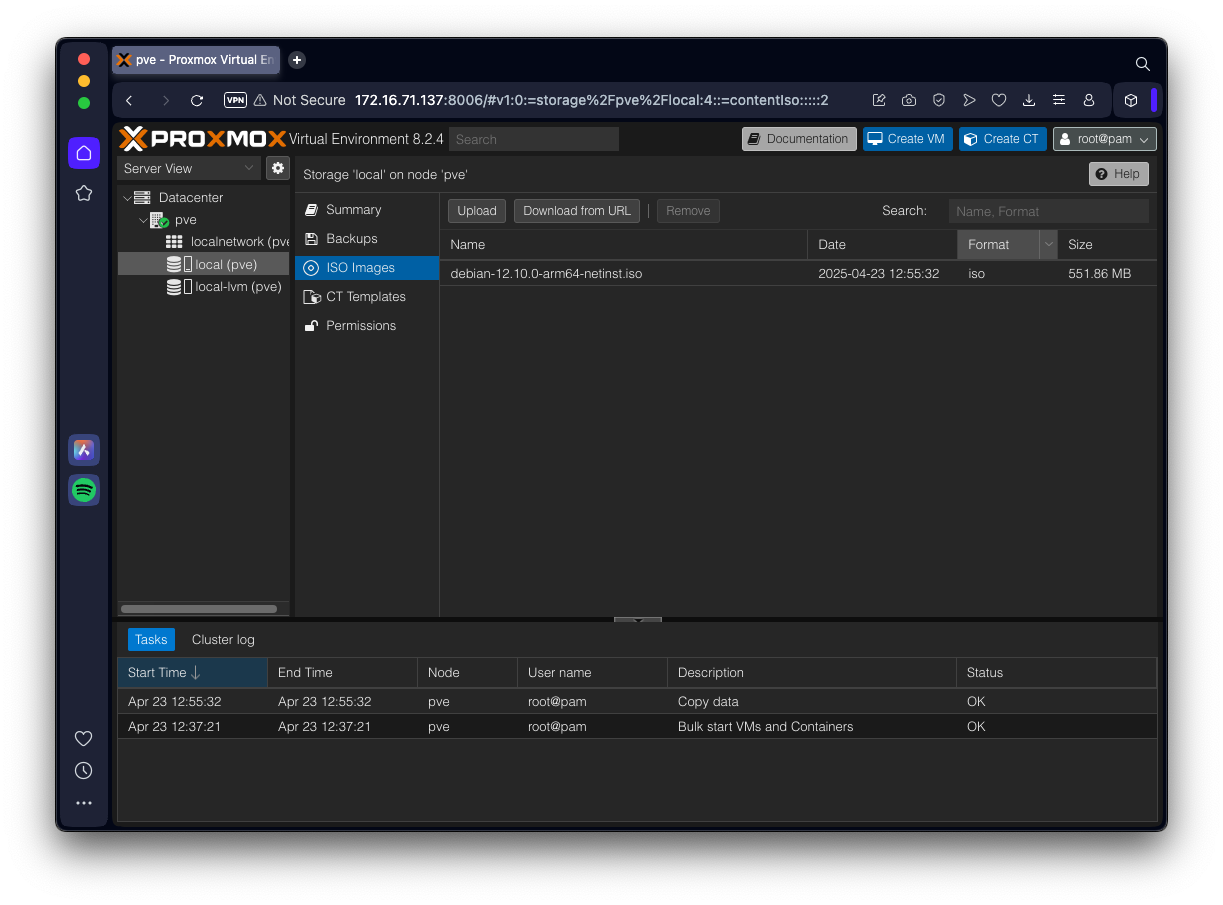
In the next column, click "ISO Images"
Click the Upload button and upload your Debian installation ISO image.
The filename appears in the right pane, as shown below.
In the "Create Virtual Machine" box, on the General tab, give your machine a name, such as debian1
On the OS tab, select the installer ISO, as shown below.
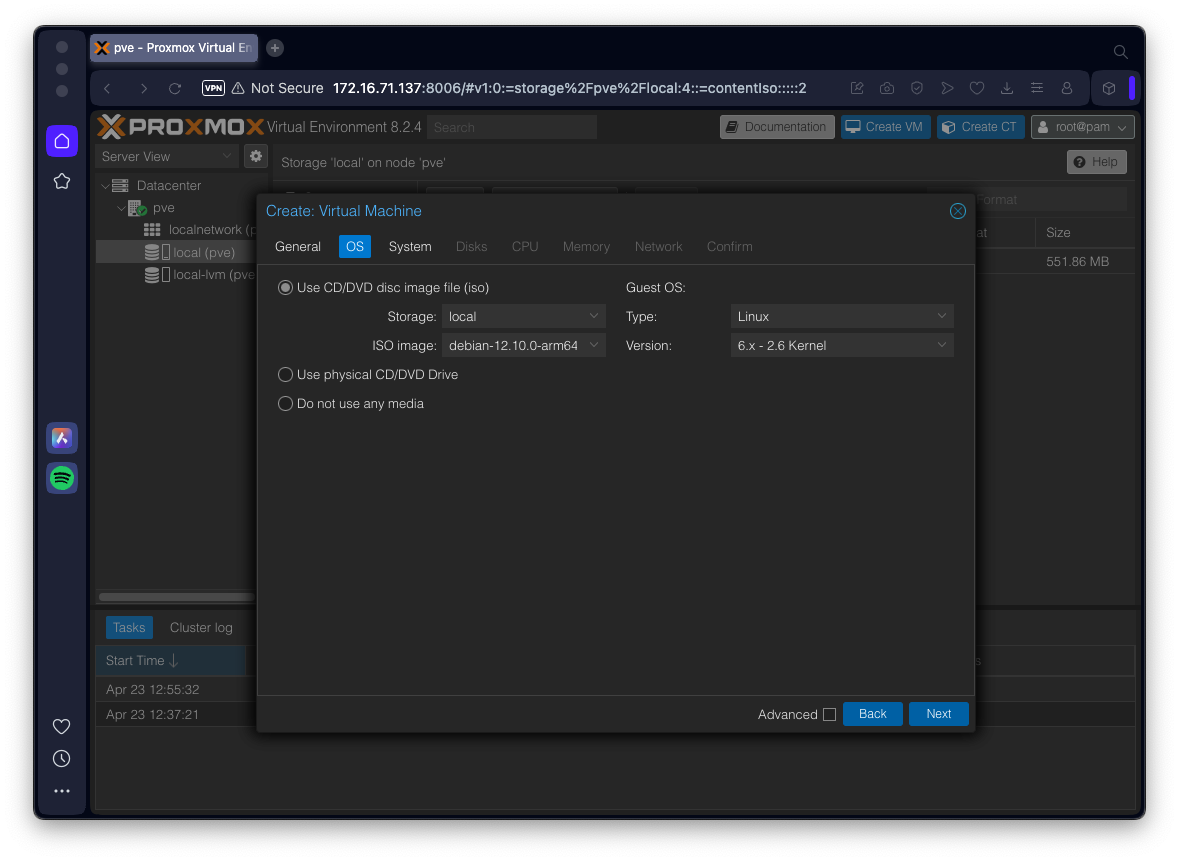
You can adjust the other settings, but the defaults are fine.
On the Confirm tab, at the lower left, check the "Start after created" box, as shown below.
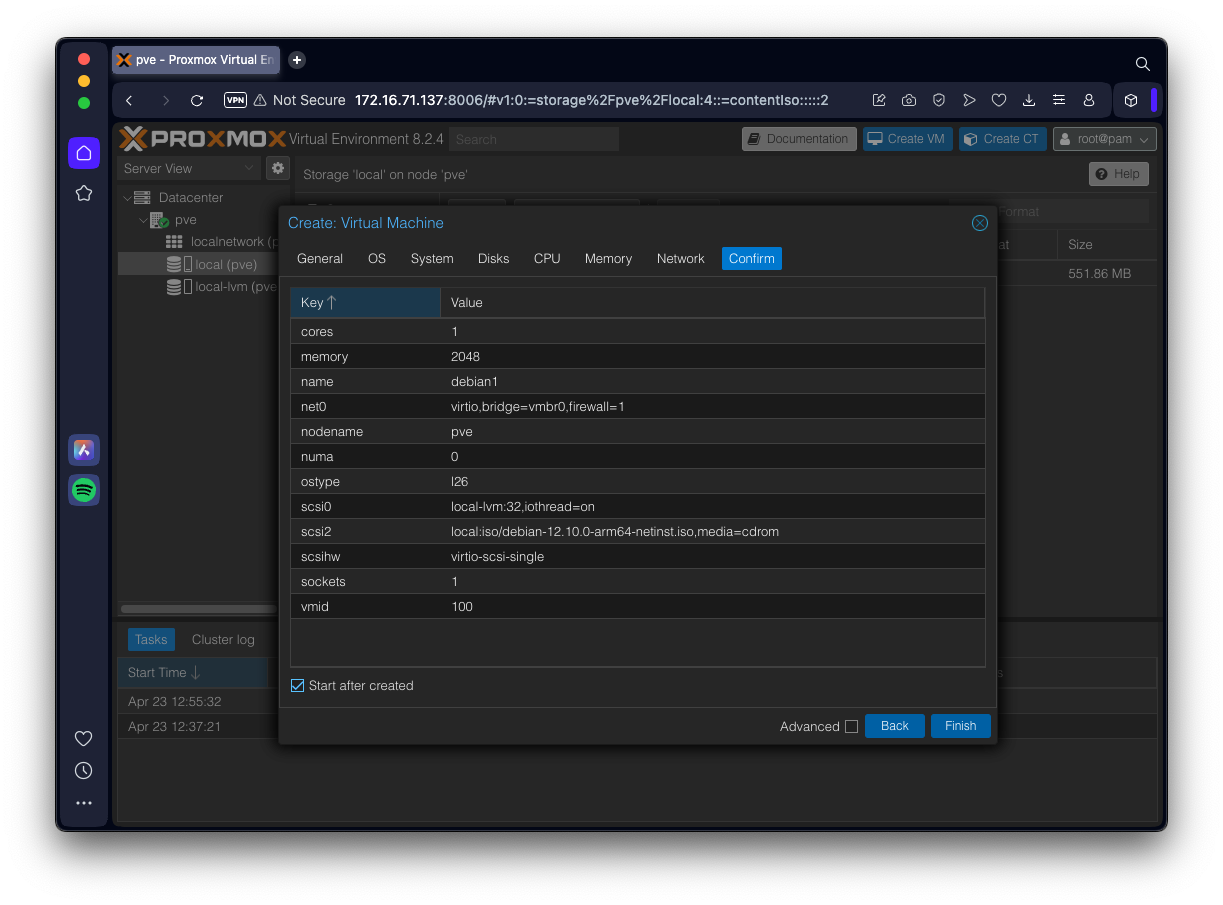
At the lower right, click the Finish button.
Apple Silicon
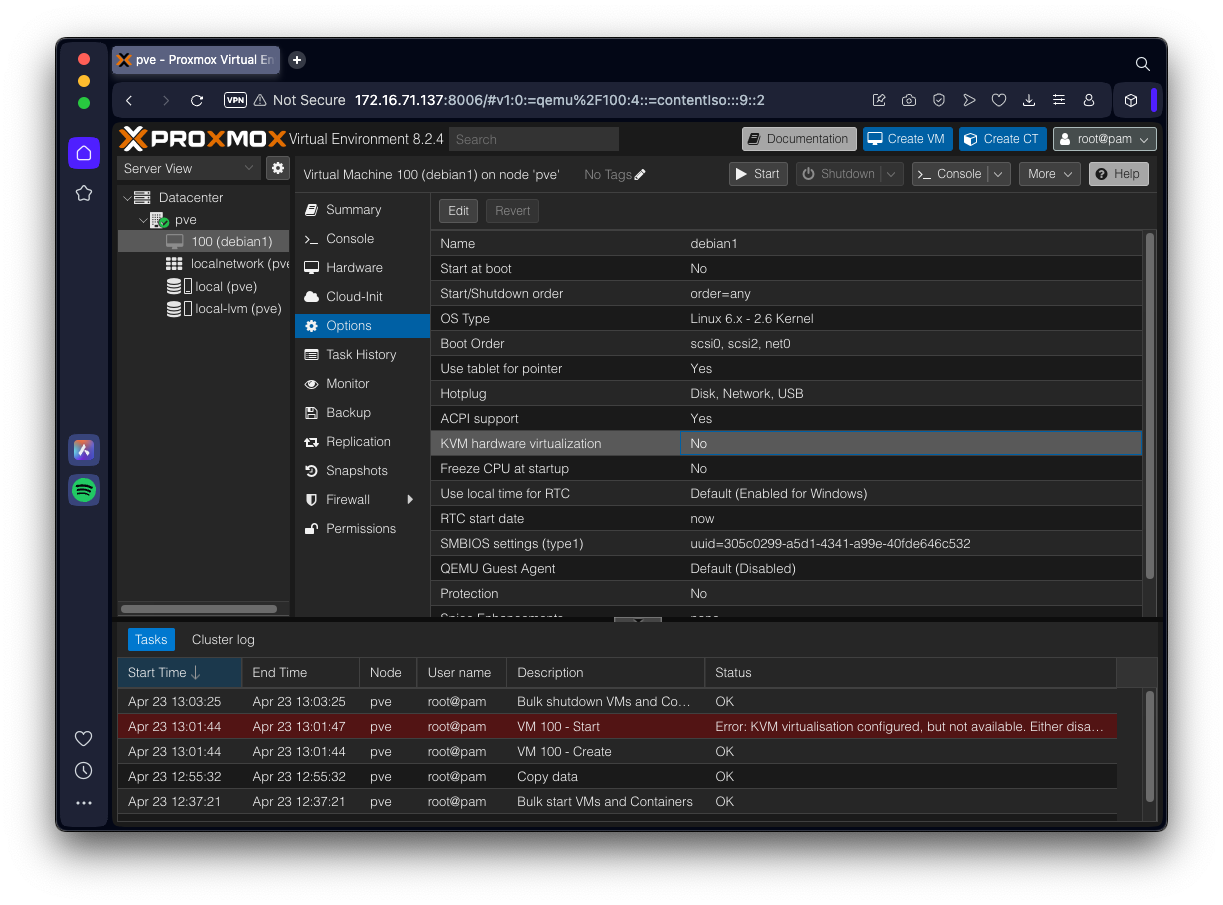
If you are running on Apple Silicon, you'll see the error shown at the bottom right of the screen below:
On the left side, click the guest VM name, which should be debian1.
In the next column, click Options.
On the right side, double-click "KVM Hardware Virtualization" and disable it, as shown below.
In the second column, click Hardware. On the right side, double-click Processors and set the Type to cortex-a57.
At the top right, in the second row, find the Console button, outlined in yellow in the image below.
Click the down-arrow next to that button. Click noVNC.
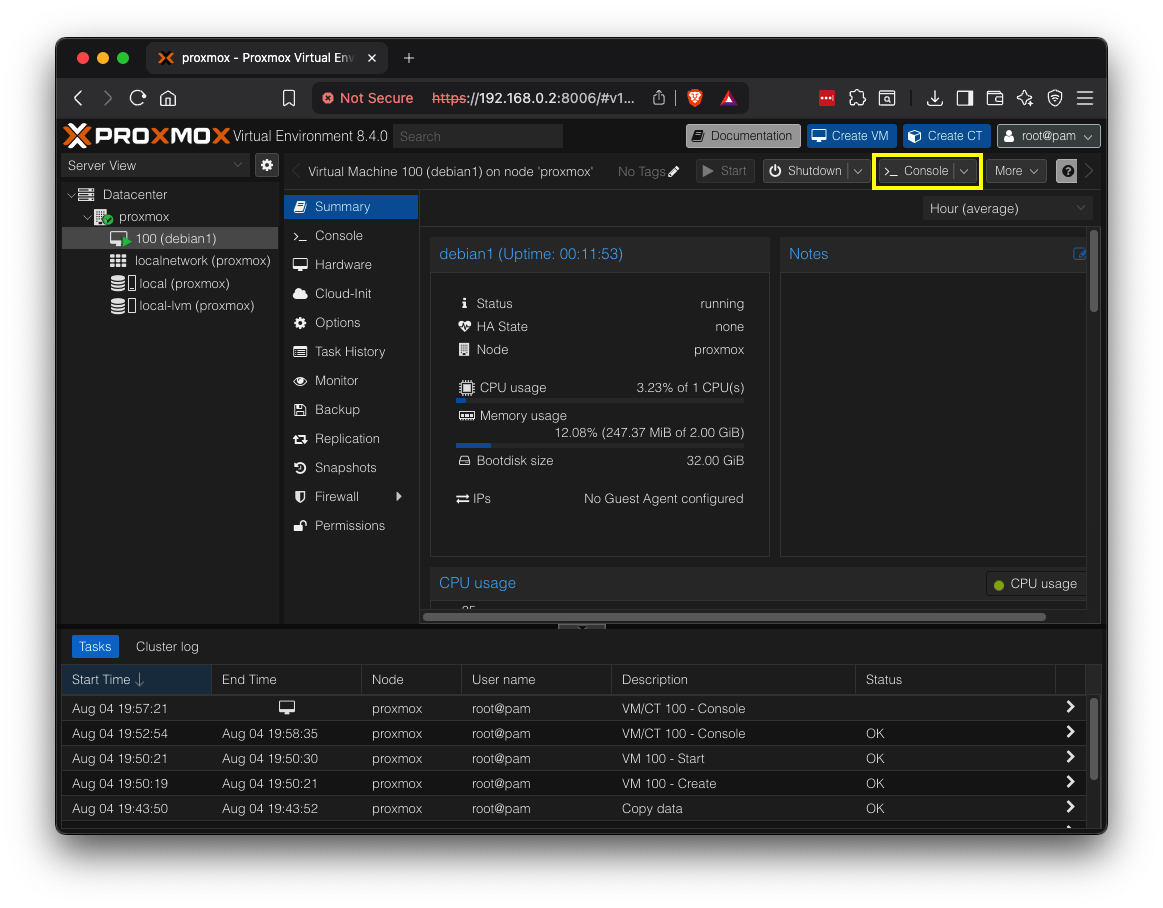
In the next column, click Console.
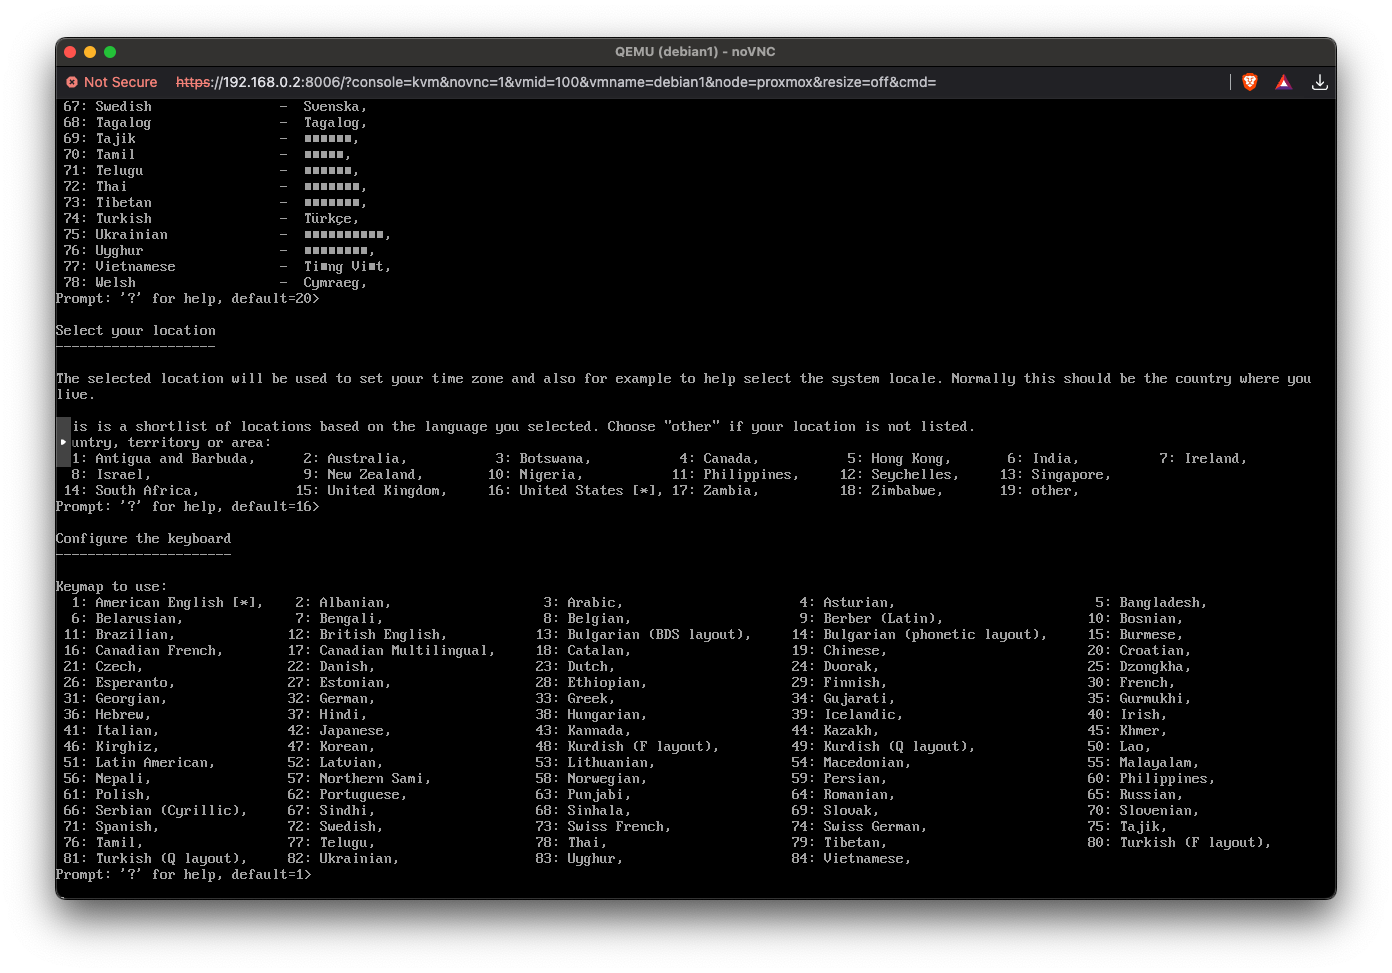
You should see the console, as shown below.
Follow the on-screen prompts to install the OS. Usually the default options are fine.
Then execute these commands to make "sudo" work, assuming your regular account is named "student".
su -
Then execute these commands:
apt install sudo -y
usermod -aG sudo student
reboot
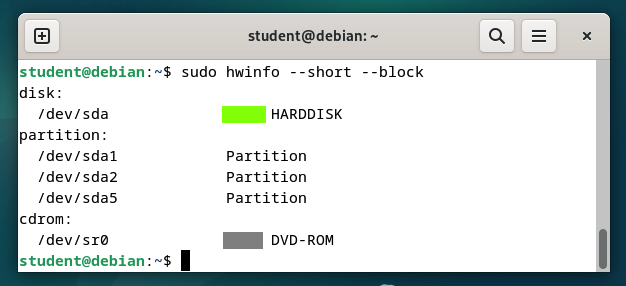
Flag H 110.1: Disk Type (15 pts)
In your Linux virtual machine, in a Terminal, execute this command:Enter your password when you are prompted to.
In the Proxmox console, on the left side, expand the second item and click the local line.
In the next column, click "ISO Images"
Upload the ISO, or download it from the source.
Use these settings:
Make these choices to install Android:
Skip connecting to Wi-Fi.
Select a Home app of Quickstep always.
Swipe the circle at the bottom center up to open Settings.
In Settings, make these changes:
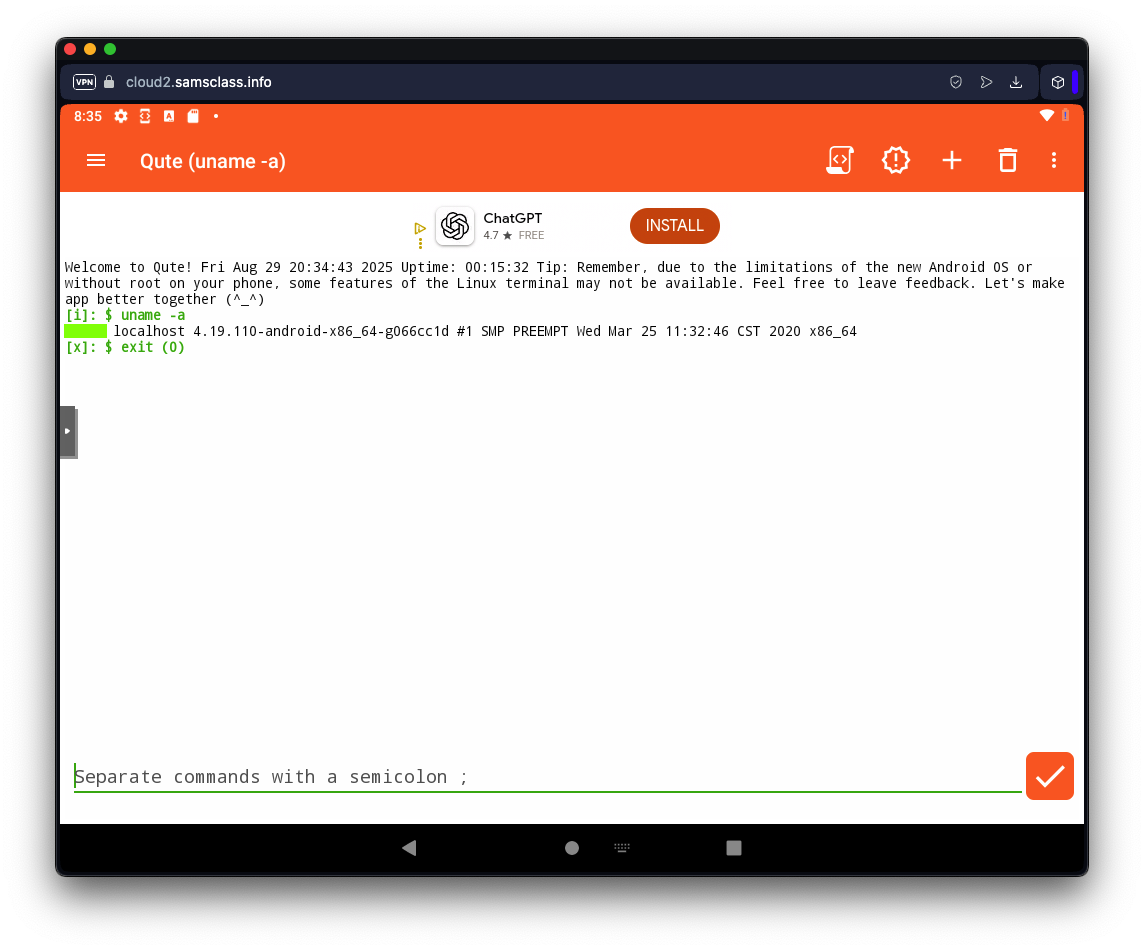
Flag H 110.3: uname (15 pts)
In your Android device, open Google Play. Sign in with a Google account.Install the Qute app.
In Qute, execute this command:
The flag is covered by a green rectangle in the image below.
Posted 8-4-25
Wireless and Android stuff added 8-29-25