service apache2 start
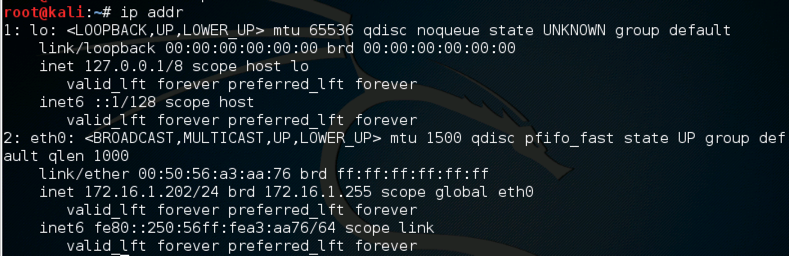
ip addr
Find your IP address. It should be 172.16.1.202, as shown below.
Click Applications, IceWeasel and enter your IP address in the URL. You should see an Apache default page, as shown below.

mkdir /var/www/html/secret
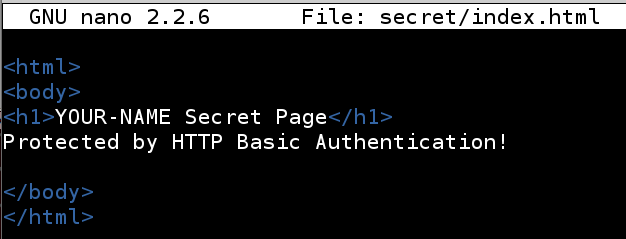
nano /var/www/html/secret/index.html
<html>

<body>

<h1>YOUR-NAME Secret Page</h1>


Protected by HTTP Basic Authentication!

</body>

</html>
In IceWeasel, append /secret to the IP address to view your page, as shown below:
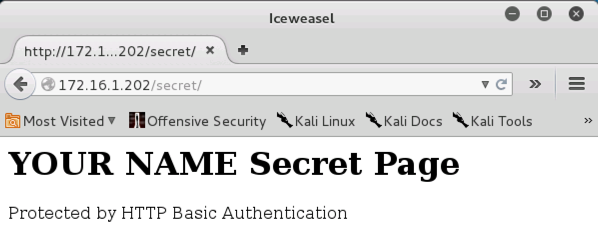
There was no password required to see this page.
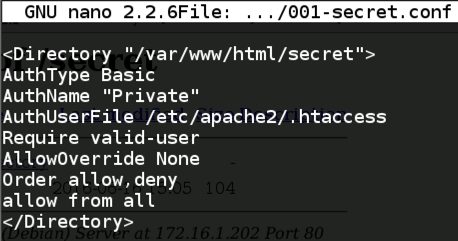
nano /etc/apache2/sites-enabled/001-secret.conf
<Directory "/var/www/html/secret">

  AuthType Basic

  AuthName "Private"

  AuthUserFile /etc/apache2/.htaccess

  Require valid-user

  AllowOverride None

  Order allow,deny

  allow from all

</Directory>
Save the file with Ctrl+X, Y, Enter.
htpasswd -c /etc/apache2/.htaccess YOUR-NAME

service apache2 restart
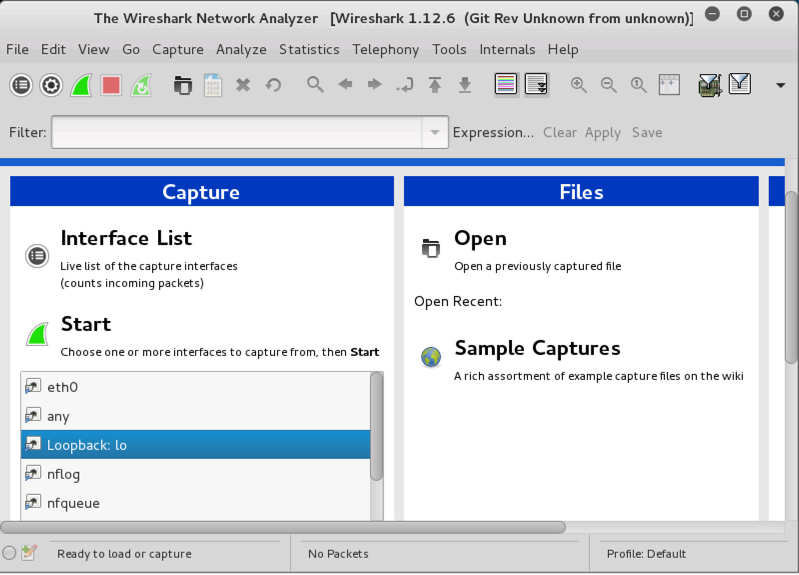
wireshark
In Wireshark, click "loopback lo" once to highlight it, as shown below. Click Start.
In IceWeasel, refresh the page with your IP address followed by /secret
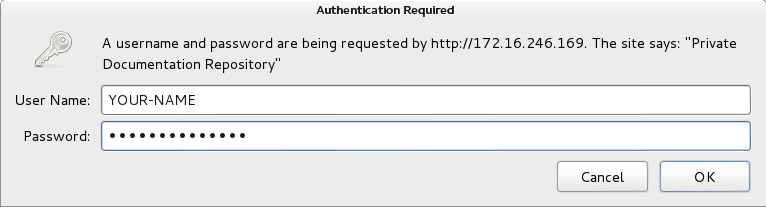
An "Authentication Required" box pops up, as shown below. Log in with your name and the password secretpassword
In Wireshark, click Capture, Stop.
In Wireshark, click Statistics, "Conversation List", "TCP (IPv4 & IPv6)". A "TCP Conversations" box opens, as shown below.
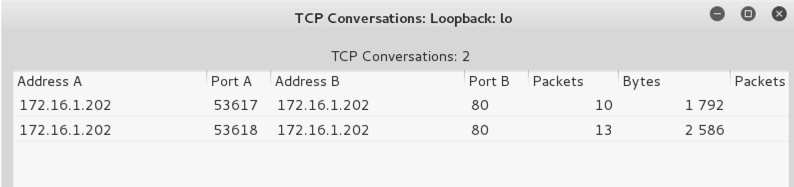
Click the first conversation to highlight it, and click the "Follow Stream" button.
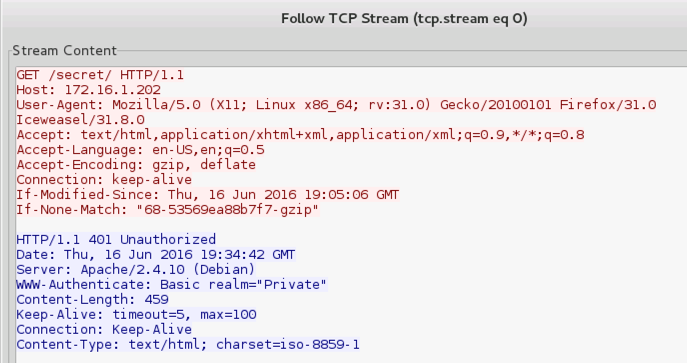
The red text is yor browser requesting the secret page.
The blue text is the response from the server, which says "401 Unauthorized", as shown below:
In the "Follow TCP Stream" box, click Close.
In the "TCP Conversations" box, highlight the second conversation.
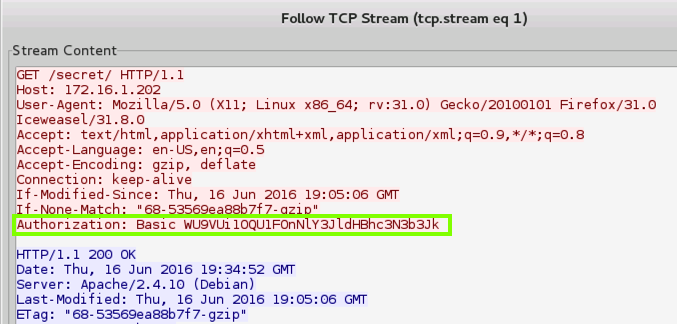
Click the "Follow Stream" button.
In red text, an "Authorization: Basic" message is visible, as shown below. This scrambled text contains your username and password.
In the "TCP Conversations" box, click Close.
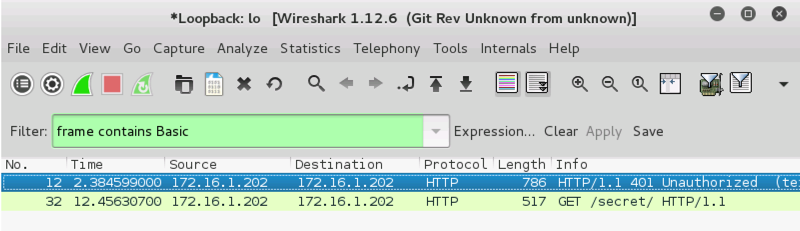
In the top section of the Wireshark window, in the Filter bar, erase the text there and type in this filter.
frame contains Basic
Two packets are visible, as shown below.
In the Info column, the first one is labelled "HTTP/1.1 401 Authorization Required", and the second one is labelled "GET /secret/ HTTP/1.1", as shown below.
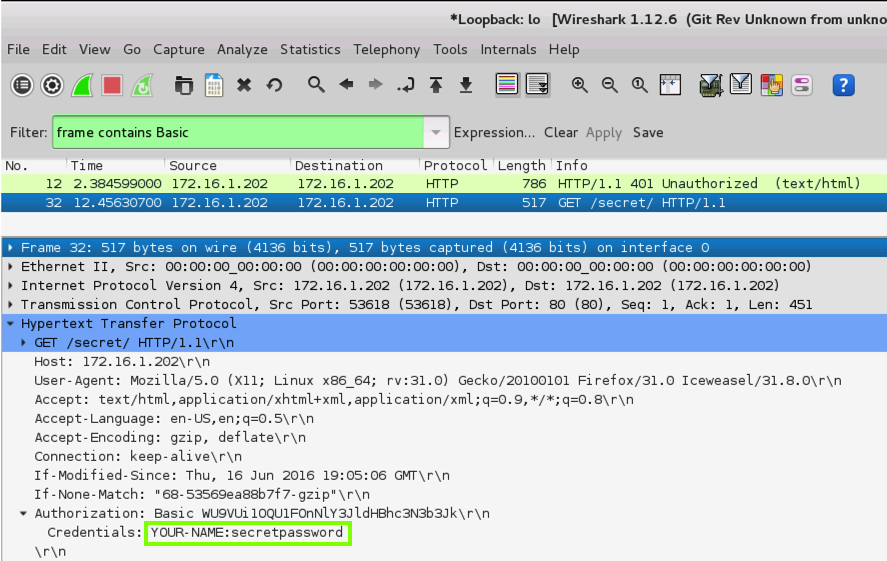
In the top pane of Wireshark, click "GET /secret/ HTTP/1.1".
In the middle pane, expand the "Hypertext Tranfer Protocol" section.
Scroll down and expand the Authorization section.
The credentials are shown in cleartext, showing your name and the secret password, as shown below:
Last modified 2-9-16
Modified 6-16-16 for NETLAB
Sam Bowne